6. ATC Dust Shoe
Clear Cut Dust Shoe Installation
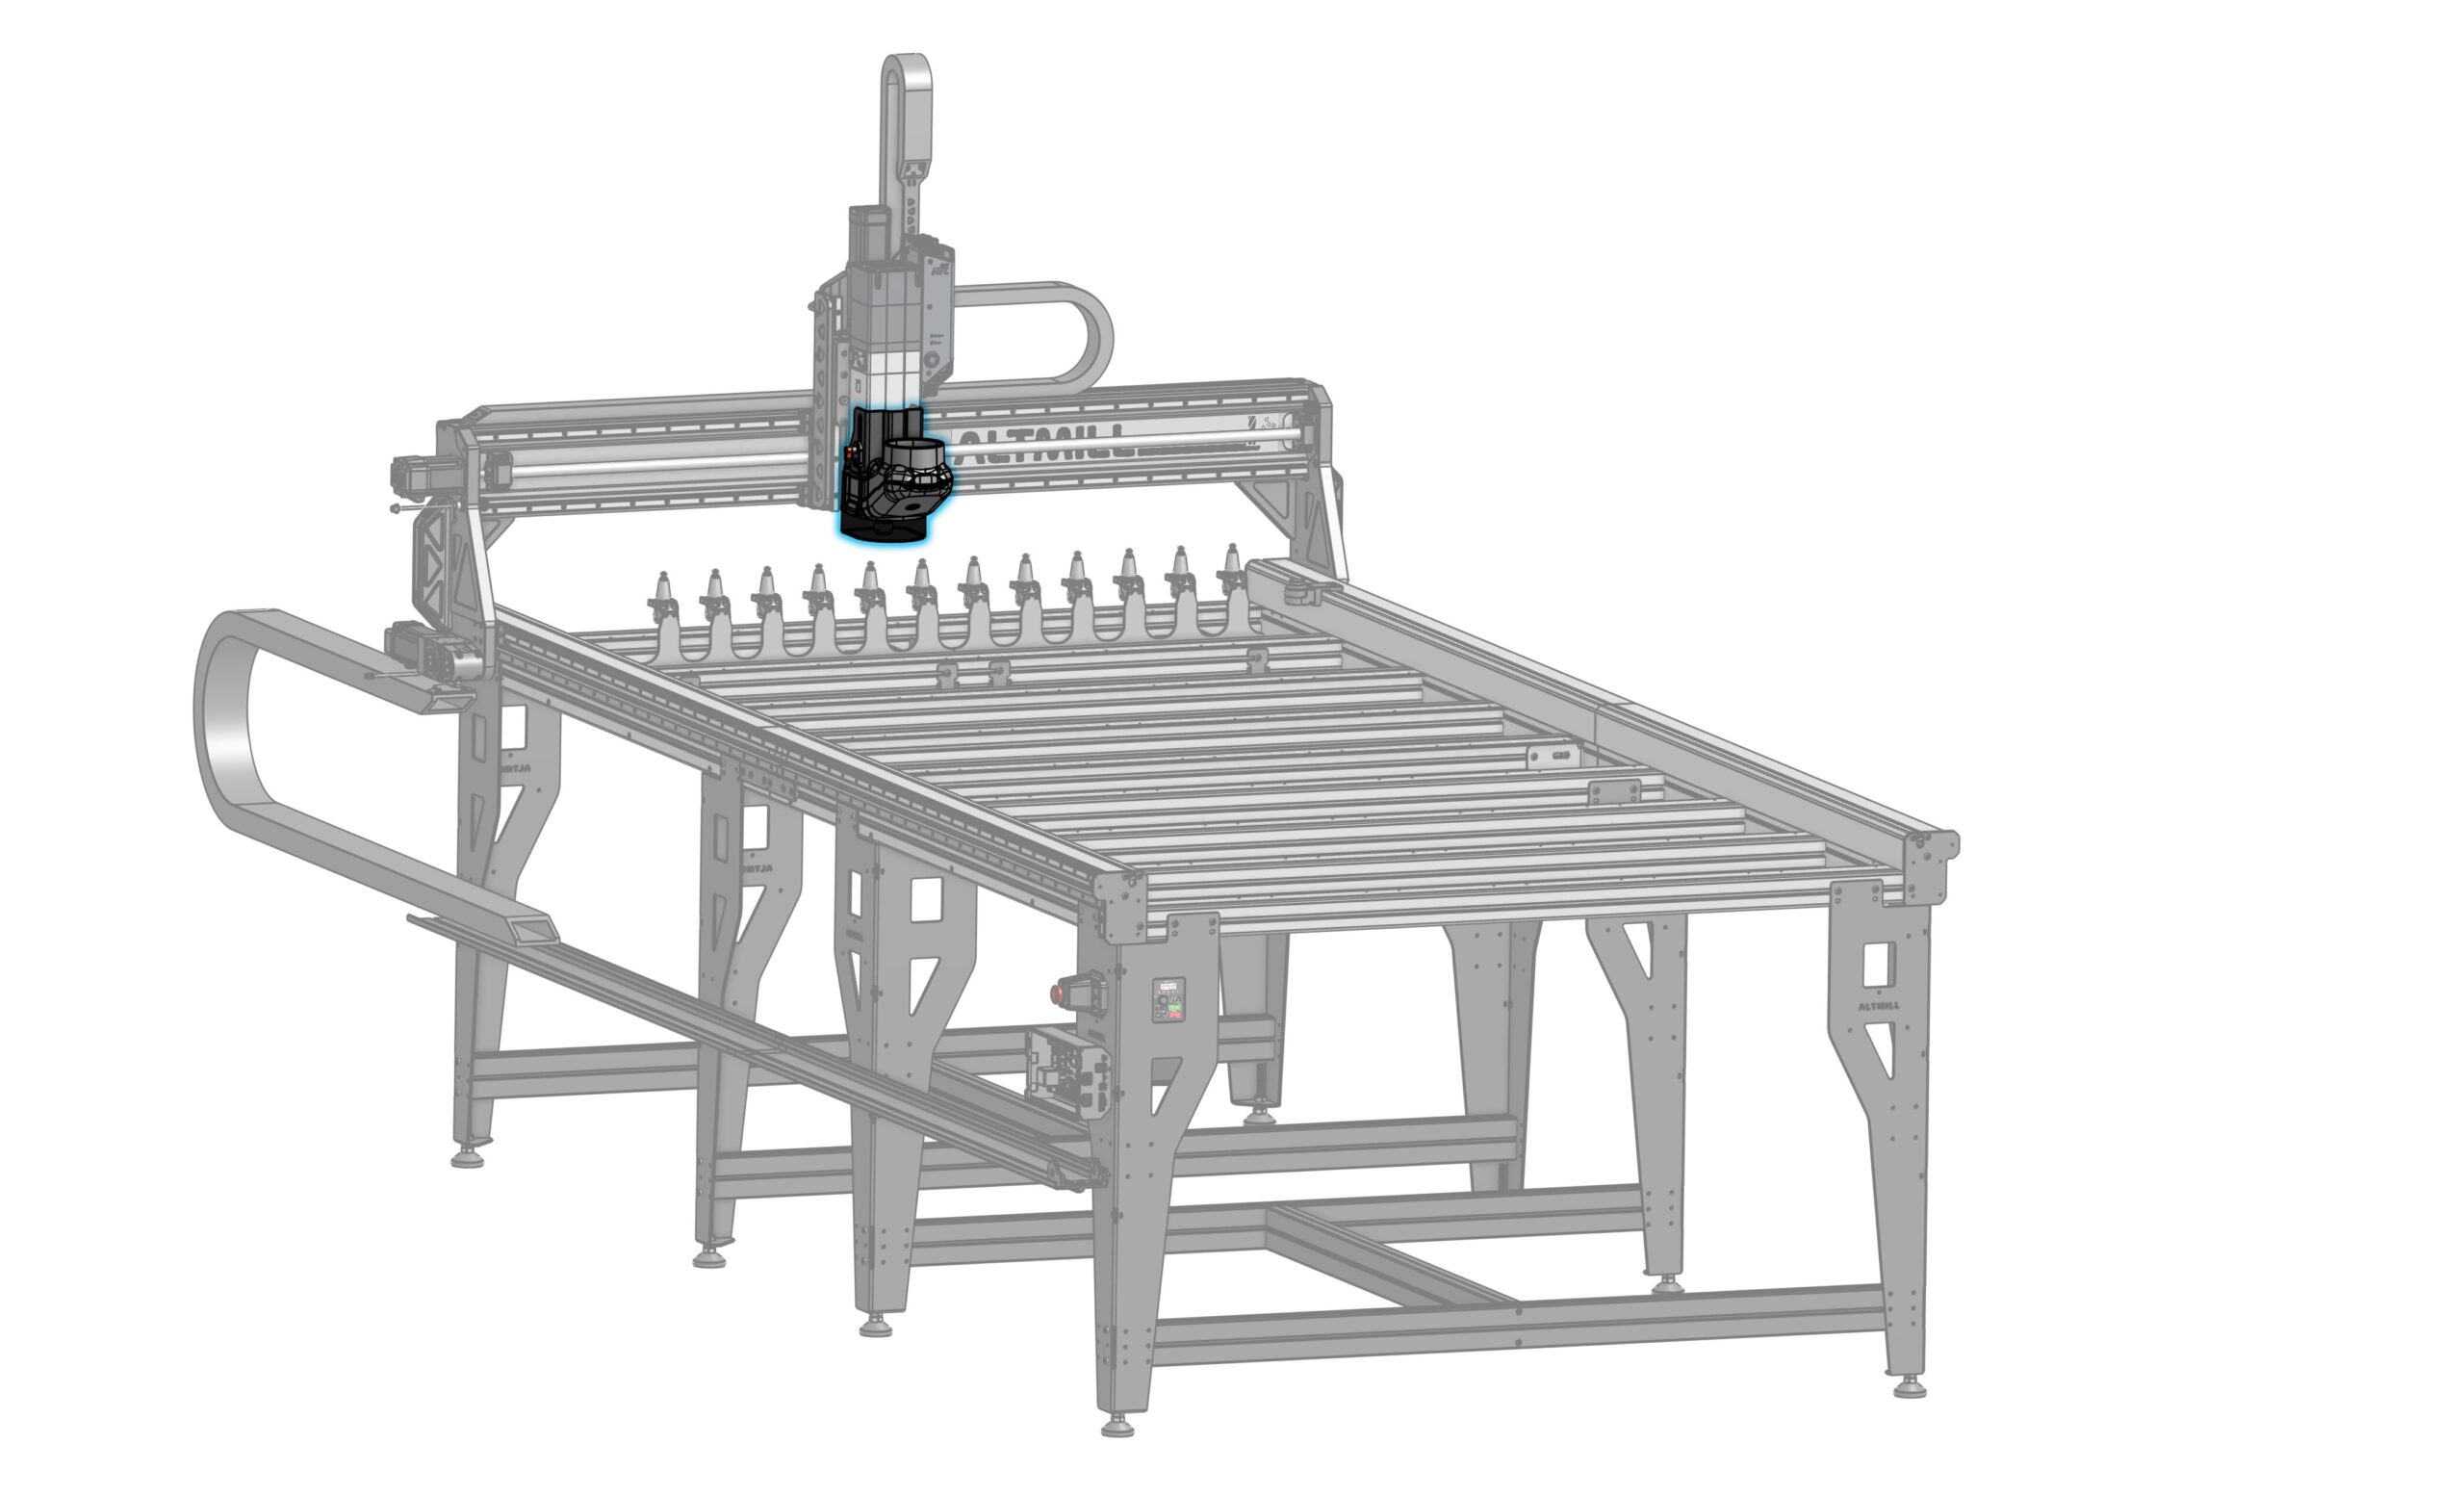
See video below for the installation of your dust shoe for the ATC!
Otherwise, follow along using the instructions below.
Assembly
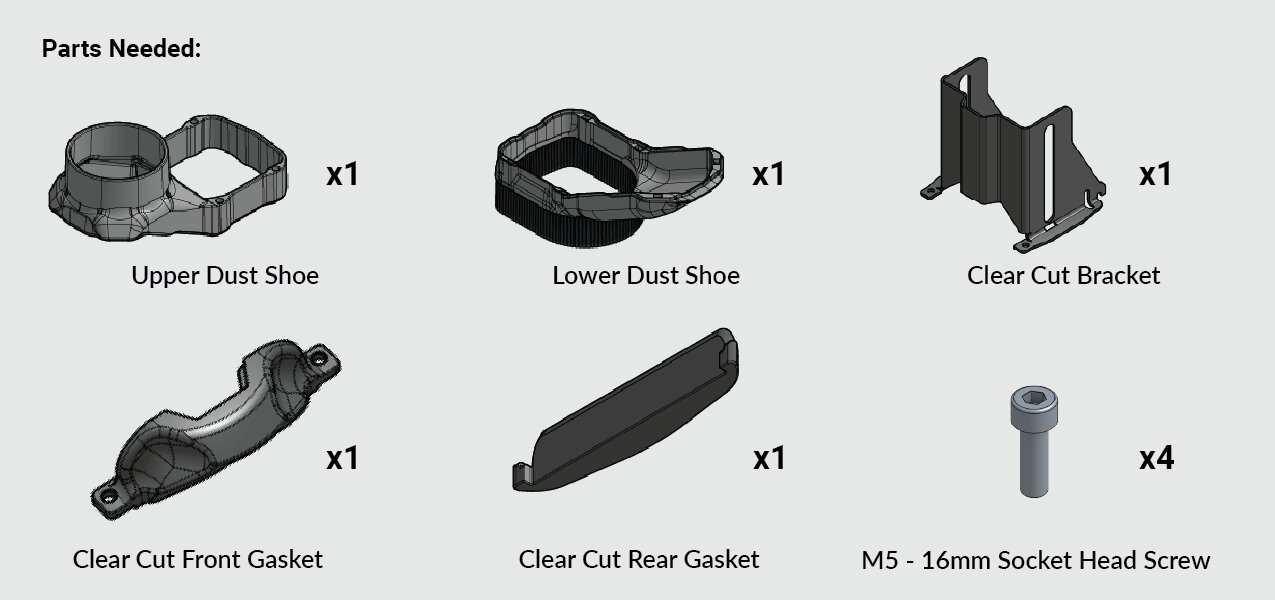
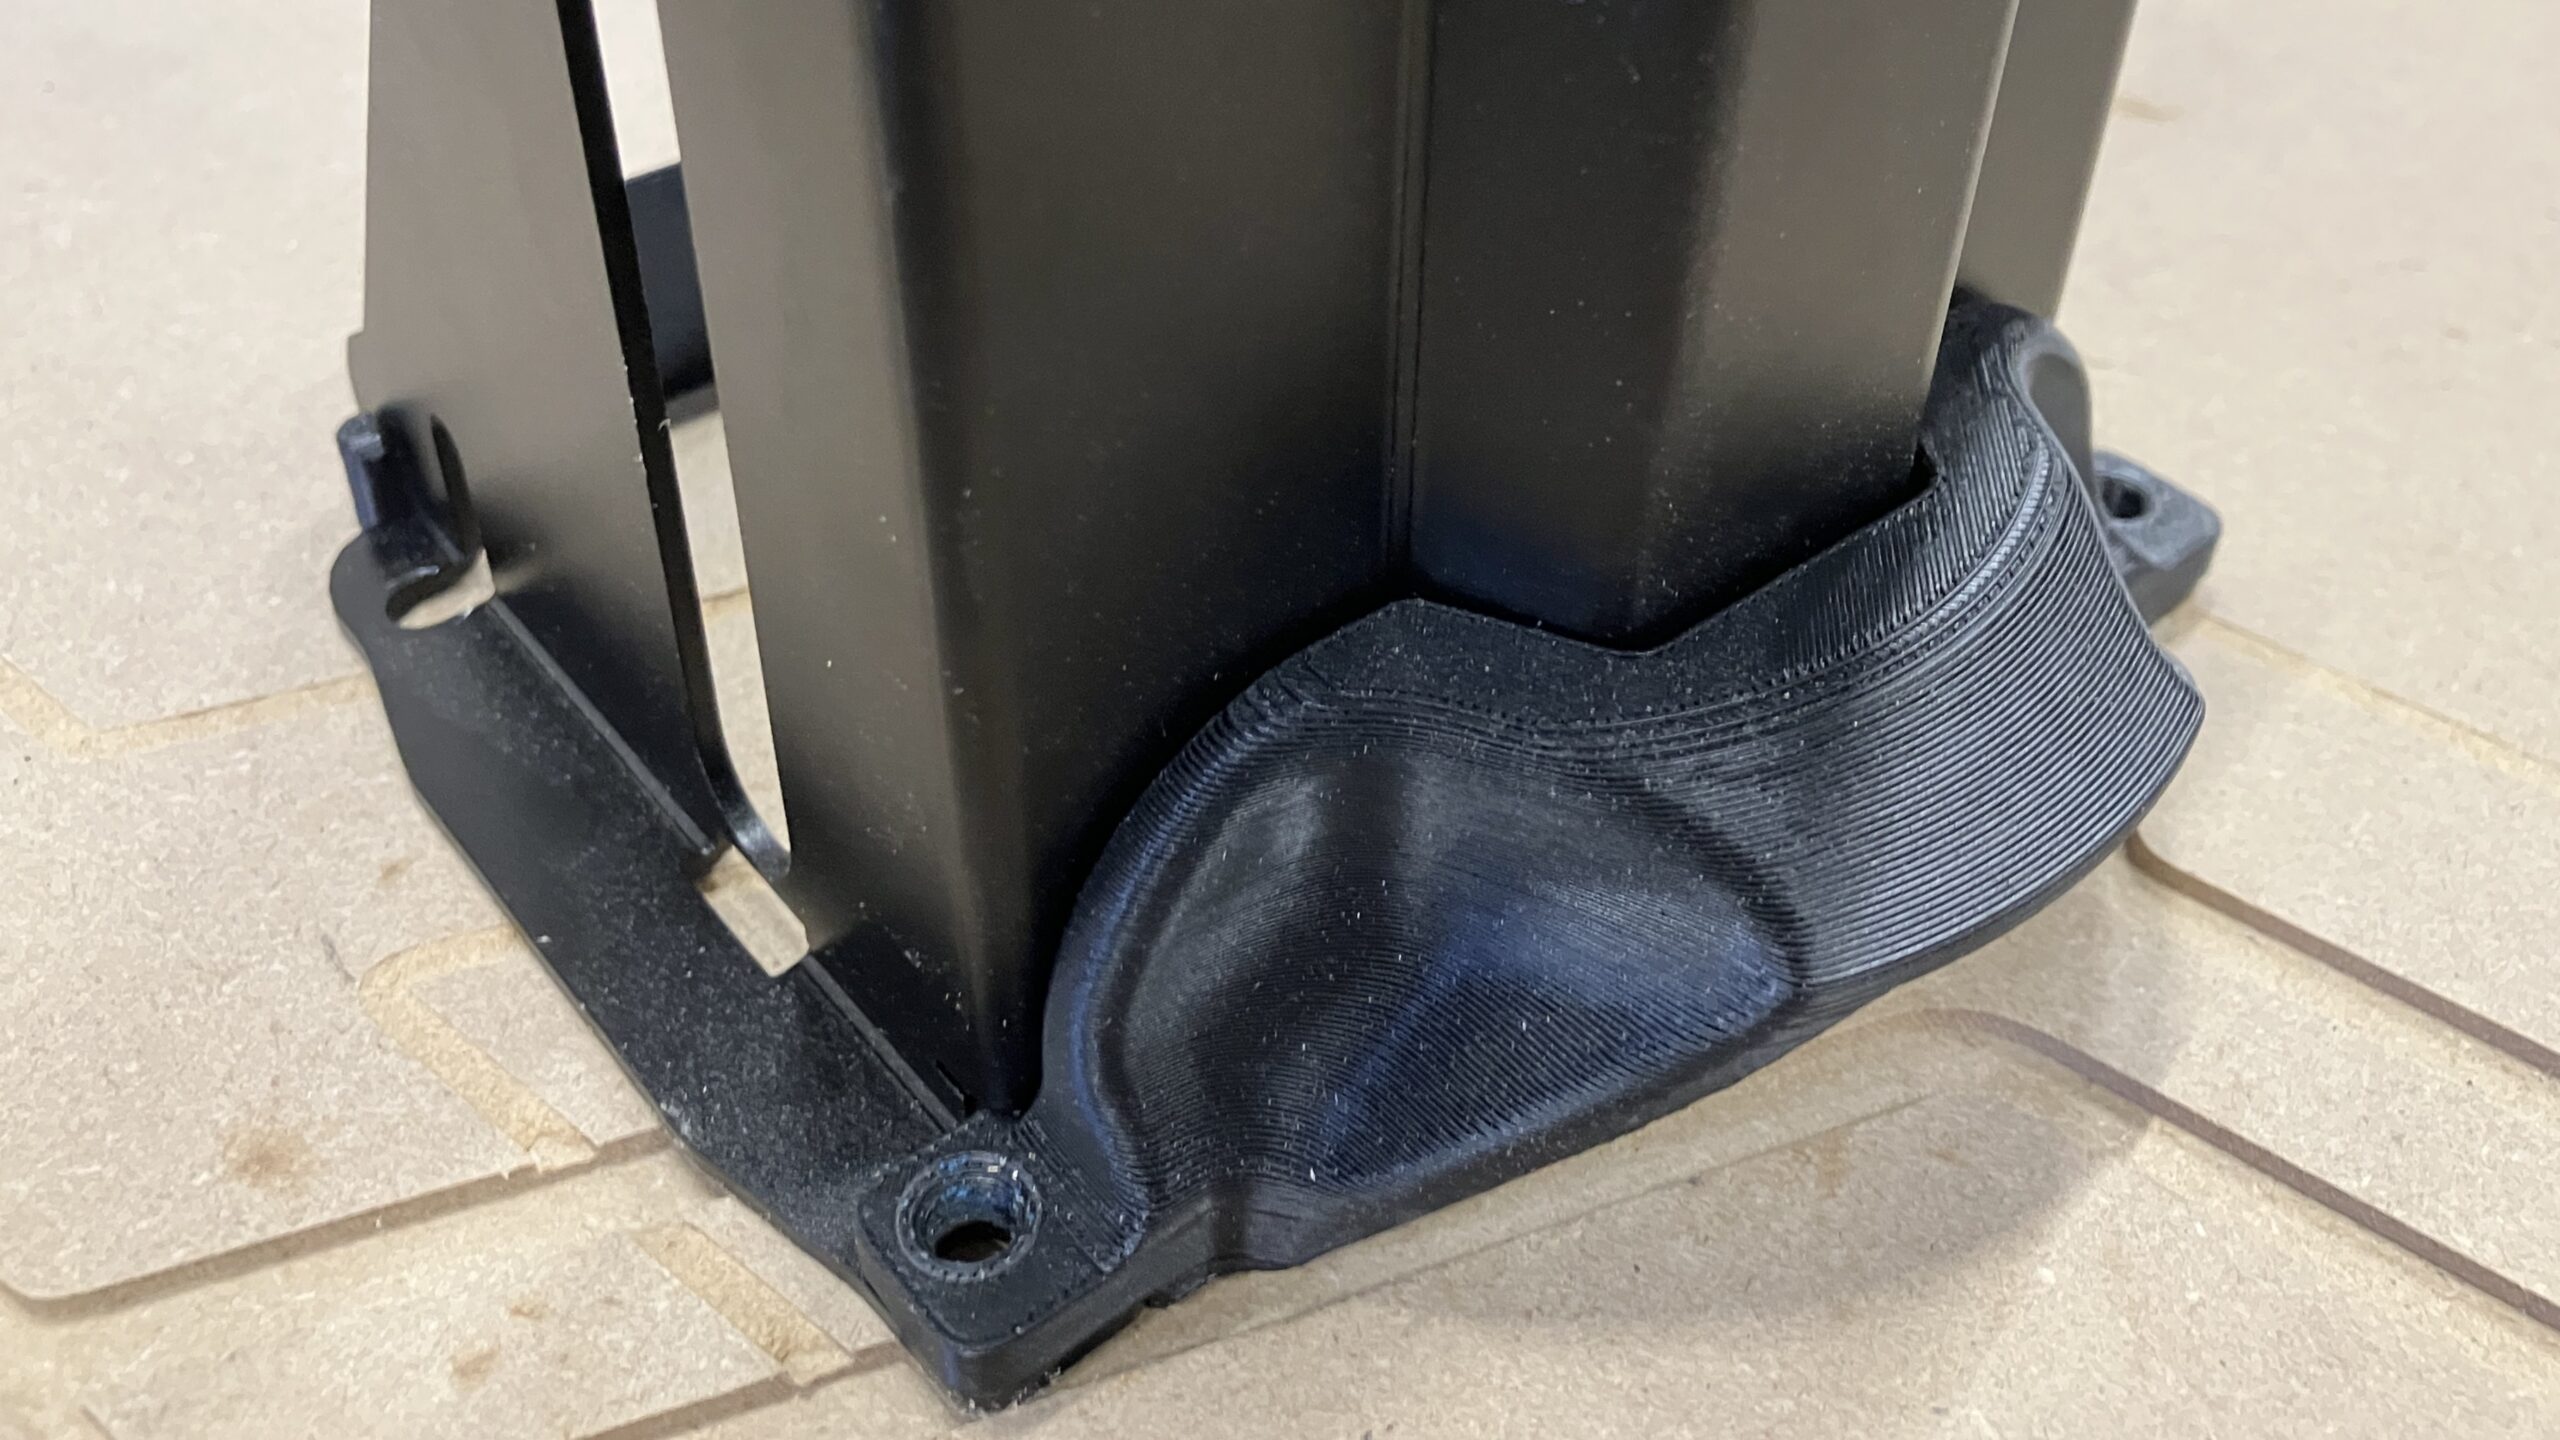
- Attach the front and rear gaskets to the Clear Cut ATC bracket:
- Align holes between the front gasket and bracket
- Both gaskets should sit flush to the bottom of the bracket
- Insert four (4) M5 – 16mm socket head screws, one in each corner. Then fasten the upper dust shoe and lower dust shoe to the bracket using an Allen key.
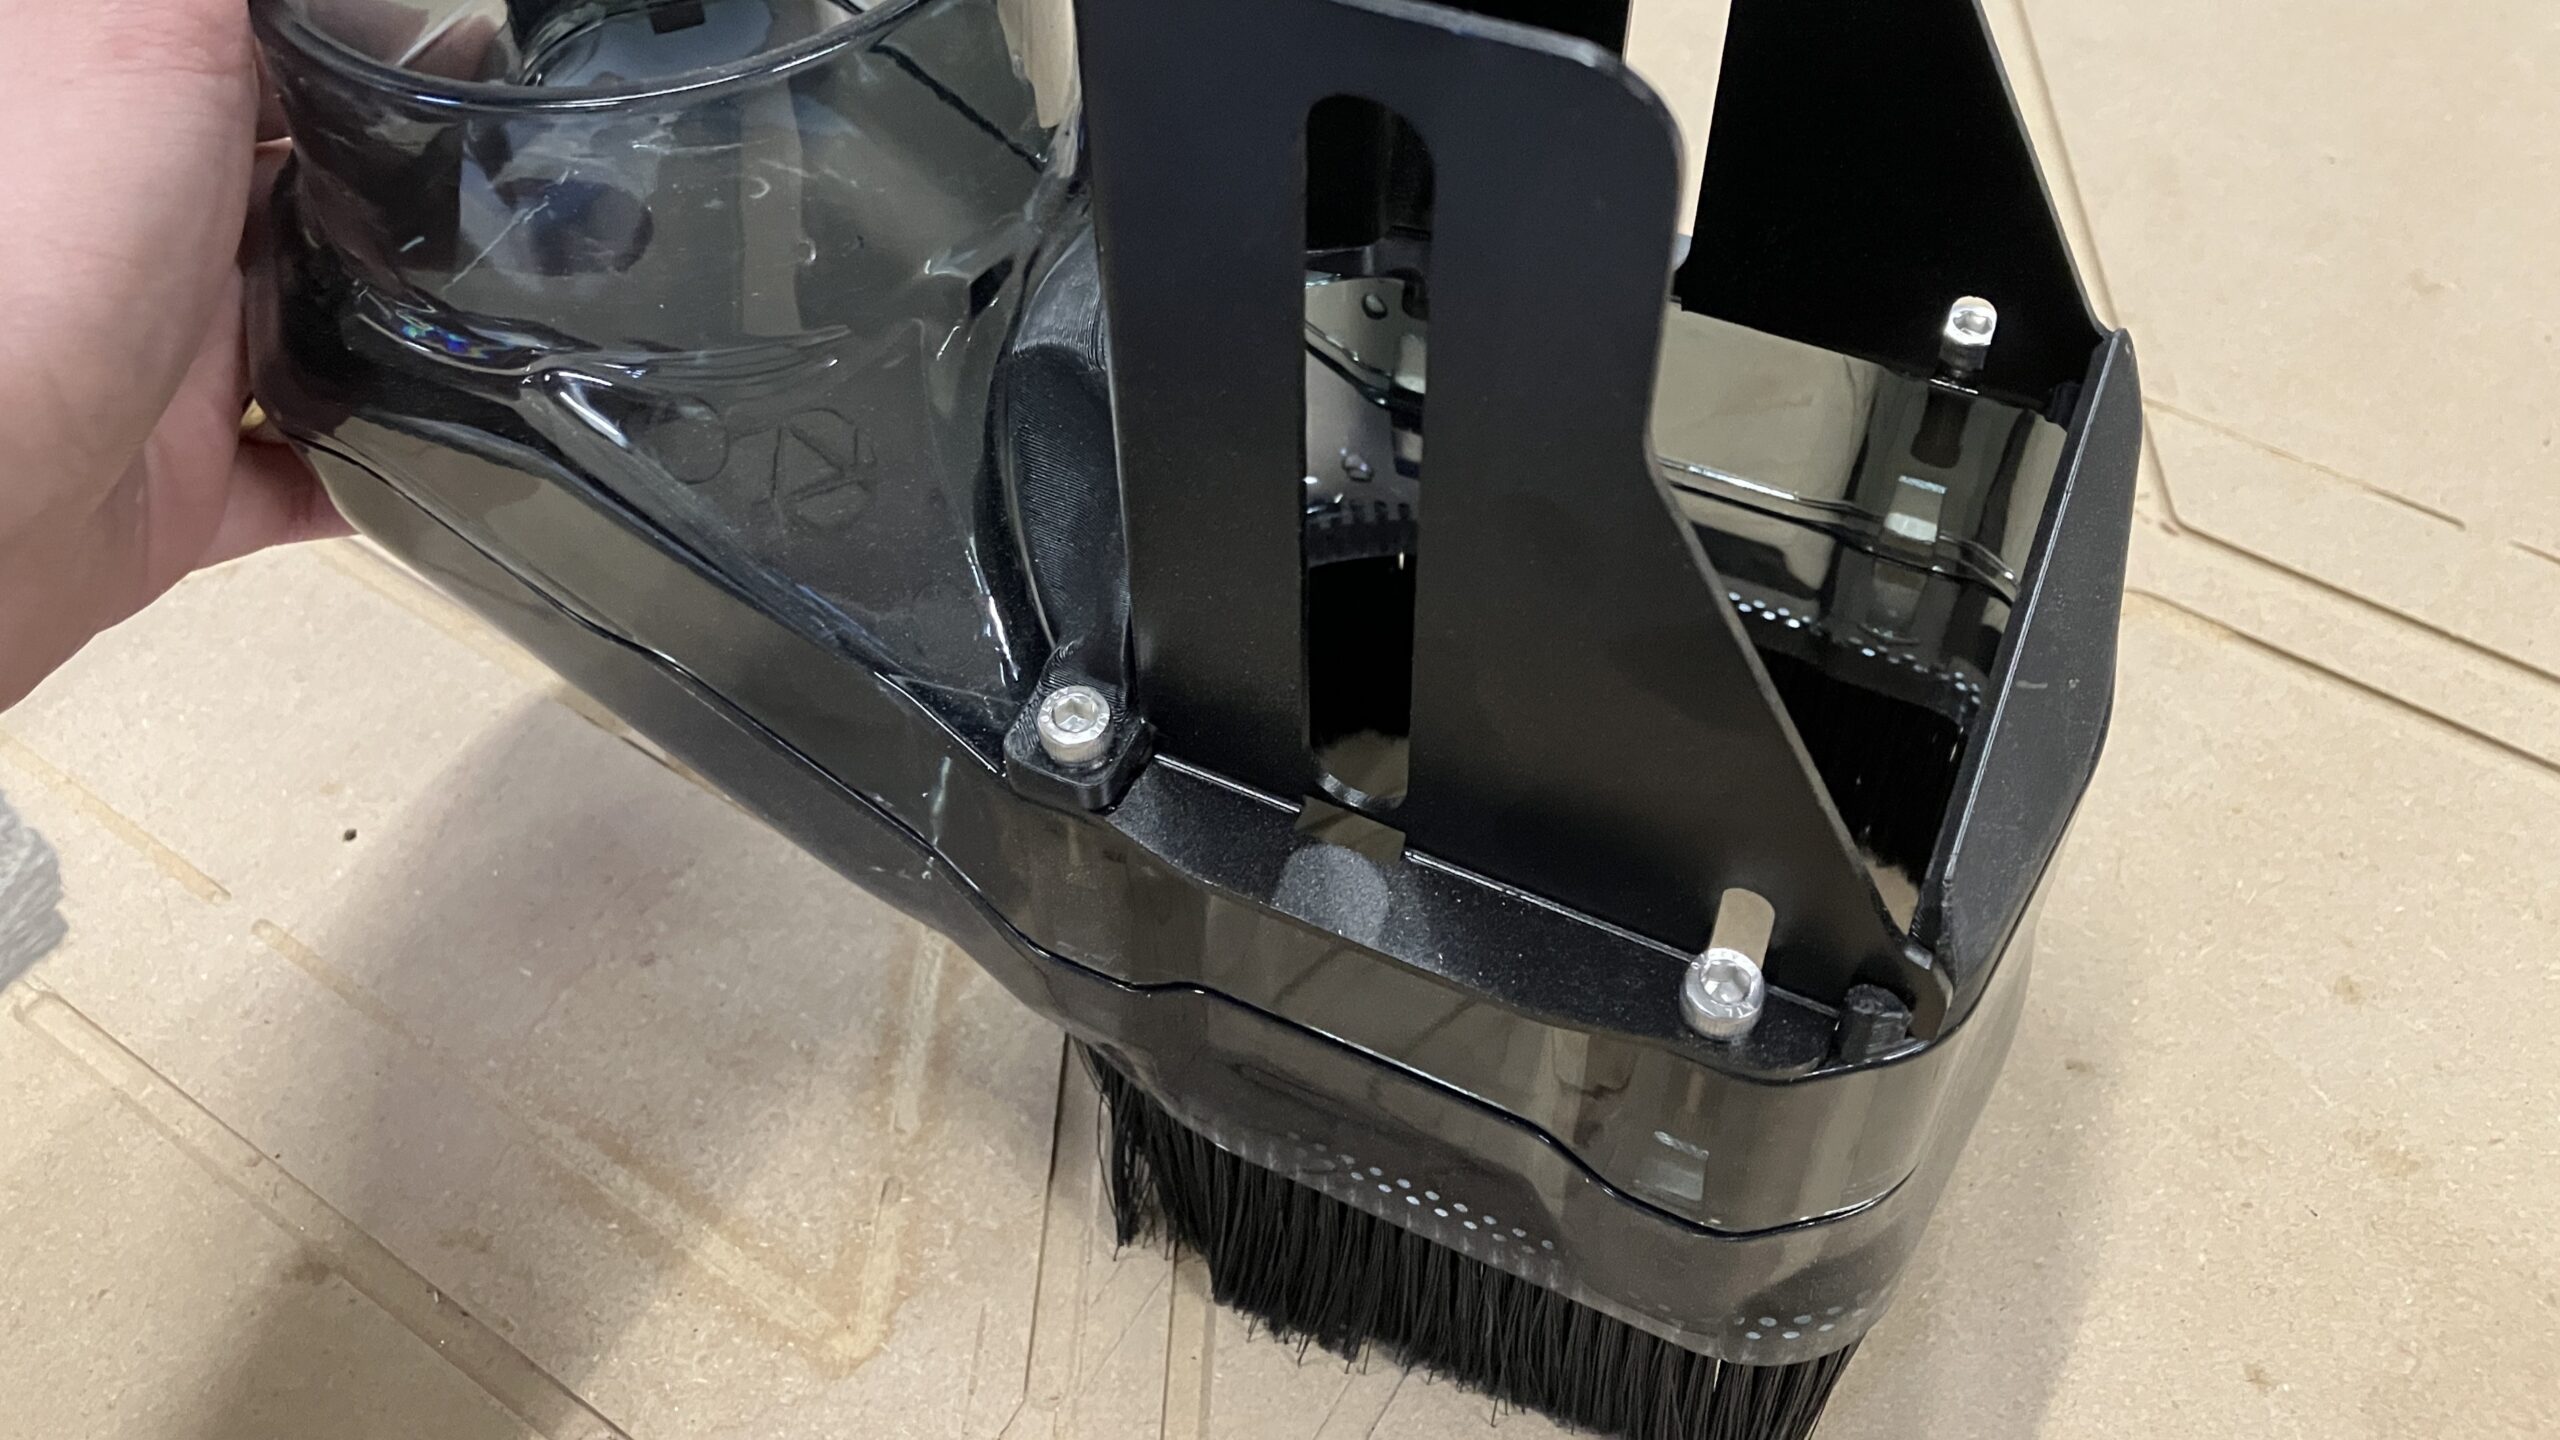
- Slide the dust shoe assembly on, from the bottom of the spindle.
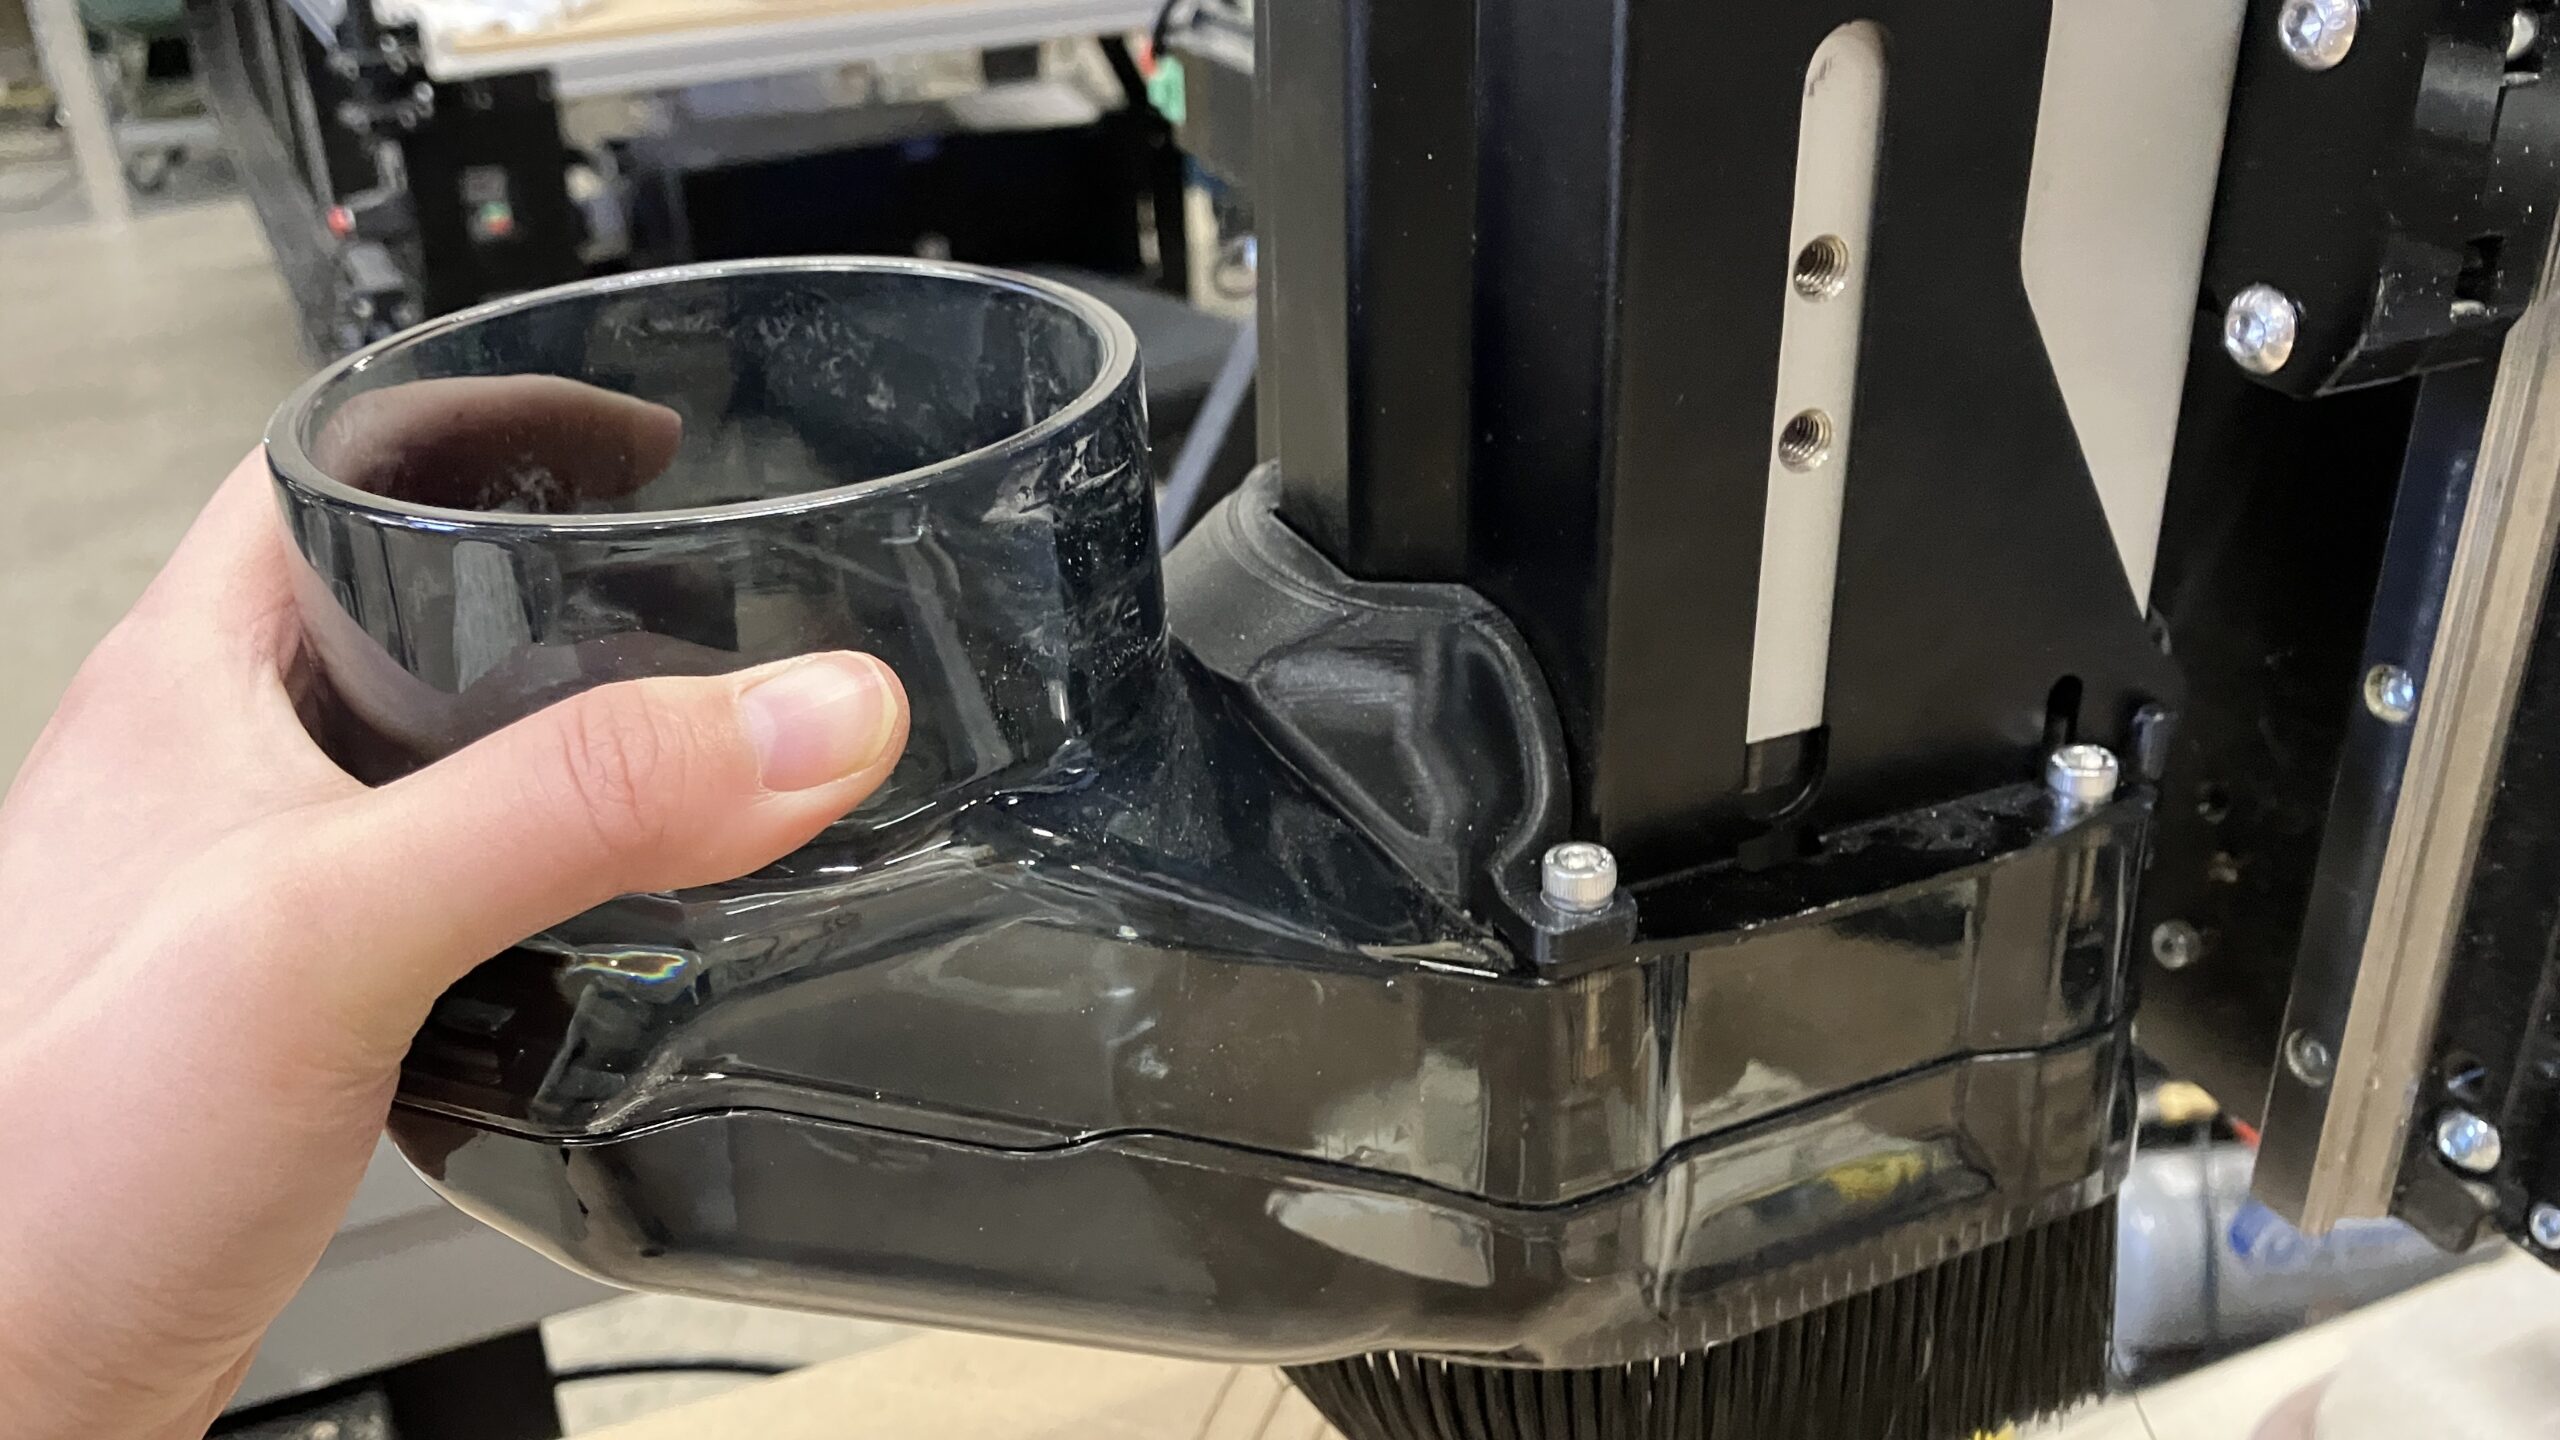
Height Adjustment
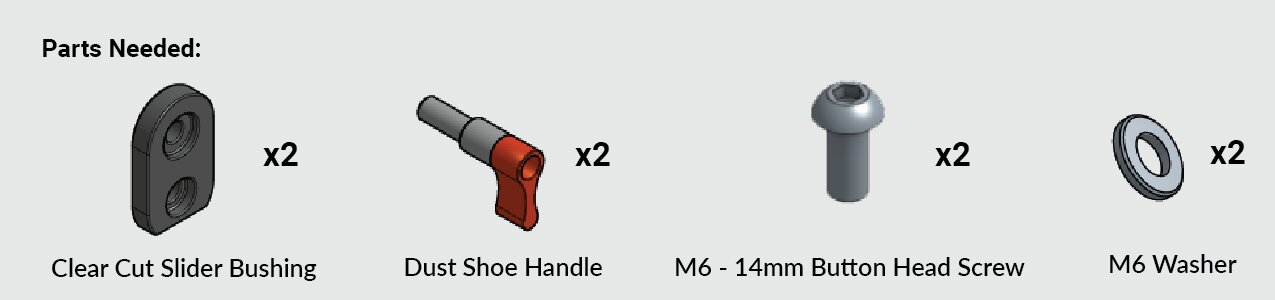
- Insert one (1) M6 – 14 mm screw into each slider bushing, for a total of two (2) screws.
- Place slider bushings on the left and right sides of the bracket.
- Secure into the bottom threaded holes on the spindle.
- Place a washer on each handle, then thread the handle into the top hole of each slider.
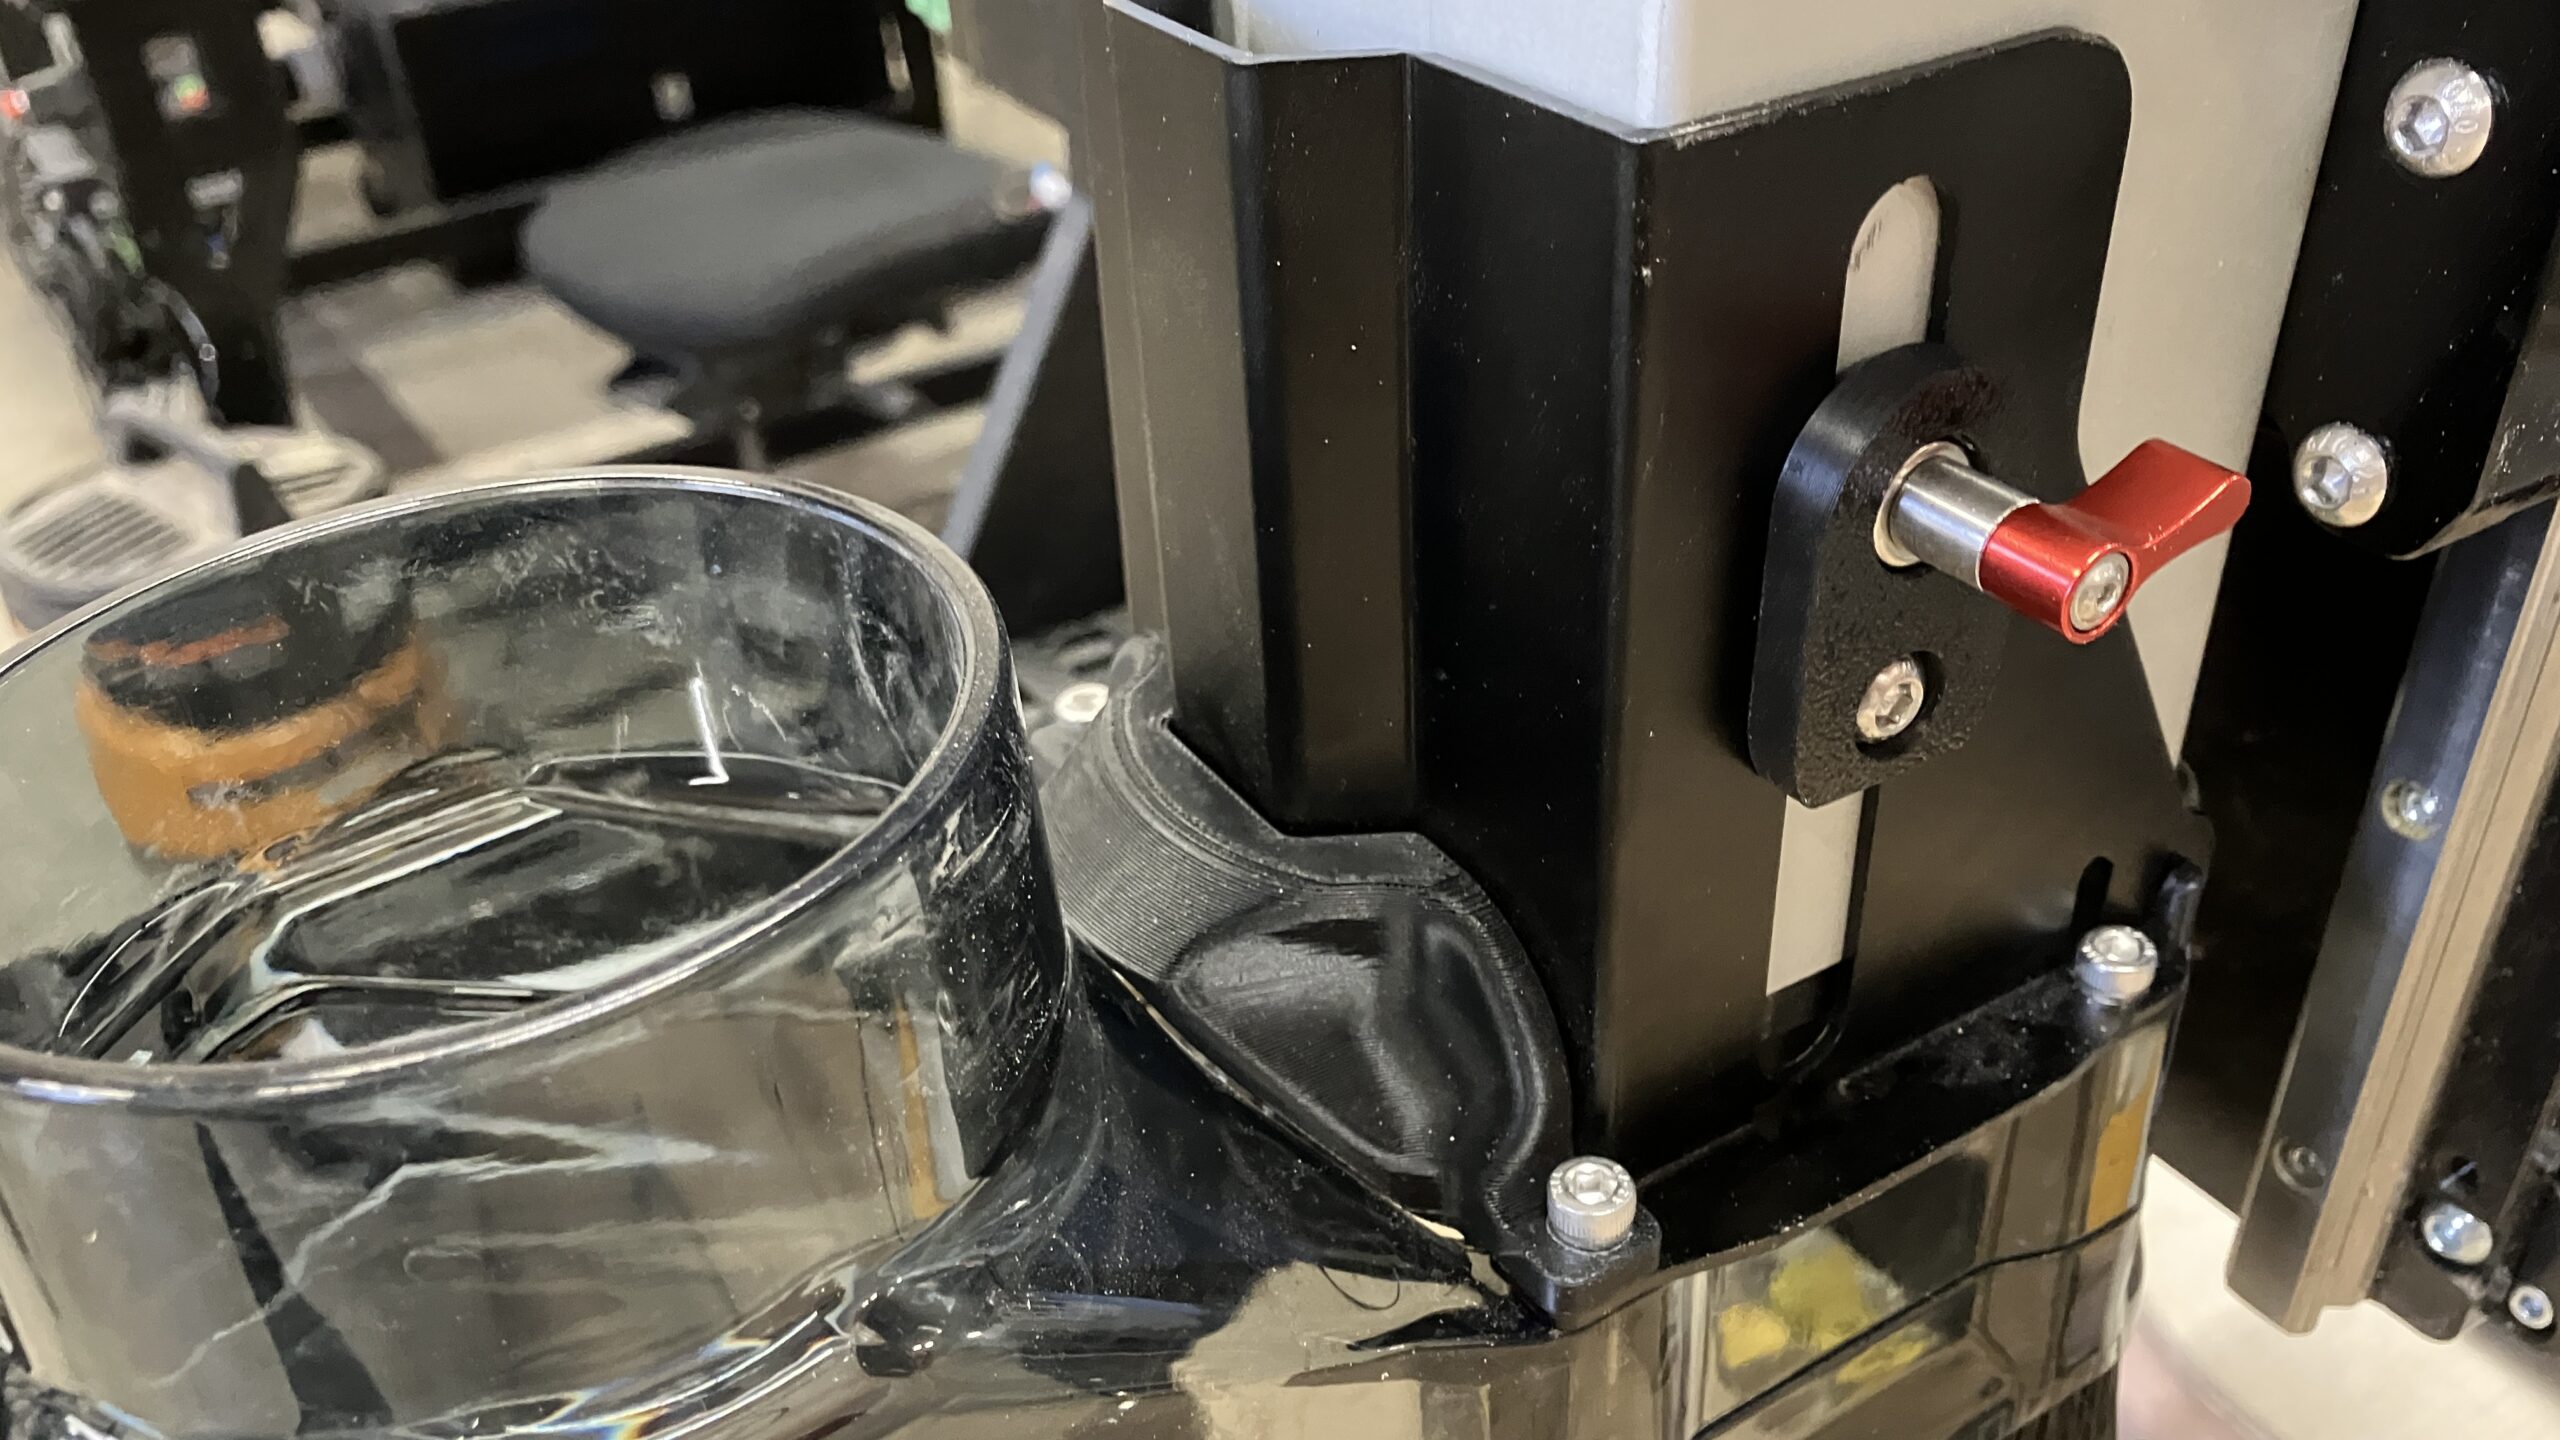
- Adjust dust shoe height to your desired position, then tighten the handle to lock it in place.
Hose Installation
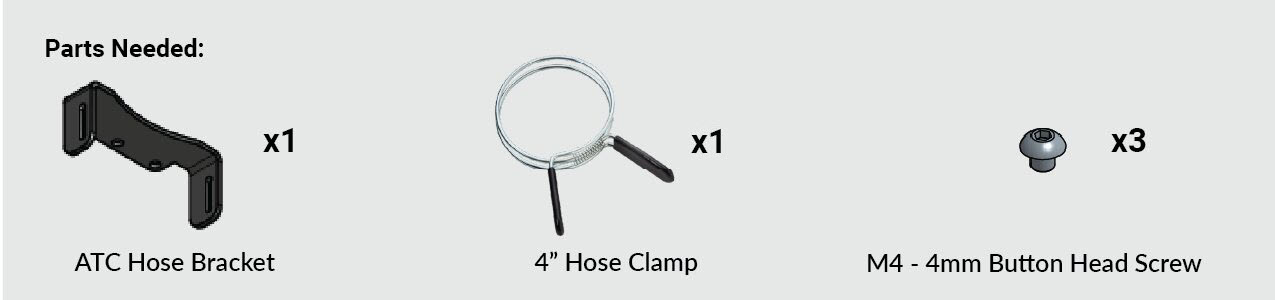
- Check that the VFD is turned off.
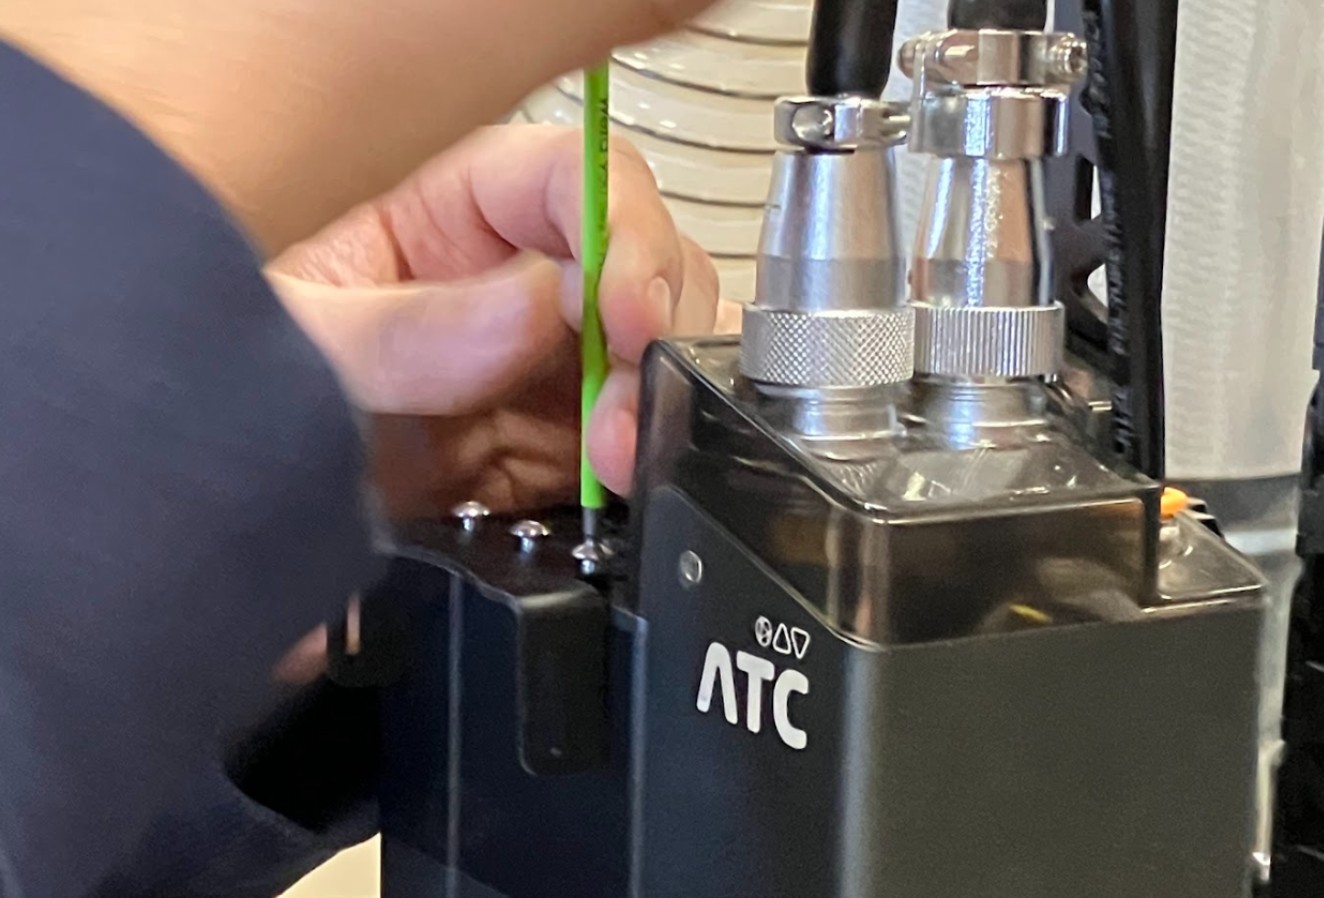
- Assemble the hose bracket onto the top of the spindle using three (3) M4 – 4mm button head screws.
- ⚠️ Do not drop screws into the spindle.
- You may want to put a piece of paper to cover the spindle holes while assembling the fasteners. Remove the paper when you are done!
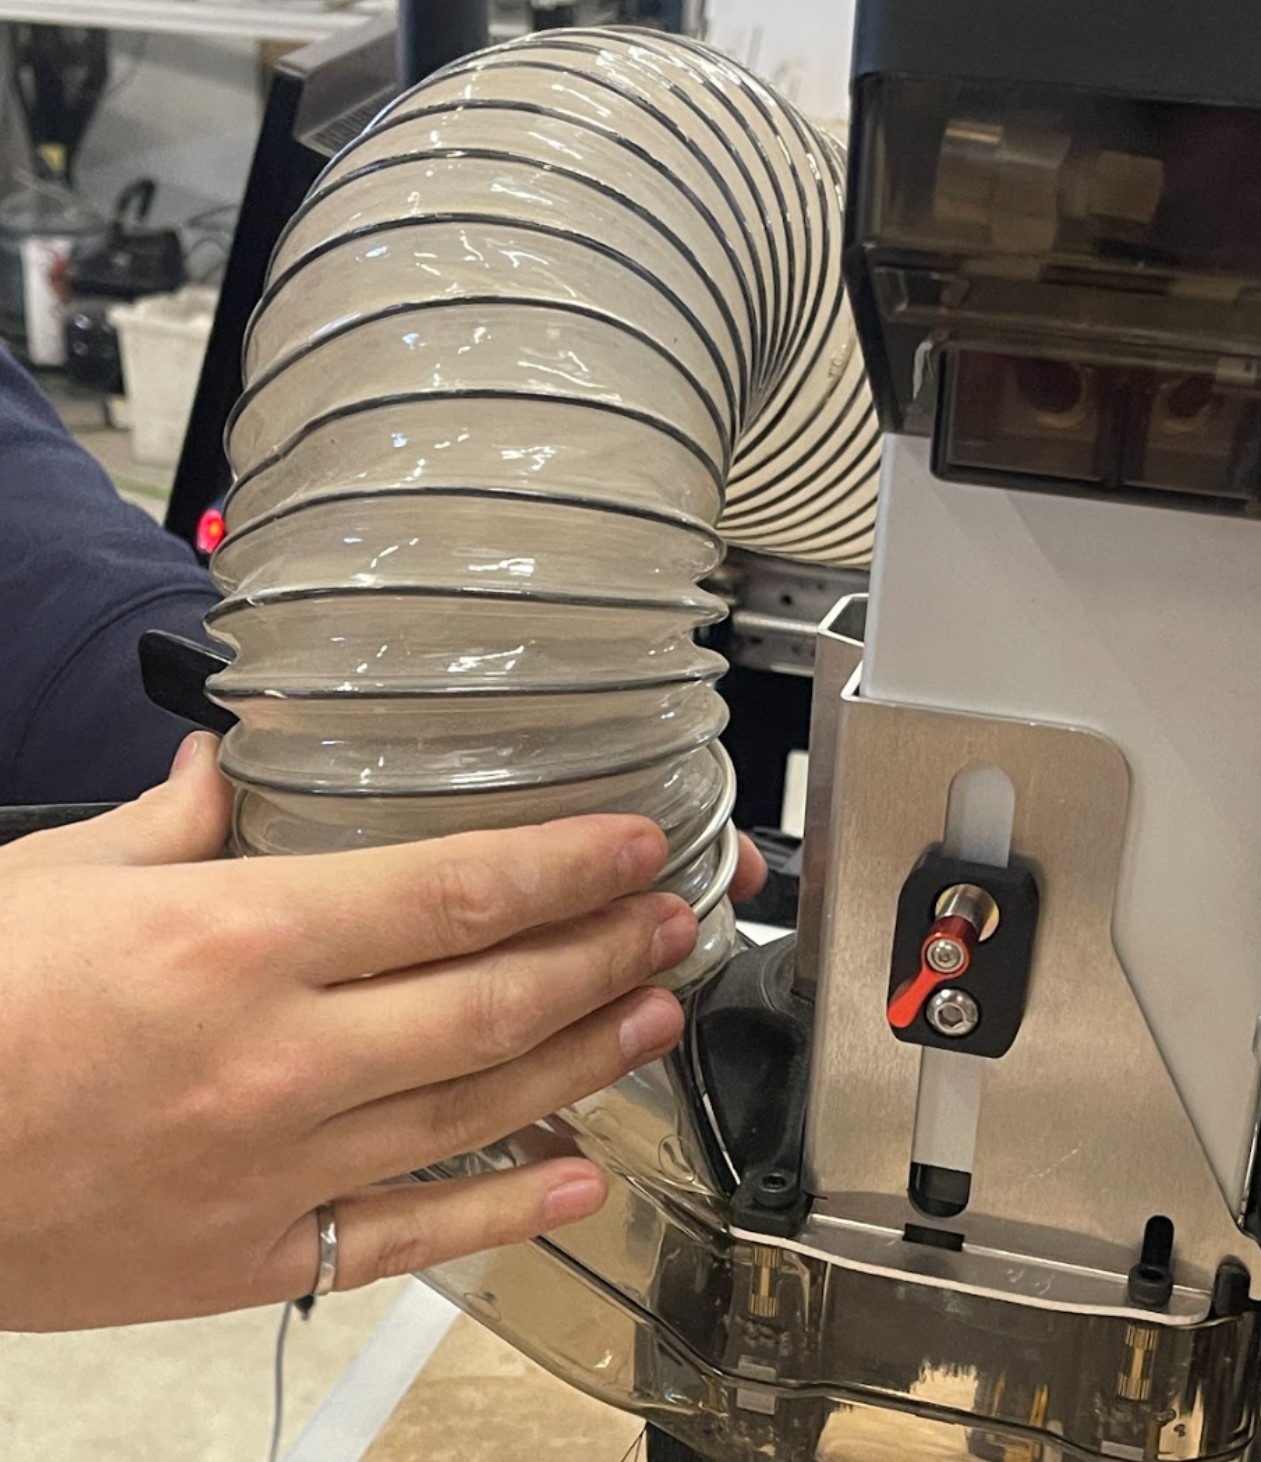
- Slide a hose clamp onto the hose.
- Attach the hose to the dust shoe inlet and tighten the clamp.
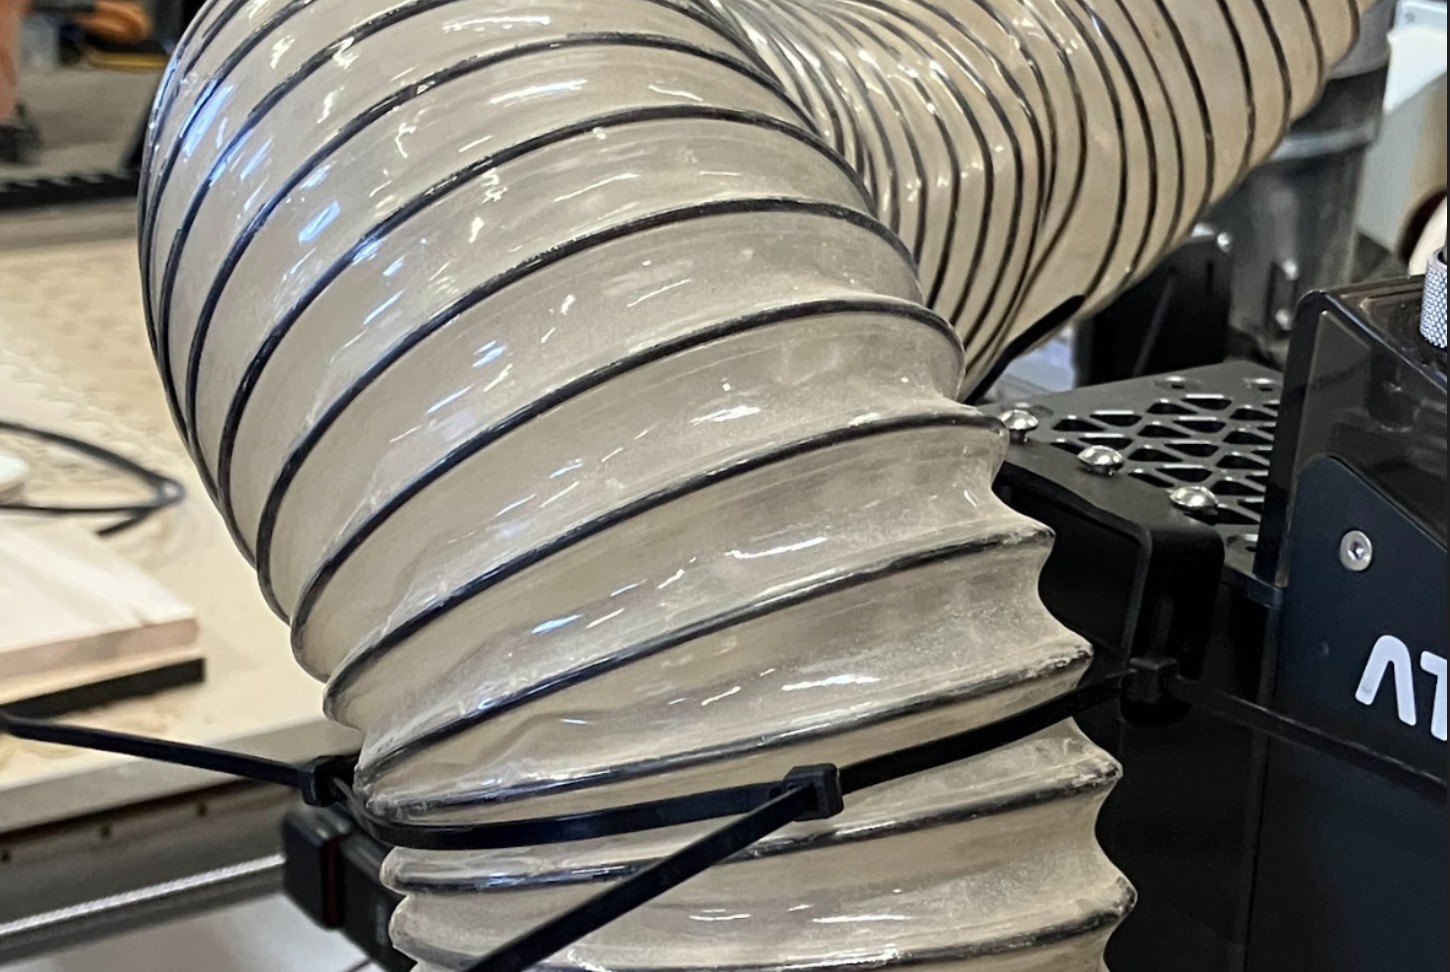
- Zip-tie the hose to the hose bracket for strain relief.
Usage Notes
- The lower dust shoe can be removed for probing.
- For tool changes, the dust shoe may remain installed.