Limit Switches
Limit switches are common CNC accessories that allows you to set and reference to a “home” position. This feature is helpful in achieving greater positional accuracy, since your machine can run jobs at a known location each time.
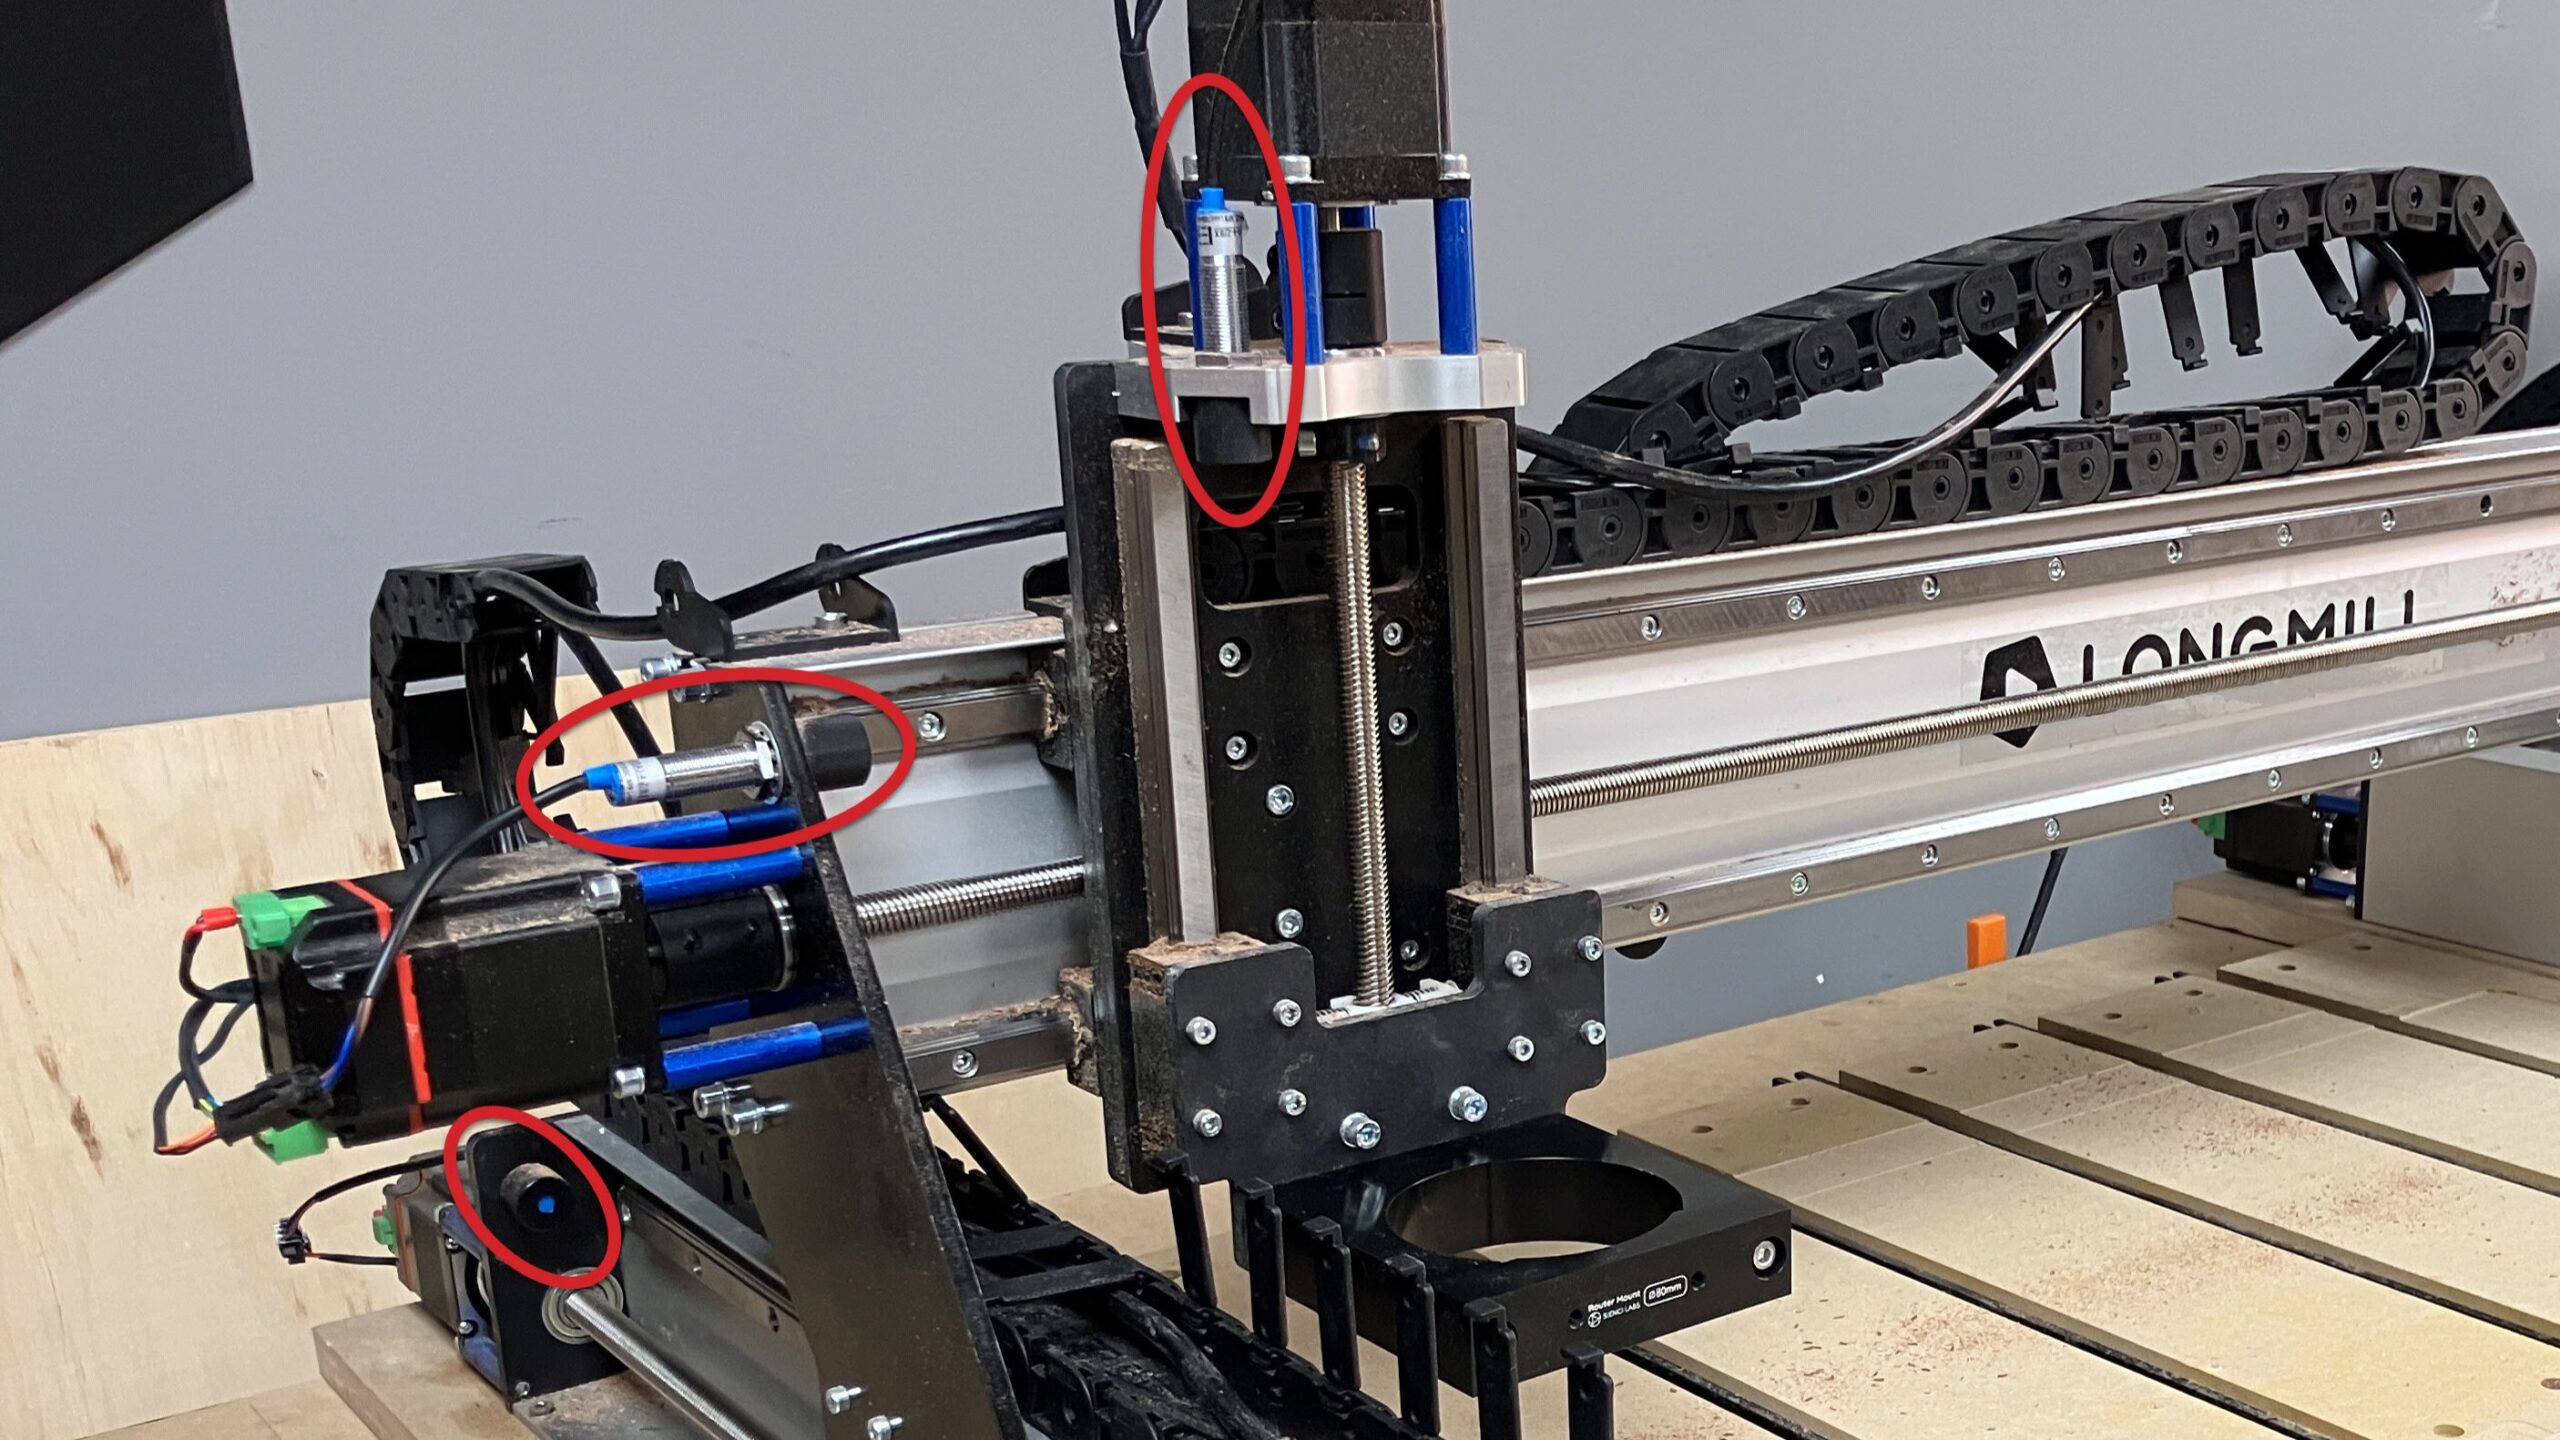
The LongMill MK3 comes with limit switches, and the included SLB-LITE controller comes pre-programmed to use those limit switches out-of-box. The specific limit switches we use are inductive sensors, which are triggered when metallic objects (like our gantries) come near their detection distance.
Usage Guidelines
In order to use your limit switches, you need to “home” your machine each time you power it on. After connecting on gSender and resetting the E-stop, you can press the “Home” button to begin the homing cycle.
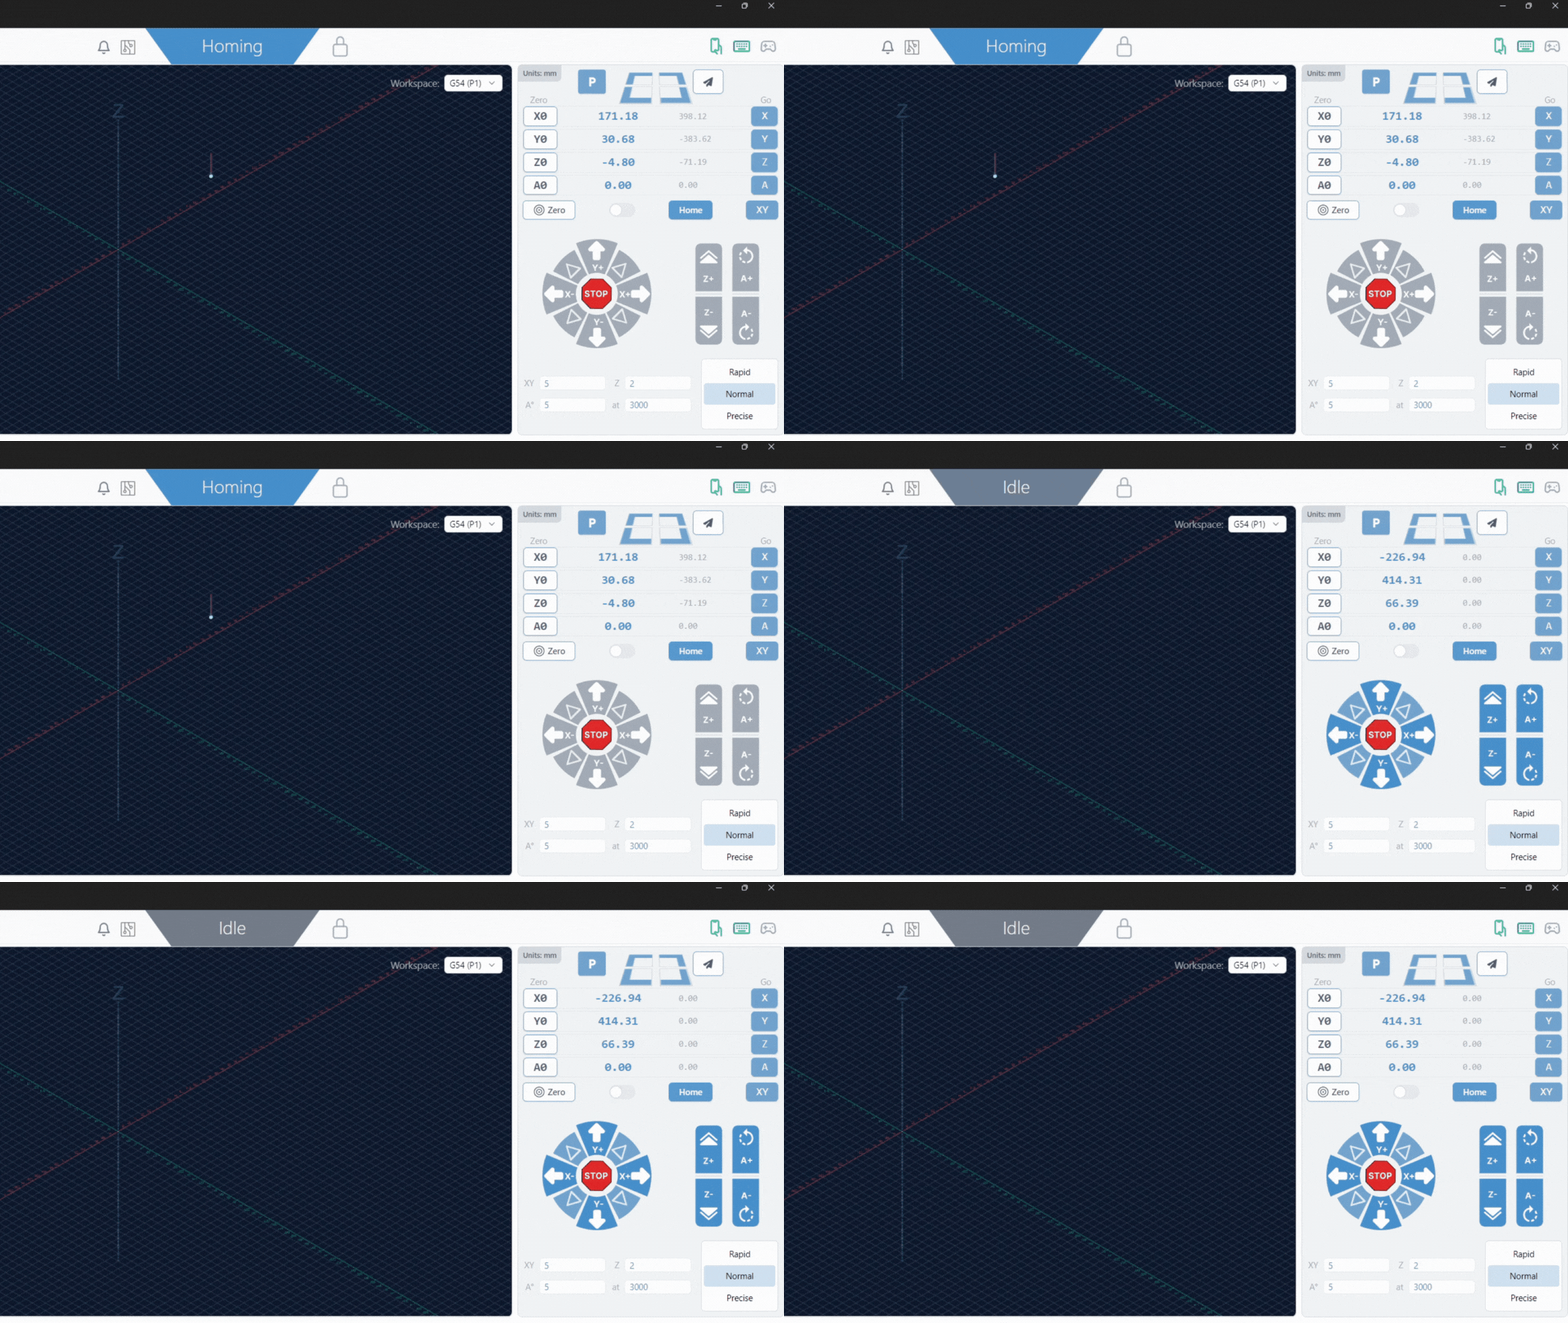
During the homing cycle, the machine will do the following:
- Move towards the limit switches in each axis
- Get triggered once it gets close enough to the limit switches on each axis
- Set the home position (grey machine coordinates turn to zero)
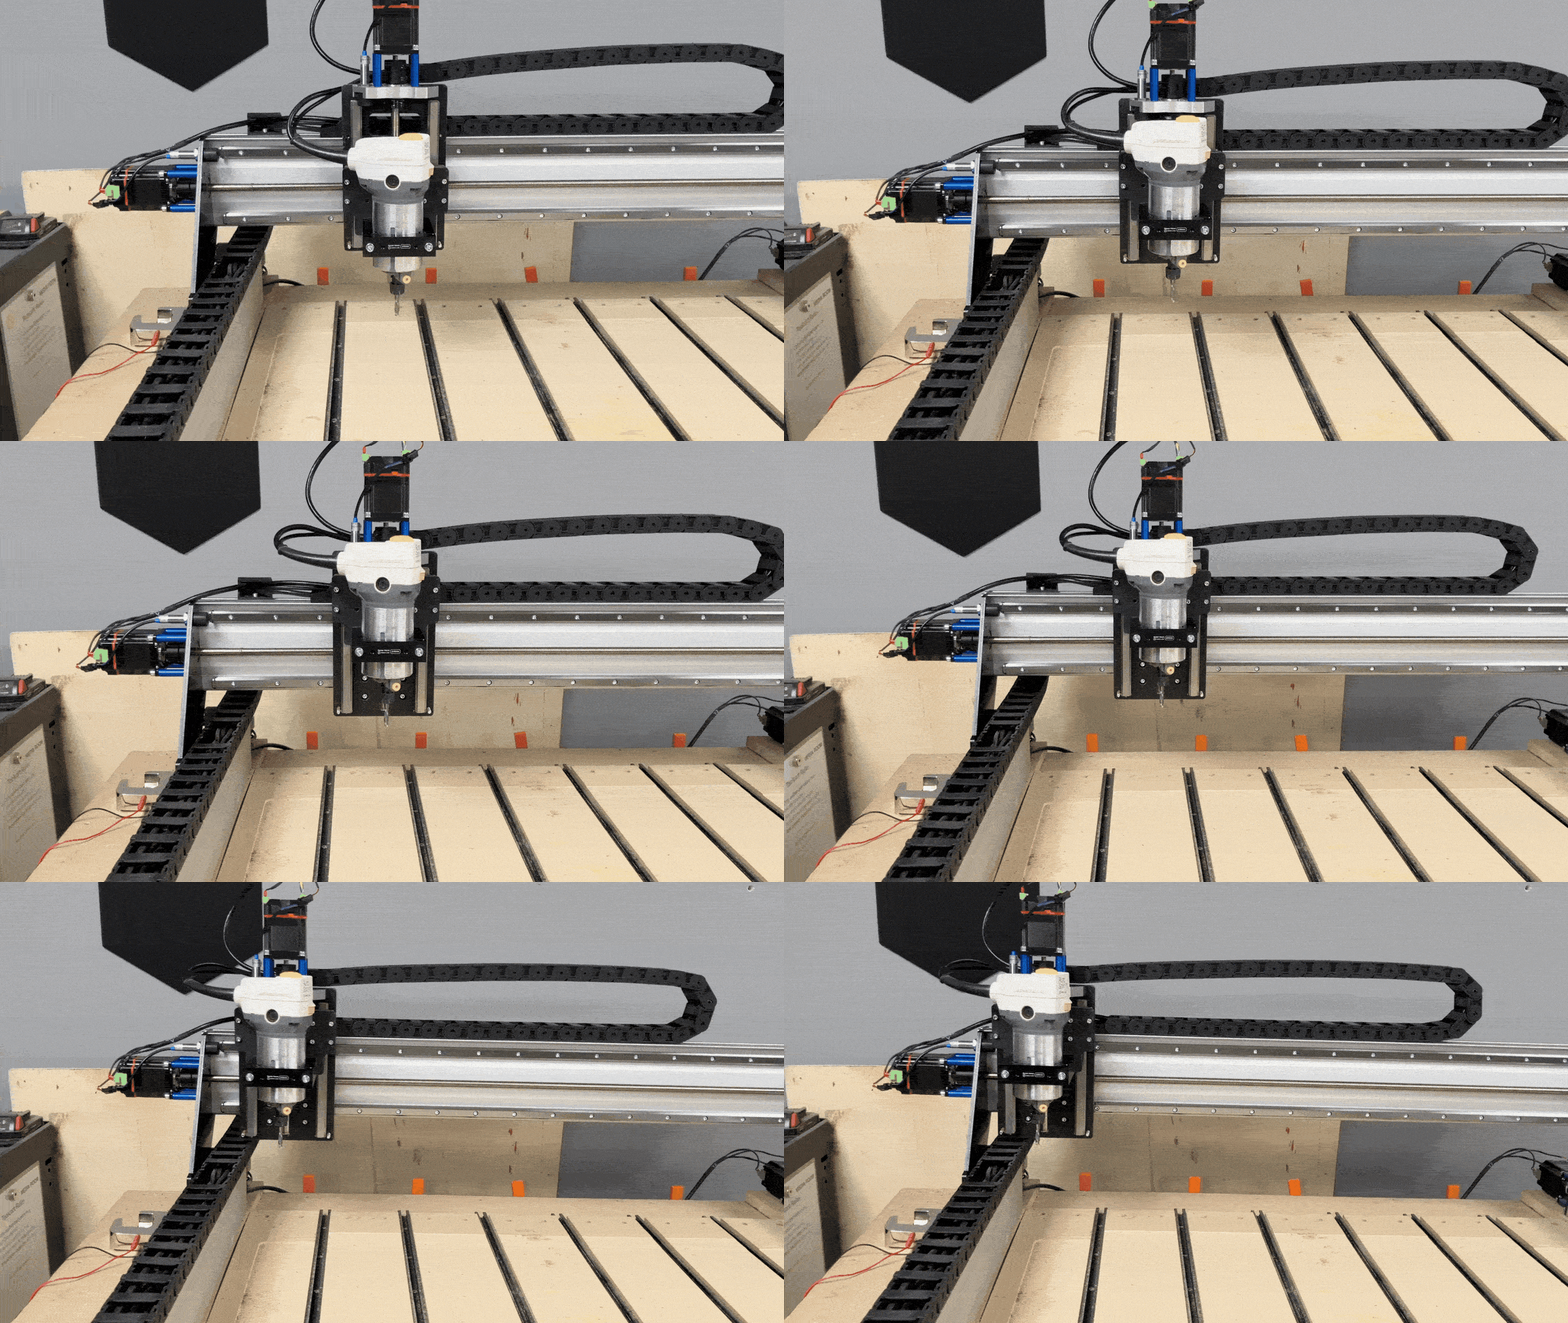
By default, the home position is set where the limit switches are. On the LongMill it will be the left-most, top-most, back-most corner of your machine.
Soft and Hard Limits
Soft and hard limits are already configured in your SLB-LITE. These settings are enabled to fully leverage limit switch capabilities, and to prevent your machine from running into itself at its travel limits.
Soft limits track your travel limits through software, but require homing to first know the CNC’s location. Once homed, it knows that the machine can’t move further in the homed direction, and will use the maximum travel values (in firmware) to keep track of the limits at the opposite end of each axis.
Hard limits can run independently from homing since it looks for when a limit switch gets physically triggered. A trigger will stop the machine to prevent further movement and potential damage.
Use Cases
Since the homing process sets a reliable location for your machine to reference off of, it can be used to:
- Resume a job after a power outage or disconnection
- Apply work offsets for jigs
- Apply safe height to your quick travel movements to avoid bit collisions
- Set up a tool changing station
Work Offsets and Workspaces
With CNC, work offsets can be thought of as bookmarks. They are saved locations for your machine that allow it to run jobs in different ‘zero’ locations without overwriting the previous zero location. Having one or more known locations you can repeatedly return to is extremely useful for restarting a failed job, recovering from a power outage, repeating the same job in different locations, and running multi-fixture jobs. A thorough explanation of this feature can be found in this gSender article.