Quick Start Guide
At this point, you’ve probably just finished mounting and setting up your Sienci Labs spindle kit. Here are some final recommendations and tips to help you better utilize your spindle VFD system.
ER Collets
Many CNC spindles use ER collets to hold cutting tools. The multiple-slit geometry allows for the collet to collapse into itself as you tighten the nut, adapting to slight variations in size to achieve precise tool holding. Both our AutoSpin T1 Router and Sienci Labs spindle kits use ER collets.
Installation
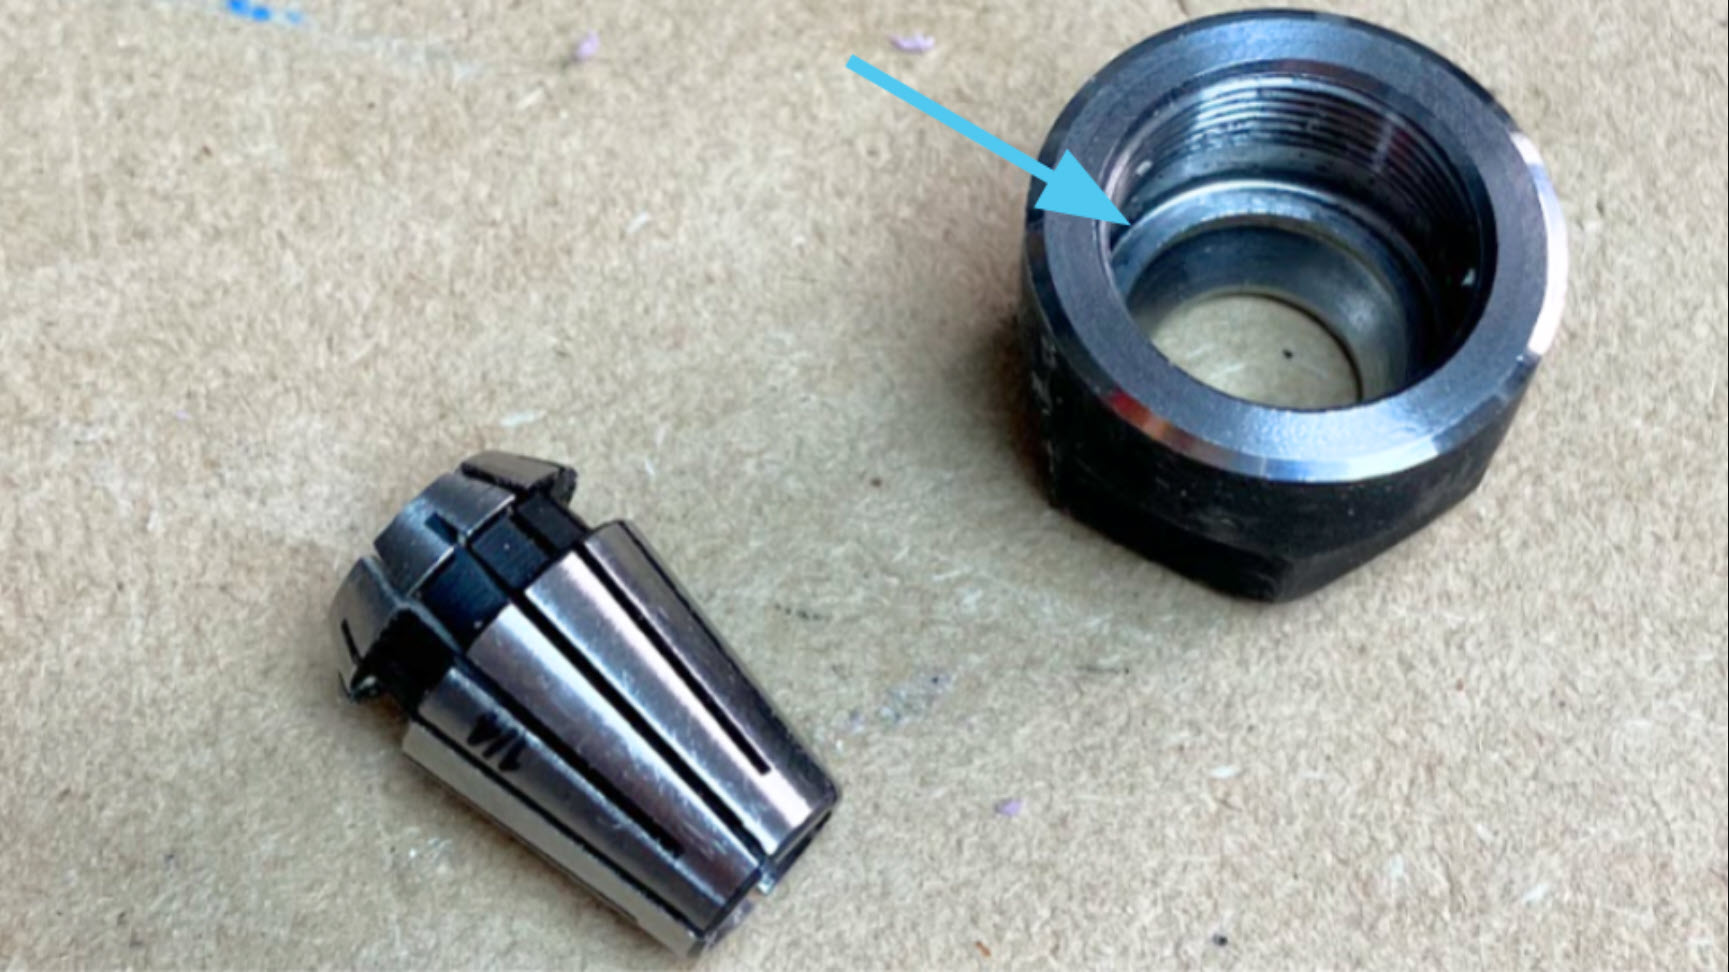
An ER collet is assembled differently from a regular collet. By design, the collet is captured in the nut by an eccentric groove. If the collet is not captured by the nut, it can cause cutting performance and noise issues. It could also get stuck in the spindle shaft.
To assemble:
-
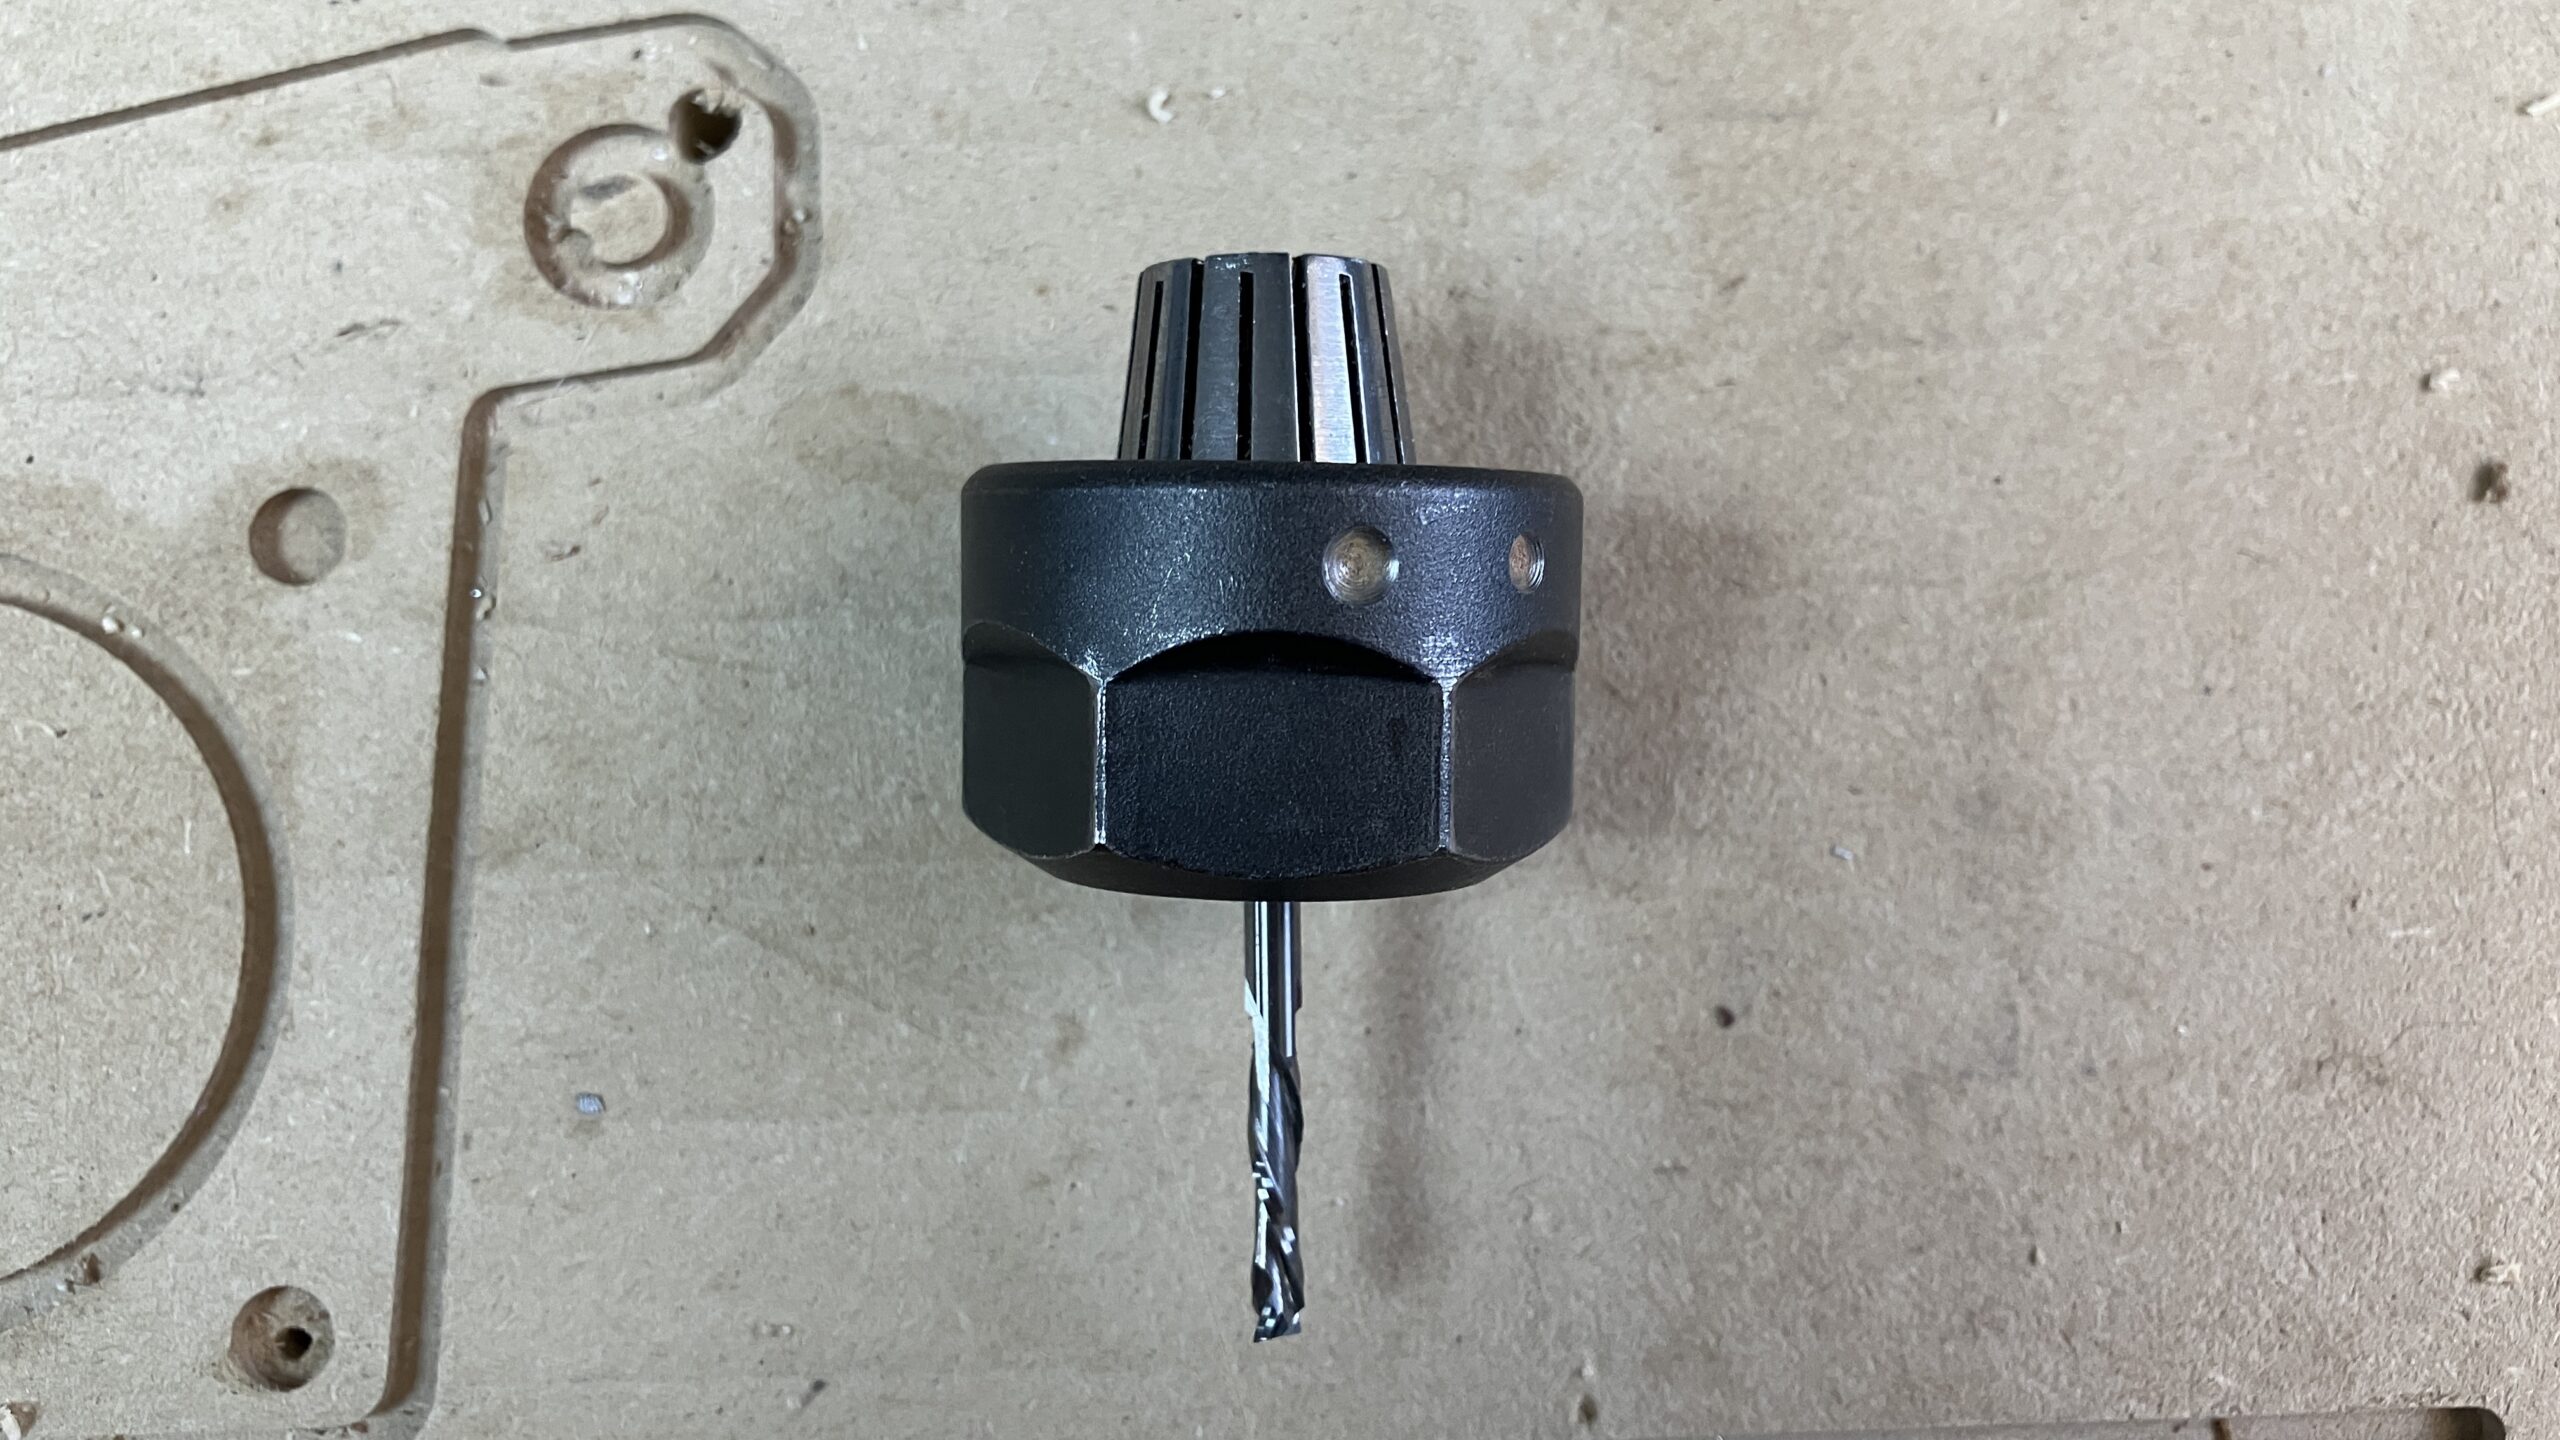
Press the collet into the nut until it clicks, then check that the face of the collet sits flat on the nut.

-
Insert a cutting tool into the assembled ER collet
-
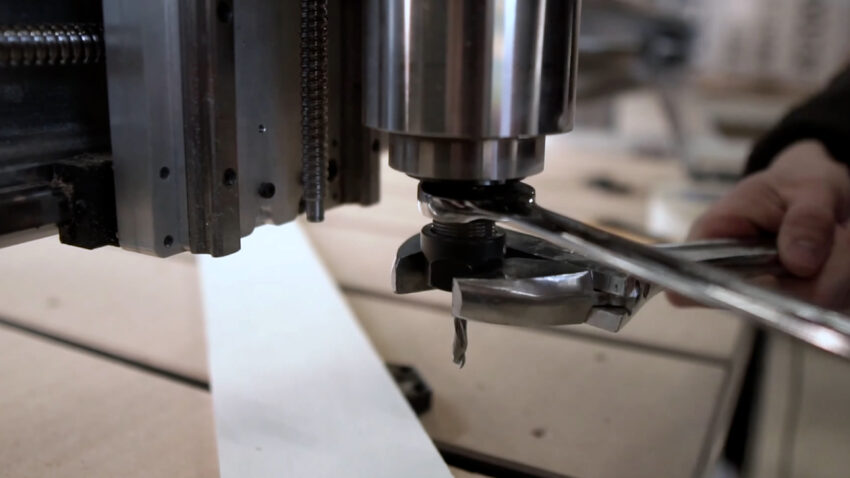
Hand tighten the assembled tool and collet onto the spindle.
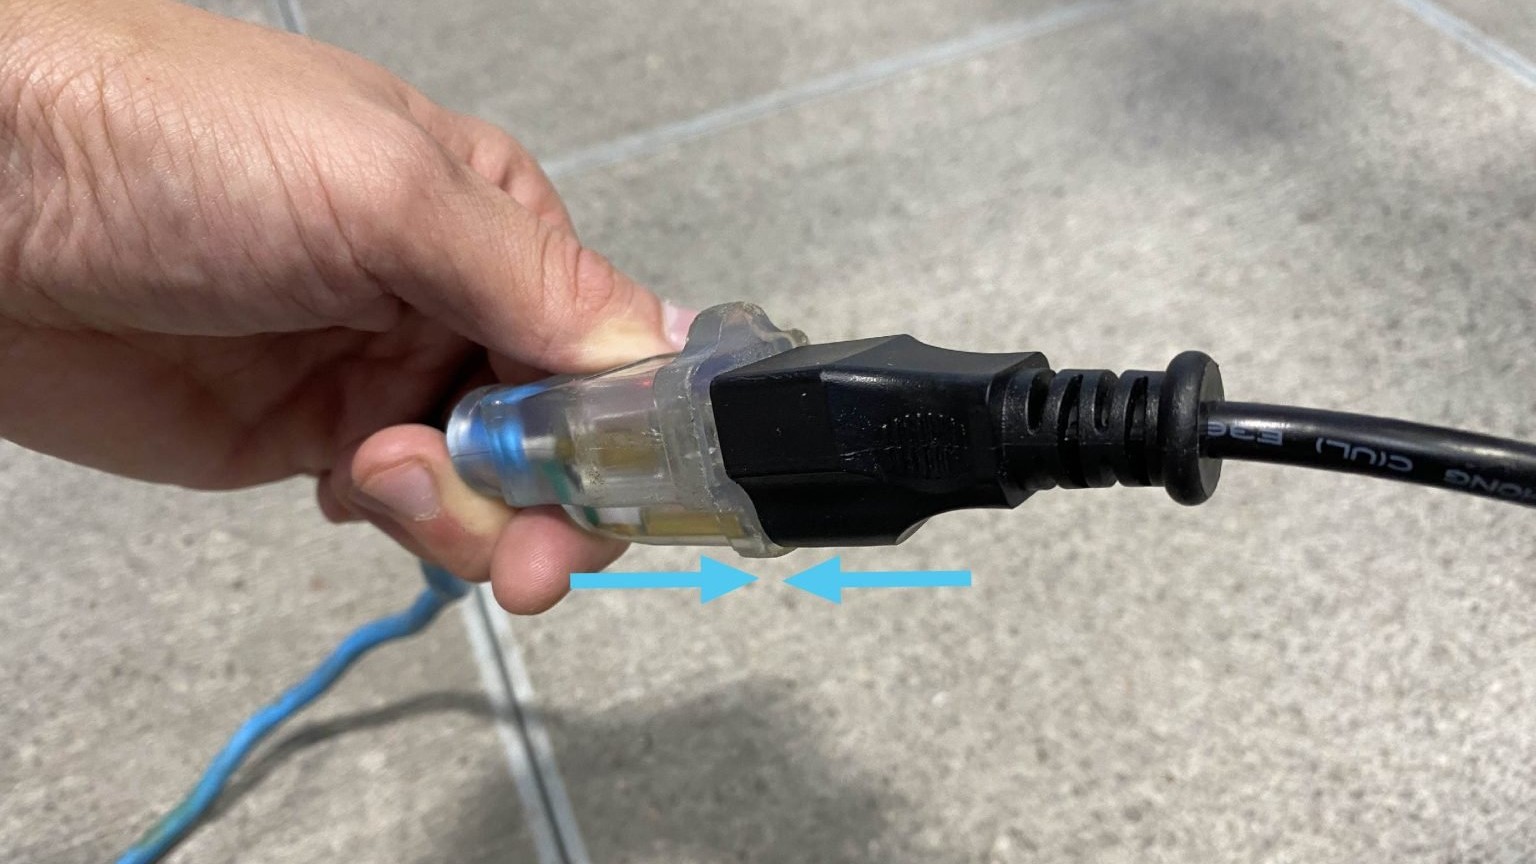
-
Use the provided wrenches to fully tighten the tool and collet, by bringing the wrenches together.
Removal
To switch out the collet, use the other collet to push out the installed collet from the nut.

Start Up
Your VFD needs to “handshake” with the SLB/SLB-EXT controller, to begin communication between the two systems. Therefore the VFD and controller need to be turned ON in the correct order — even if they’re both ON at the same time, it doesn’t mean they will go through the handshake.
Assuming the SLB/EXT controller is plugged into power but turned OFF:
-
Plug the VFD into power.
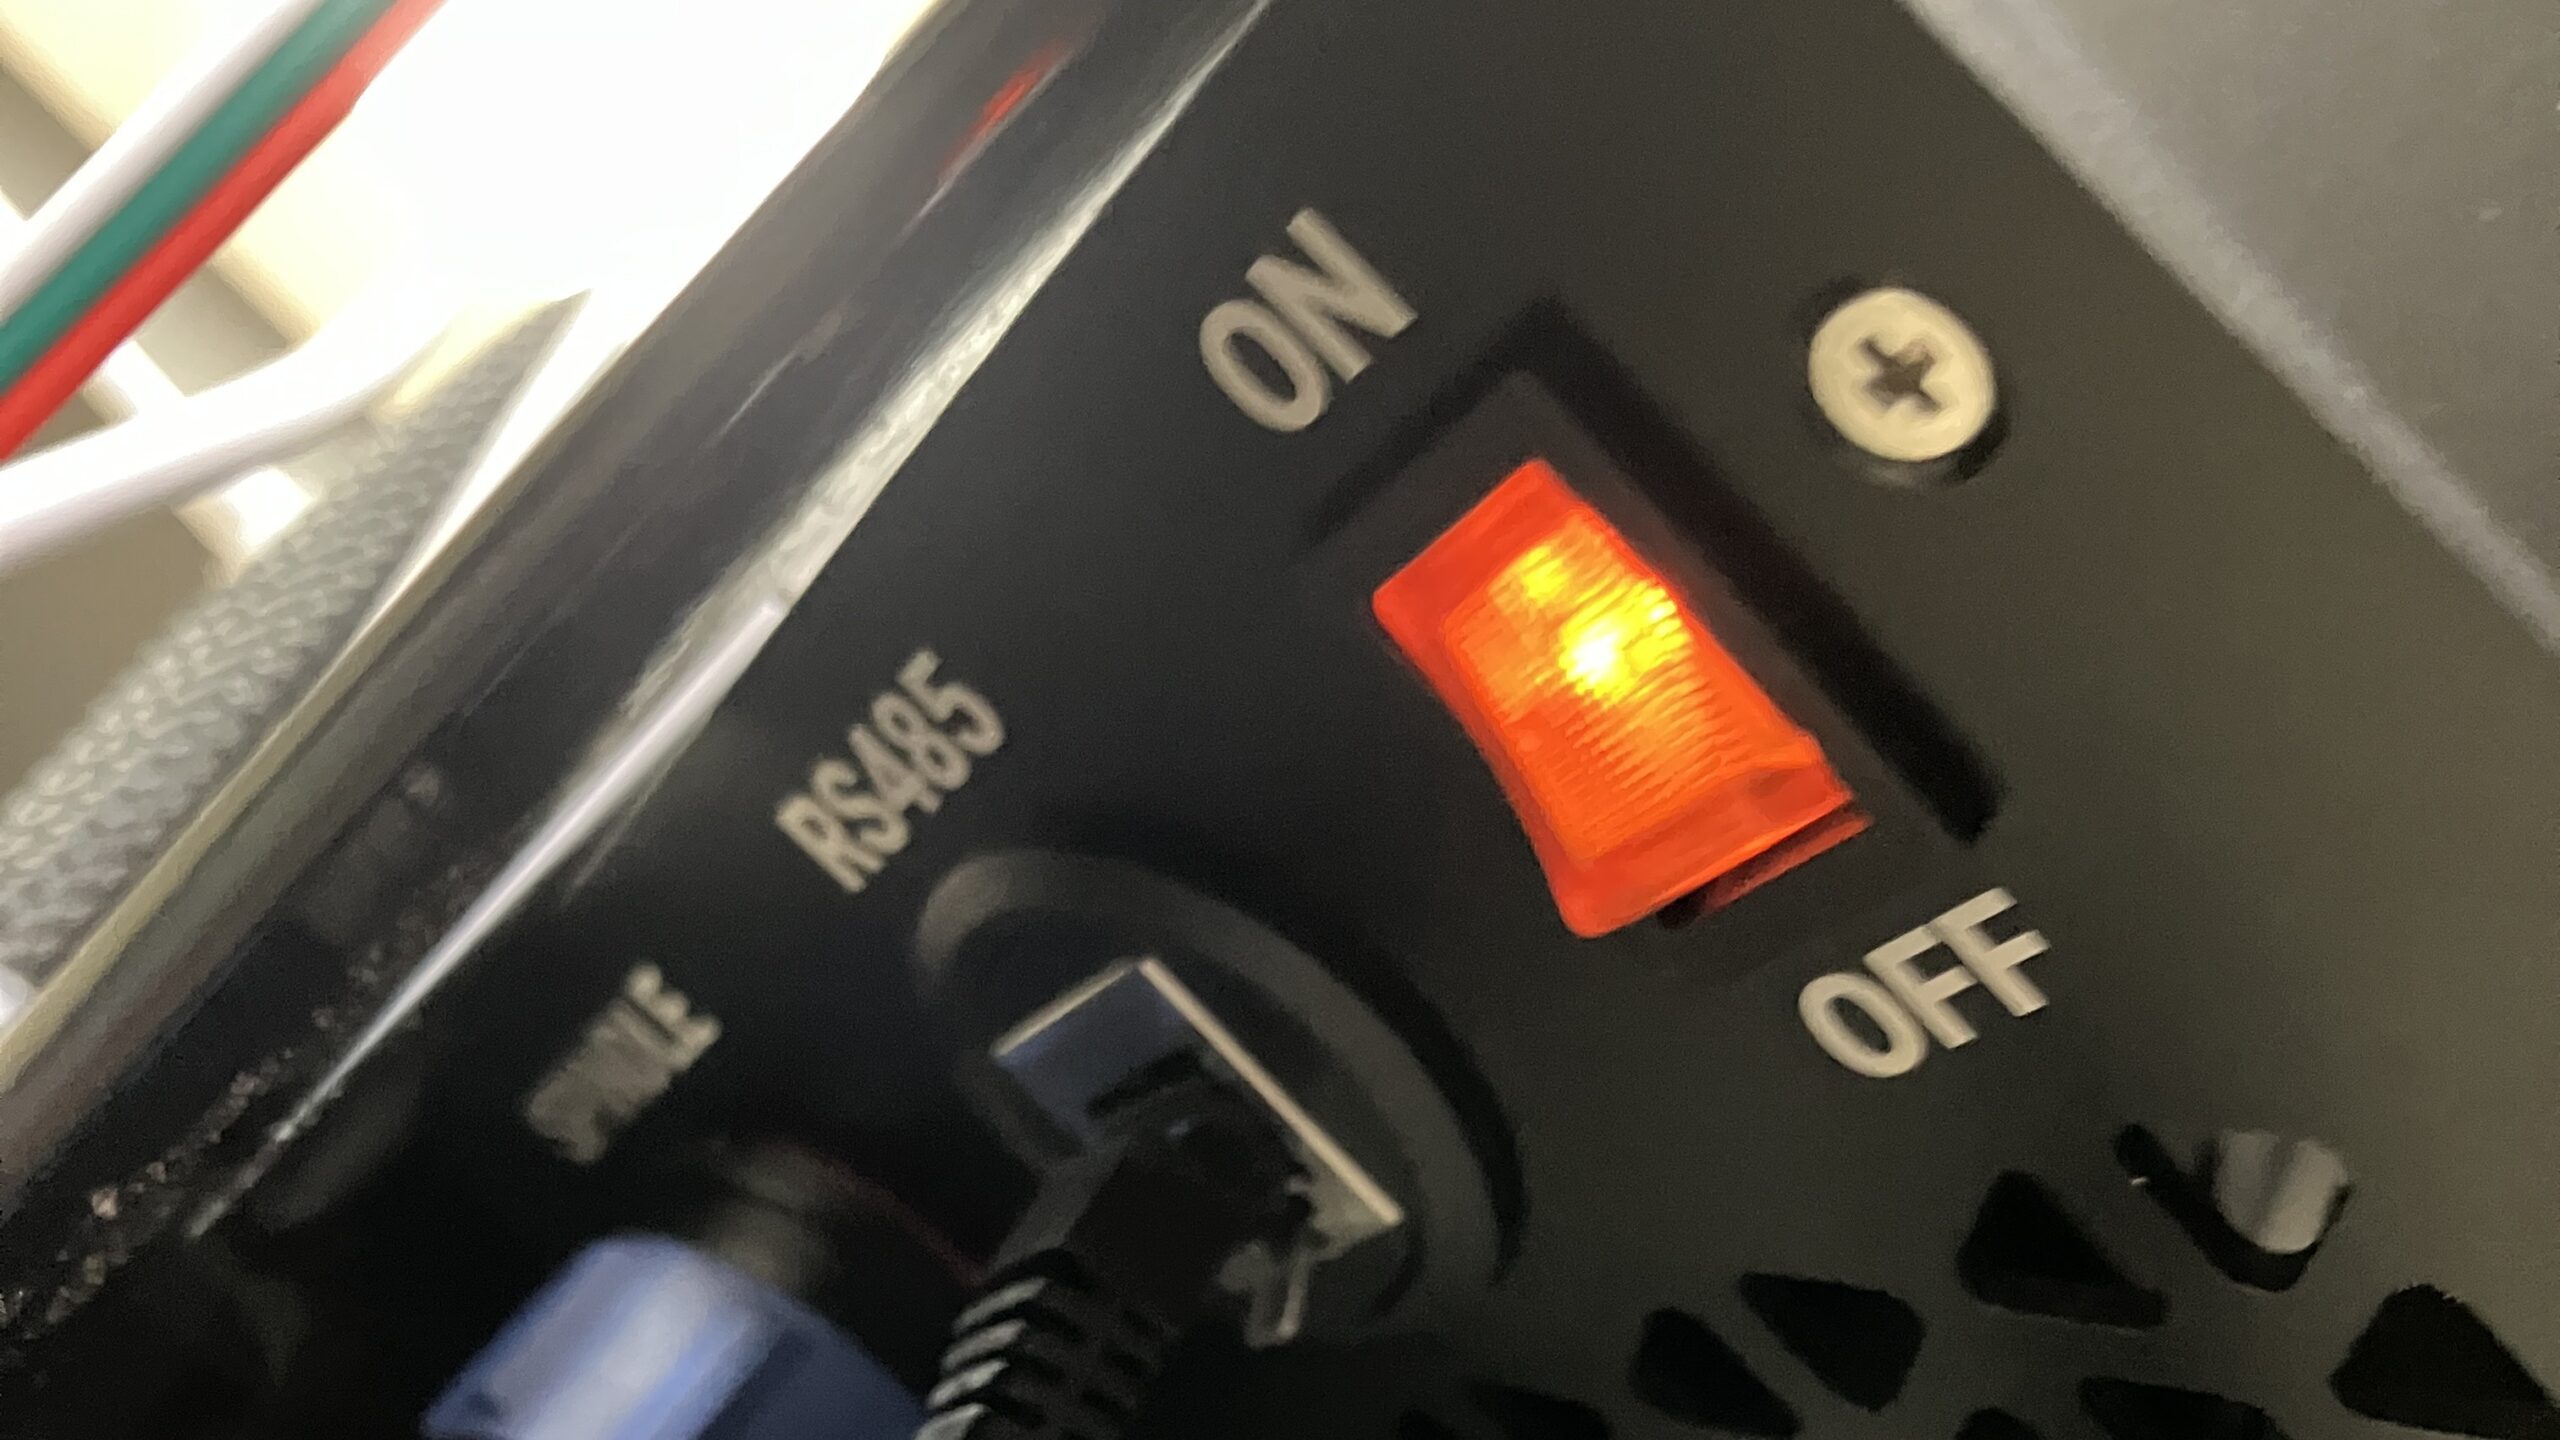
-
Turn the VFD power switch ON, the VFD should flash with red text.
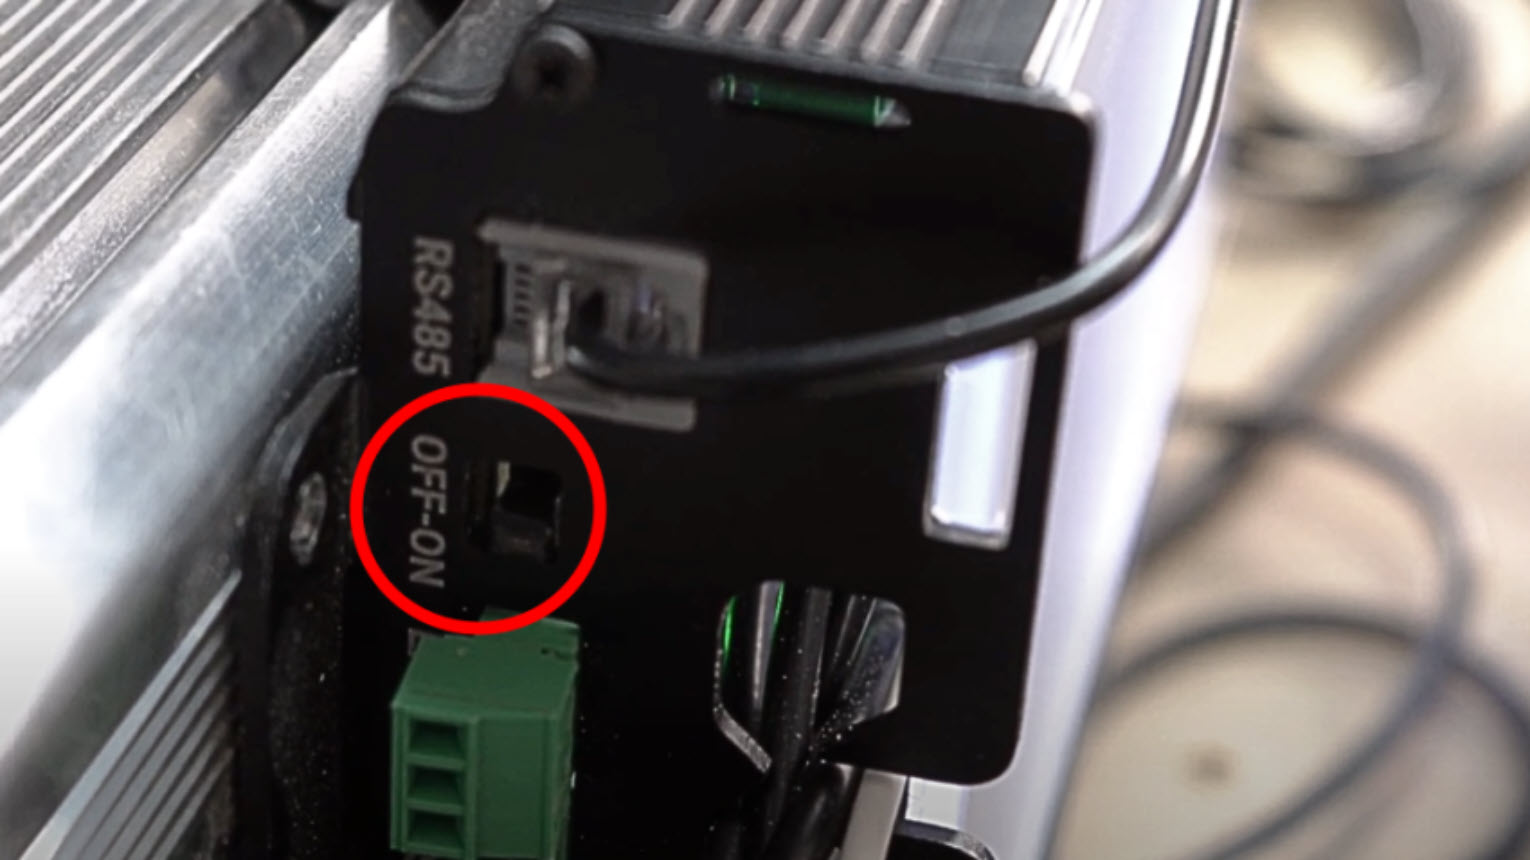
-
Then turn ON the controller using the toggle switch.
This is the correct order of events to avoid alarms and VFD communication issues.
Running a Job with a Spindle
After exporting your g-code with the correct post processor, you should check that it has M3 and M5 spindle commands, which are used to start and stop the spindle.
-
Open the g-code file using Notepad, or NC Viewer
-
At the beginning of the g-code file you should see:
M3 SXXXX – Spins up the spindle to XXXX RPM, counterclockwise
-
Scroll down to the end of the g-code, you should see:
M5 – Turns off the spindle
If you do not see these spindle commands, go back to your CAM software and check your export settings.
Automation
When you press Start, the controller will receive the g-code commands from your job, causing the machine to begin moving, and the spindle to spin up. You will also see some new buttons to control the job:
Pause – Stops the machine gradually but the spindle does not turn off.
Resume (appears only when Pause is pressed) – Continues the job, but spindle does not turn on again.
Stop – Stops the machine immediately and turns off the spindle.
Since gSender does not automatically stop the spindle when the job pauses, nor start up the spindle when the job resumes, some users may find it helpful to create Automations to safely pause and resume their job.
- On gSender, go to Config. On the left sidebar, select Automations.
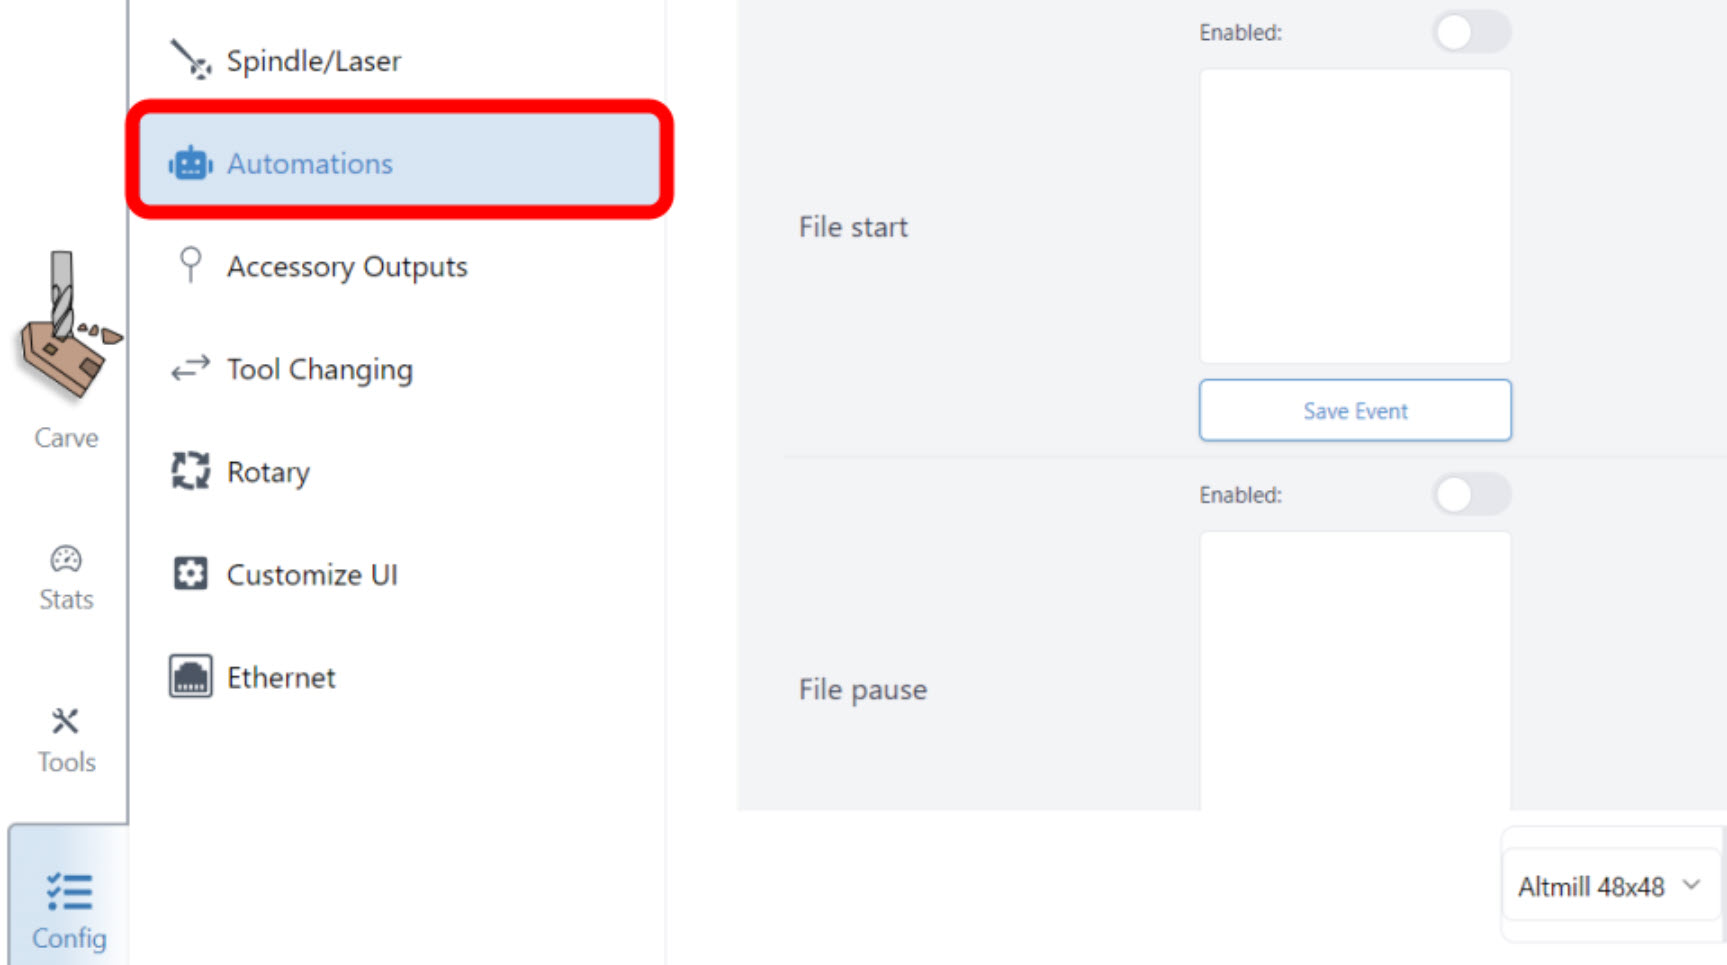
-
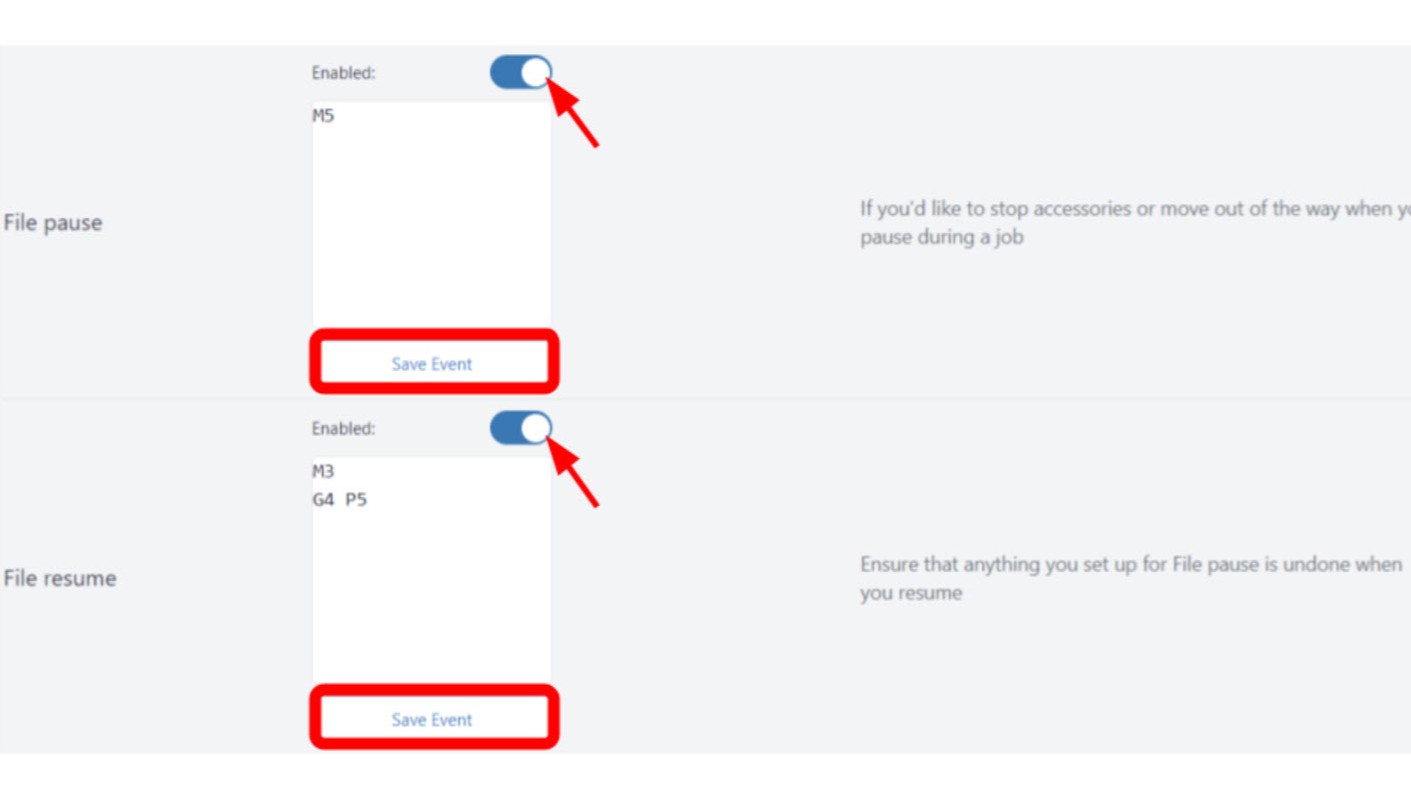
We recommend inputting the following set of commands:
File Pause
M5 – Stops the spindle when you pause the job
File Resume
M3 – Spins up the spindle to the previous programmed RPM, counterclockwise
G4 P5 – Gives 5 second dwell time for the spindle to get to speed -
To put these automations into effect, set the toggles to Enabled, and then press Save Event.
For a more in-depth explanation about Automations, please see this article on the gSender resources page.
Warm Up G-code
For regular maintenance of your spindle, we recommend running this “warm up” g-code once every few months to evenly re-distribute the grease in the bearings.
-
Download this file:
-
To run the file, connect to gSender and press Load File at the bottom left corner. Select the file and you should see a Start button appear, go ahead and click that.
The machine itself will not move, but the spindle will spin up and slow down for about 10 minutes.
Troubleshooting
If you run into any issues, we suggest checking out our Spindle Troubleshooting articles for potential solutions.
Otherwise, we hope this guide has left you feeling more prepared. Now go ahead and get CNCing!