What to Expect in the Main Box
Your gControl Panel Computer will arrive in two boxes:
Box 1 contains the computer itself.
Box 2 includes the mounting hardware and accessories.
Here’s what you should receive:
Computer Box:
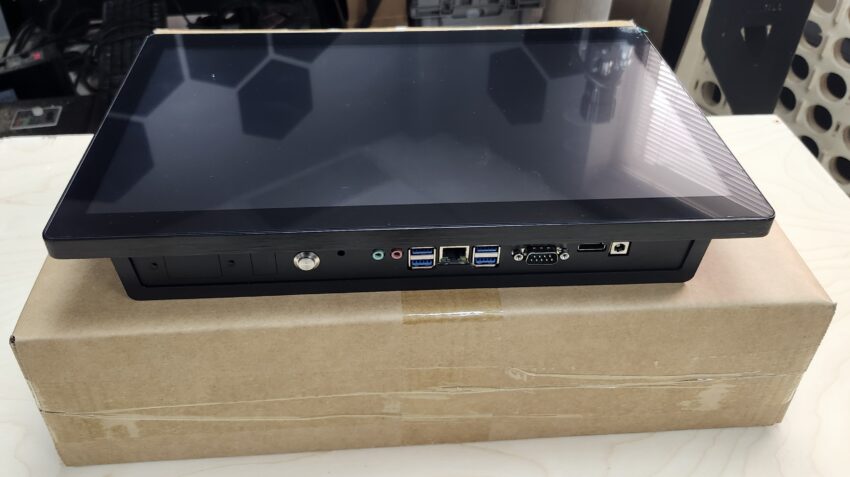

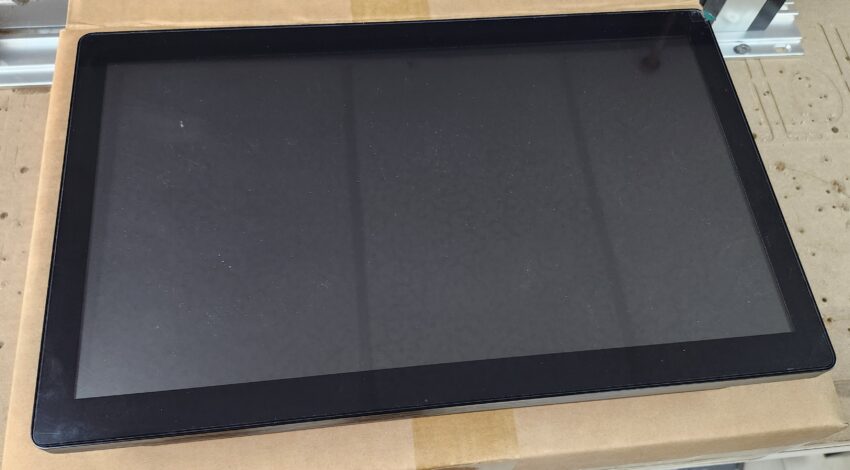
- gControl Panel Computer.
Mounting Parts Box:
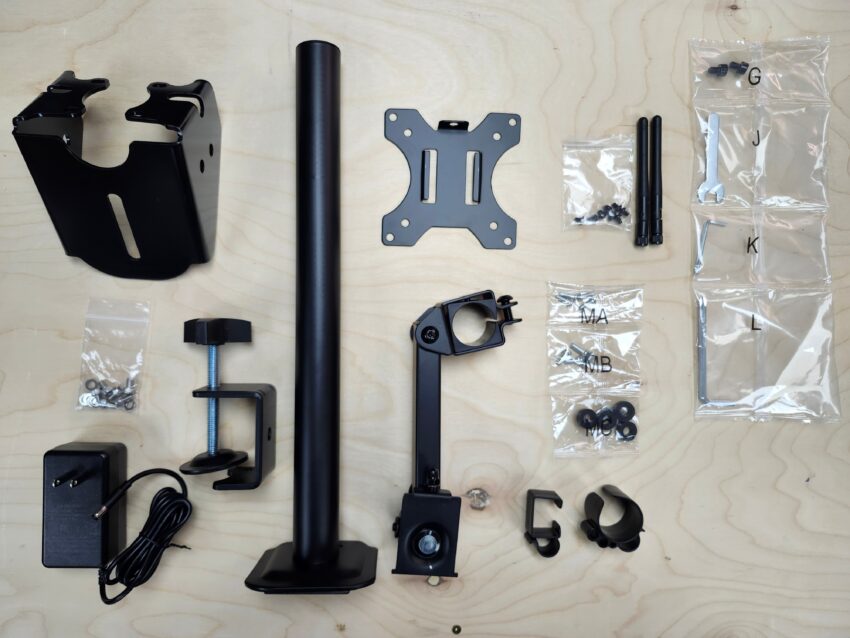
- G-shaped Panel Mounting Clamp. (Some reference for assembly to the machine with the Mounting Bracket here)
- VESA Plate.
- Pillar Stand.
- (2)Plastic Clips.
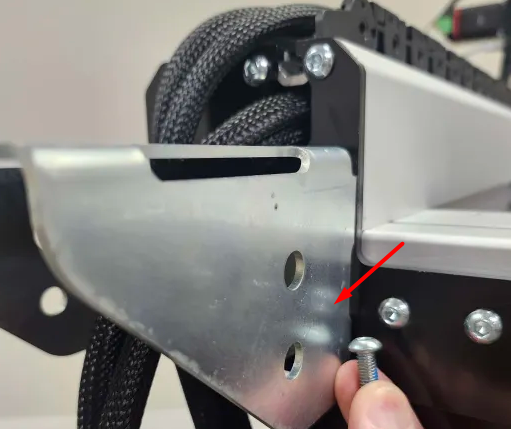
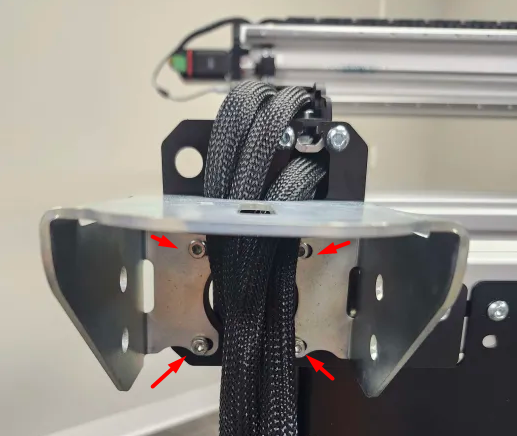
- Arm Mount Bracket. (We’re changing the mounting parts, so in case you receive the plastic clamps instead of the metal bracket, please check here)
- Hardware bag (MA, MB, MC) ⚠️ You won’t use these.
- Hardware bag (G, J, K, L).
- Monitor Arm.
- (2)Wi-Fi Antennas.
- An external AC/DC power adapter.
- (6)M5x8mm + (6)M5 Flat washers (for arm mount bracket).
- A small bag containing (8)M4x5mm Pan Head Screws (for VESA plate installation on the back of the machine).
- Monitor Desk Mount Manual. PDF version here. (You can also see the tips in this document, which comes printed with the machine.)
You may not need to use all the provided items, as extra parts are included.
Although the manual refers to using M4x12mm (MA) or M5x12mm (MB) screws, those are too long and won’t fit properly. Instead, use the 8 black M4x5mm pan-head Phillips screws as recommended.

New hardware bag, mounting parts kit
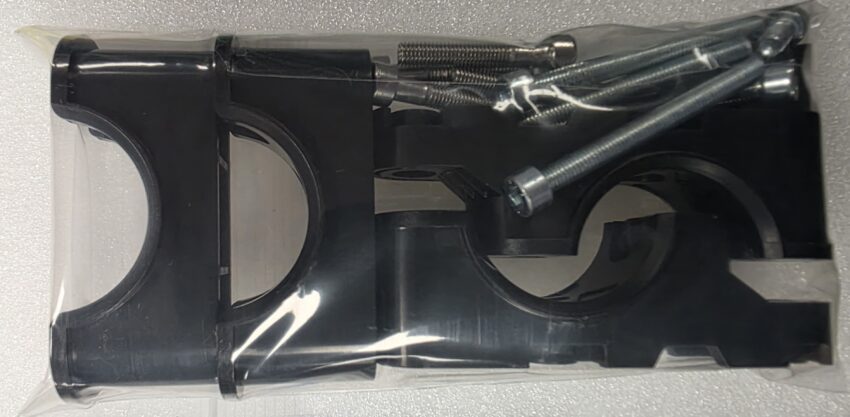
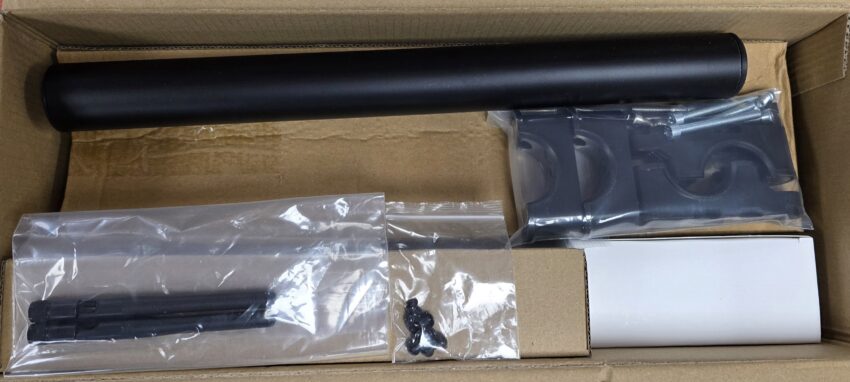
* The kit is compatible with our current machines (except LongMill MK2.5 or older), so if you have a different model/size and got the hardware bag below, you can follow the same instructions.
If you received your gControl with a hardware bag containing the plastic clamps, spacers, and a set of M5-10mm, M5-30mm and M5-50mm screws, the mounting setup is slightly different, since you will no longer use the metal mounting bracket.
- The metal mounting bracket is not included and is no longer used
- Plastic mounting clamps are included instead
Follow the same installation steps shown on this page, using the plastic mounting clamps instead of the metal bracket.
You can also refer to the printed instruction sheet included with your kit here: gControl Plastic Mount Paper Instructions
Notes:
- The screen comes with a protective film that you can remove for better touchscreen response. Check the System Specifications for more details.
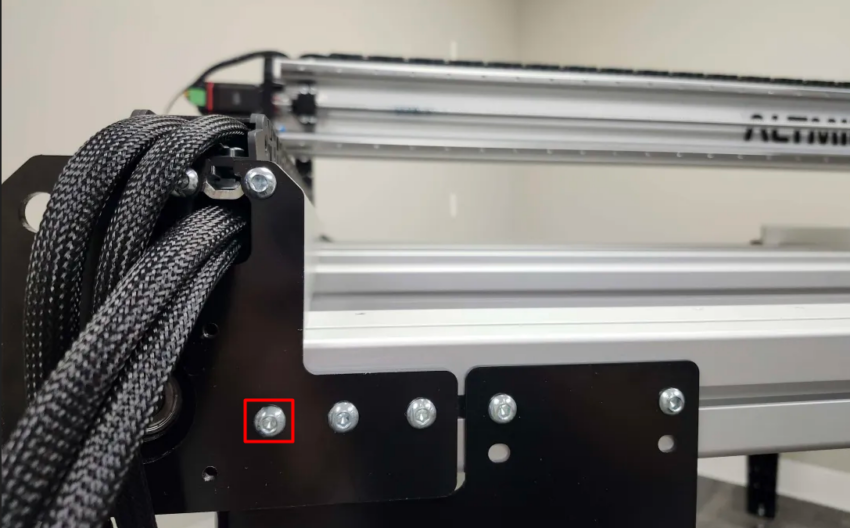
- For the AltMill MK2, remove the one screw on the Y-end plate to install the mounting bracket (silver one only).