

Quick Start Guide
Hello! If you made it here it means that you either upgraded from a 1st generation controller (SLB/SLB-EXT), or this is your first time with one of our controllers.
This guide will take you through the basics of setting up your controller, and what to expect. It should take about 1 hour. For more detailed information about your controller, head to the Technical Manual on the next page.
Mounting
Regardless of what controller or machine you have, you can use the four (4) slots on the enclosure to attach it onto a surface.
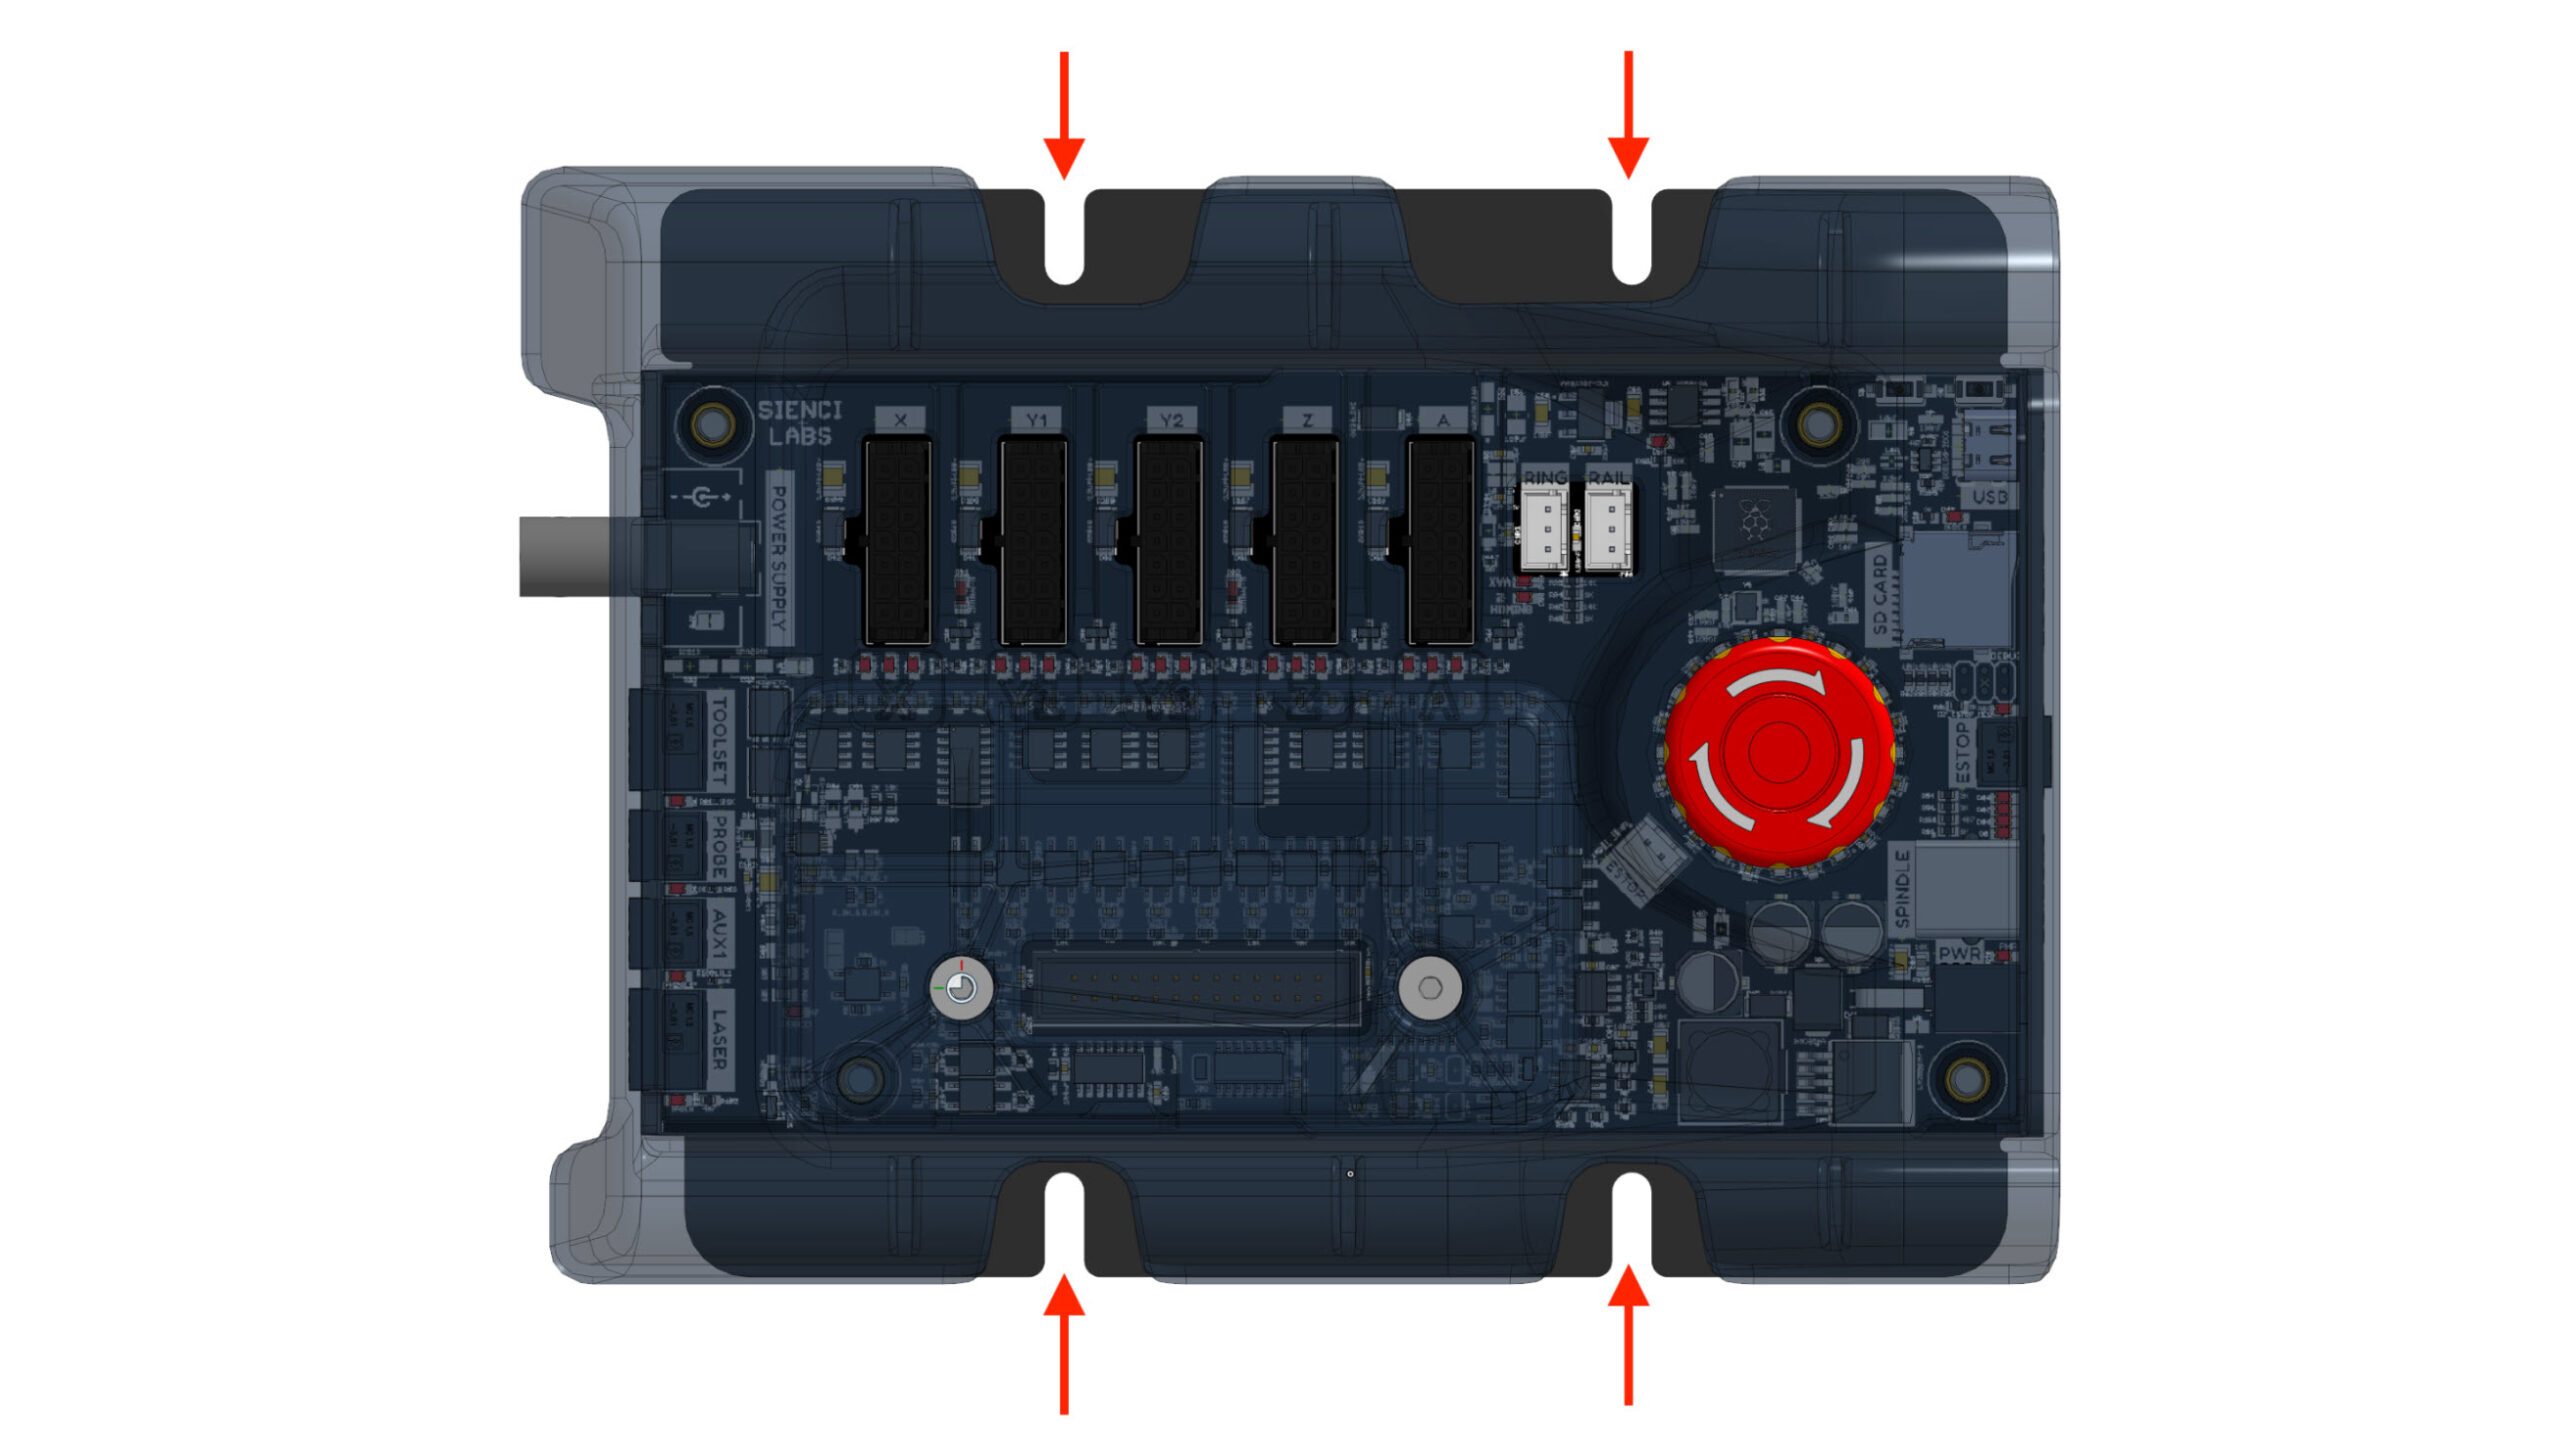
LongMill and Other CNCs
Mount the controller onto a surface – we mount it on the MDF wasteboard using wood screws.

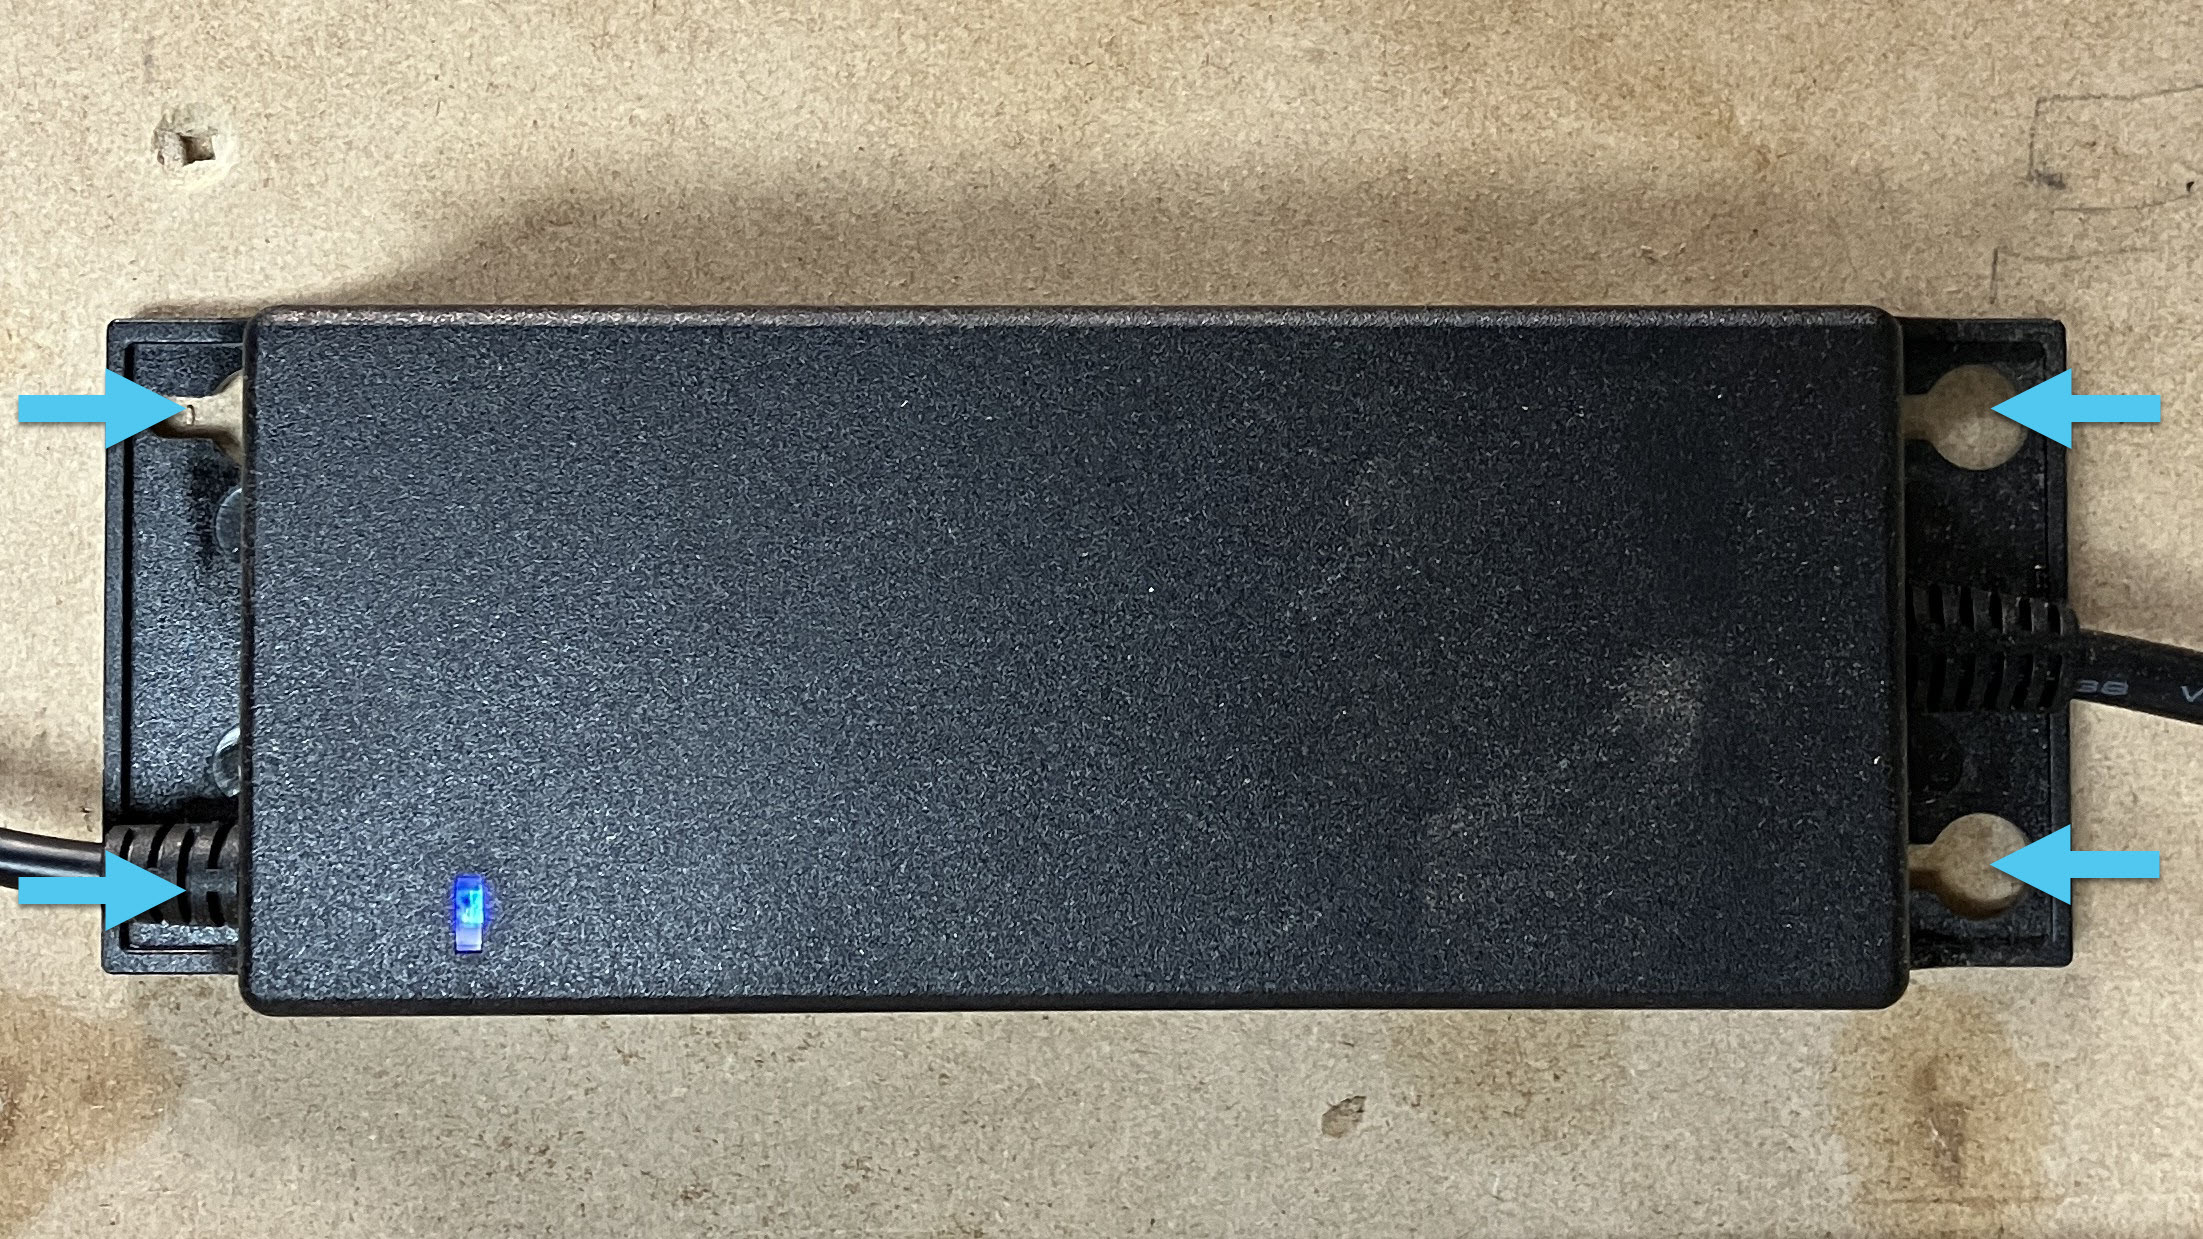
As for the power supply, you can either leave it on the floor or attach it to another surface, there are four (4) mounting holes available.
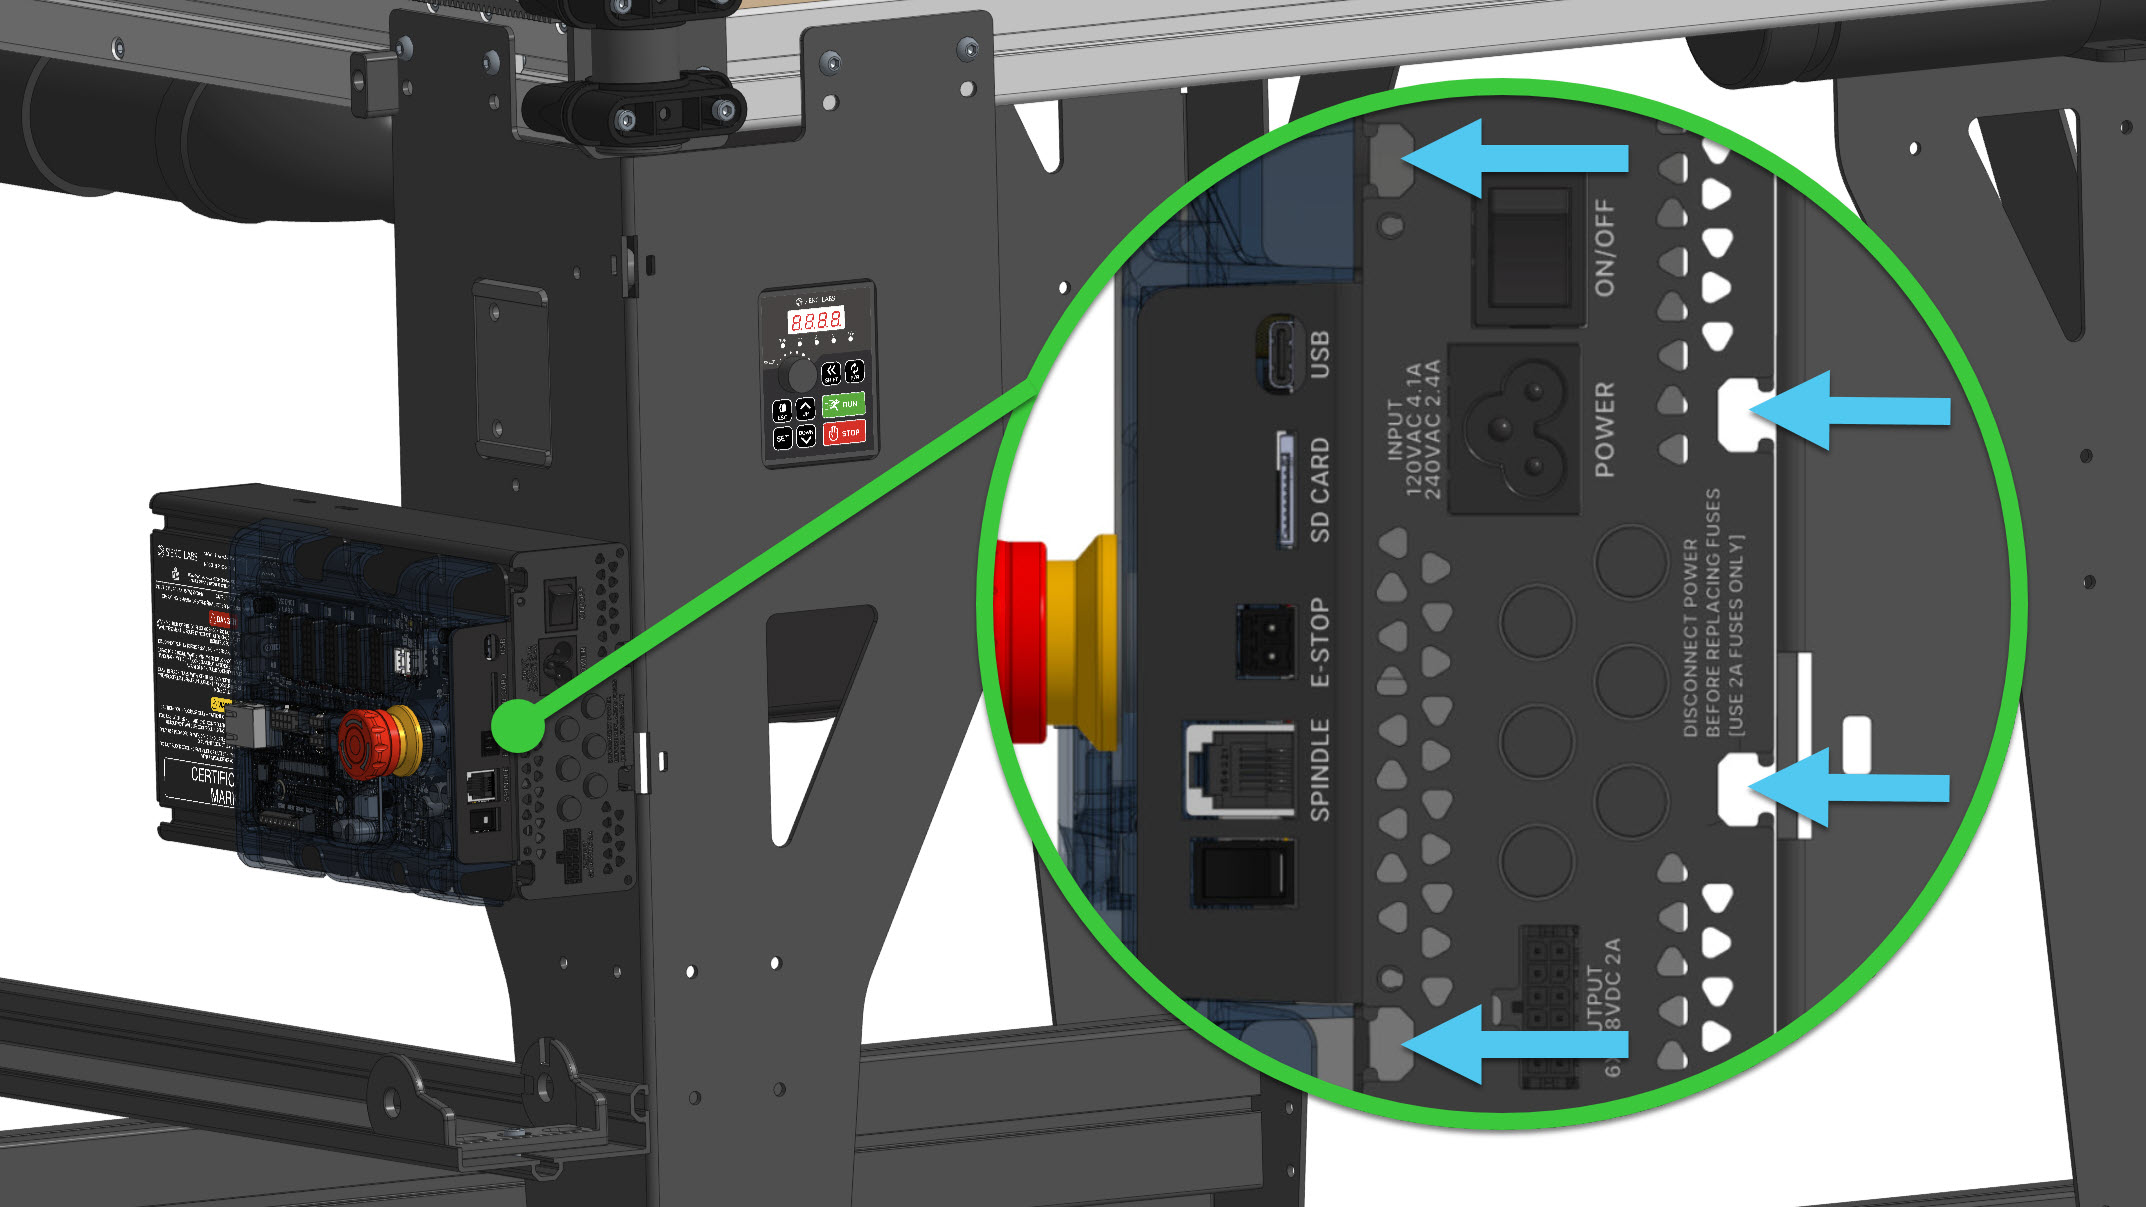
AltMill
Mount the controller to the power supply case with M5 screws and T-nuts. The power supply case will mount onto the table leg with M5 screws and T-nuts as well.
Wiring
Plug in the motor/limit switch cables, making sure that:
- The labelled axes on the cables match those on the board
- They sit flush with the mating connector on the board
- The tab faces the correct direction, matching the cutout on the enclosure
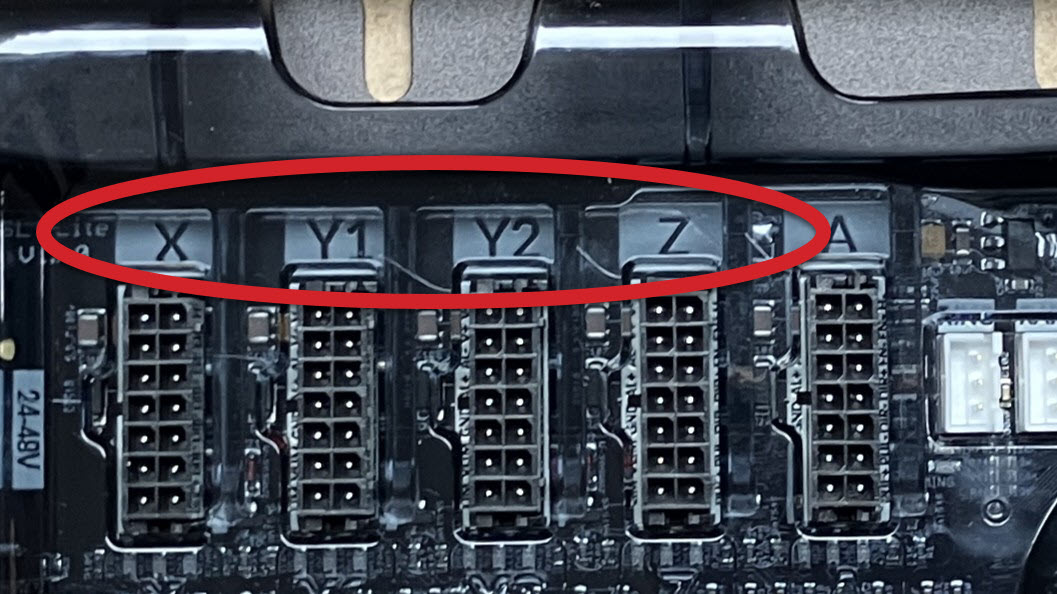
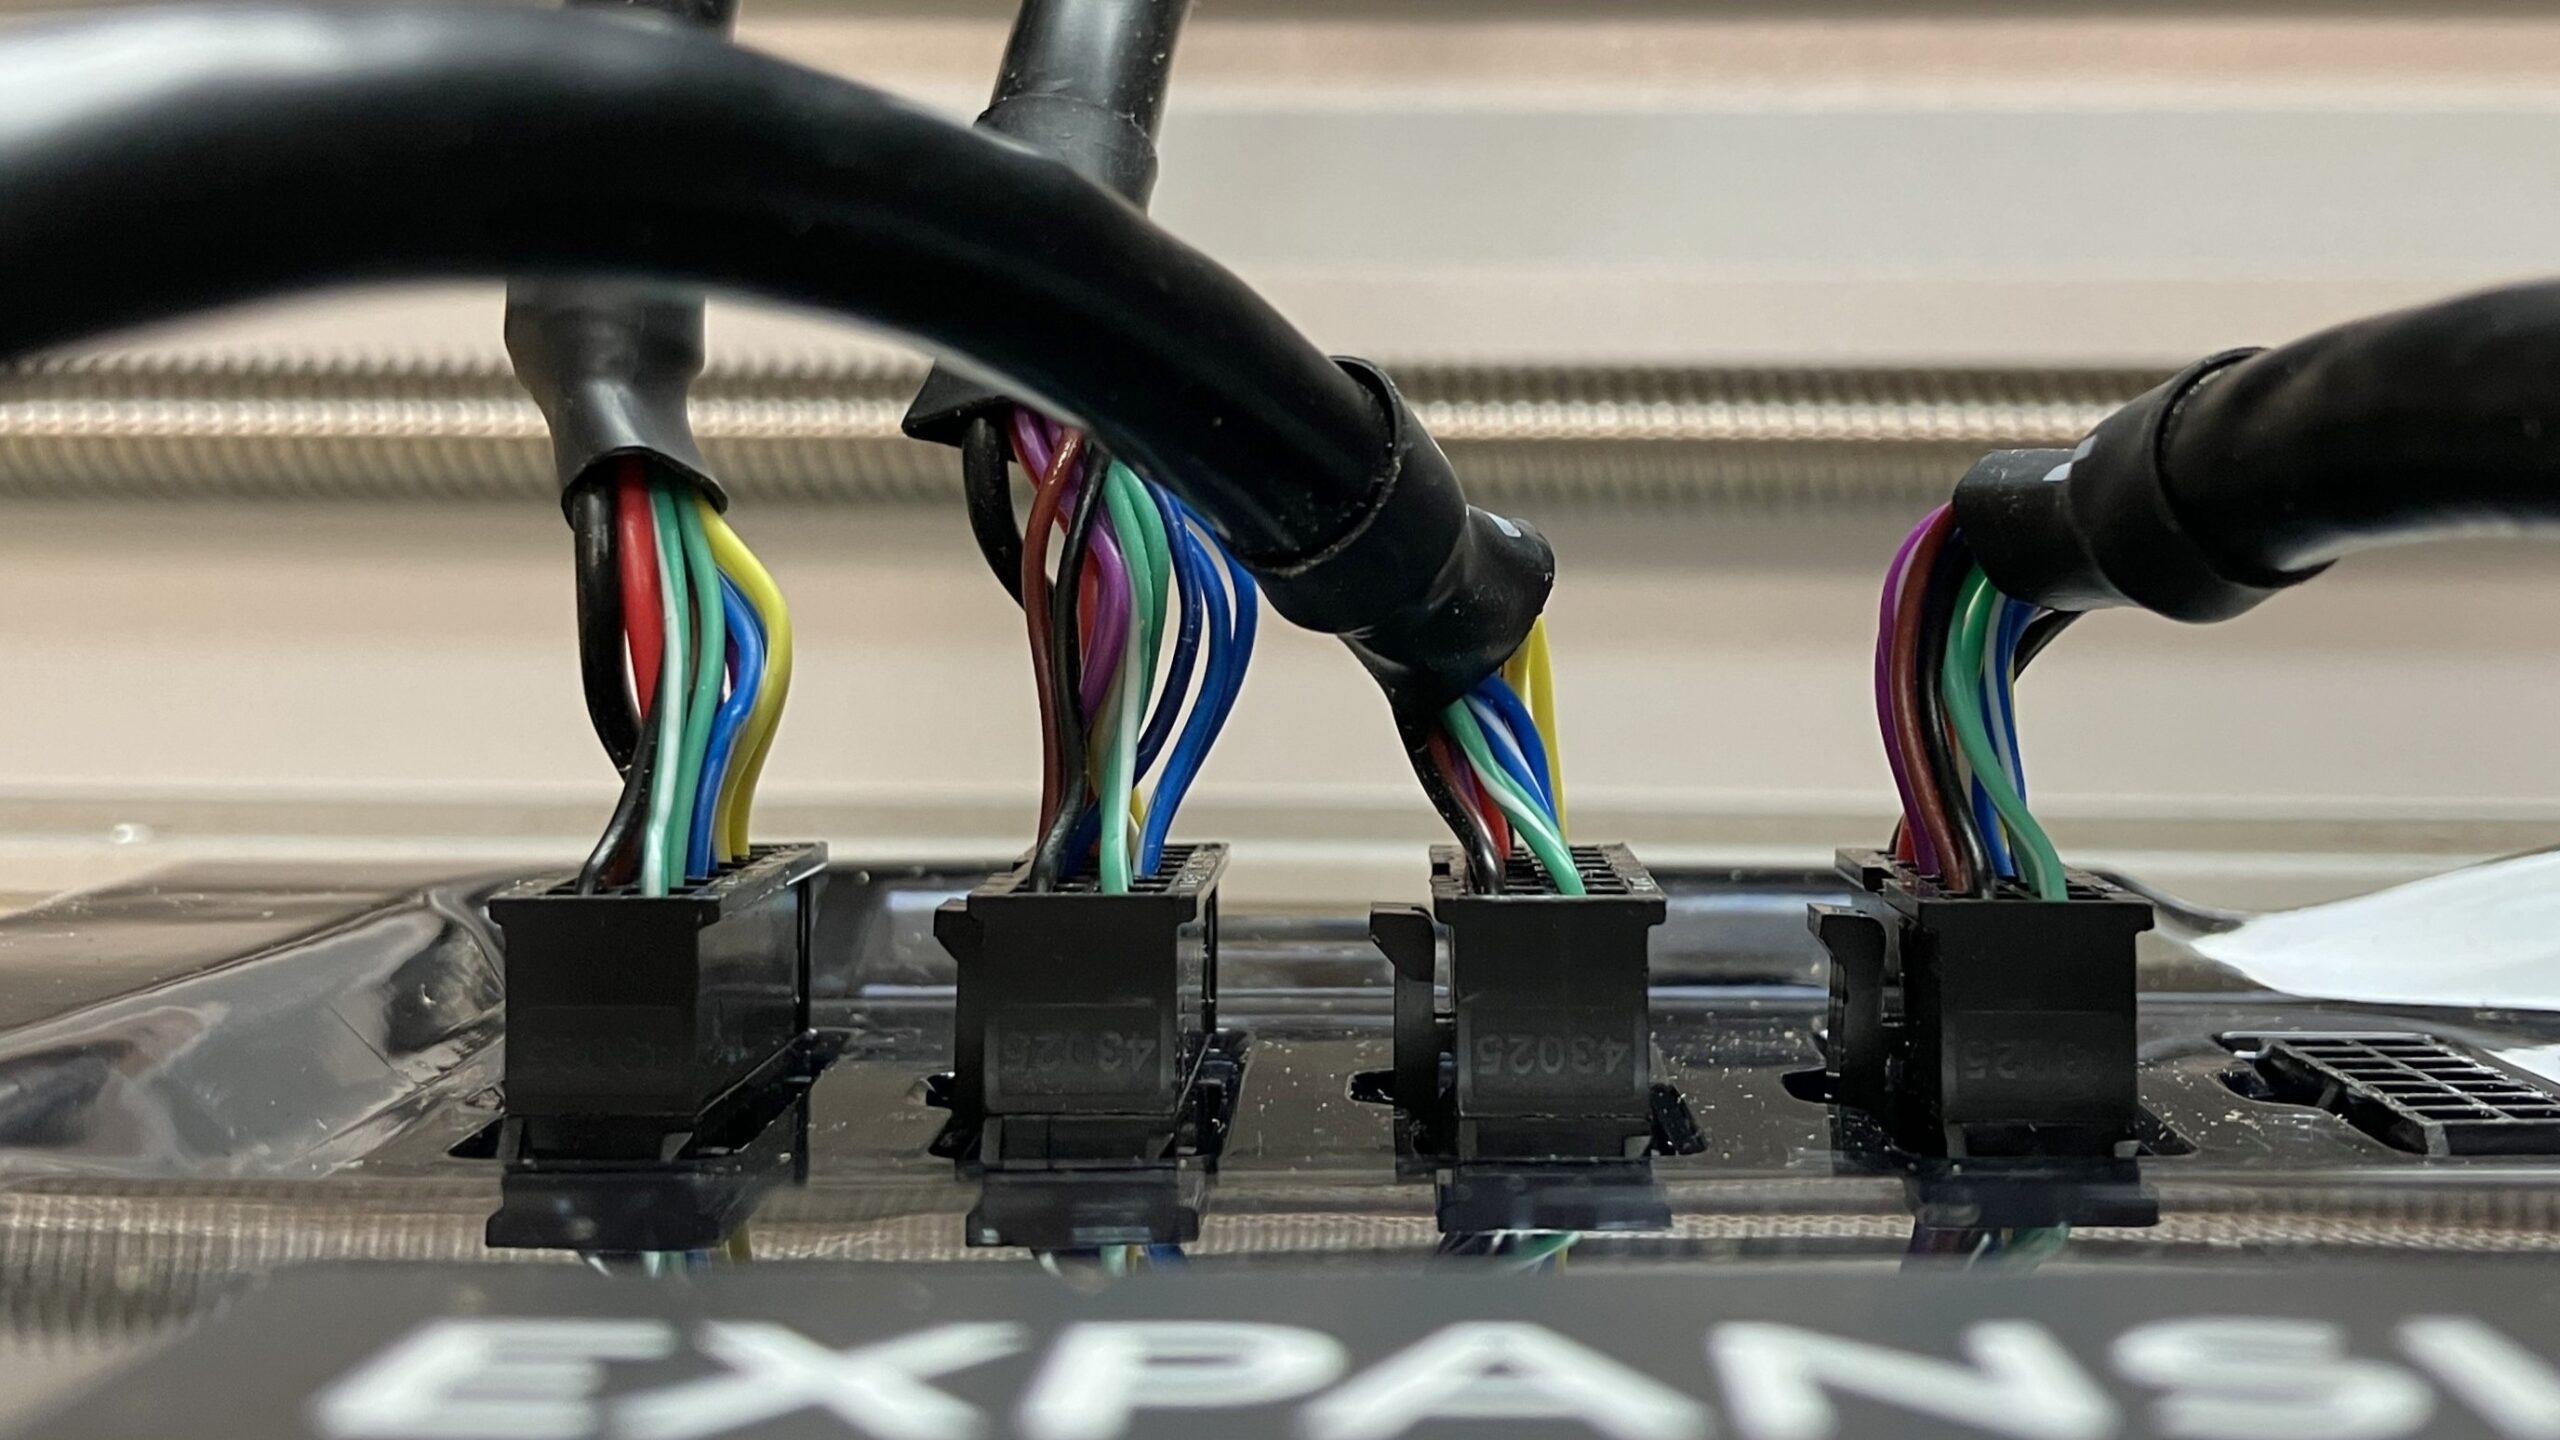
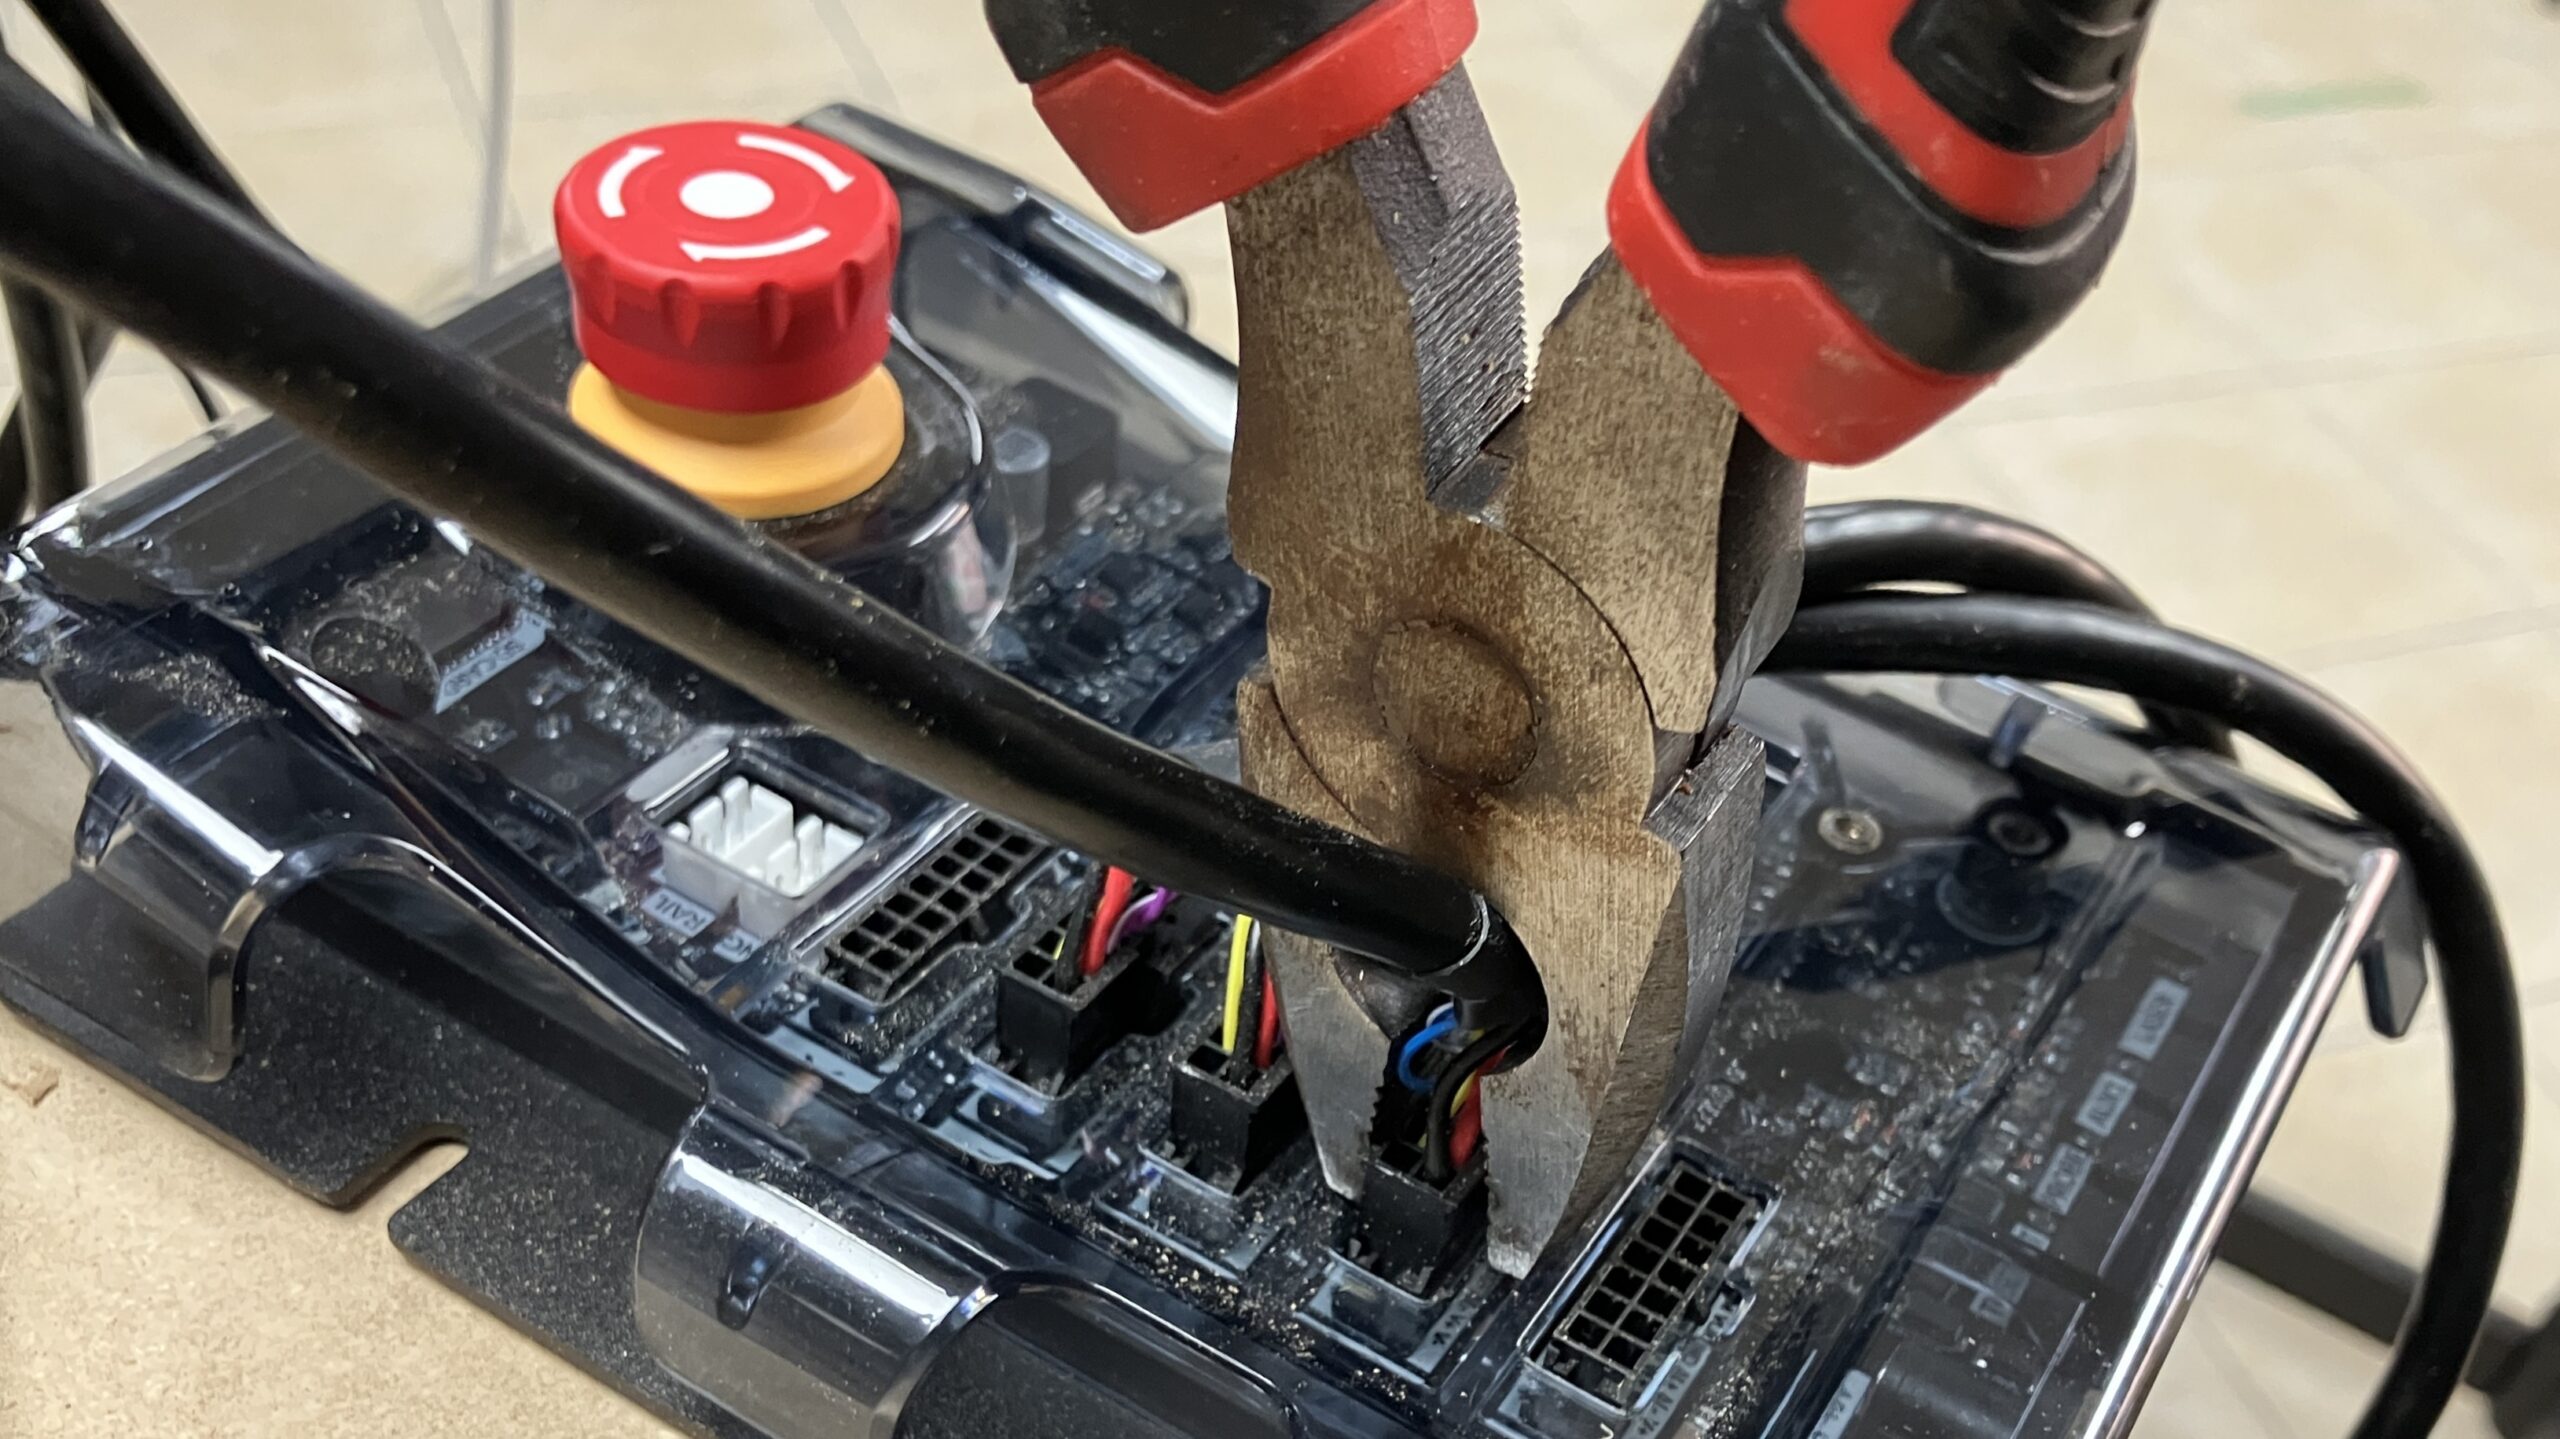
If you make a mistake plugging them into the wrong port, you can use pliers to remove them, but be careful not to cut or damage the wires. Furthermore make sure you pull the connectors straight out, some force is required but do not excessively yank it.
Plug in the USB cable to the USB port on the controller, as well as your computer.
If you have the AutoSpin router, connect the pigtail signal cable to the adapter, so it has the telephone jack (RJ12) connector.
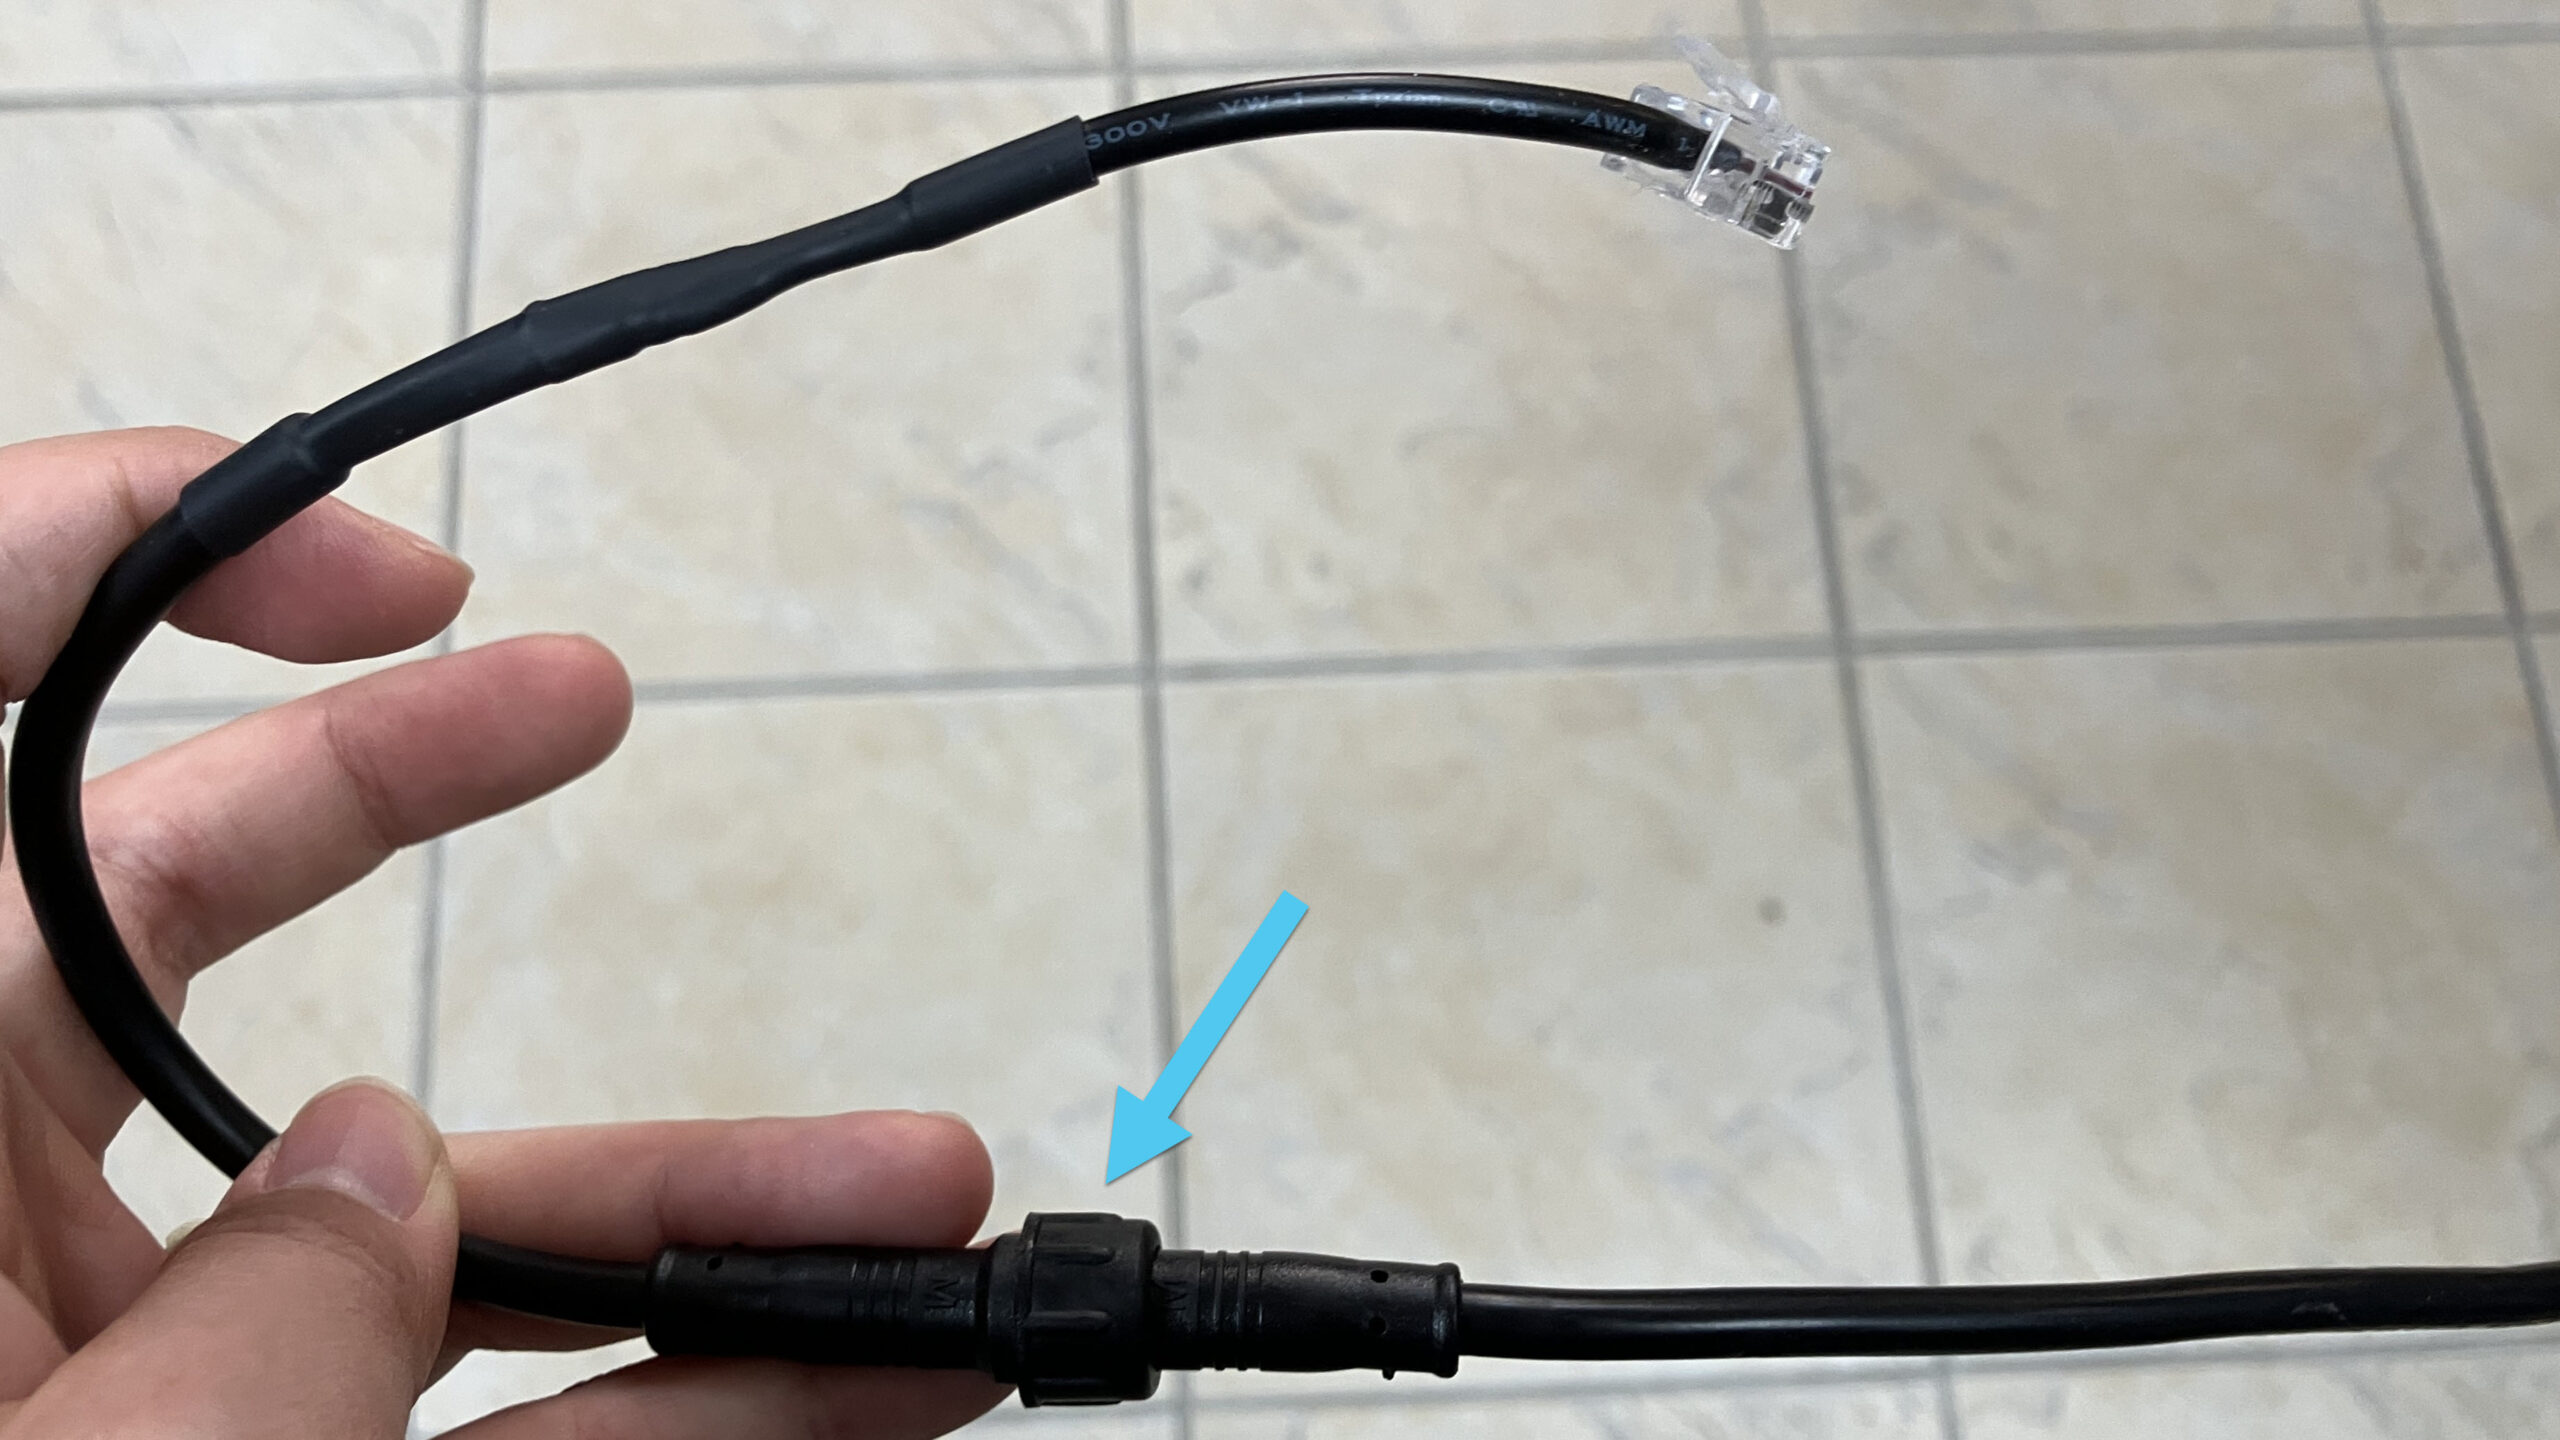
Then plug either your AutoSpin or spindle into the SPINDLE port.
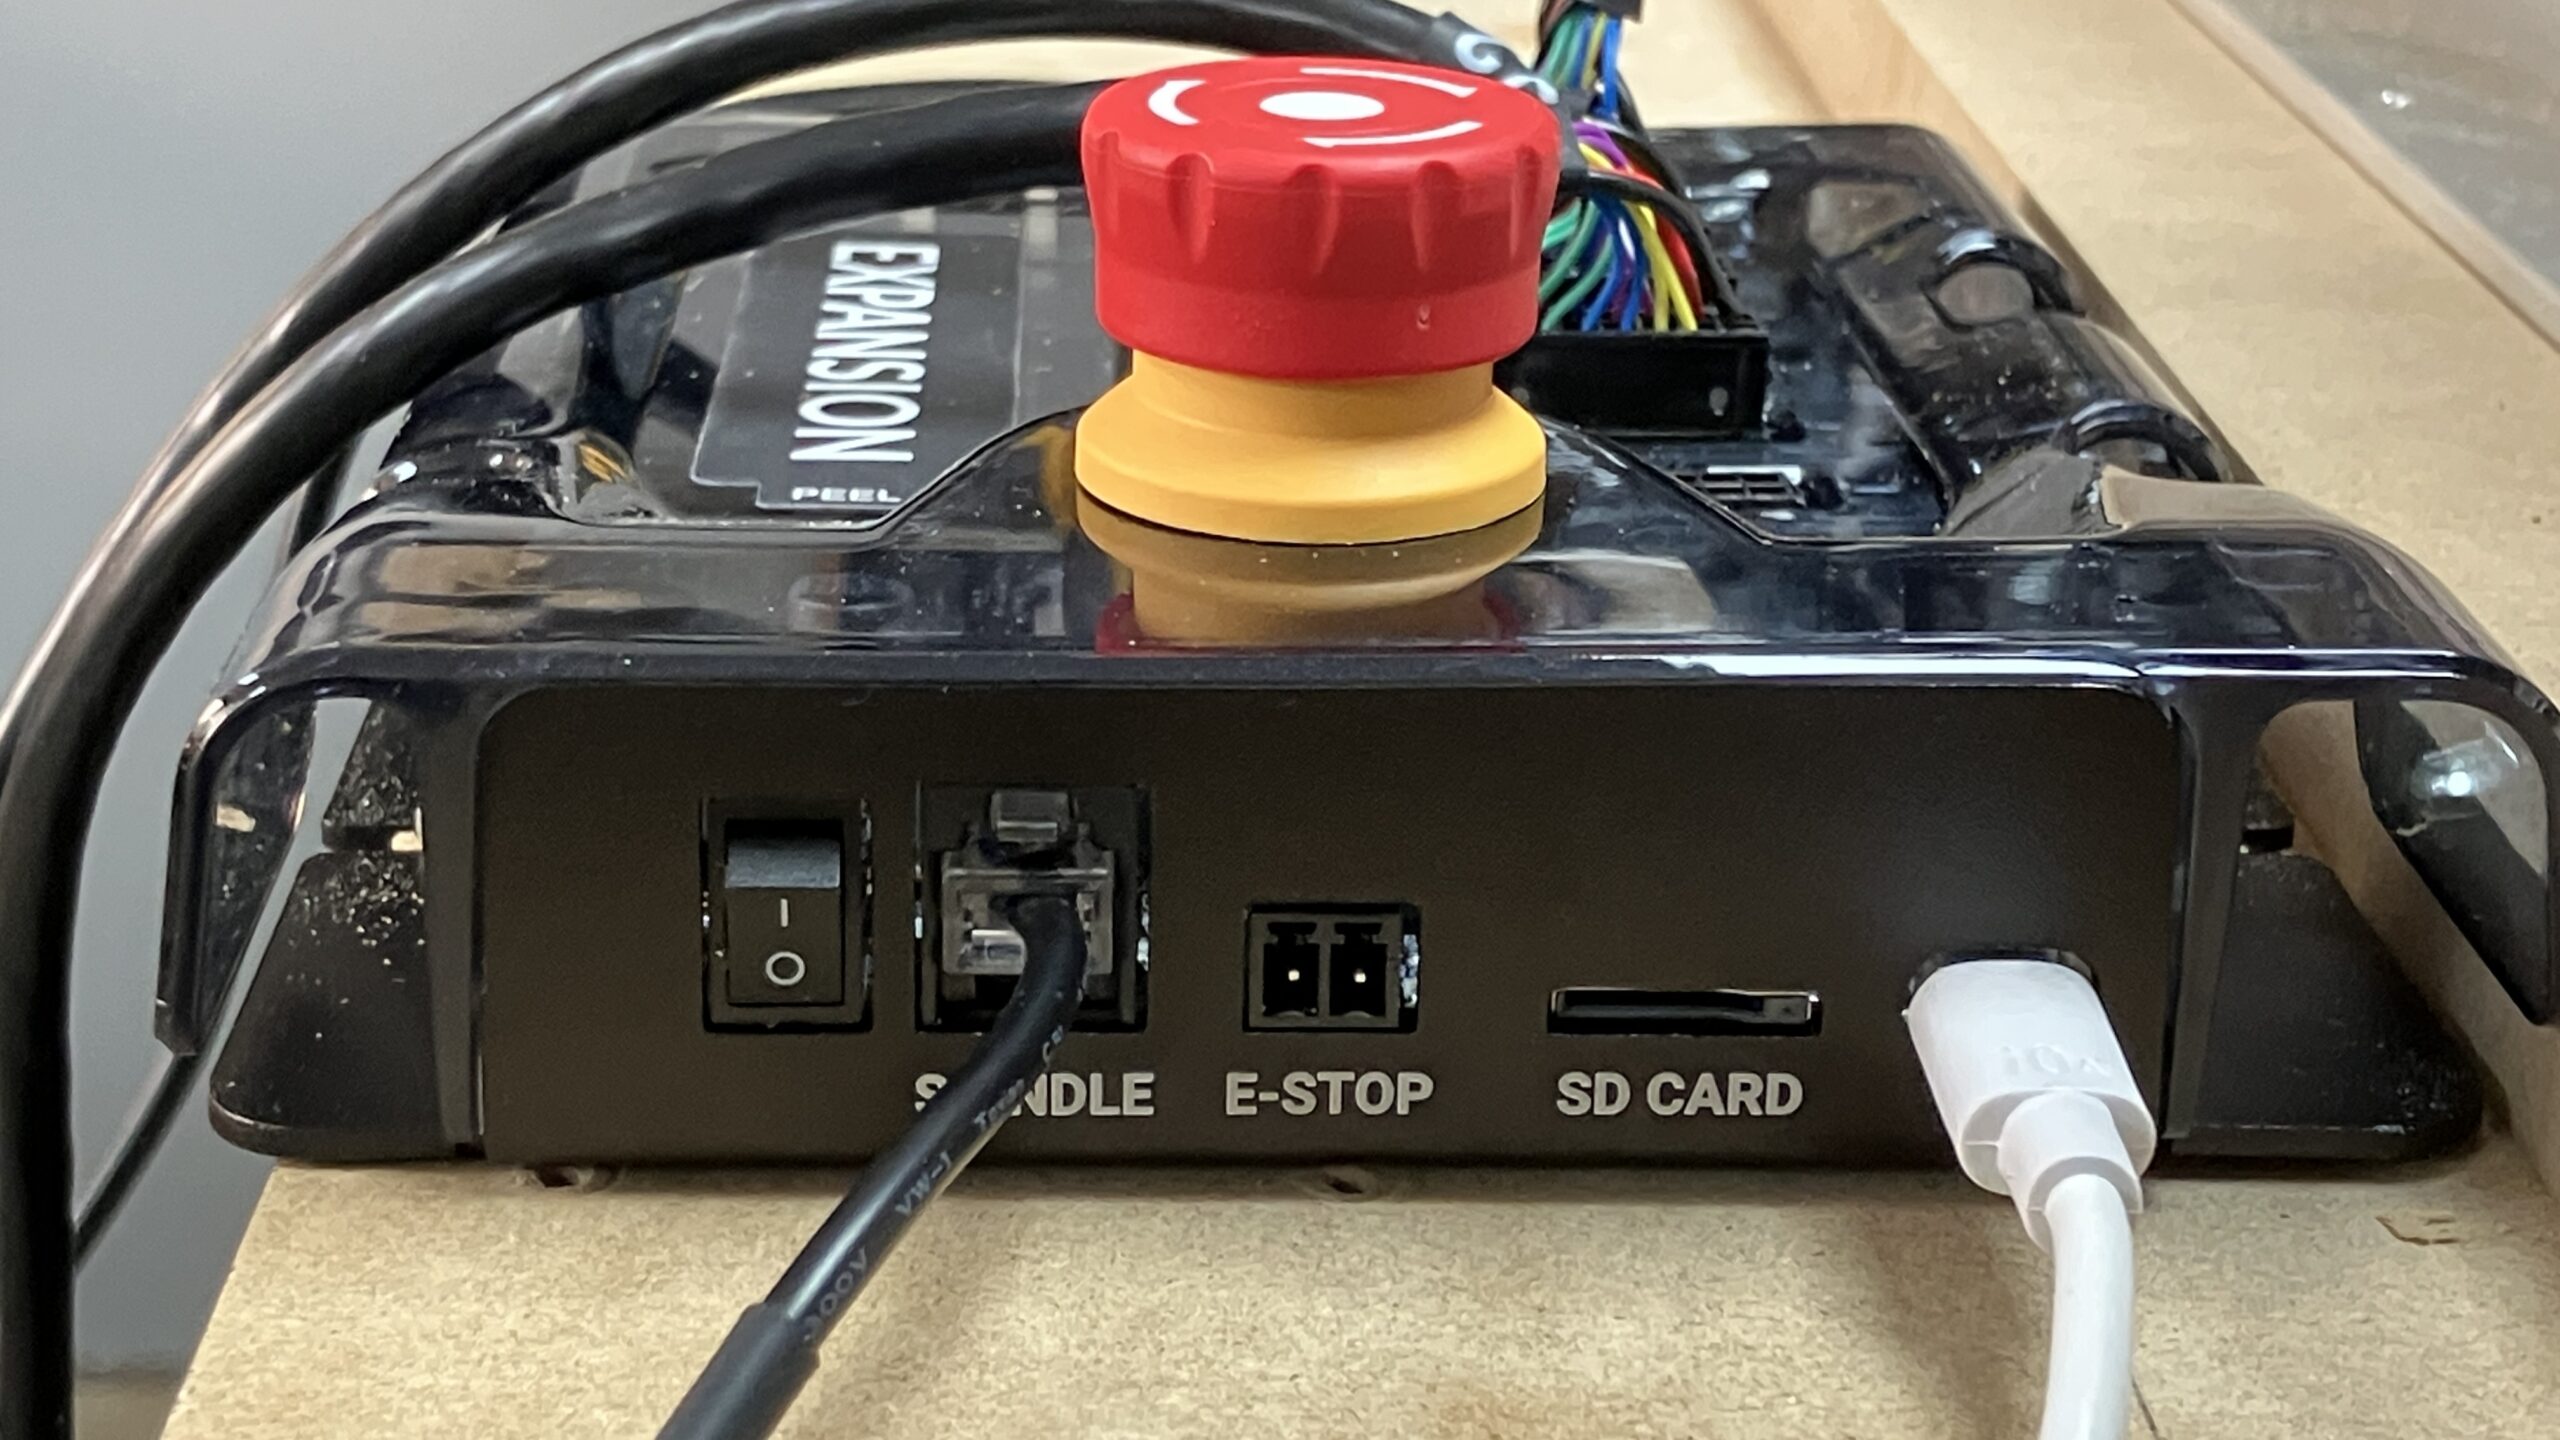
Plug in the barrel-style power connector on the other side of the controller. Then plug the power supply into the wall power.
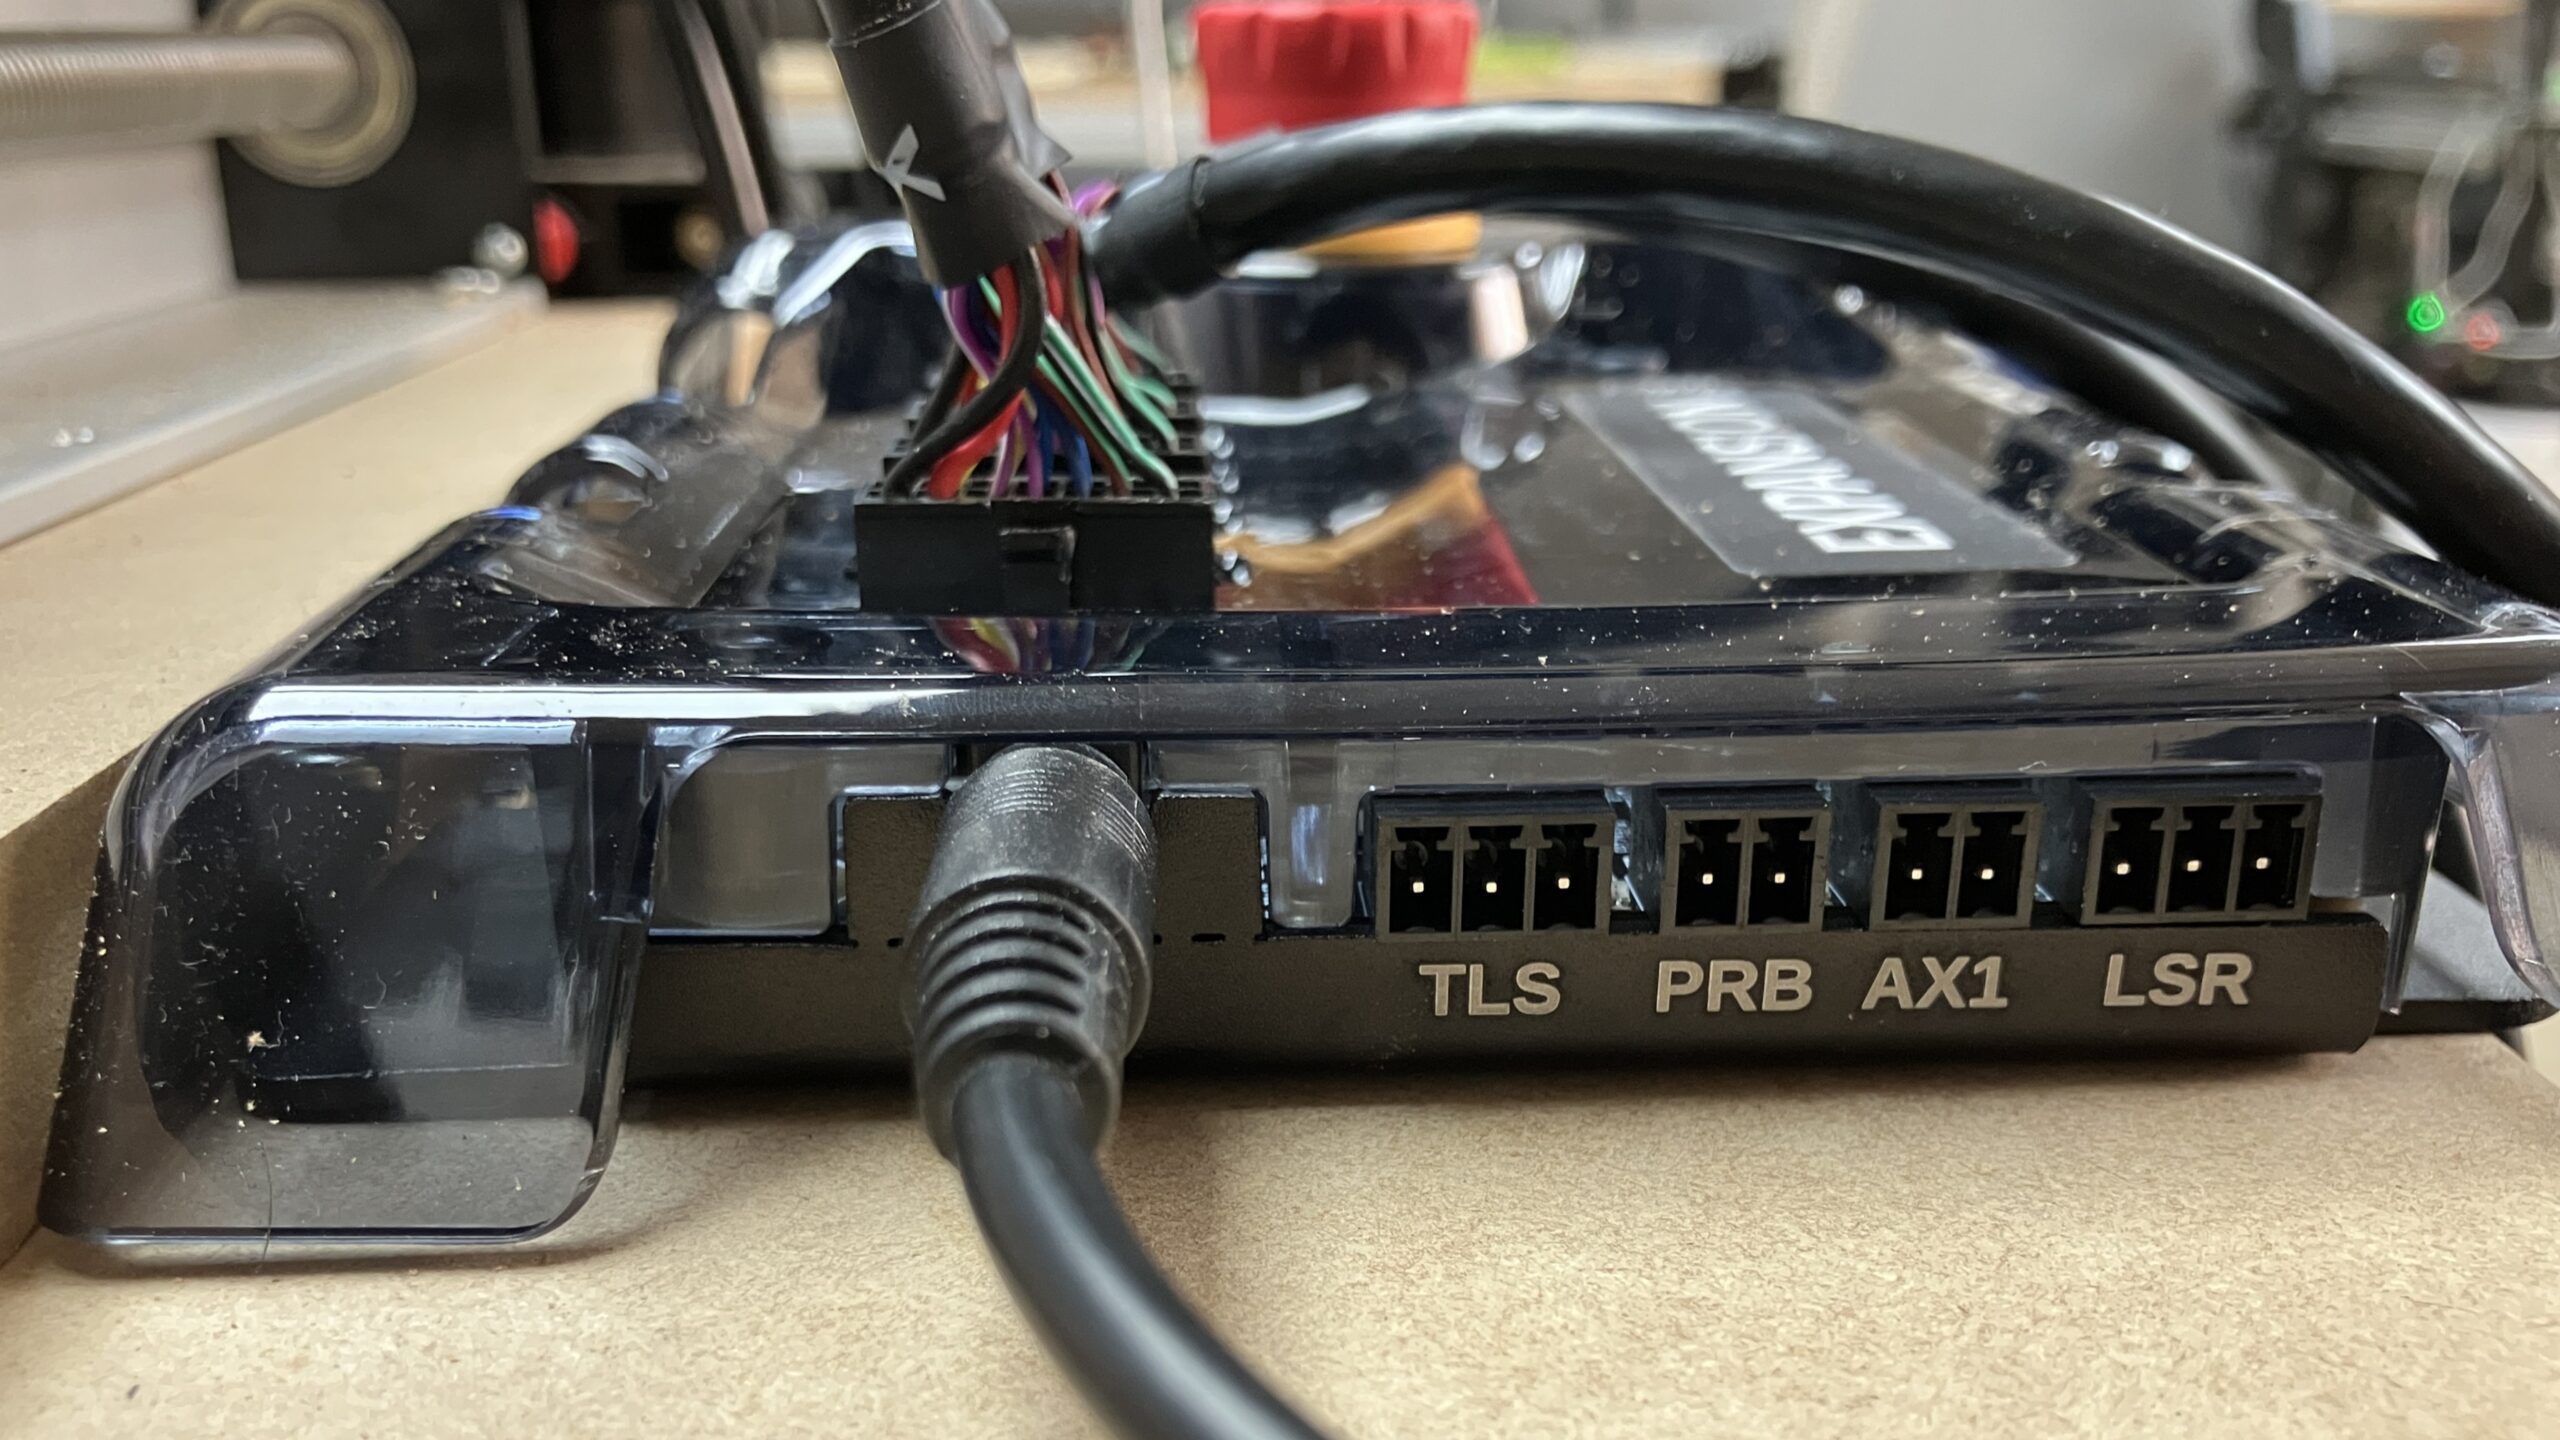
Finally, if you have a touch plate, plug it into the PRB port.
To better manage your wires, route them through the sides of the enclosure.
If you have other accessories, we recommend finishing the Quick Start Guide first before installing them.
Now that wiring is complete, we are just about ready to turn this thing on!
Download gSender
We recommend using the latest version of gSender to control the SLB-LITE/SLB-EXT V2, as the CNC software and controller firmware work in tandem to give you the most seamless user experience. Installation instructions can be found here.
Power Up
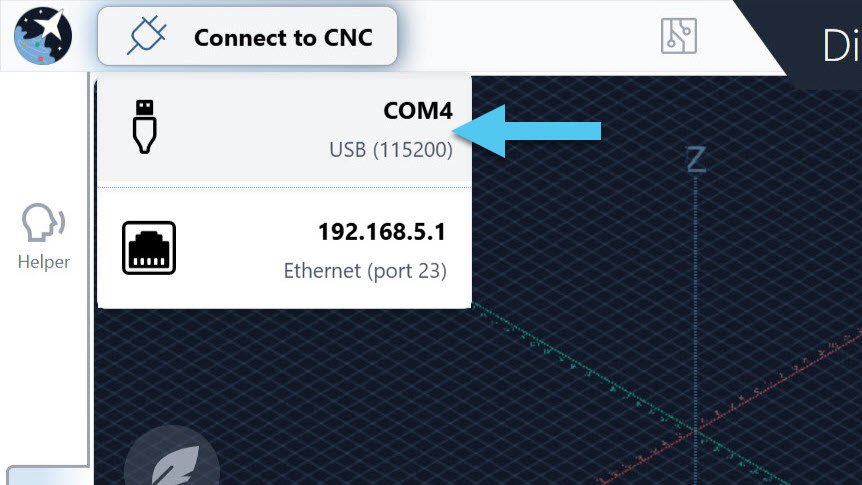
Open gSender, and connect to the machine on the top left corner.
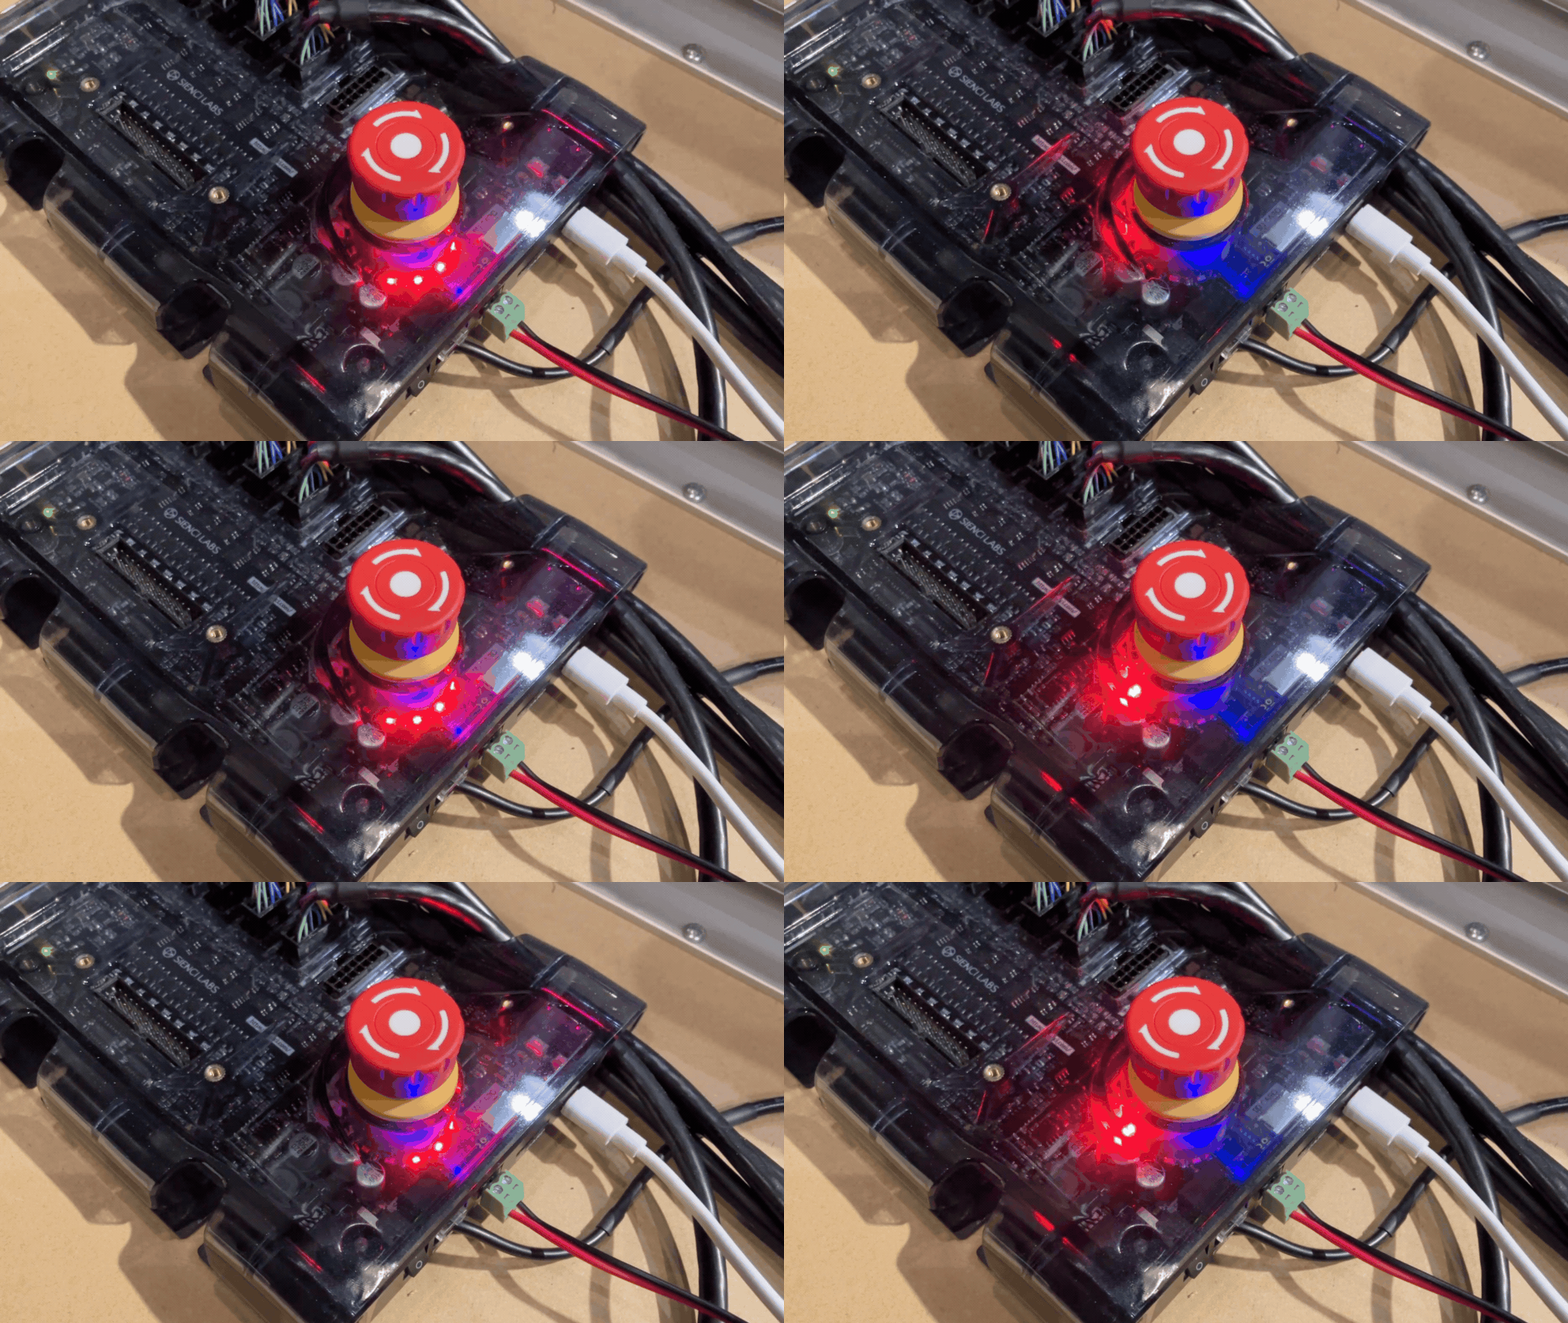
On the controller, flip on the power switch!
You will see a flashing, rotating red light under the E-stop.
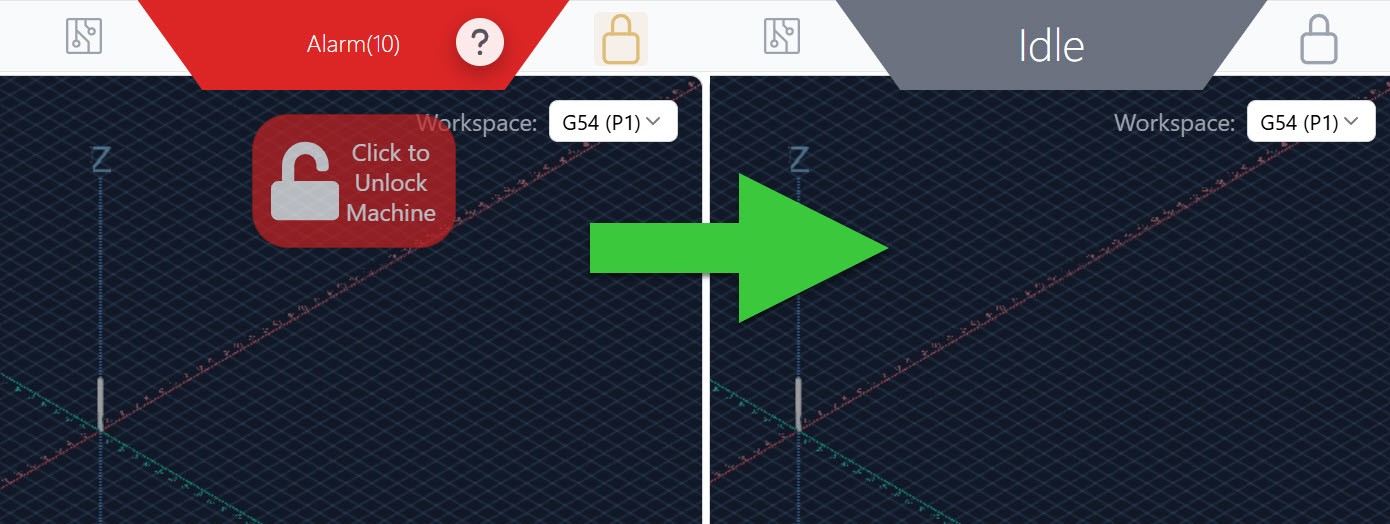
On gSender, press the red Unlock button at the top. If that doesn’t work, twist the E-stop clockwise to release it, then press the Unlock again. The state should change from Alarm to Idle.
Additionally the rotating red light should turn to a static white!
Set Machine Profile
At the bottom left, select Config.
At the bottom of the screen, select the dropdown and choose the machine type you have. If you have a 3rd party CNC that isn’t listed, choose Generic CNC. Then press Defaults to apply these settings.
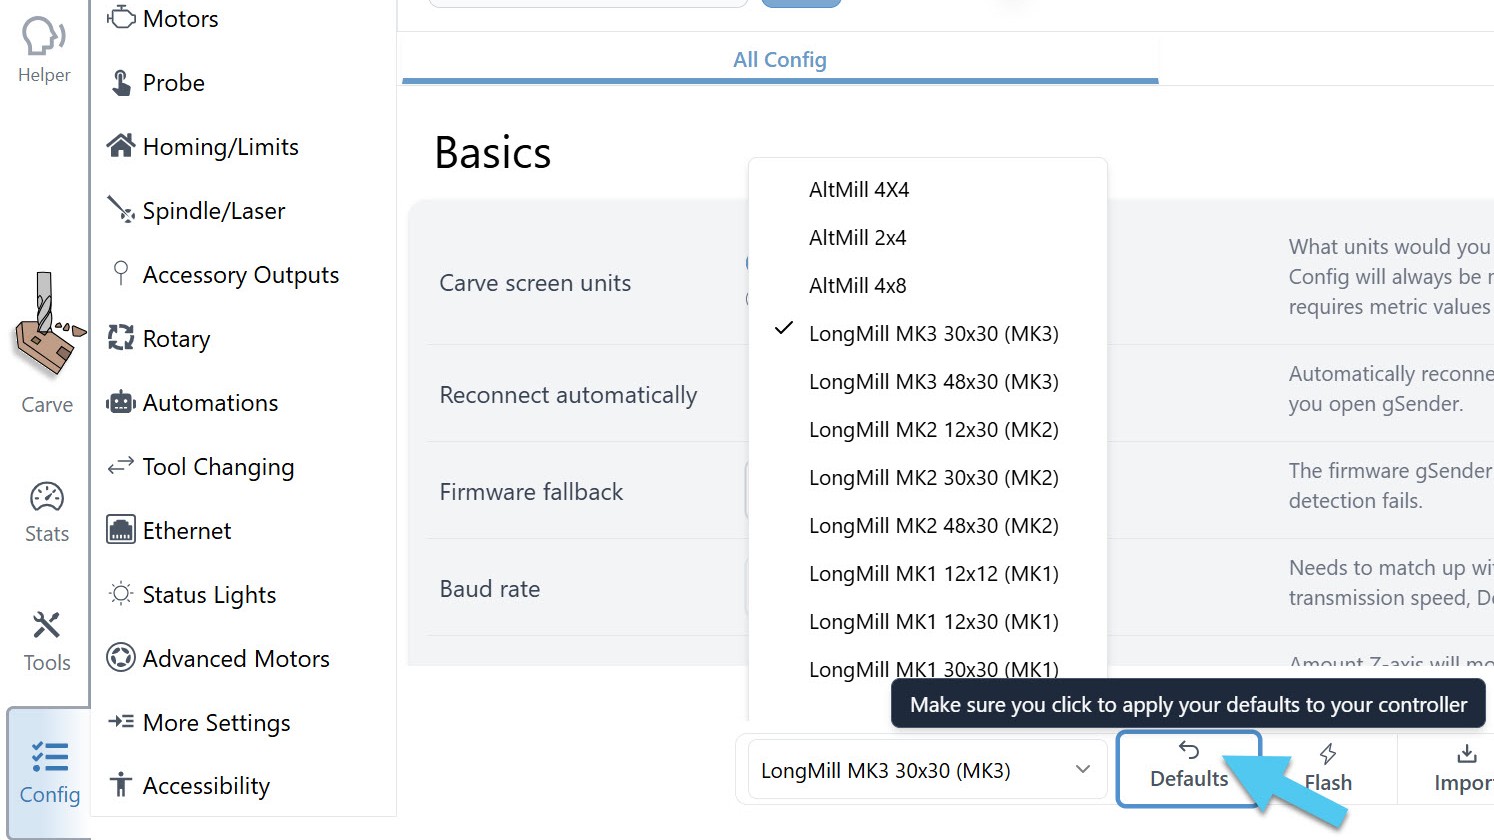
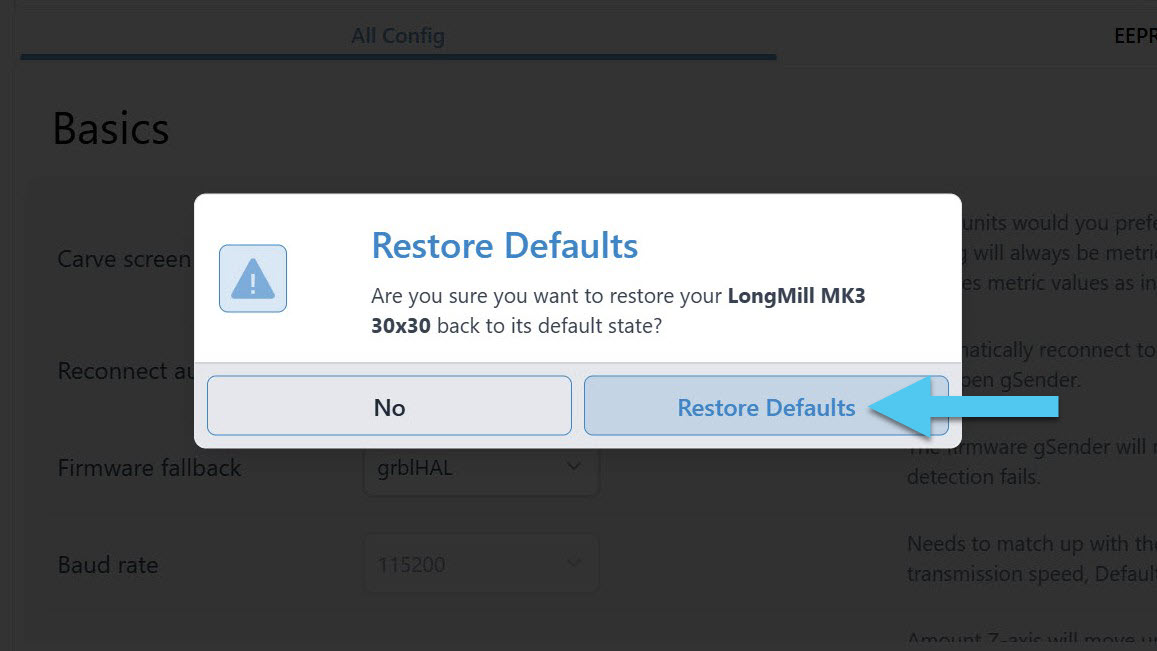
Confirm by pressing Restore Defaults.
Turn the controller OFF, then ON.
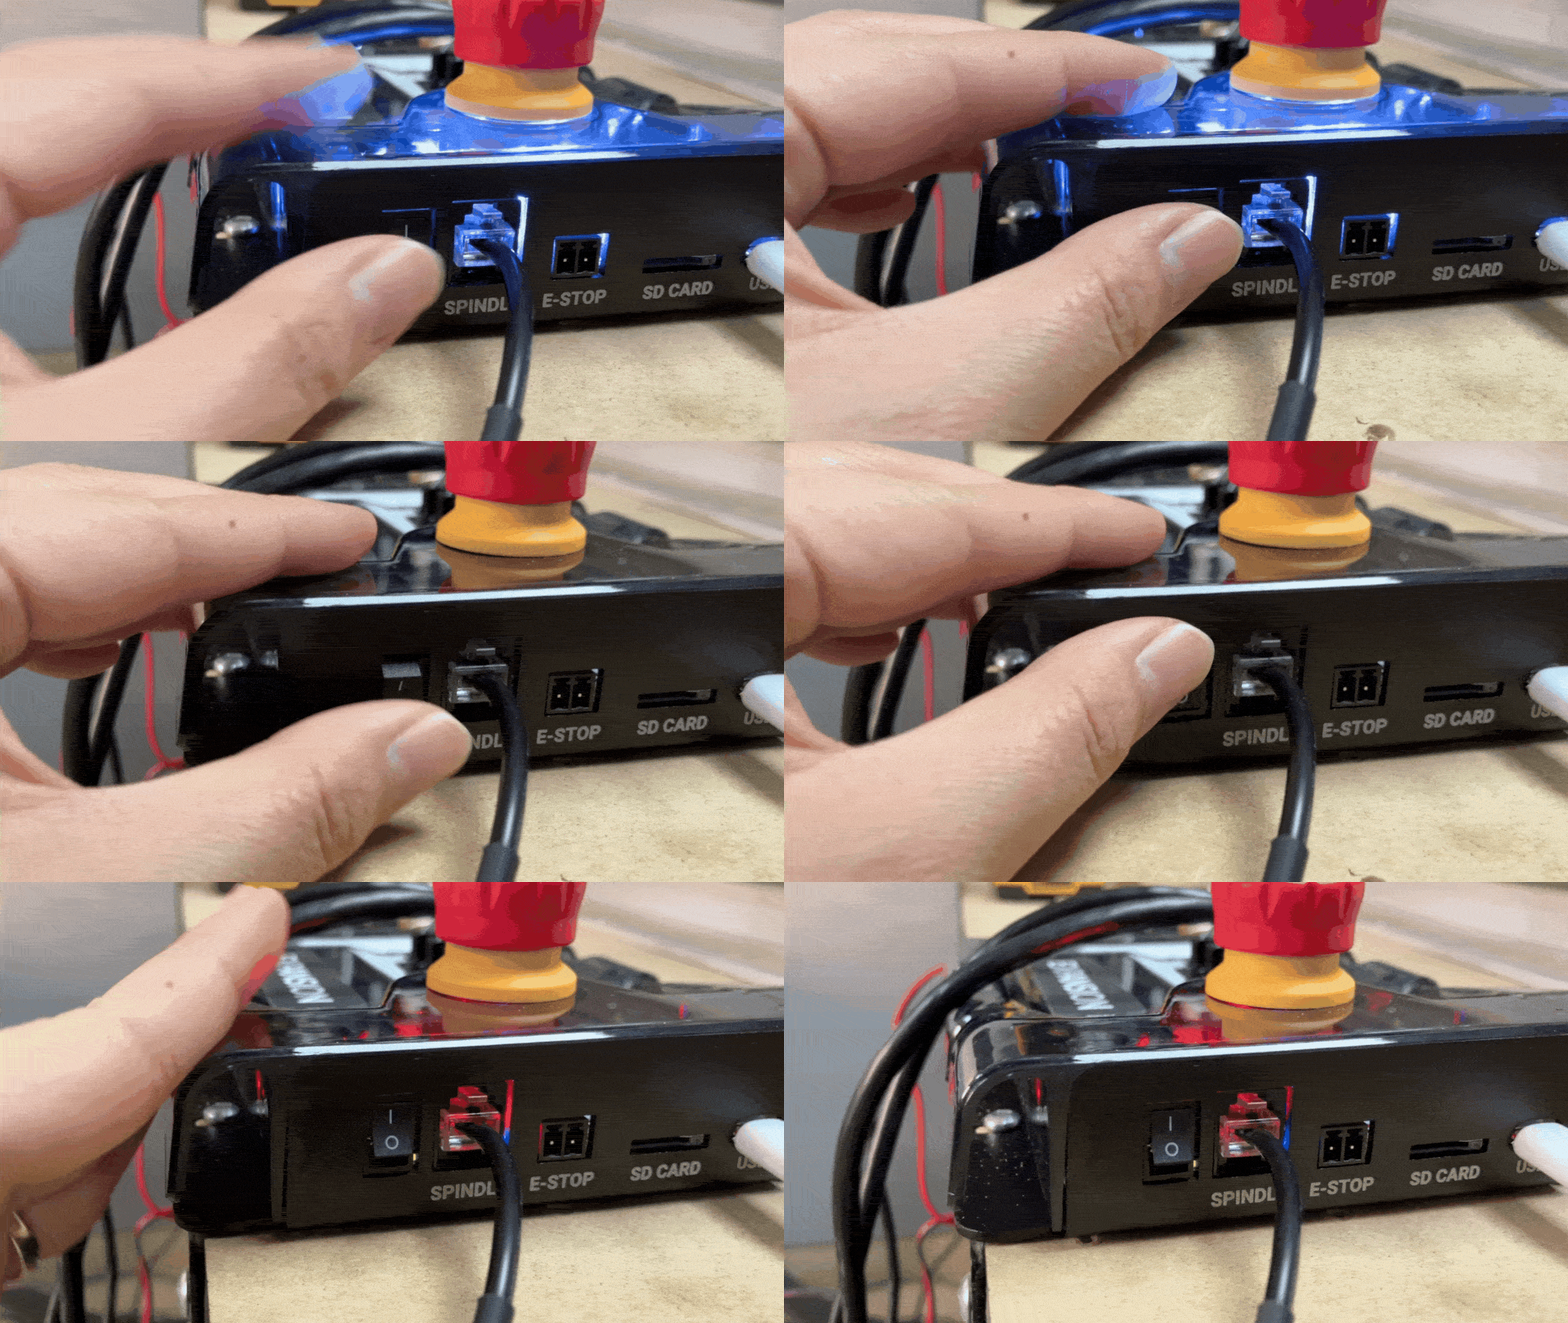
Then reconnect on gSender.
gSender will show another alarm, this time asking you to home. Make sure your limit switches (i.e. inductive sensors) are already installed on your CNC, and that there’s nothing on the table that the CNC can bump into. Then, click the red button on the screen to start homing.
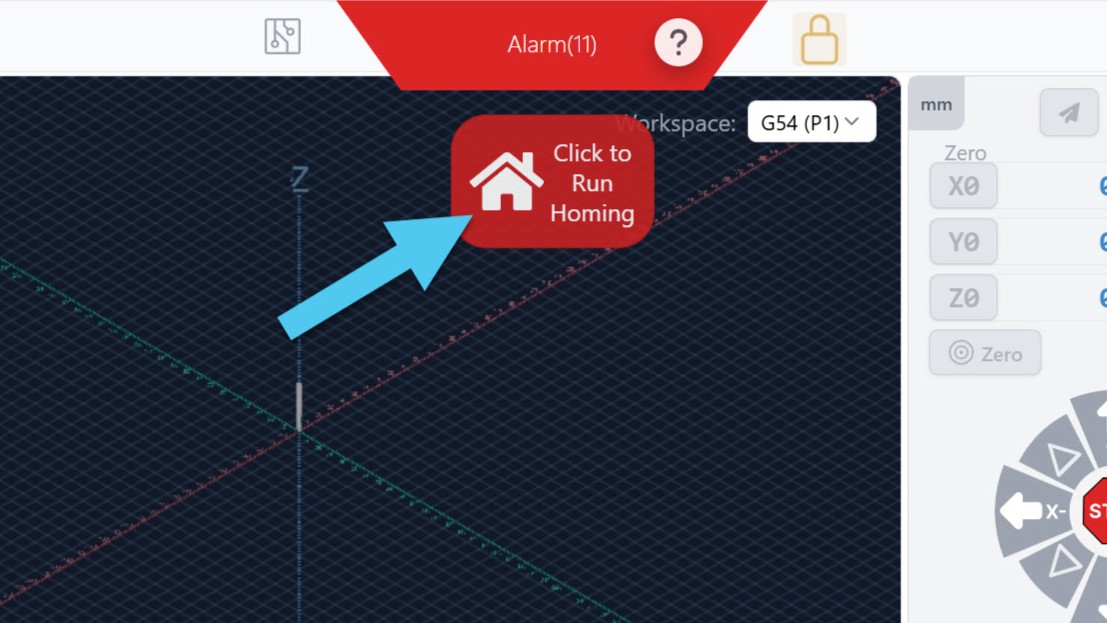
If you had the LongMill with SLB in the past, you may notice that the homing sequence and pulloff distances (especially on the X-axis) are a bit different.
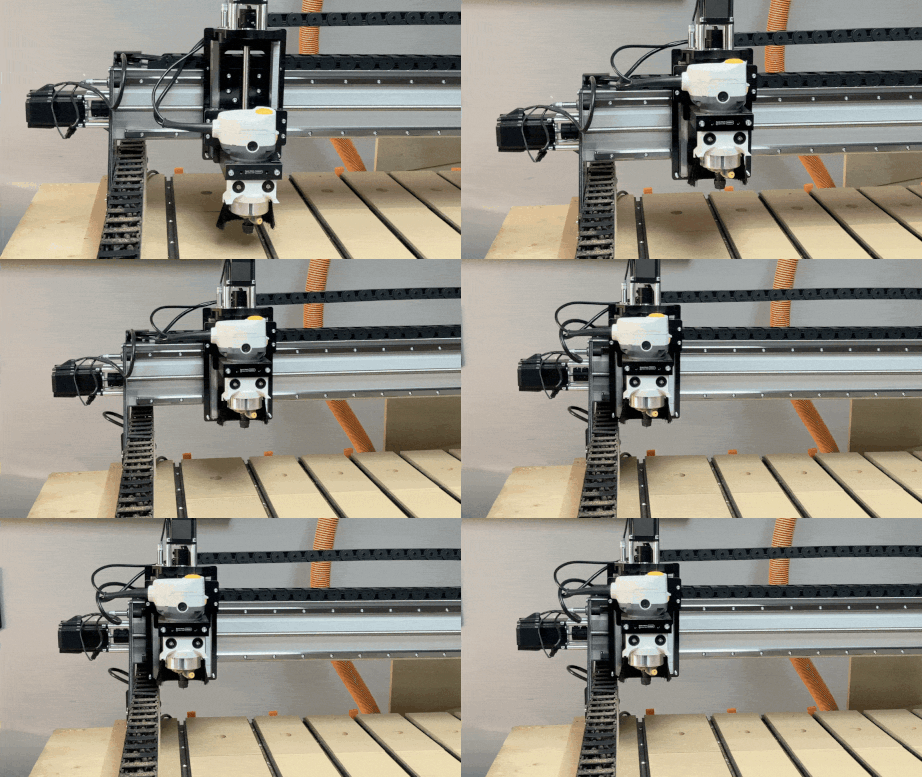
If all is well, let’s continue with testing out the board!
Jog
Use the jog control buttons on gSender to move your CNC! You will see the board light up green while the machine is jogging, and go back to white when it is idle.
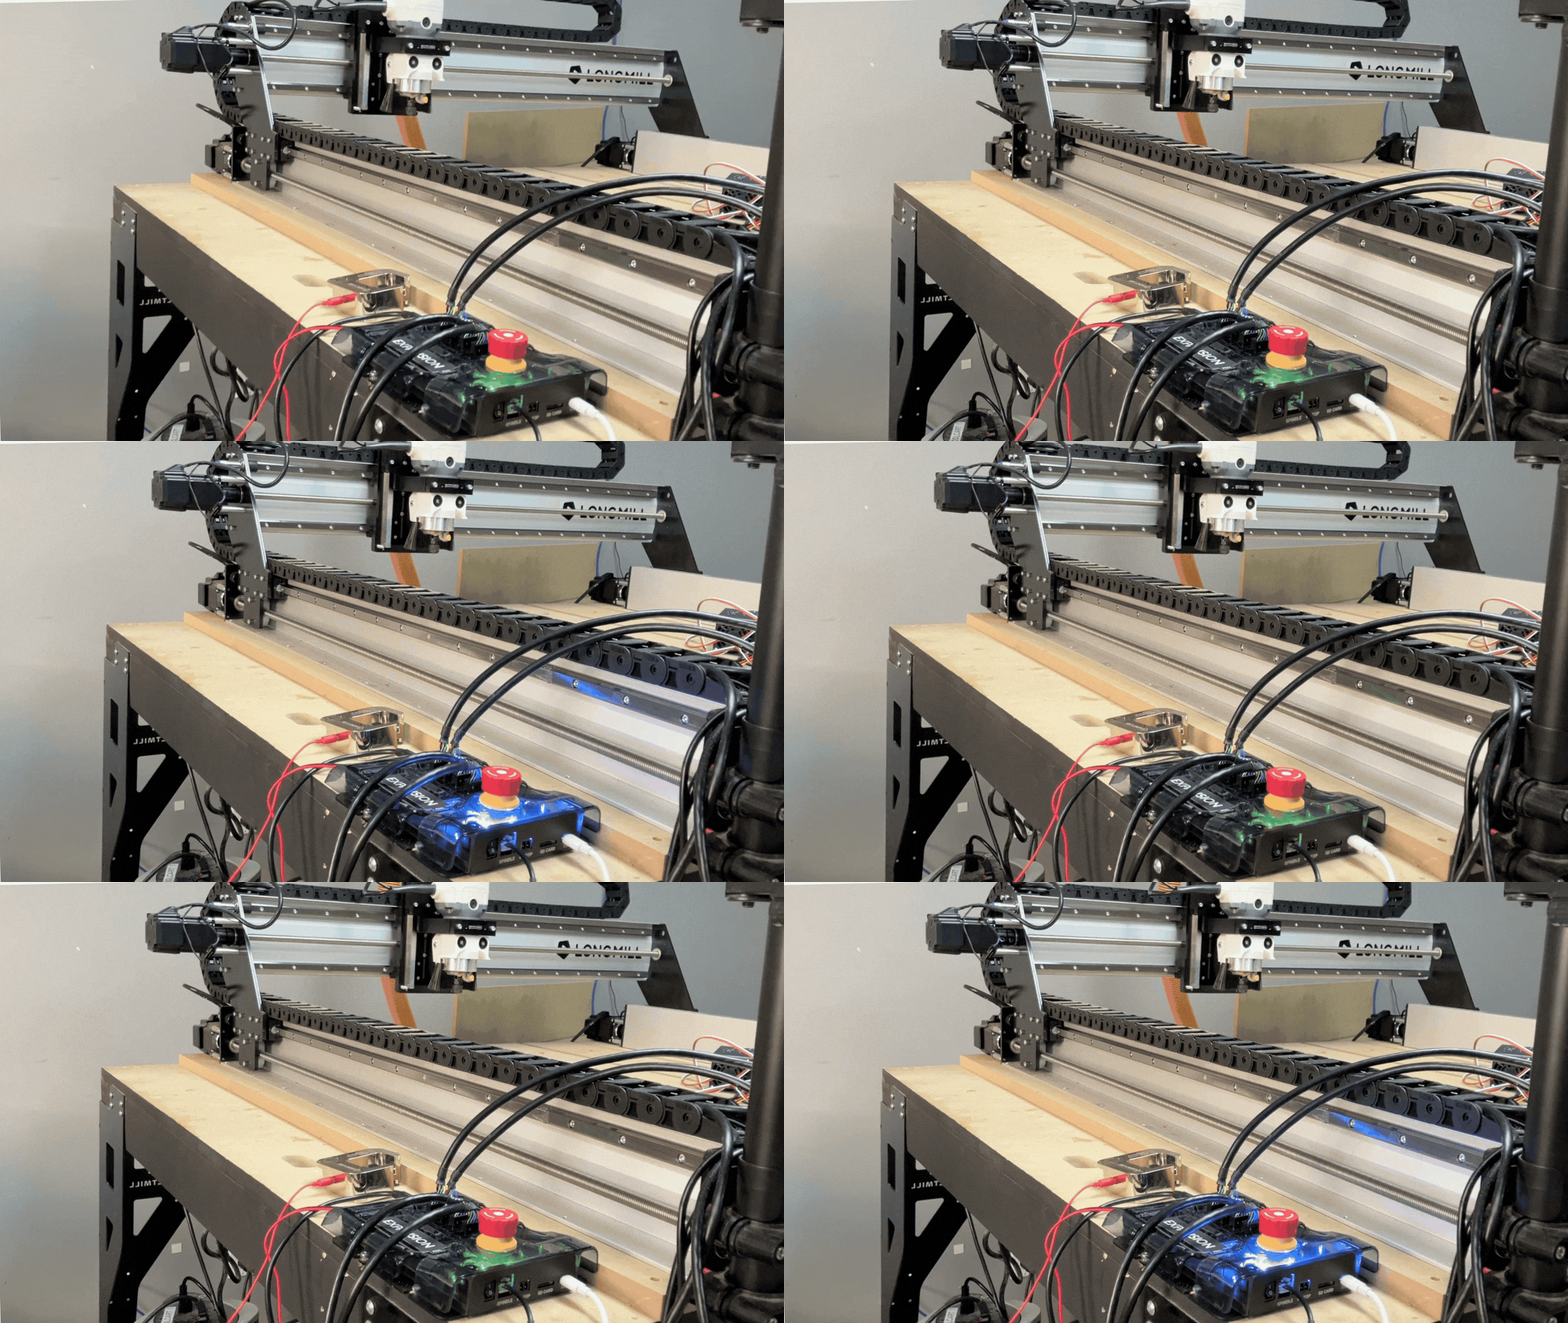
Is it moving in the correct direction? If not you can change the motor direction in Config, under Motors. Find the Step direction invert setting, and toggle it for the affected axes. Press Apply Settings then turn OFF/ON your controller to have the change take effect.
Is it moving the expected distance? If not you can use the Movement Tuning wizard in Tools.
Zero and Probe
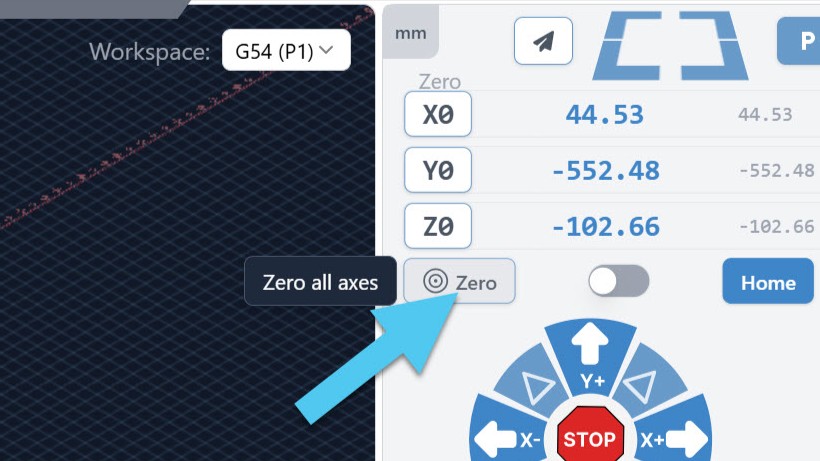
Setting the zero is the same as on past controllers, just press the Zero button on gSender. This should turn the blue machine coordinates to 0.00 on all axes.
Check that your touch plate is working – contact the magnet to the touch plate and see if the orange light next to the connector appears.
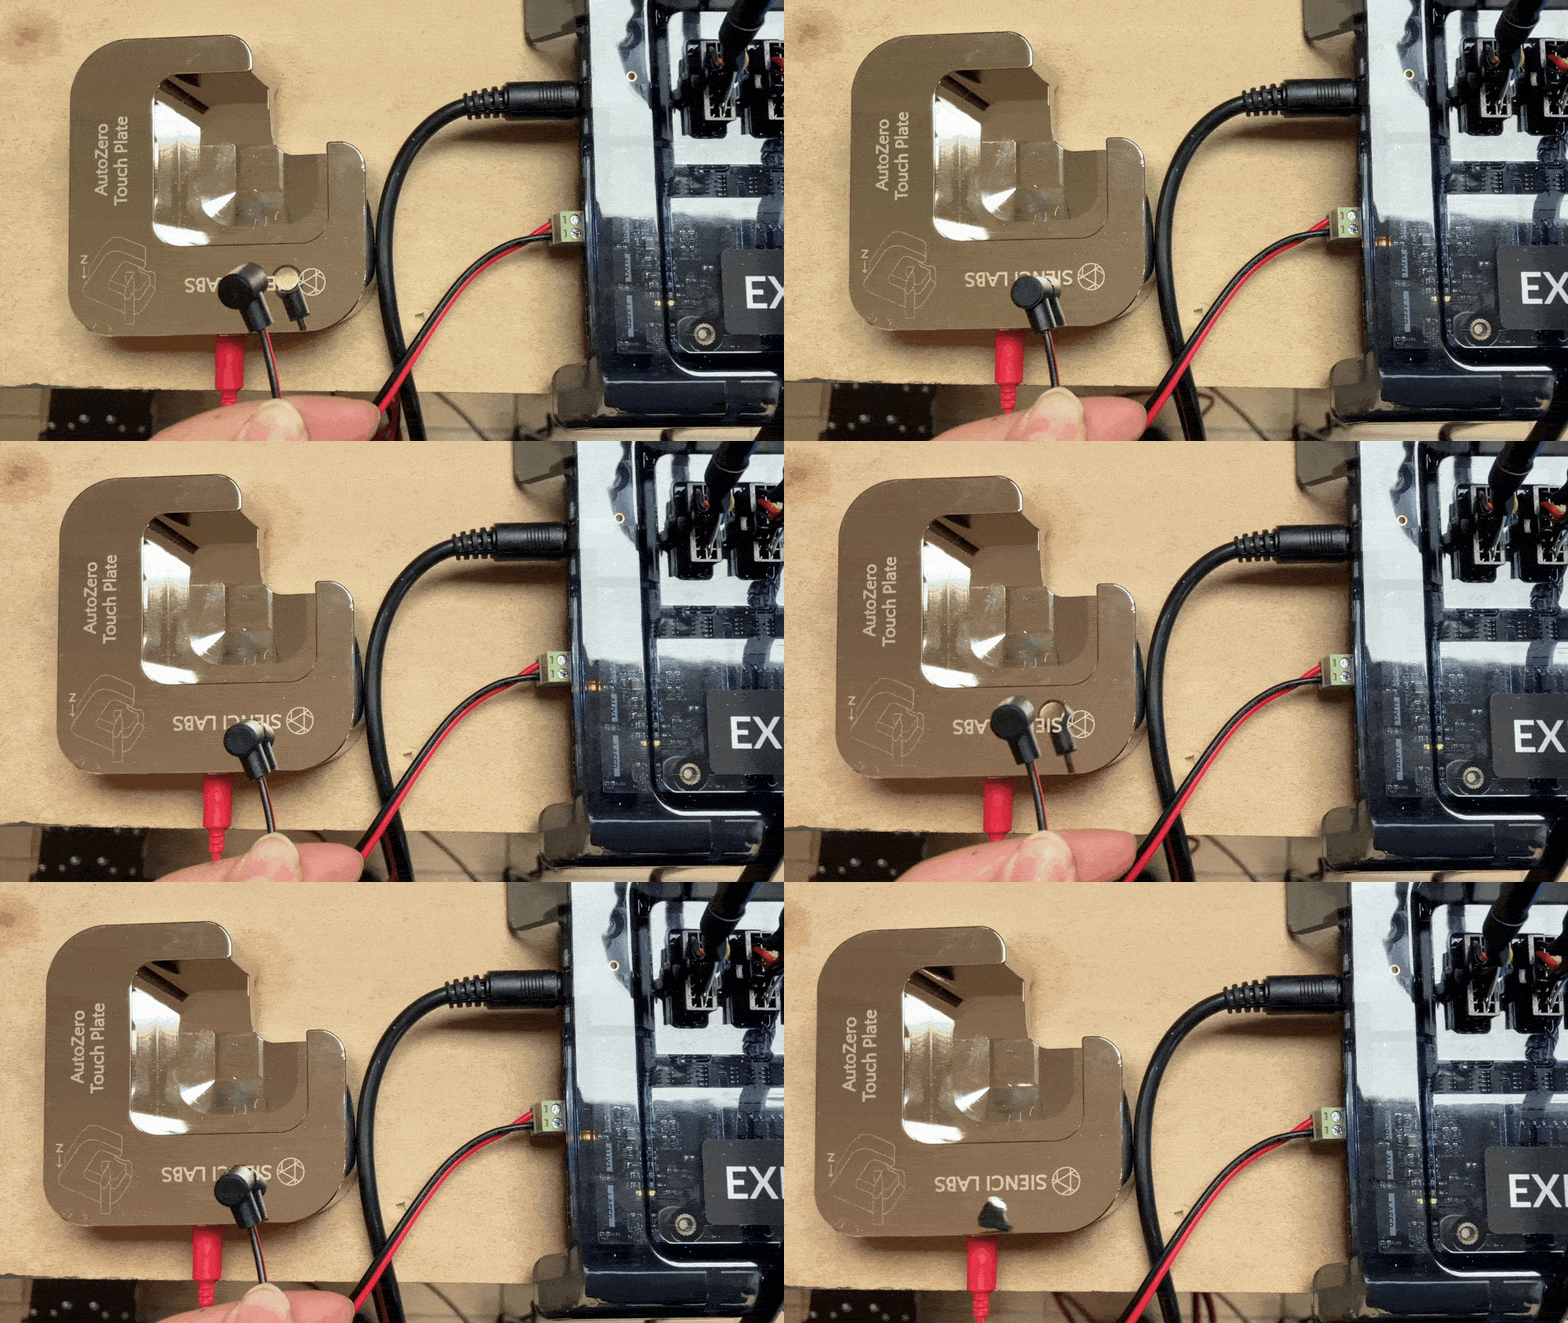
If you’re not getting this light, go to Config, under Probe, and find the Invert probe inputs setting. Toggle the Probe option to the opposite setting. Press Apply Settings, then turn OFF/ON your controller.
What’s Next?
Nice work on getting your SLB-LITE/SLB-EXT V2 up and running!
We would recommend trying out your first test cut on simple jobs like these:
Then learn to install and use any CNC accessories that you haven’t hooked up yet through our add-ons knowledge base.
There’s lots to learn, but take your time and enjoy the ride. Cheers and have fun with your new controller 🥳