

Surfacing
    Learning Goals

    ☑️ How to home the machine
    ☑️ How to surface material with gSender's surfacing wizard
    ☑️ How to determine surfacing dimensions while accounting for the dust shoe
    ☑️ How to set up the job's origin/zeros and zero the machine accordingly
    ☑️ How to use the AutoSpin in spindle mode
    ☑️ How to locate and change settings in Config
Surfacing is an essential step in setting up your CNC. By removing a thin layer off the top of your wasteboard, it makes the surface parallel to the machine. This allows for an even cutting depth at all points of your wasteboard. So no matter where you mount your stock material, you can rest assured that you’re cutting at the correct depth, consistently.
Surfacing can also:
- Minimize the effects of warp on the MDF
- Be used for maintenance purposes to clean off old marks and scars, leaving you with a new, clean surface to glue, clamp, and mount your material to
- Flatten stock material for projects where a flat surface is critical, such as engraving, relief cutting and flip milling
Step-by-Step Process
You will need to use a surfacing bit – these are designed for light passes and are larger in diameter than other bits, so they can cover a large area quickly while leaving a good surface finish.
-
Grab the 22mm surfacing bit from your Starter End Mill pack, which came with your MK3 Beginner’s Kit.
-
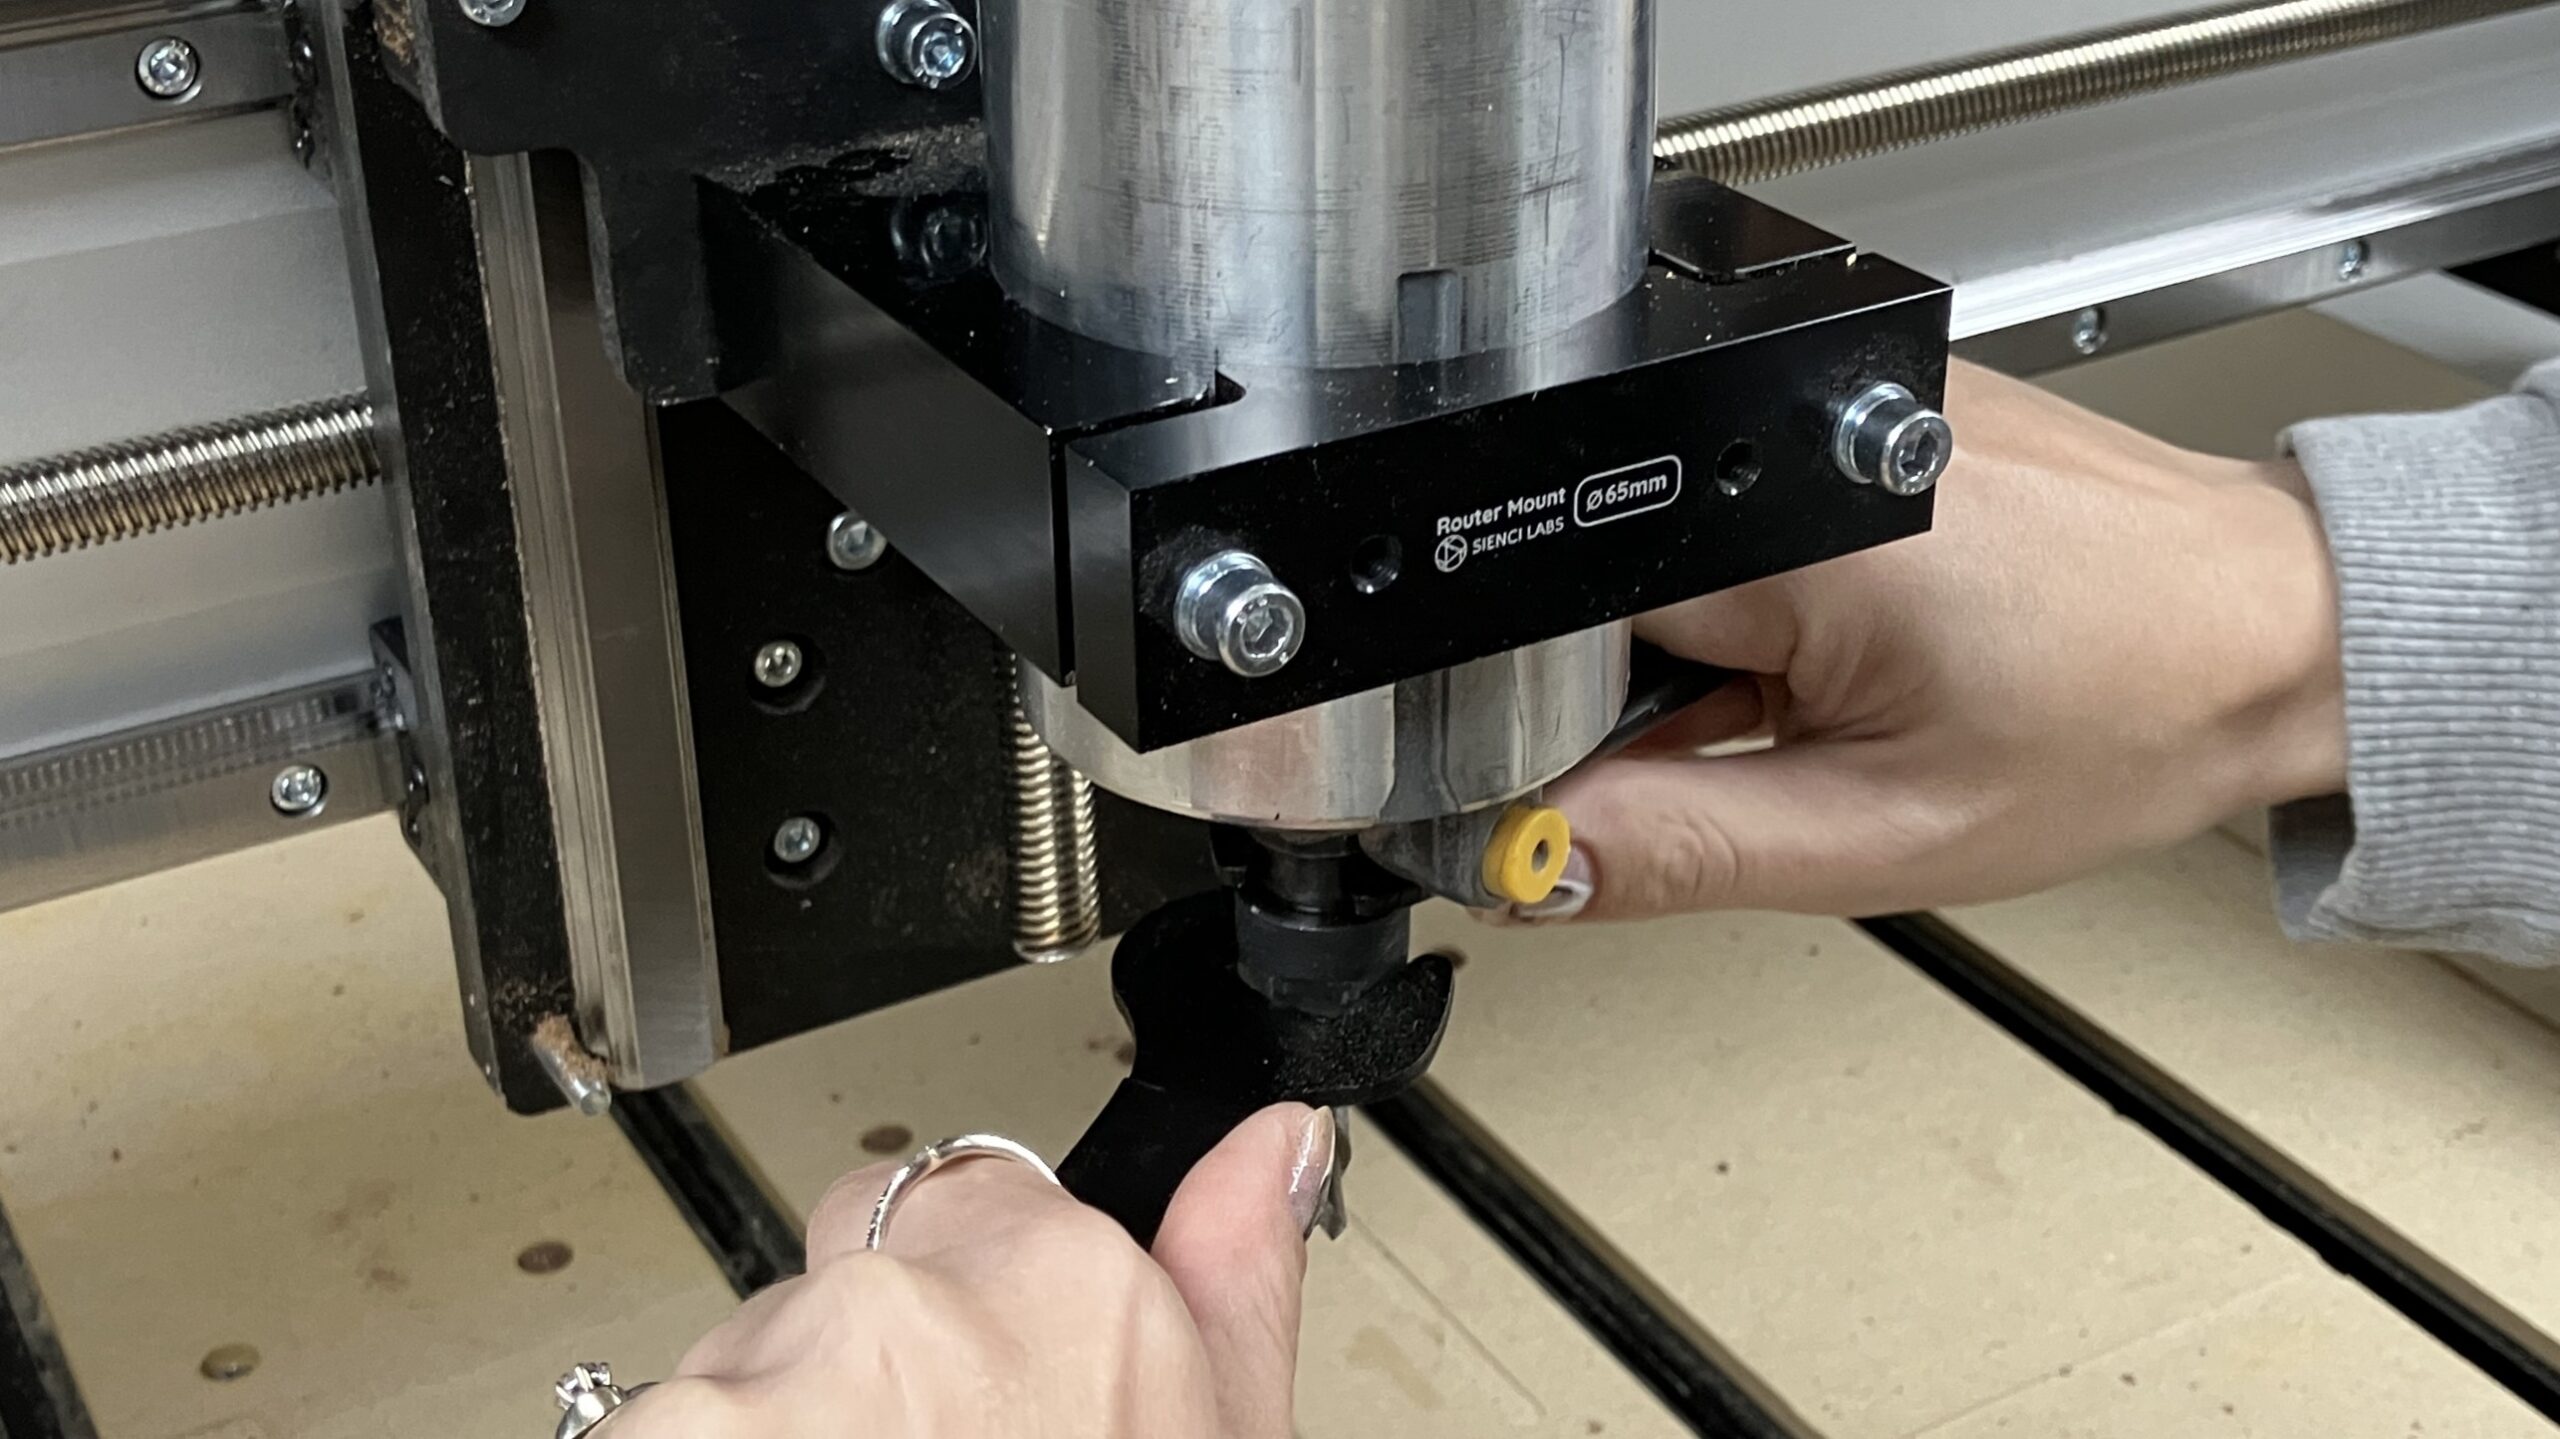
Learn how to install and remove tools on your AutoSpin. Then install your surfacing bit.
-
Turn ON your AutoSpin router, and make sure it is set to “S” for spindle mode.
-
Turn ON your SLB-LITE controller and connect to gSender.
-
Clear any alarms by pressing and releasing the E-stop on your SLB-LITE, then press Click to Unlock Machine on gSender.
-
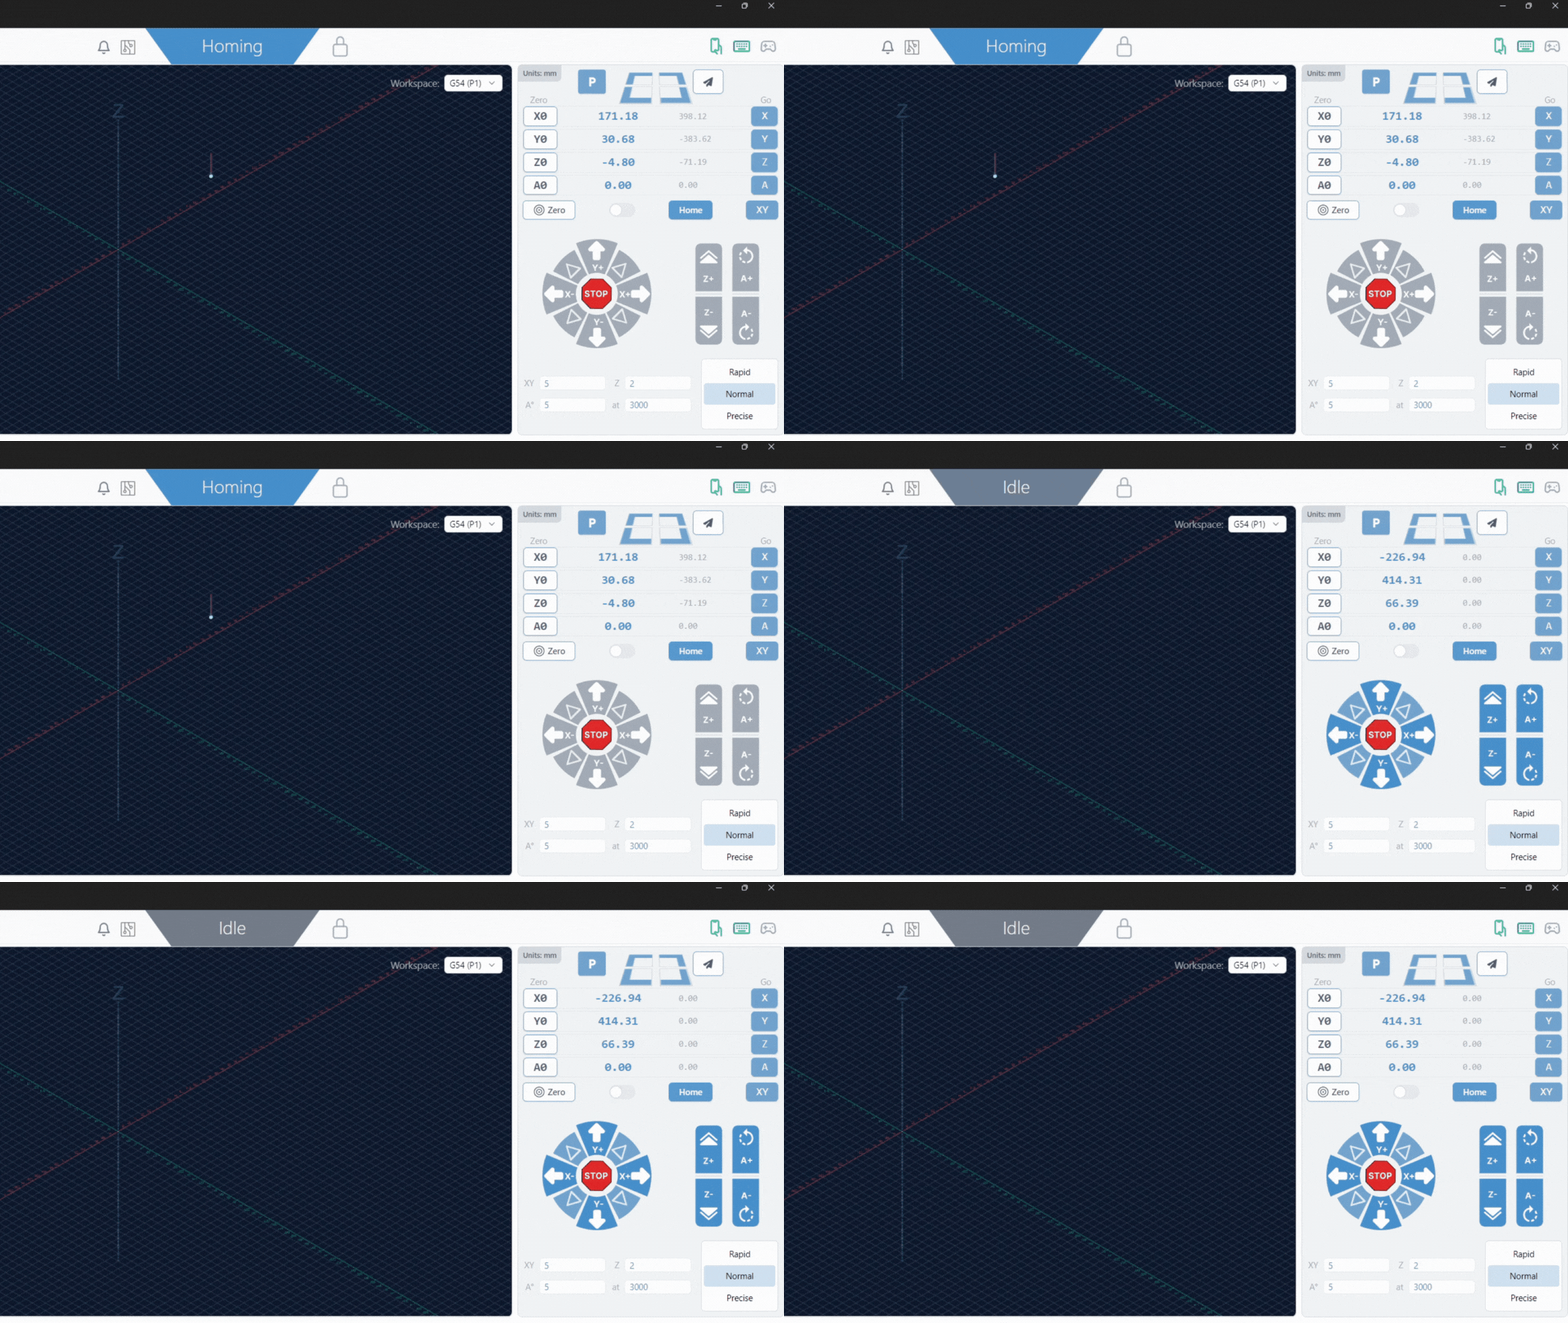
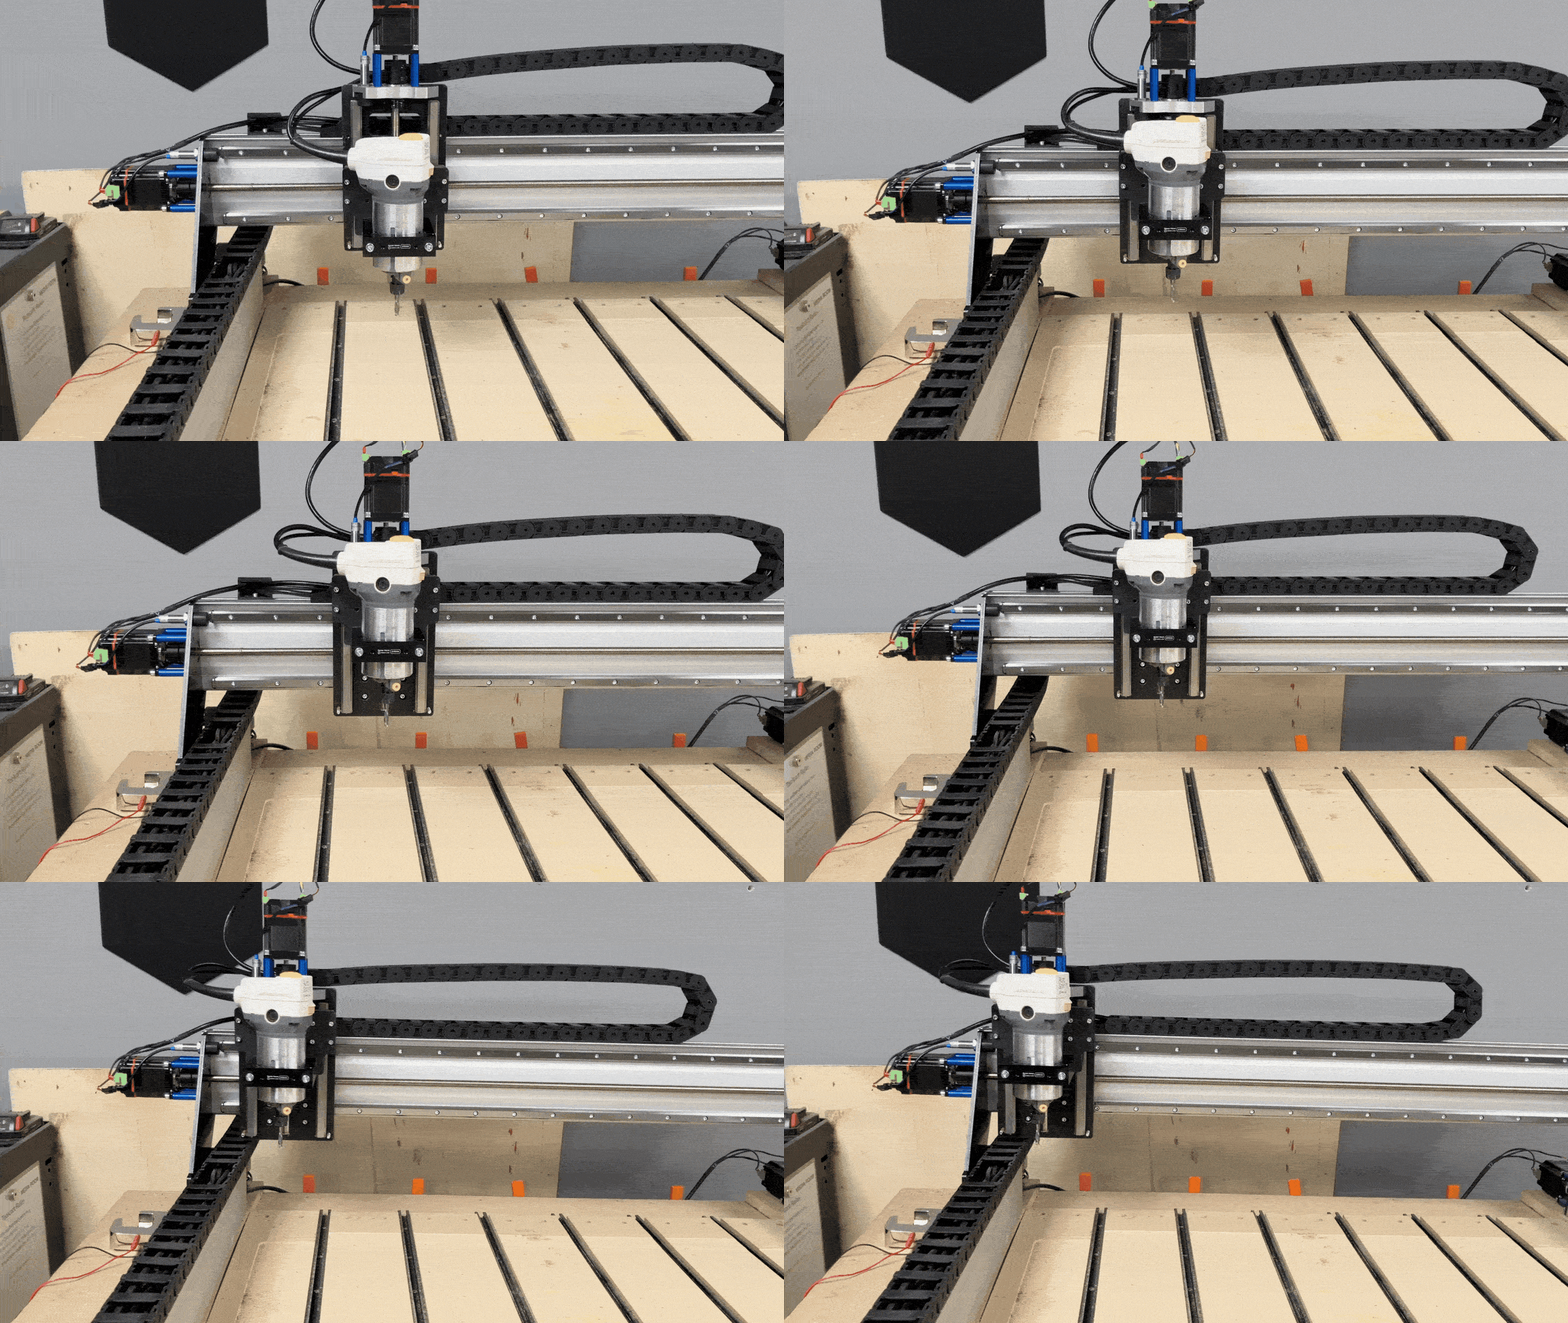
Home your machine.
-
Zero the machine:
- Jog to the front left-most corner of your machine
- Then, jog down so the bit touches the wasteboard
- Zero all the axes on the machine using the Zero button.
-
If you have it, put on the MK3 dust shoe.
-
Determine your XY surfacing dimensions with the MK3 dust shoe installed:
- Jog your machine to the front right-most corner.
- Then jog your machine to the back right-most corner.
- Use the blue coordinate numbers as your X and Y surfacing dimensions. Roughly, X should be ~774mm (30×30) OR ~1206mm (48×30), and Y should be ~812mm.
-
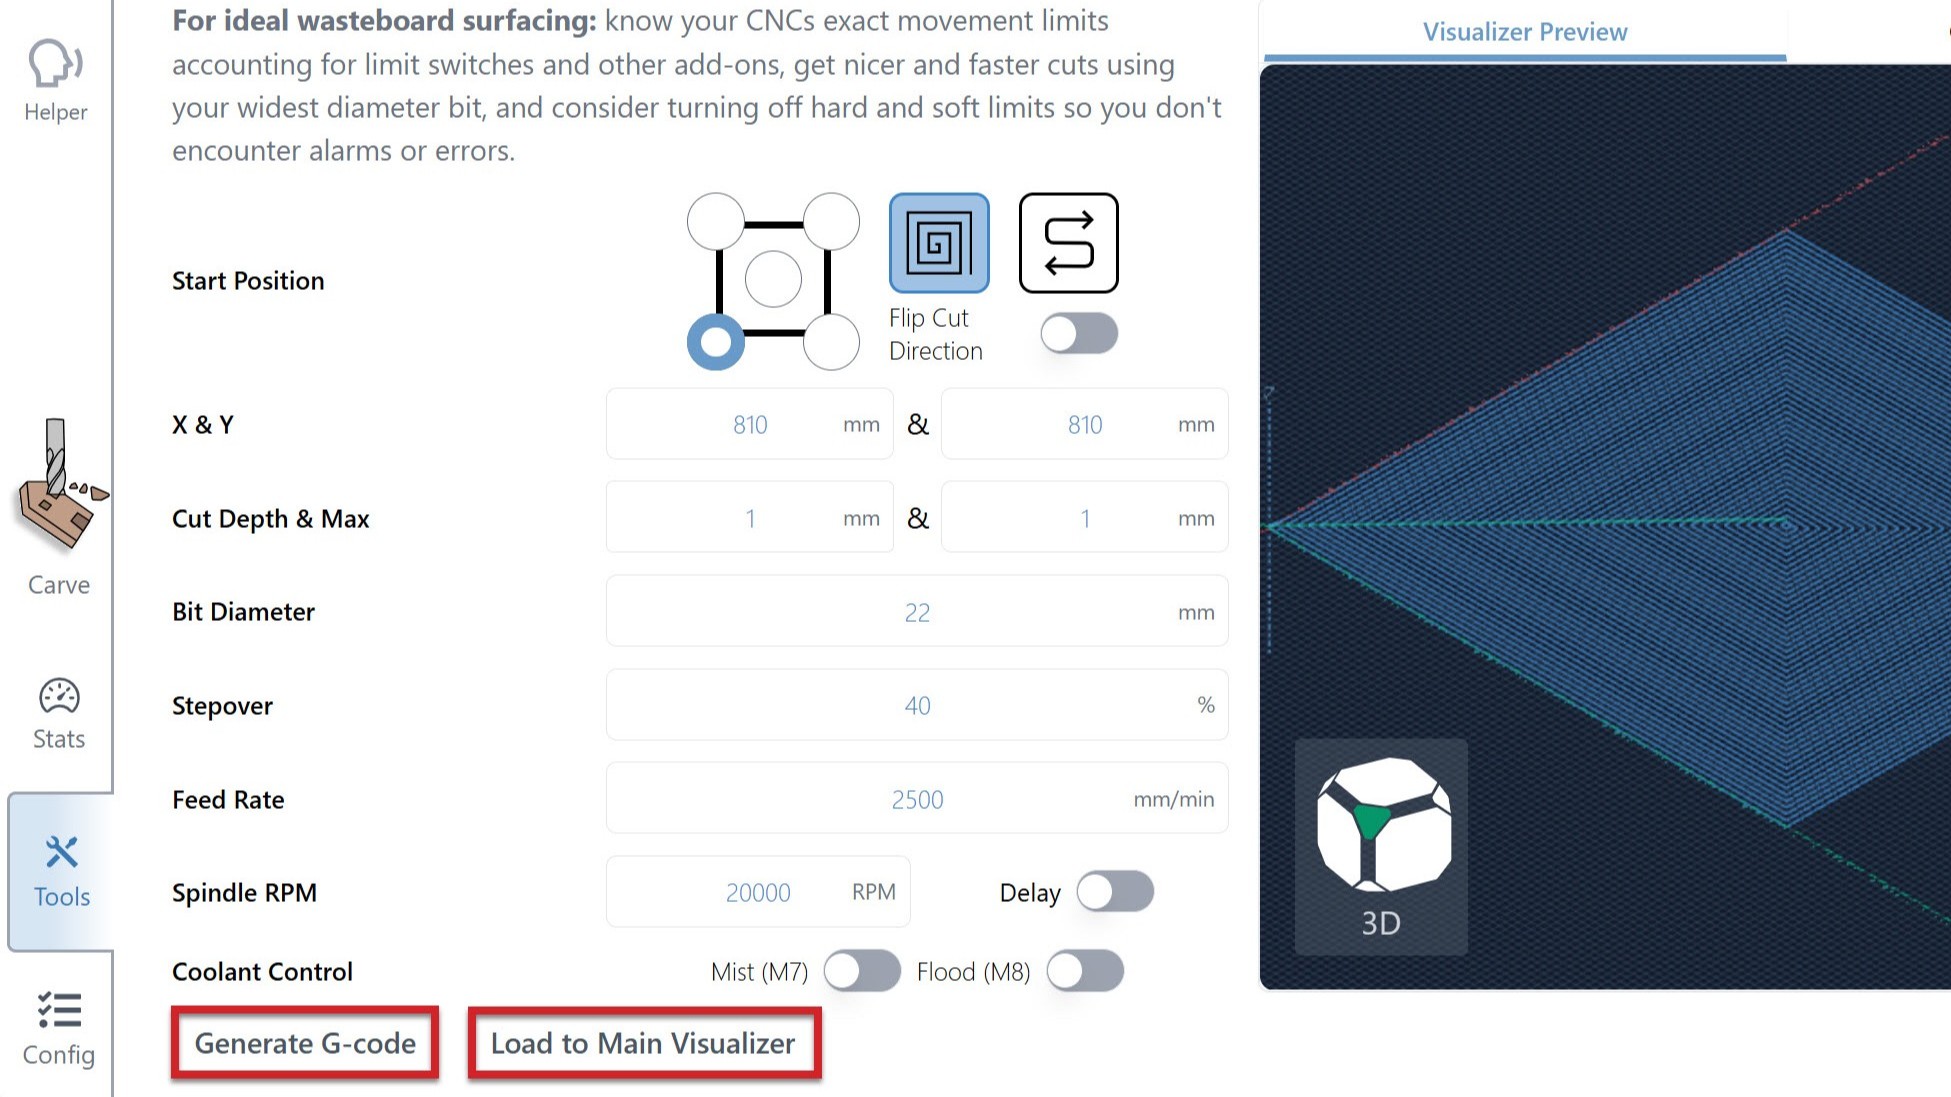
On the sidebar, navigate to Tools, then select Surfacing.
-
You will find the Wasteboard Surfacing settings, adjust the X & Y based on the values determined in Step 9.
-
Click Generate G-code to view the toolpath on the right side of the window. Then click Run on Main Visualizer to load the file onto gSender.
-
Attach your hose to the MK3 dust shoe, and turn on the dust collection to minimize MDF dust in the air.
⚠️ Regardless of whether you have a dust shoe, it is recommended to at least run a hose to a vacuum, since as MDF particles are quite fine and can jam up machine components. -
Put on a mask or respirator. Then on gSender, you can press Start
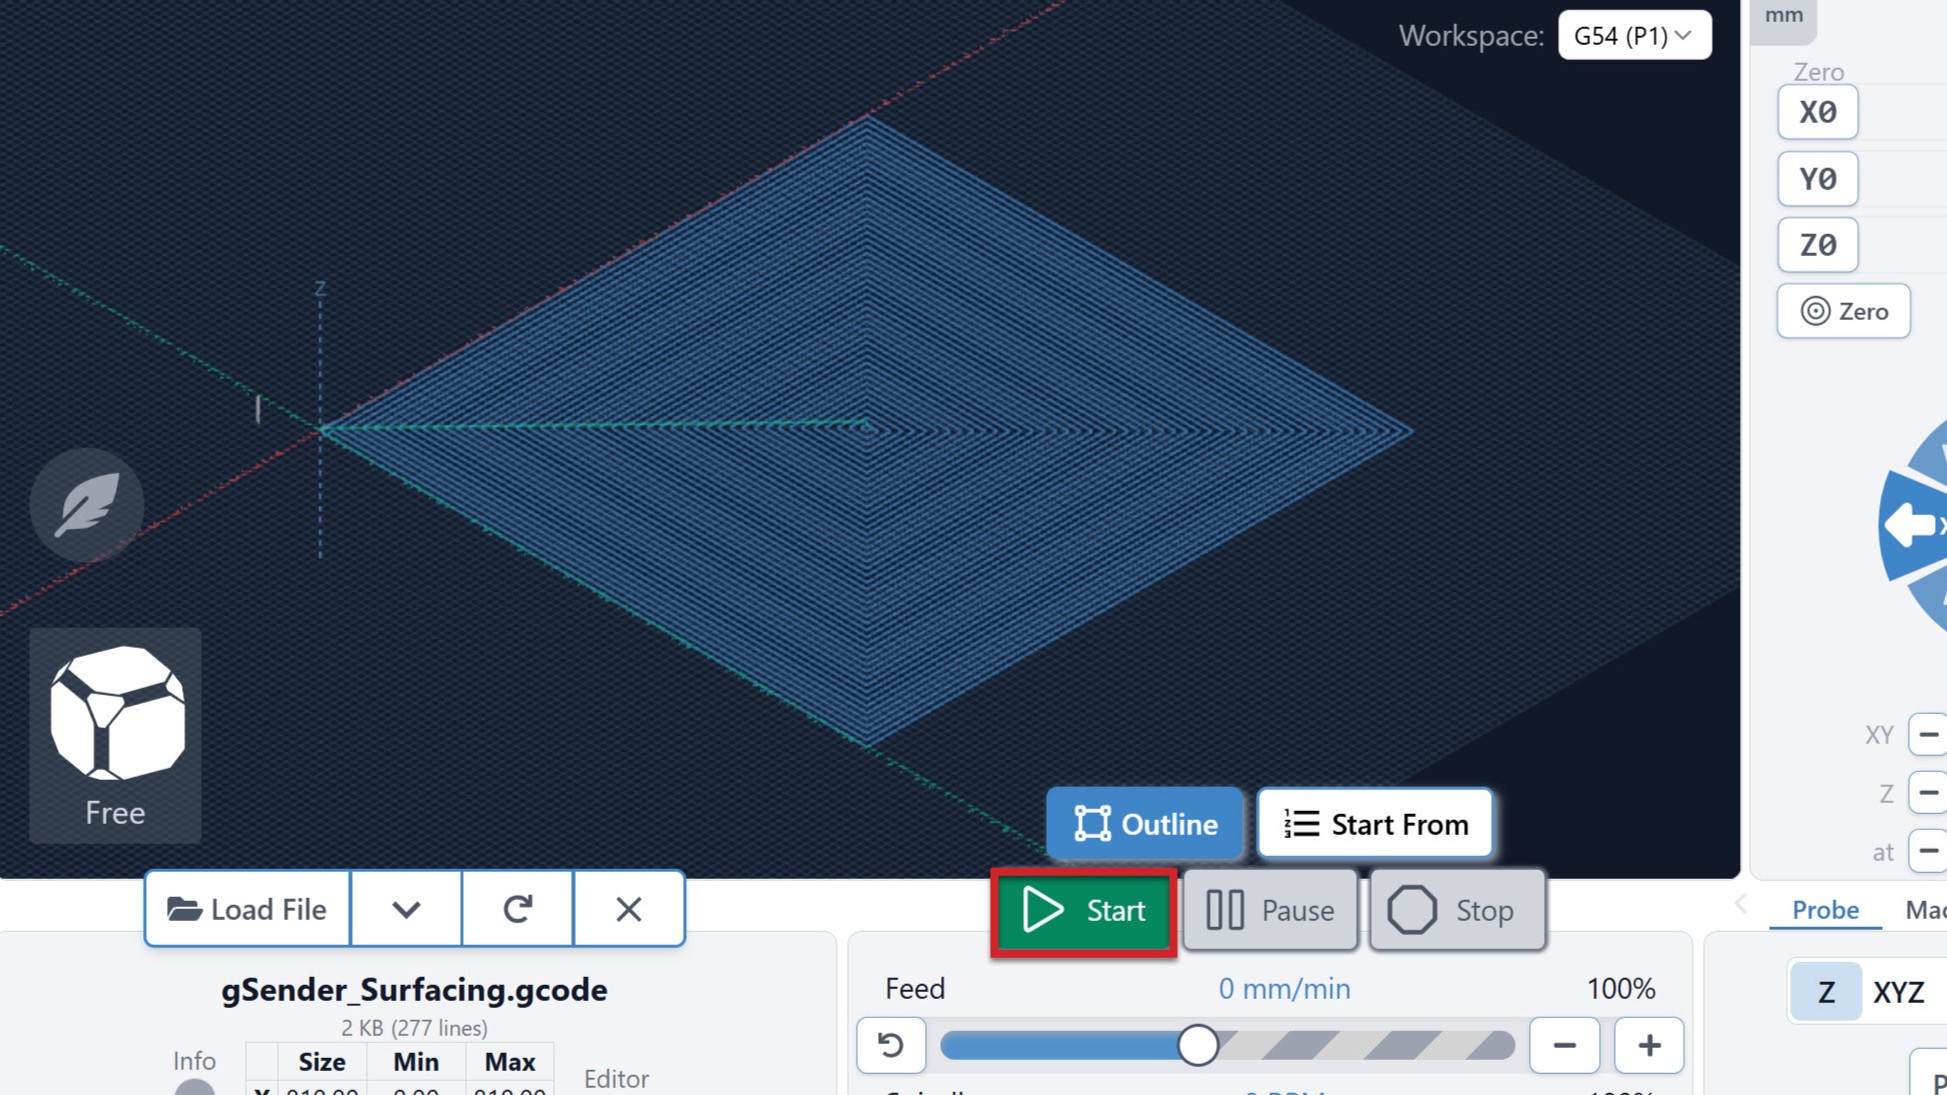
The router should start spinning up on its own, and the machine should start moving and cutting your wasteboard!
-
Once surfacing is complete, go into Config and enable the Soft and Hard Limits again and press Apply Settings.
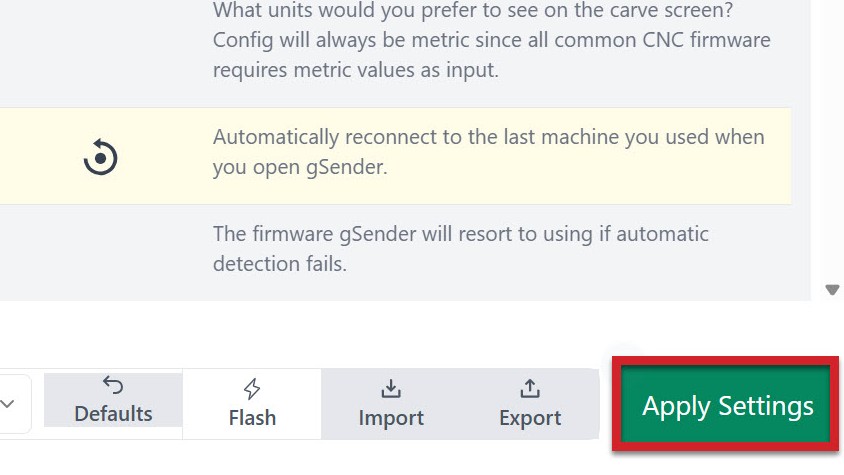
Turn OFF/ON the controller to have the changes take effect.
Congratulations on getting your wasteboard surfaced!
Project: CNC Test Carve
Learning Goals

☑️ How to do a tool change in between jobs
☑️ How to check squareness of your machine and identify cutting issues
☑️ How to install different sized bits
☑️ Know what workholding to use based on the project
☑️ How to zero the machine either manually or with the touch plate
☑️ How to run a new job/g-code file on gSender
Our first project will be a short diagnostic test carve.
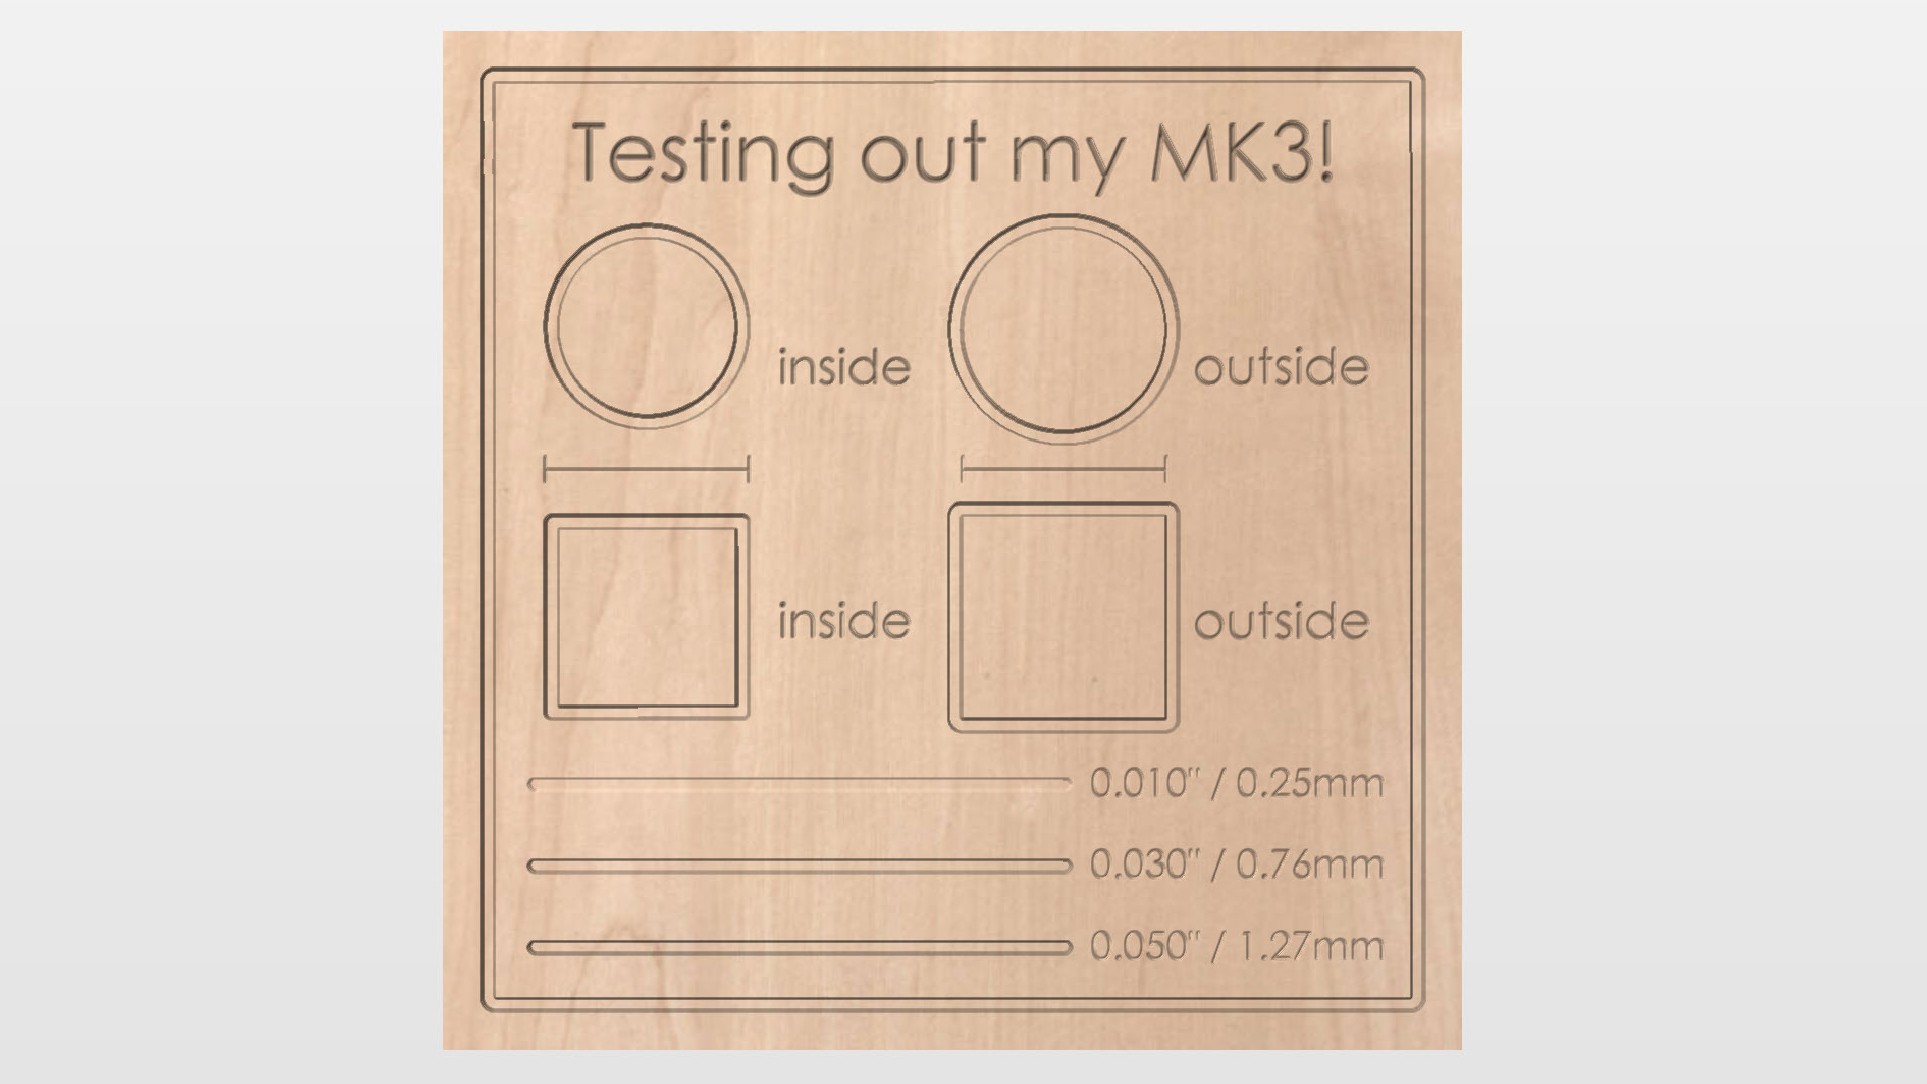
This should highlight any cutting issues happening in X, Y and Z axes. Look out for:
- Roundness and squareness of the shapes
- Accurate cutting depth at the 3 lines
- Shapes are correctly offset from the 2″ long line
- Inside means the outer contour of the shape is bound within the 2″
- Outside means that the inner contour of the shape is bound by the 2″
To do this project we will use two different cutting tools. You will run one g-code file with the first tool, switch over to the second tool, then run the other g-code file.
Download the two g-code files here:
Prepare Items
-
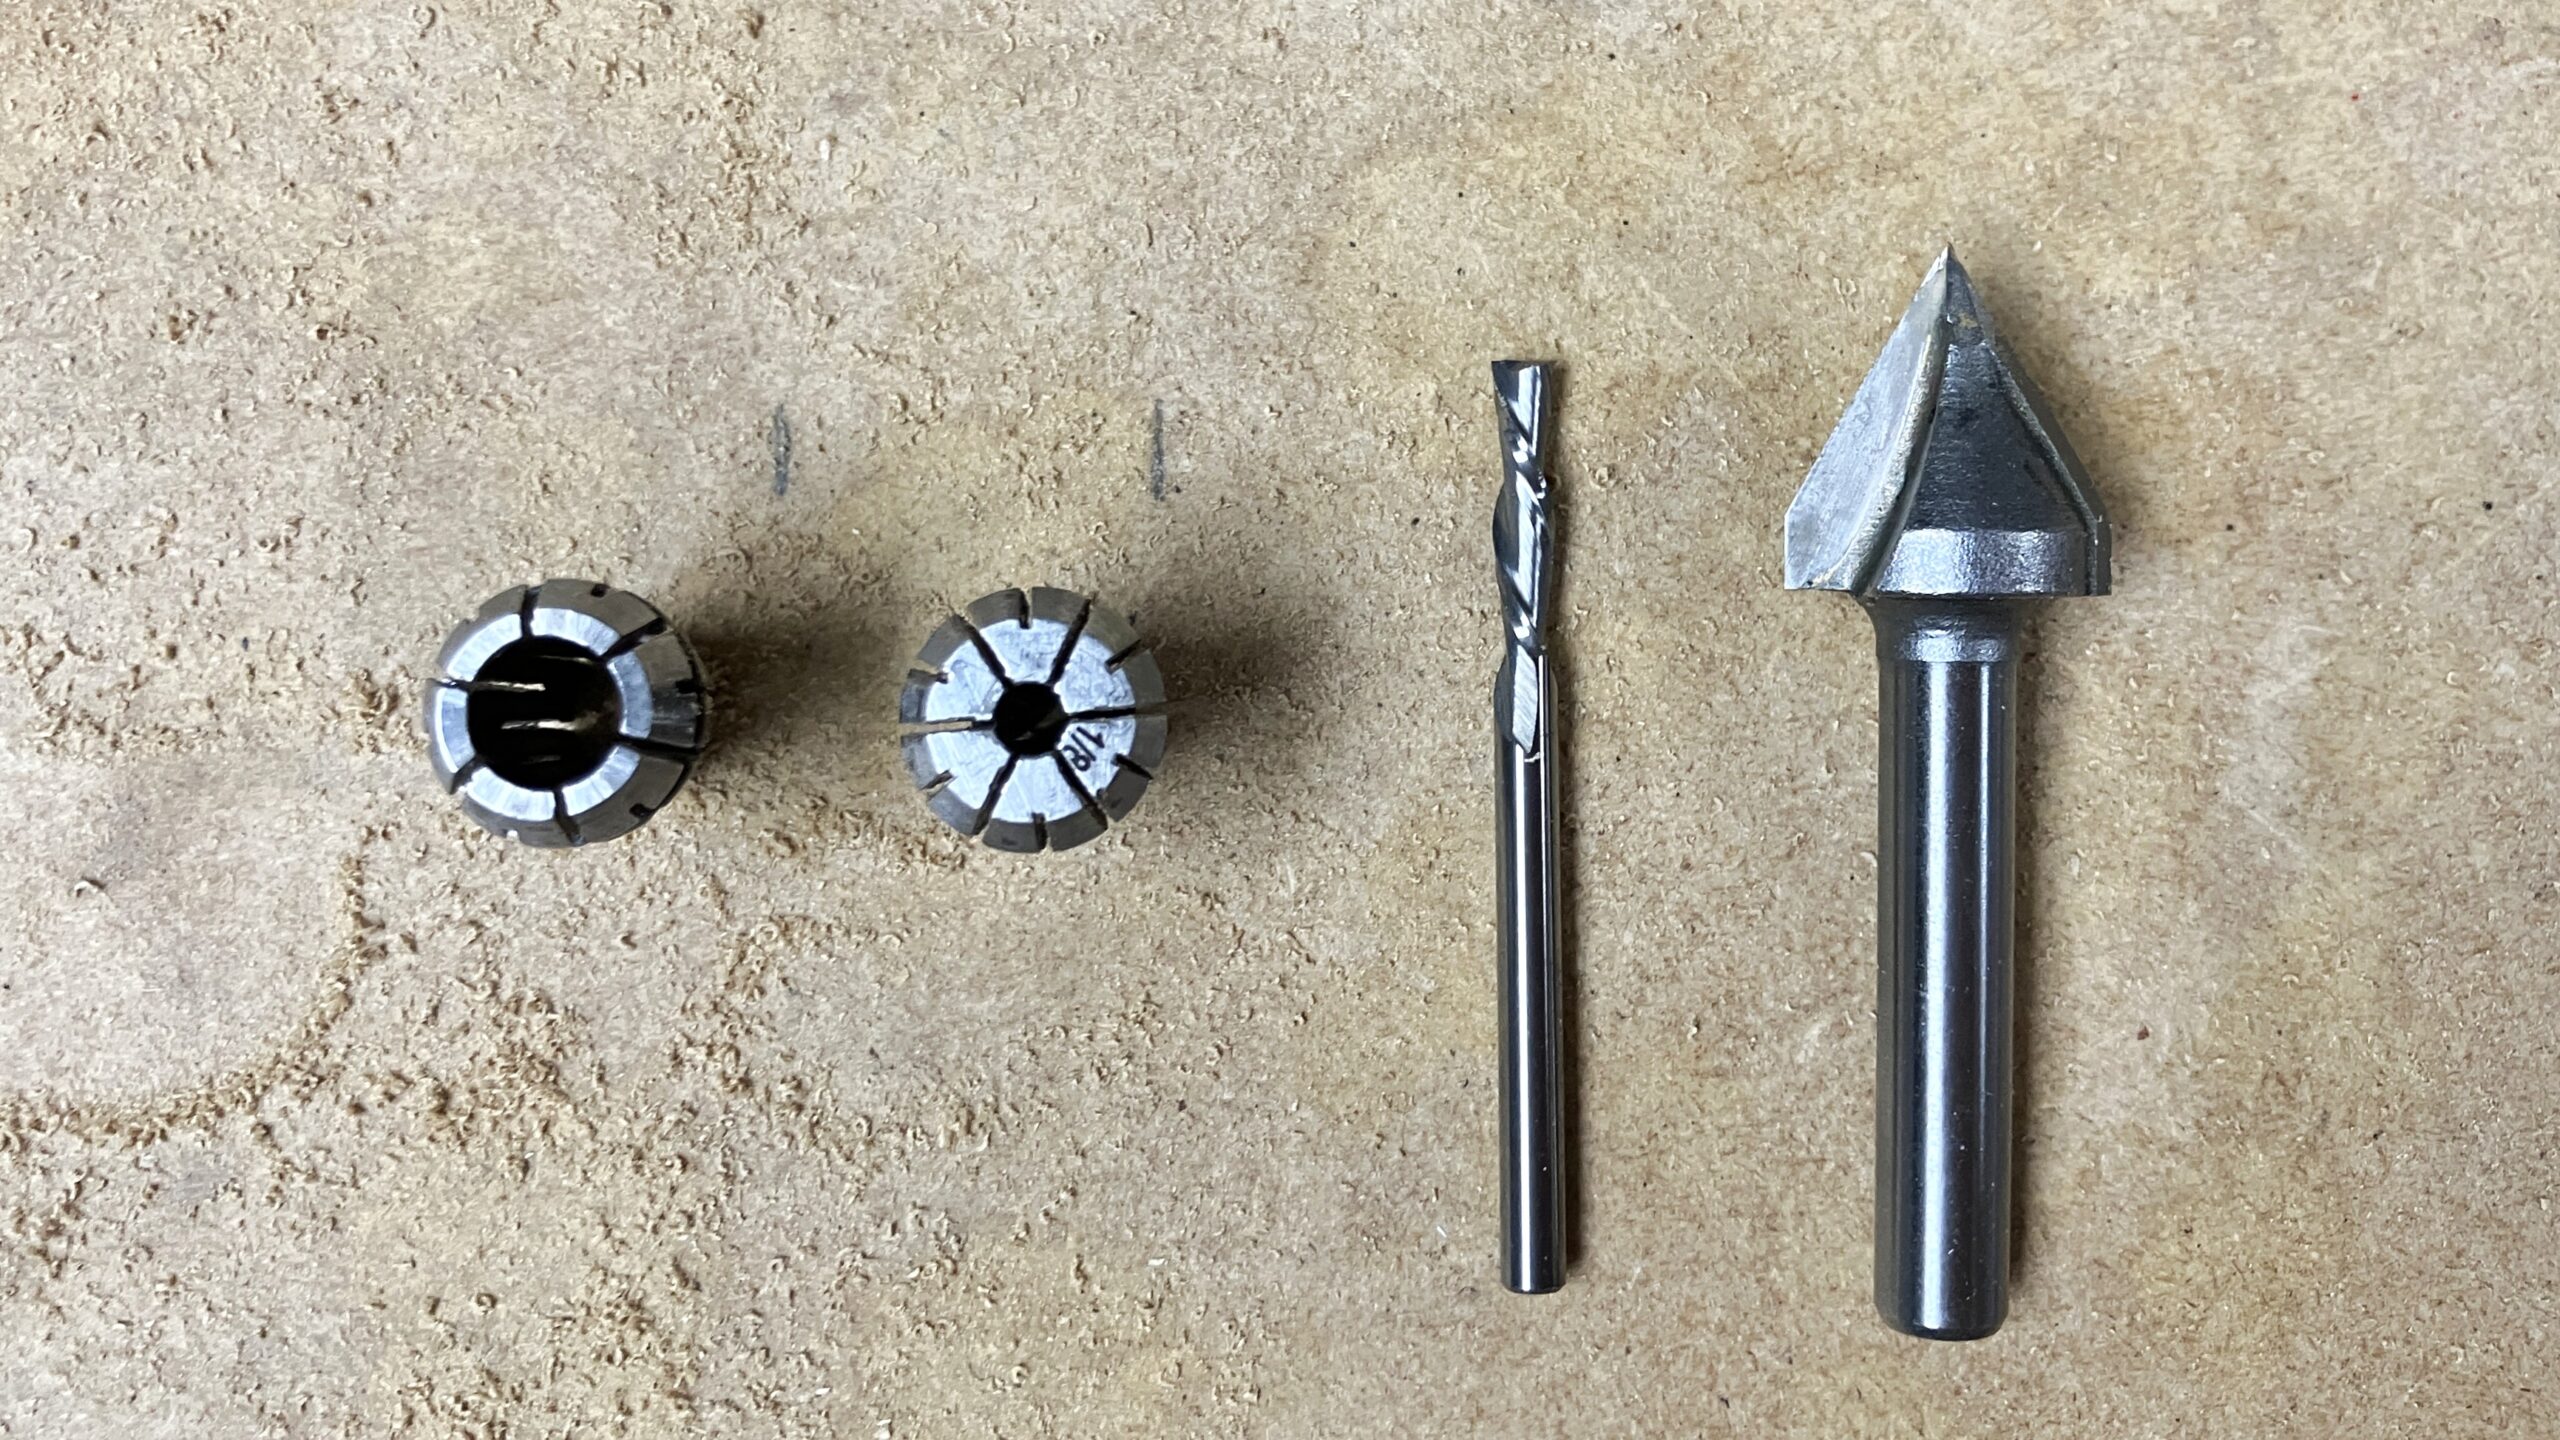
Find these tools from the Starter End Mill pack and AutoSpin box that came with your Beginner’s Kit.
- 1/8″ flat end mill
- 60 degree V-bit
- 1/4″ ER11 collet
- 1/8″ ER11 collet
-
Source a flat piece of wood that is at least 10″x10″x1/4″. This will be your stock material for this job.
-
Install and/or use a workholding method that holds the material from the sides or underneath, like double sided tape.
-
If you have it, grab your AutoZero touch plate. Learn how to set up and use it from this page before proceeding.
-
If you want to measure the accuracy of the cuts, grab digital calipers.
Set up and Run the Job
-
Secure your material with workholding clamps, tape, or another method. It should be relatively square and flat on your wasteboard.
-
Install the 60 degree V-bit and 1/4″ collet onto your AutoSpin. If you need a reminder on how to do this, see this page.
-
Connect to gSender. Clear any alarms by pressing and releasing the E-stop on your SLB-LITE, then press Click to Unlock Machine on gSender.
-
Home your machine.
-
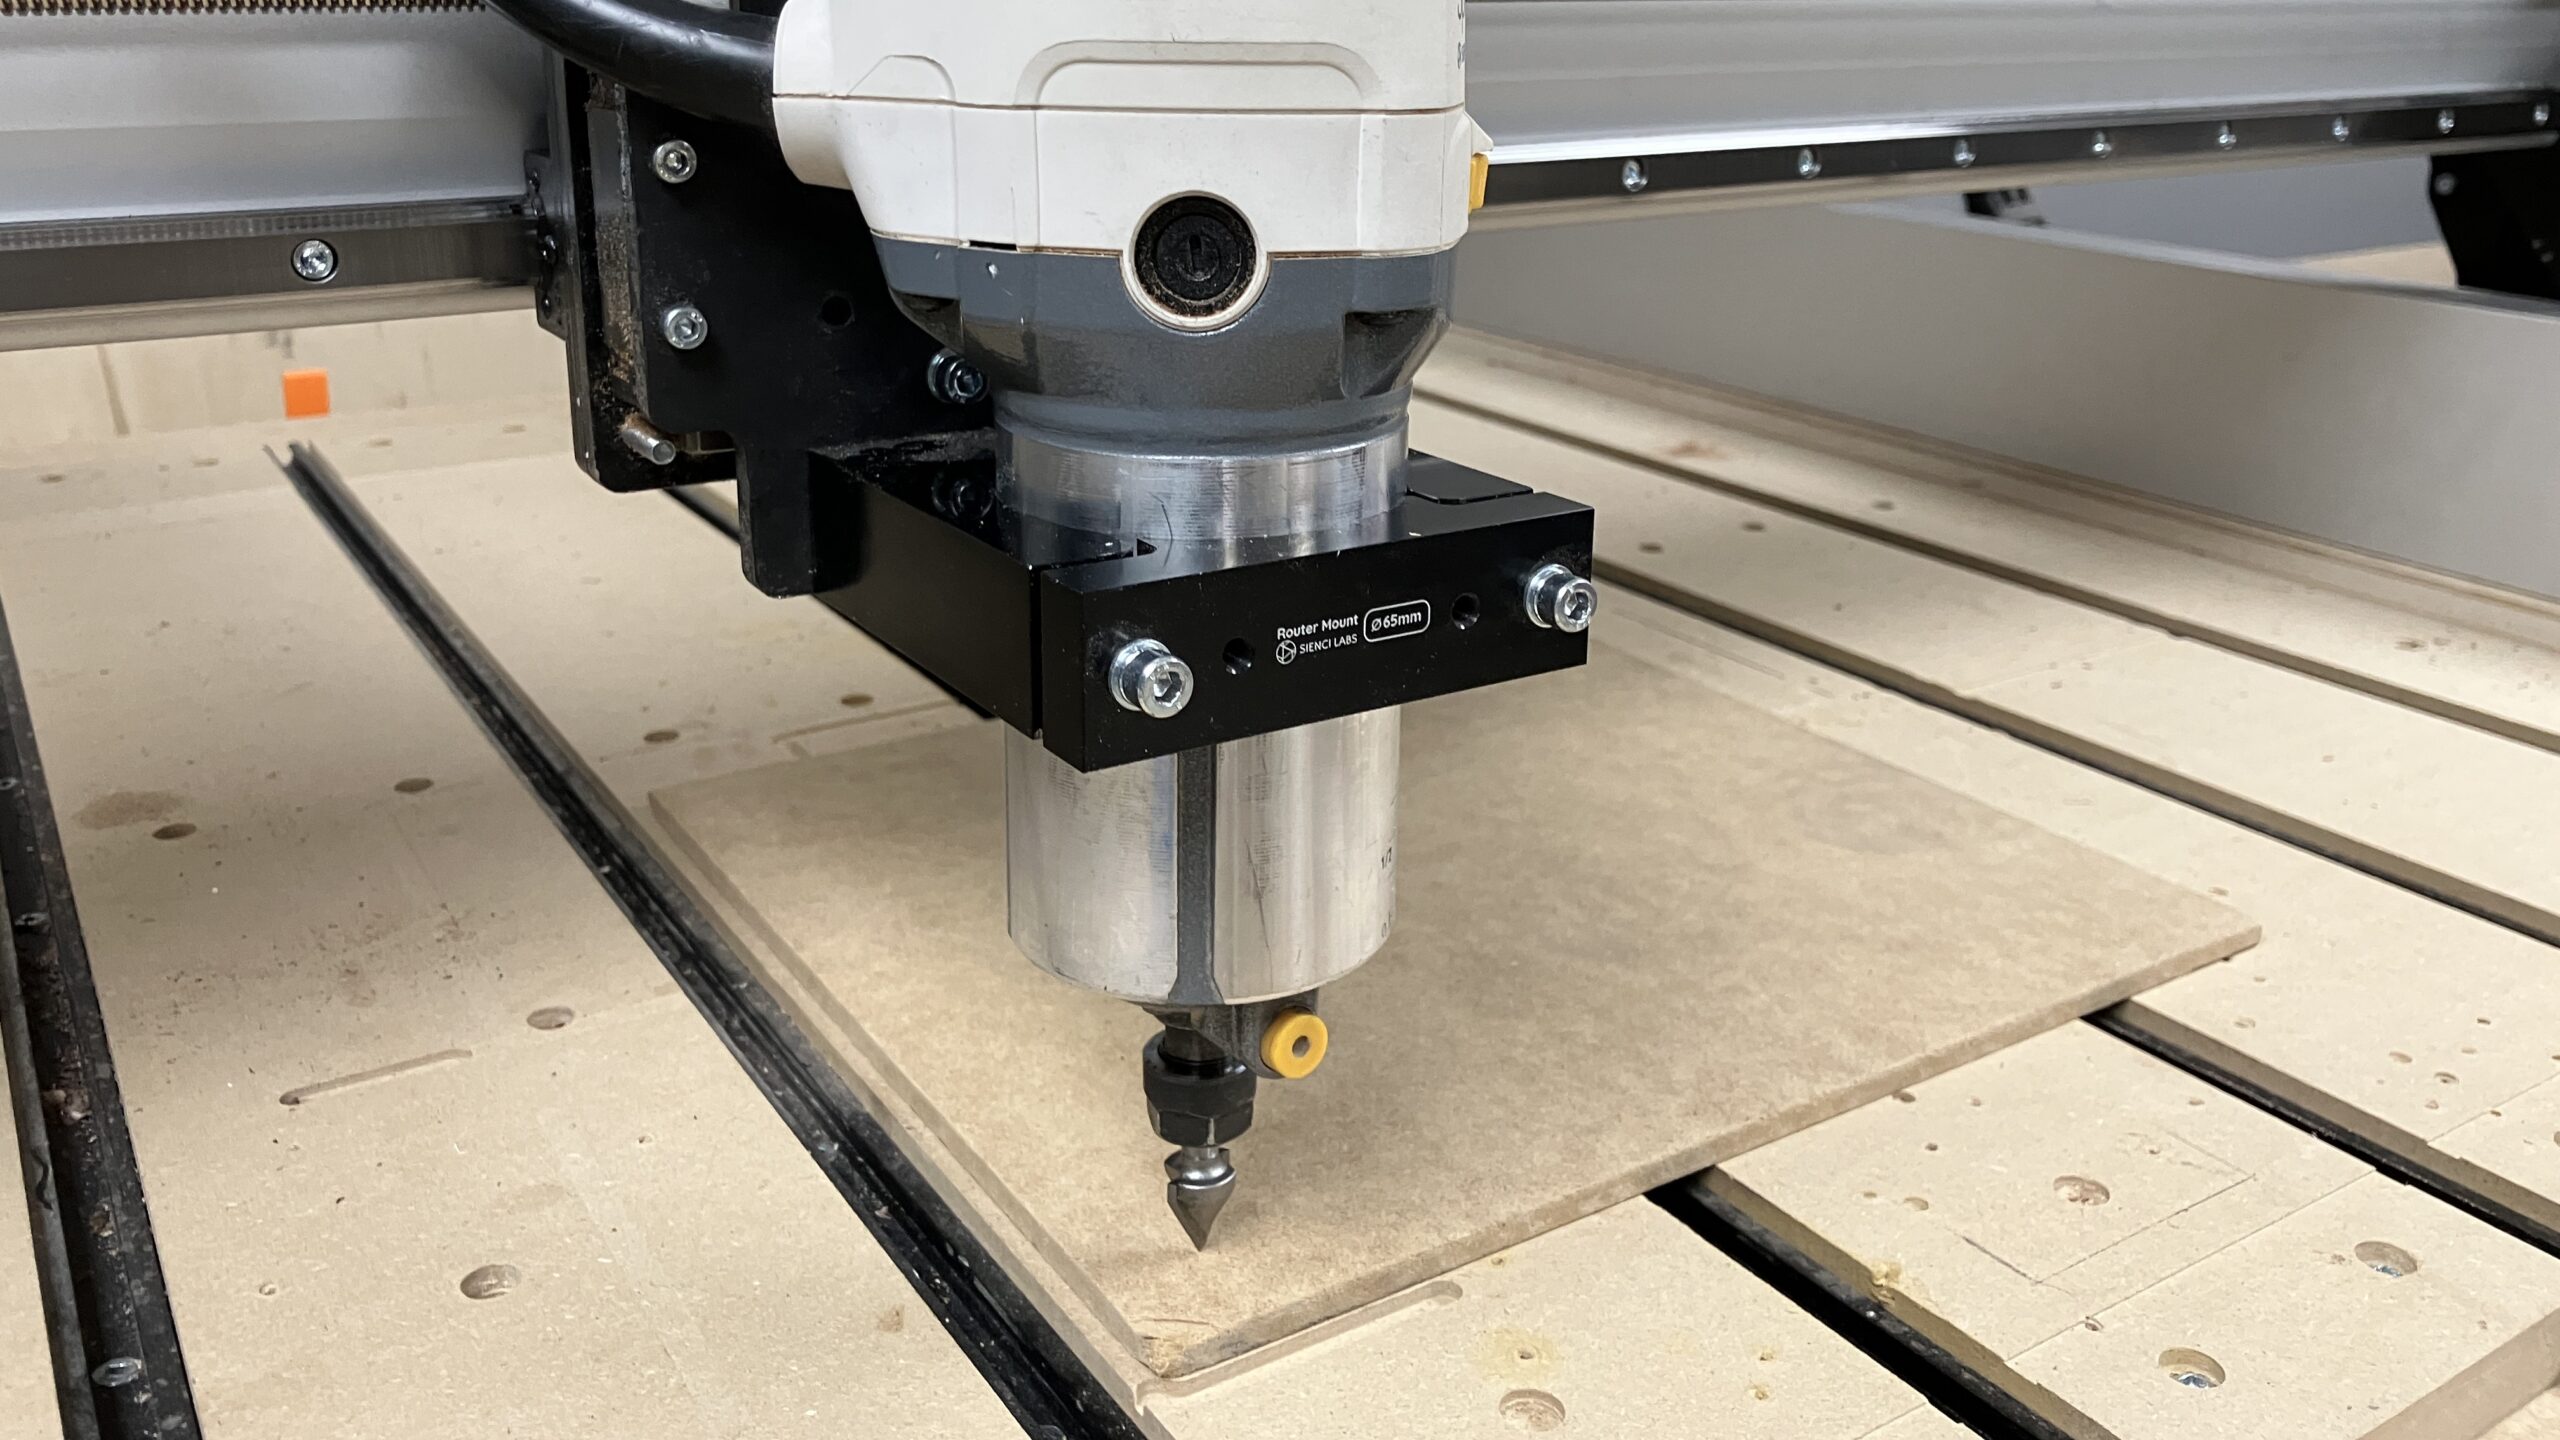
Jog your machine so the V-bit is at the front left corner of your material, and the V-bit touches the material surface. Then zero your X, Y and Z.
- Zero manually – Set it at the corner if your material is exactly 10″x10″. In the picture below, our material is larger than 10″x10″ so we’ve set the zero slightly away.
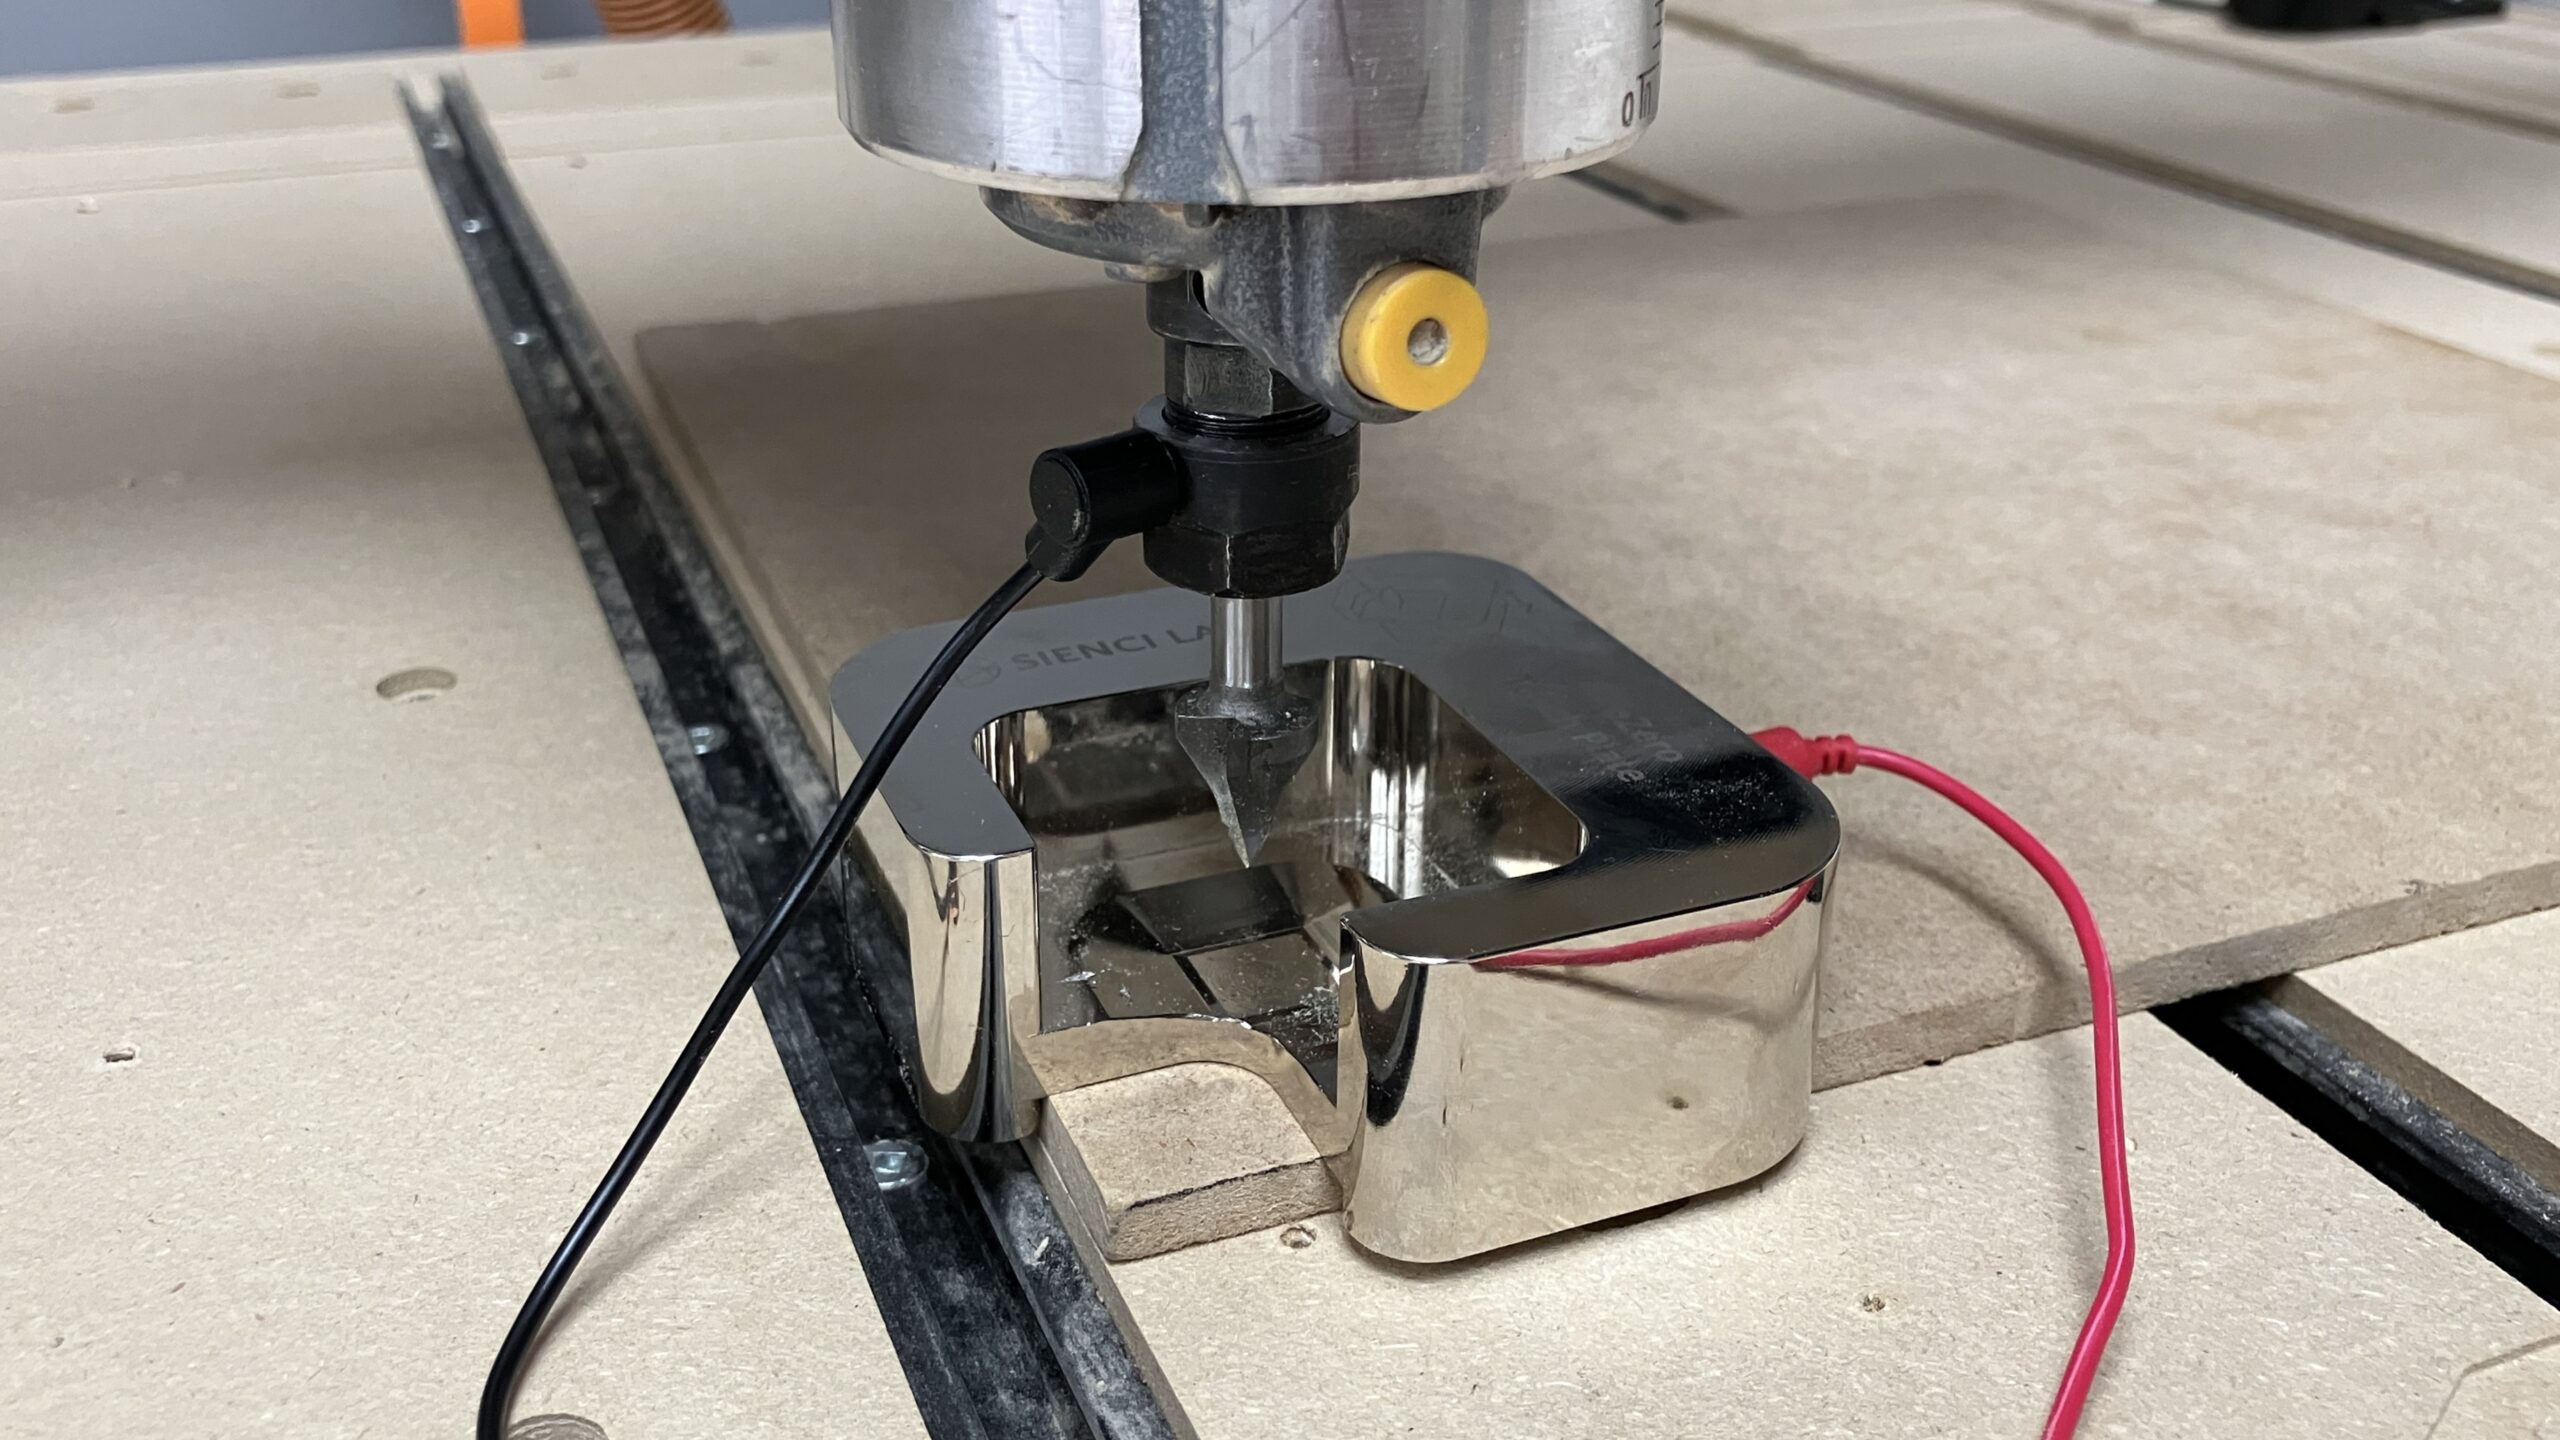
- Zero using AutoZero touch plate – place the block at the front left corner, select XYZ then press Probe. Contact the end mill and touch plate together to verify continuity, then press Start Probe! Once complete, remove the AutoZero and the magnet from the router.
-
Jog your machine upwards, then install the MK3 dust shoe.
-
Check that your AutoSpin router is ON and it is set to Spindle Mode (S) on the dial.
-
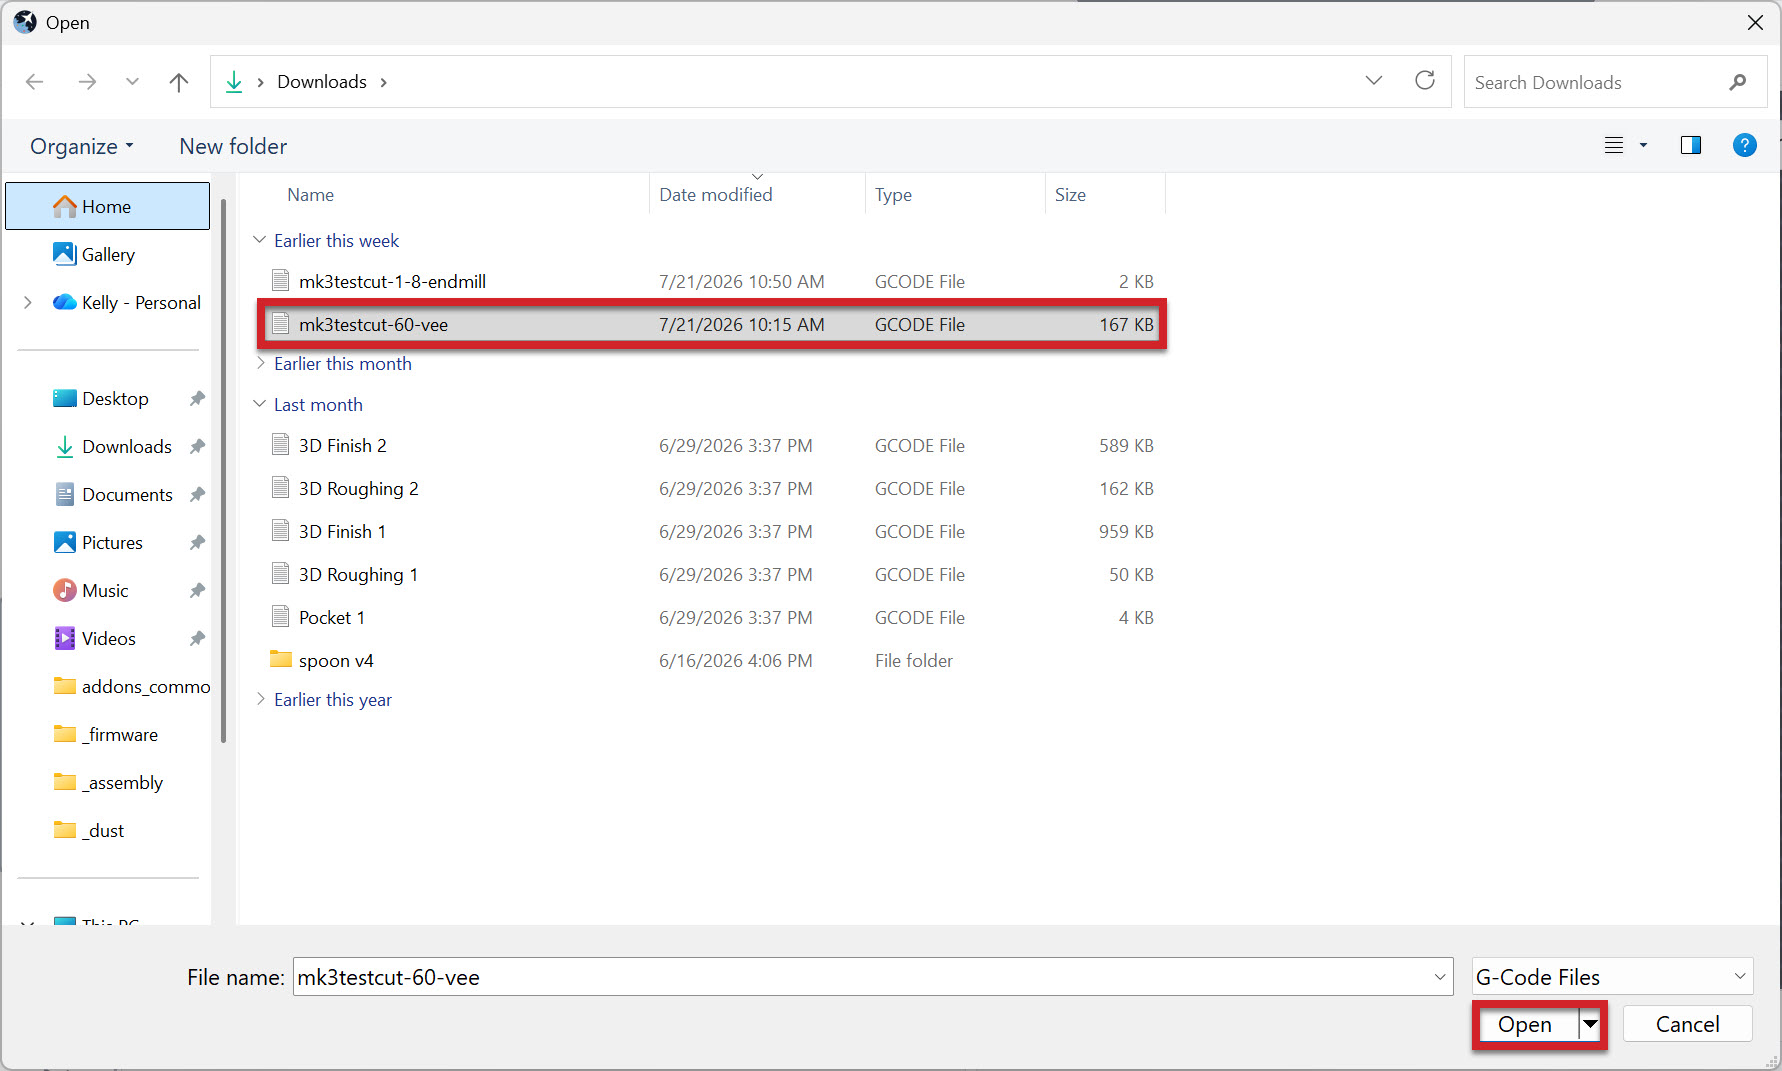
We are almost ready. Press Load File and select the mk3testcut-60-vee file. Then click Open.
-
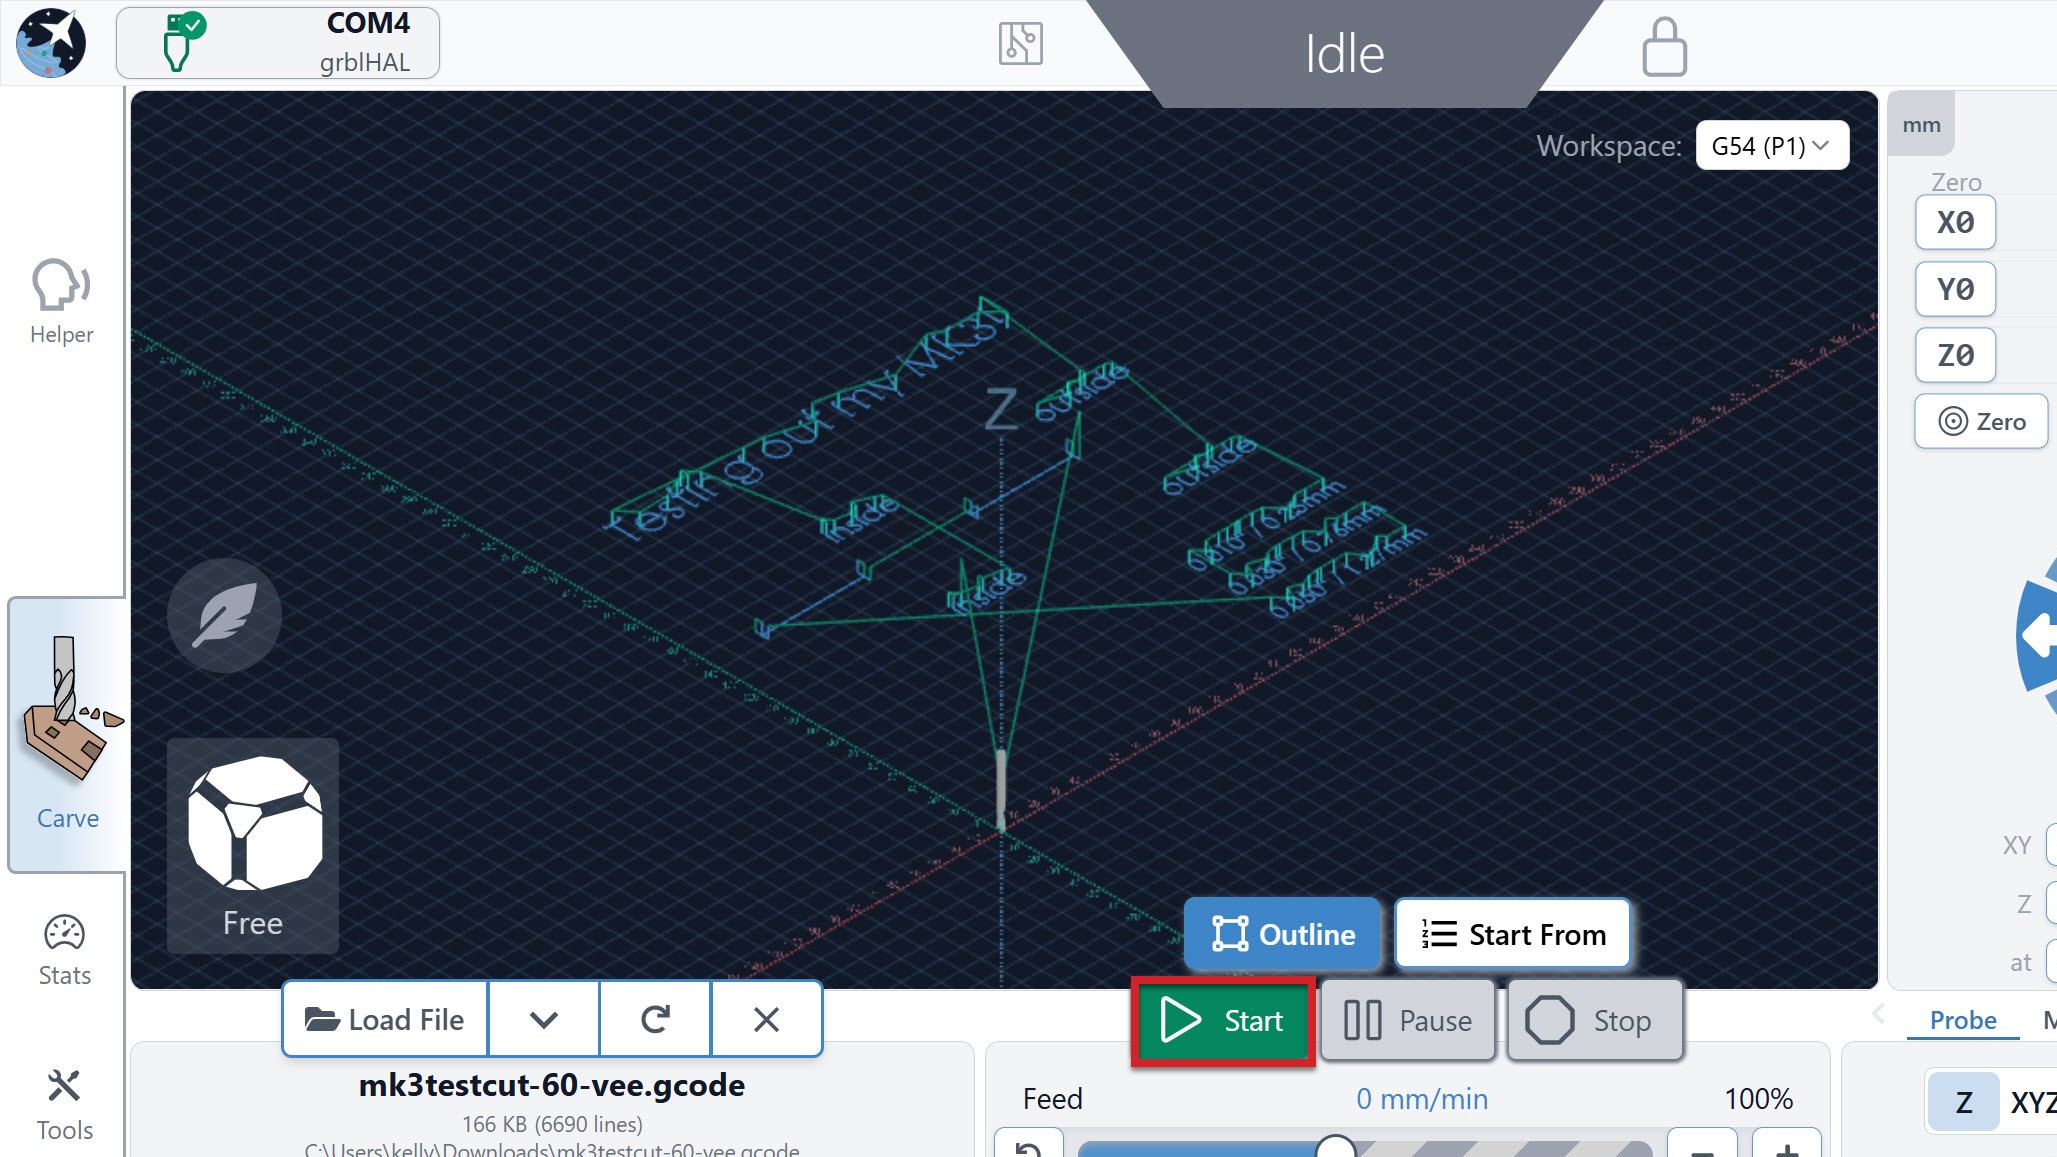
Run the job by pressing Start! This job should only take a few minutes.
-
Once the job is complete, jog the machine up and towards you, so you can change your tool.
-
Grab the 1/8″ flat end mill and 1/8″ collet. Change out the tool.
-
Then zero the Z-axis ONLY, at the uncut surface of your material.
- DO NOT zero the X and Y. Both g-code files use the same XY origin/zeros.
-
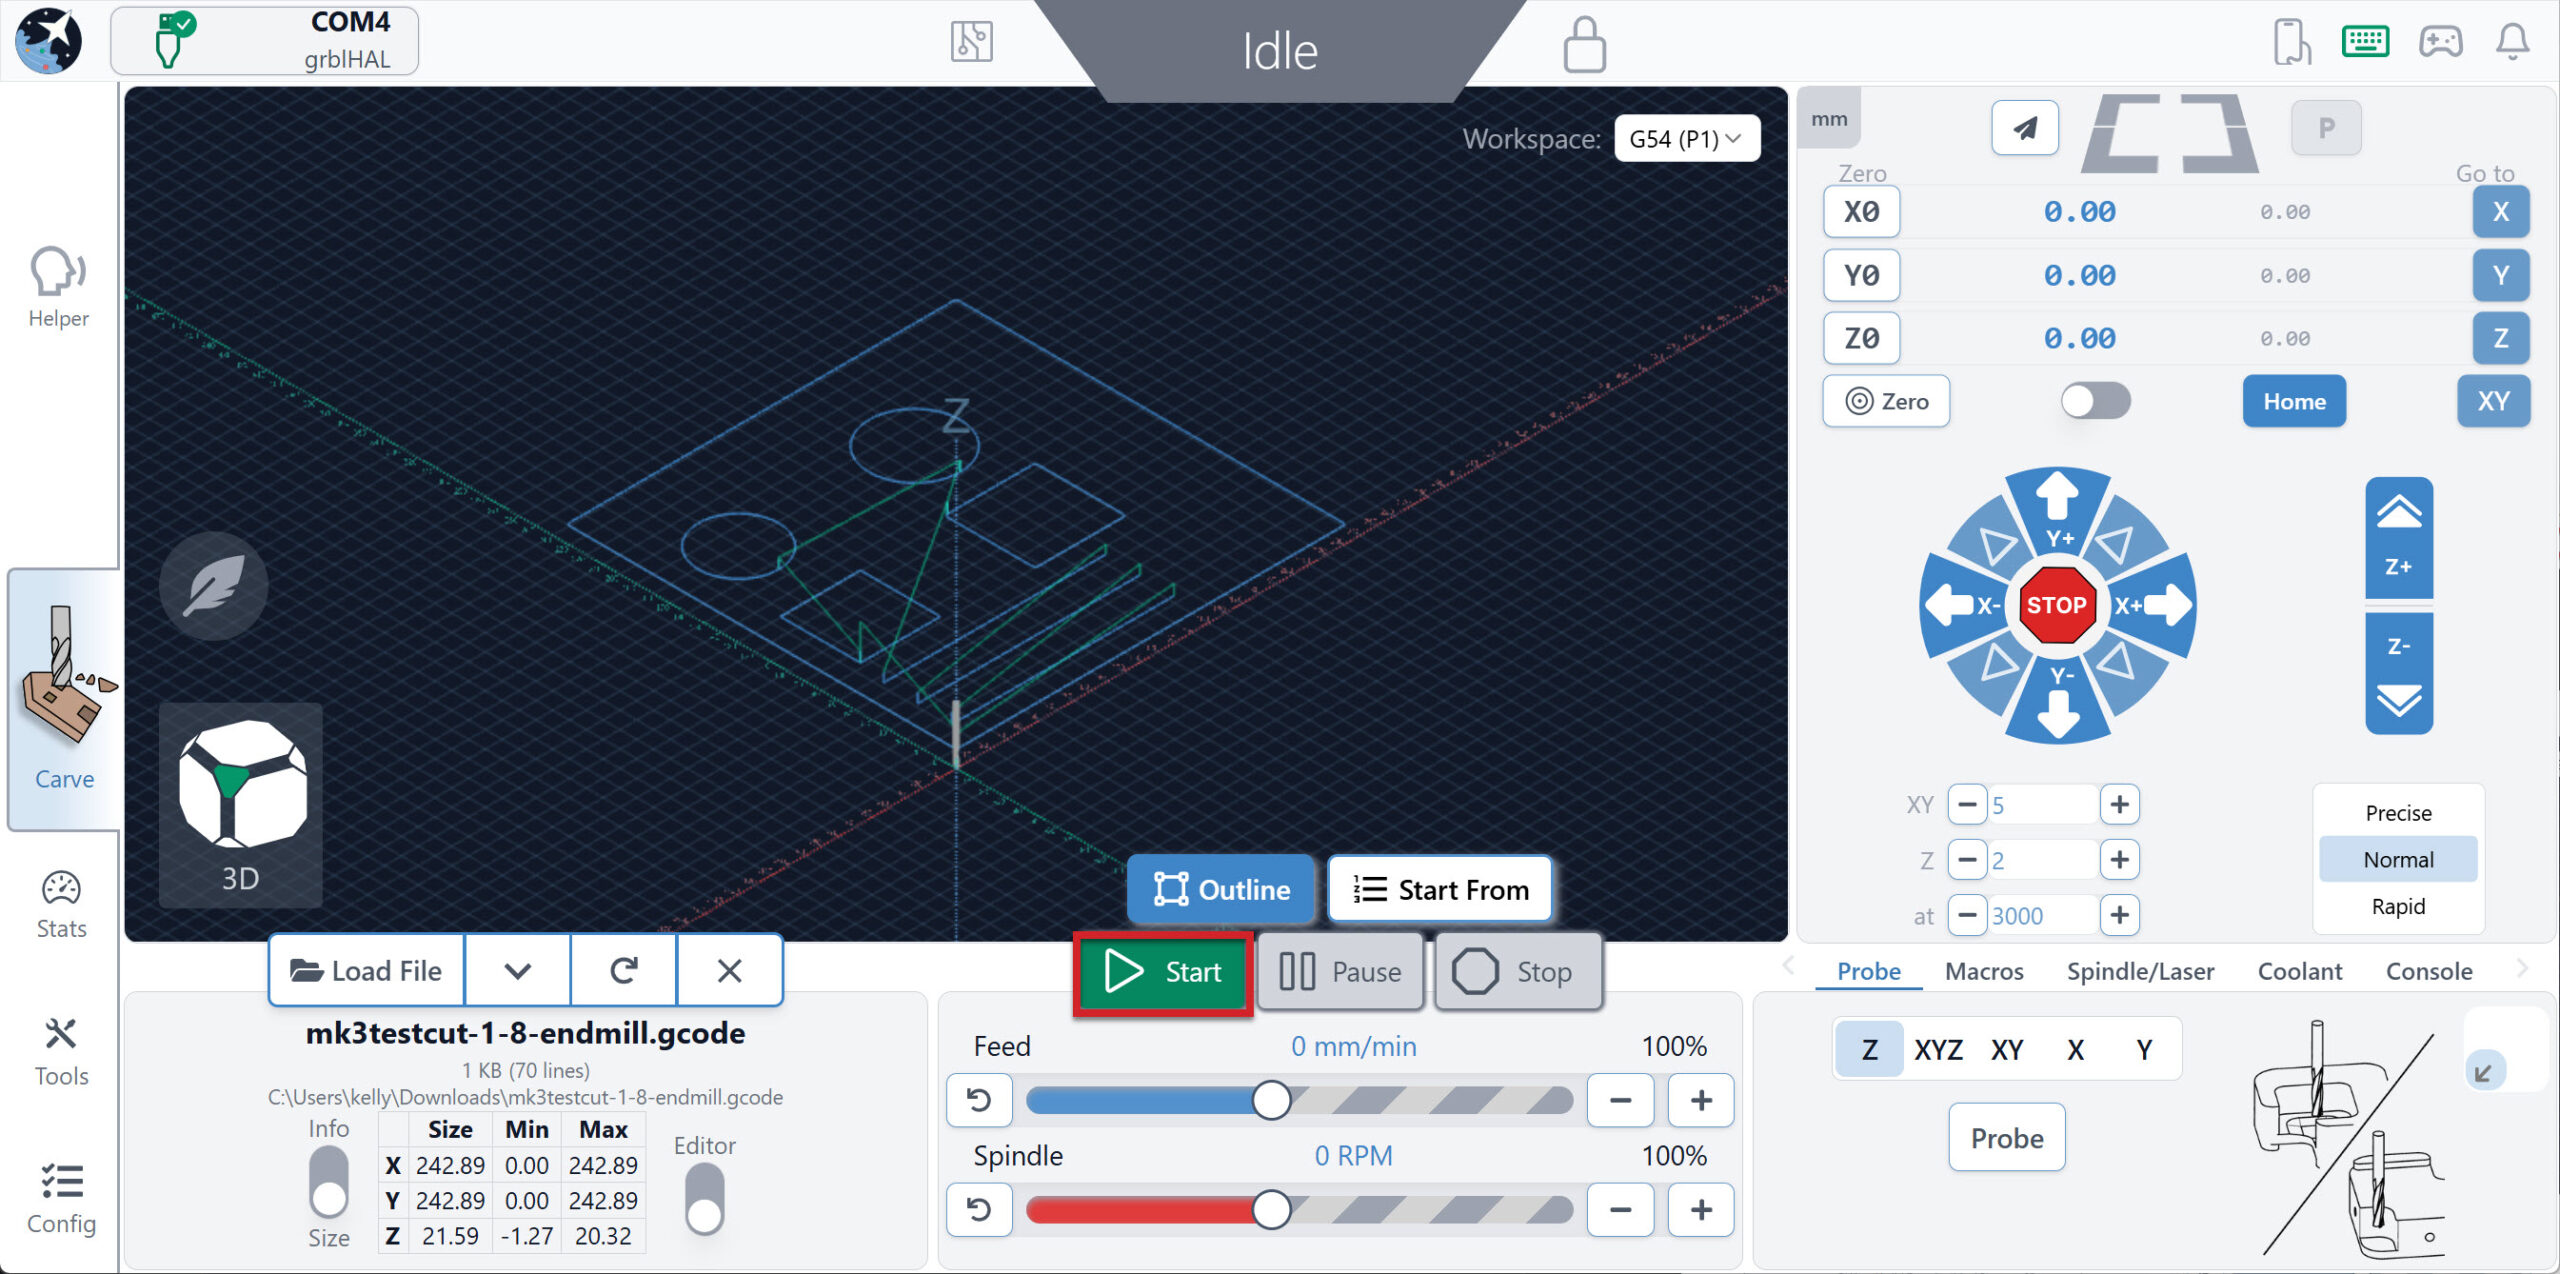
Press Load File and select the mk3testcut-1-8-endmill file. Then click Open.
-
Run the new job by pressing Start! This job is also very short.
-
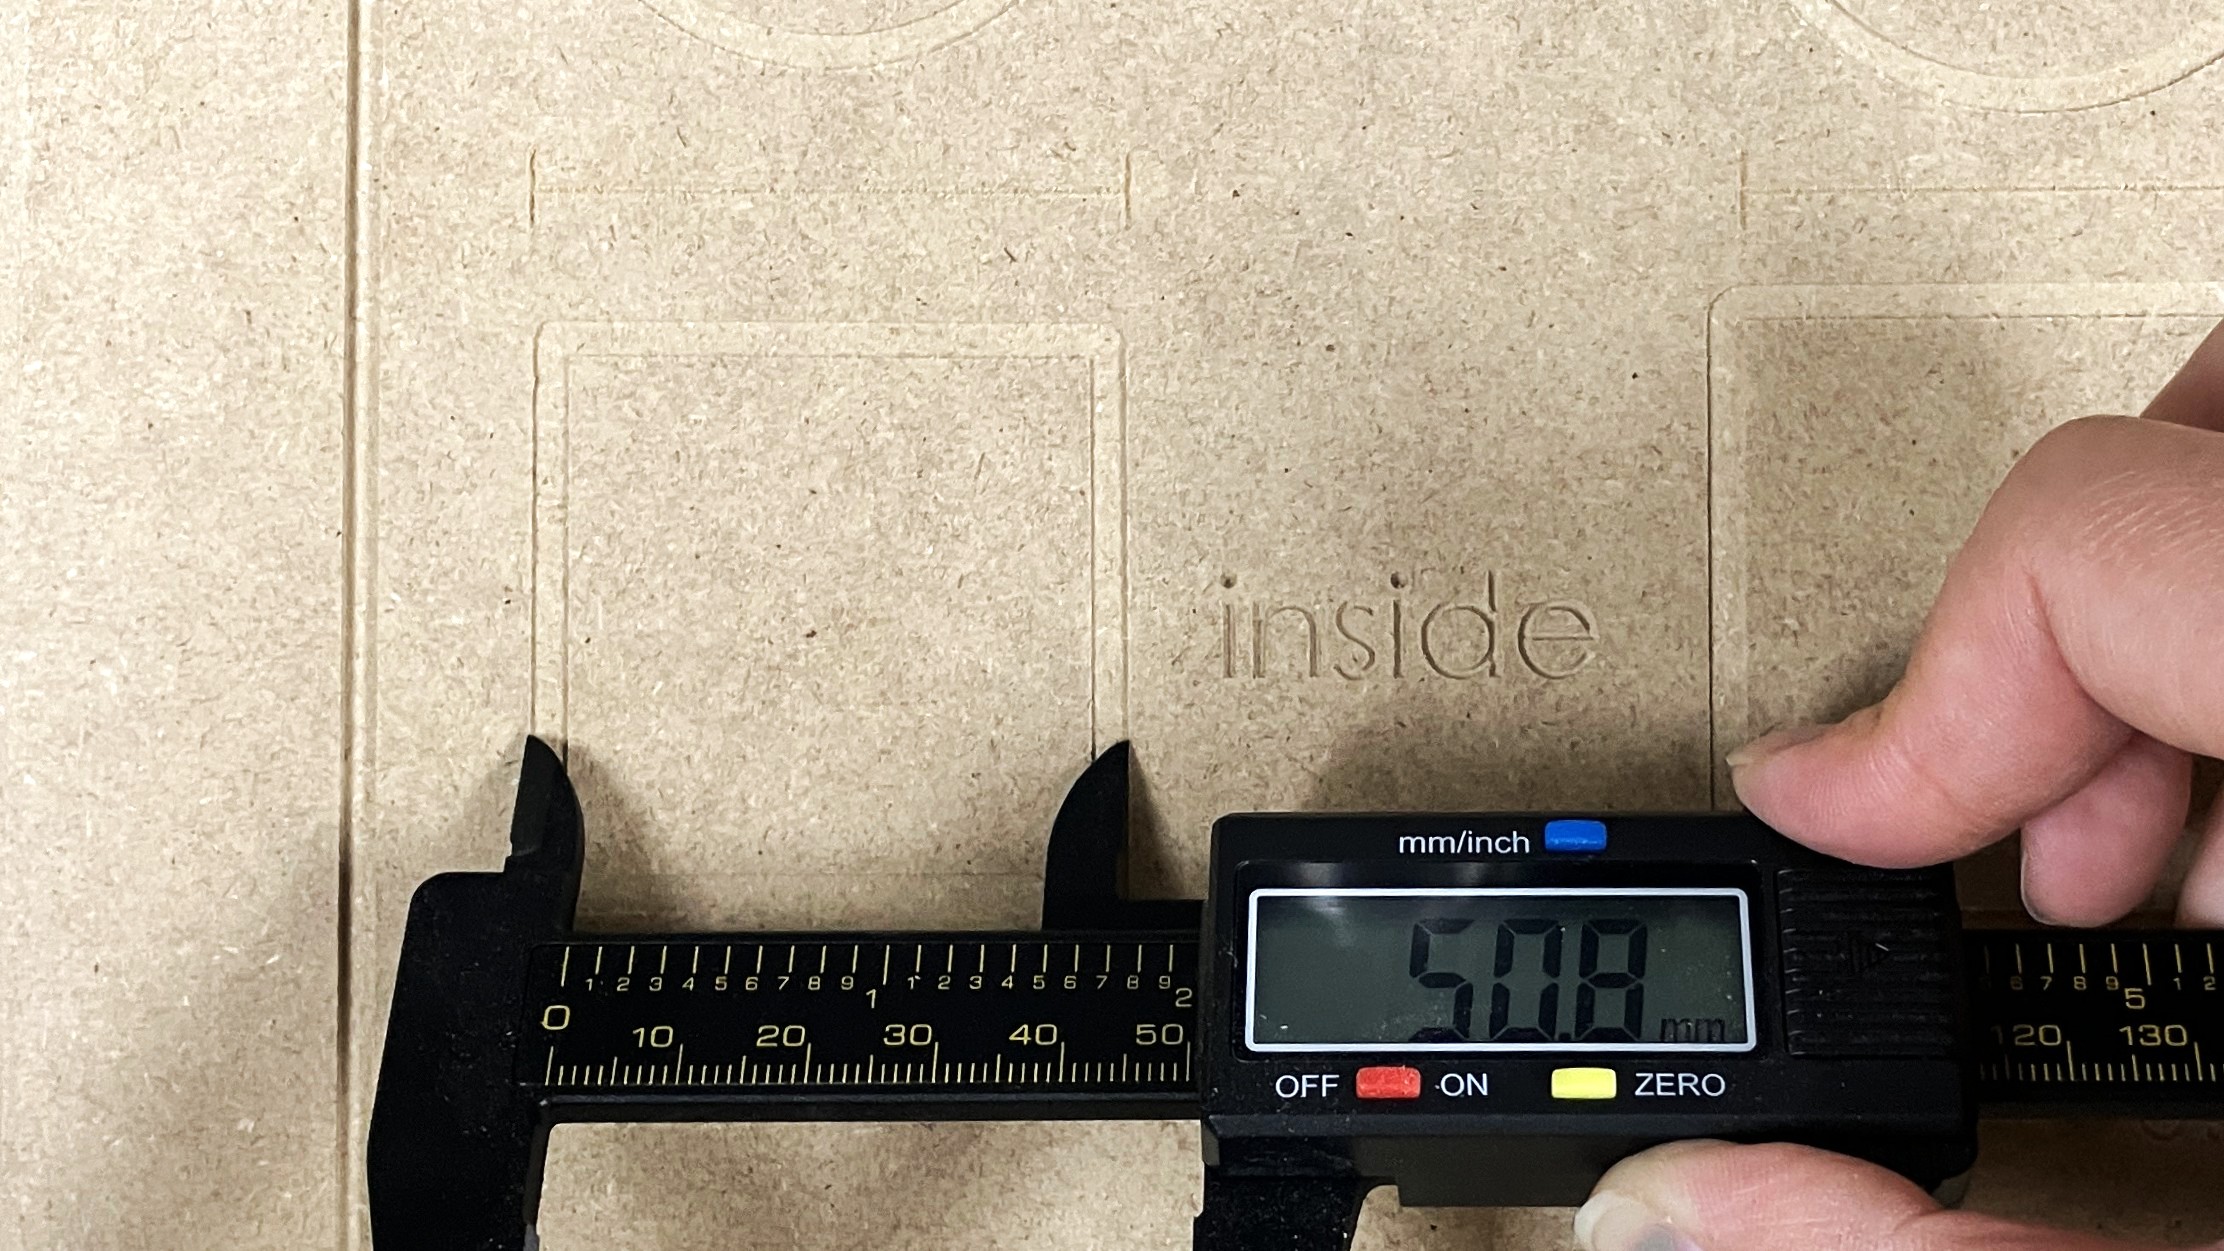
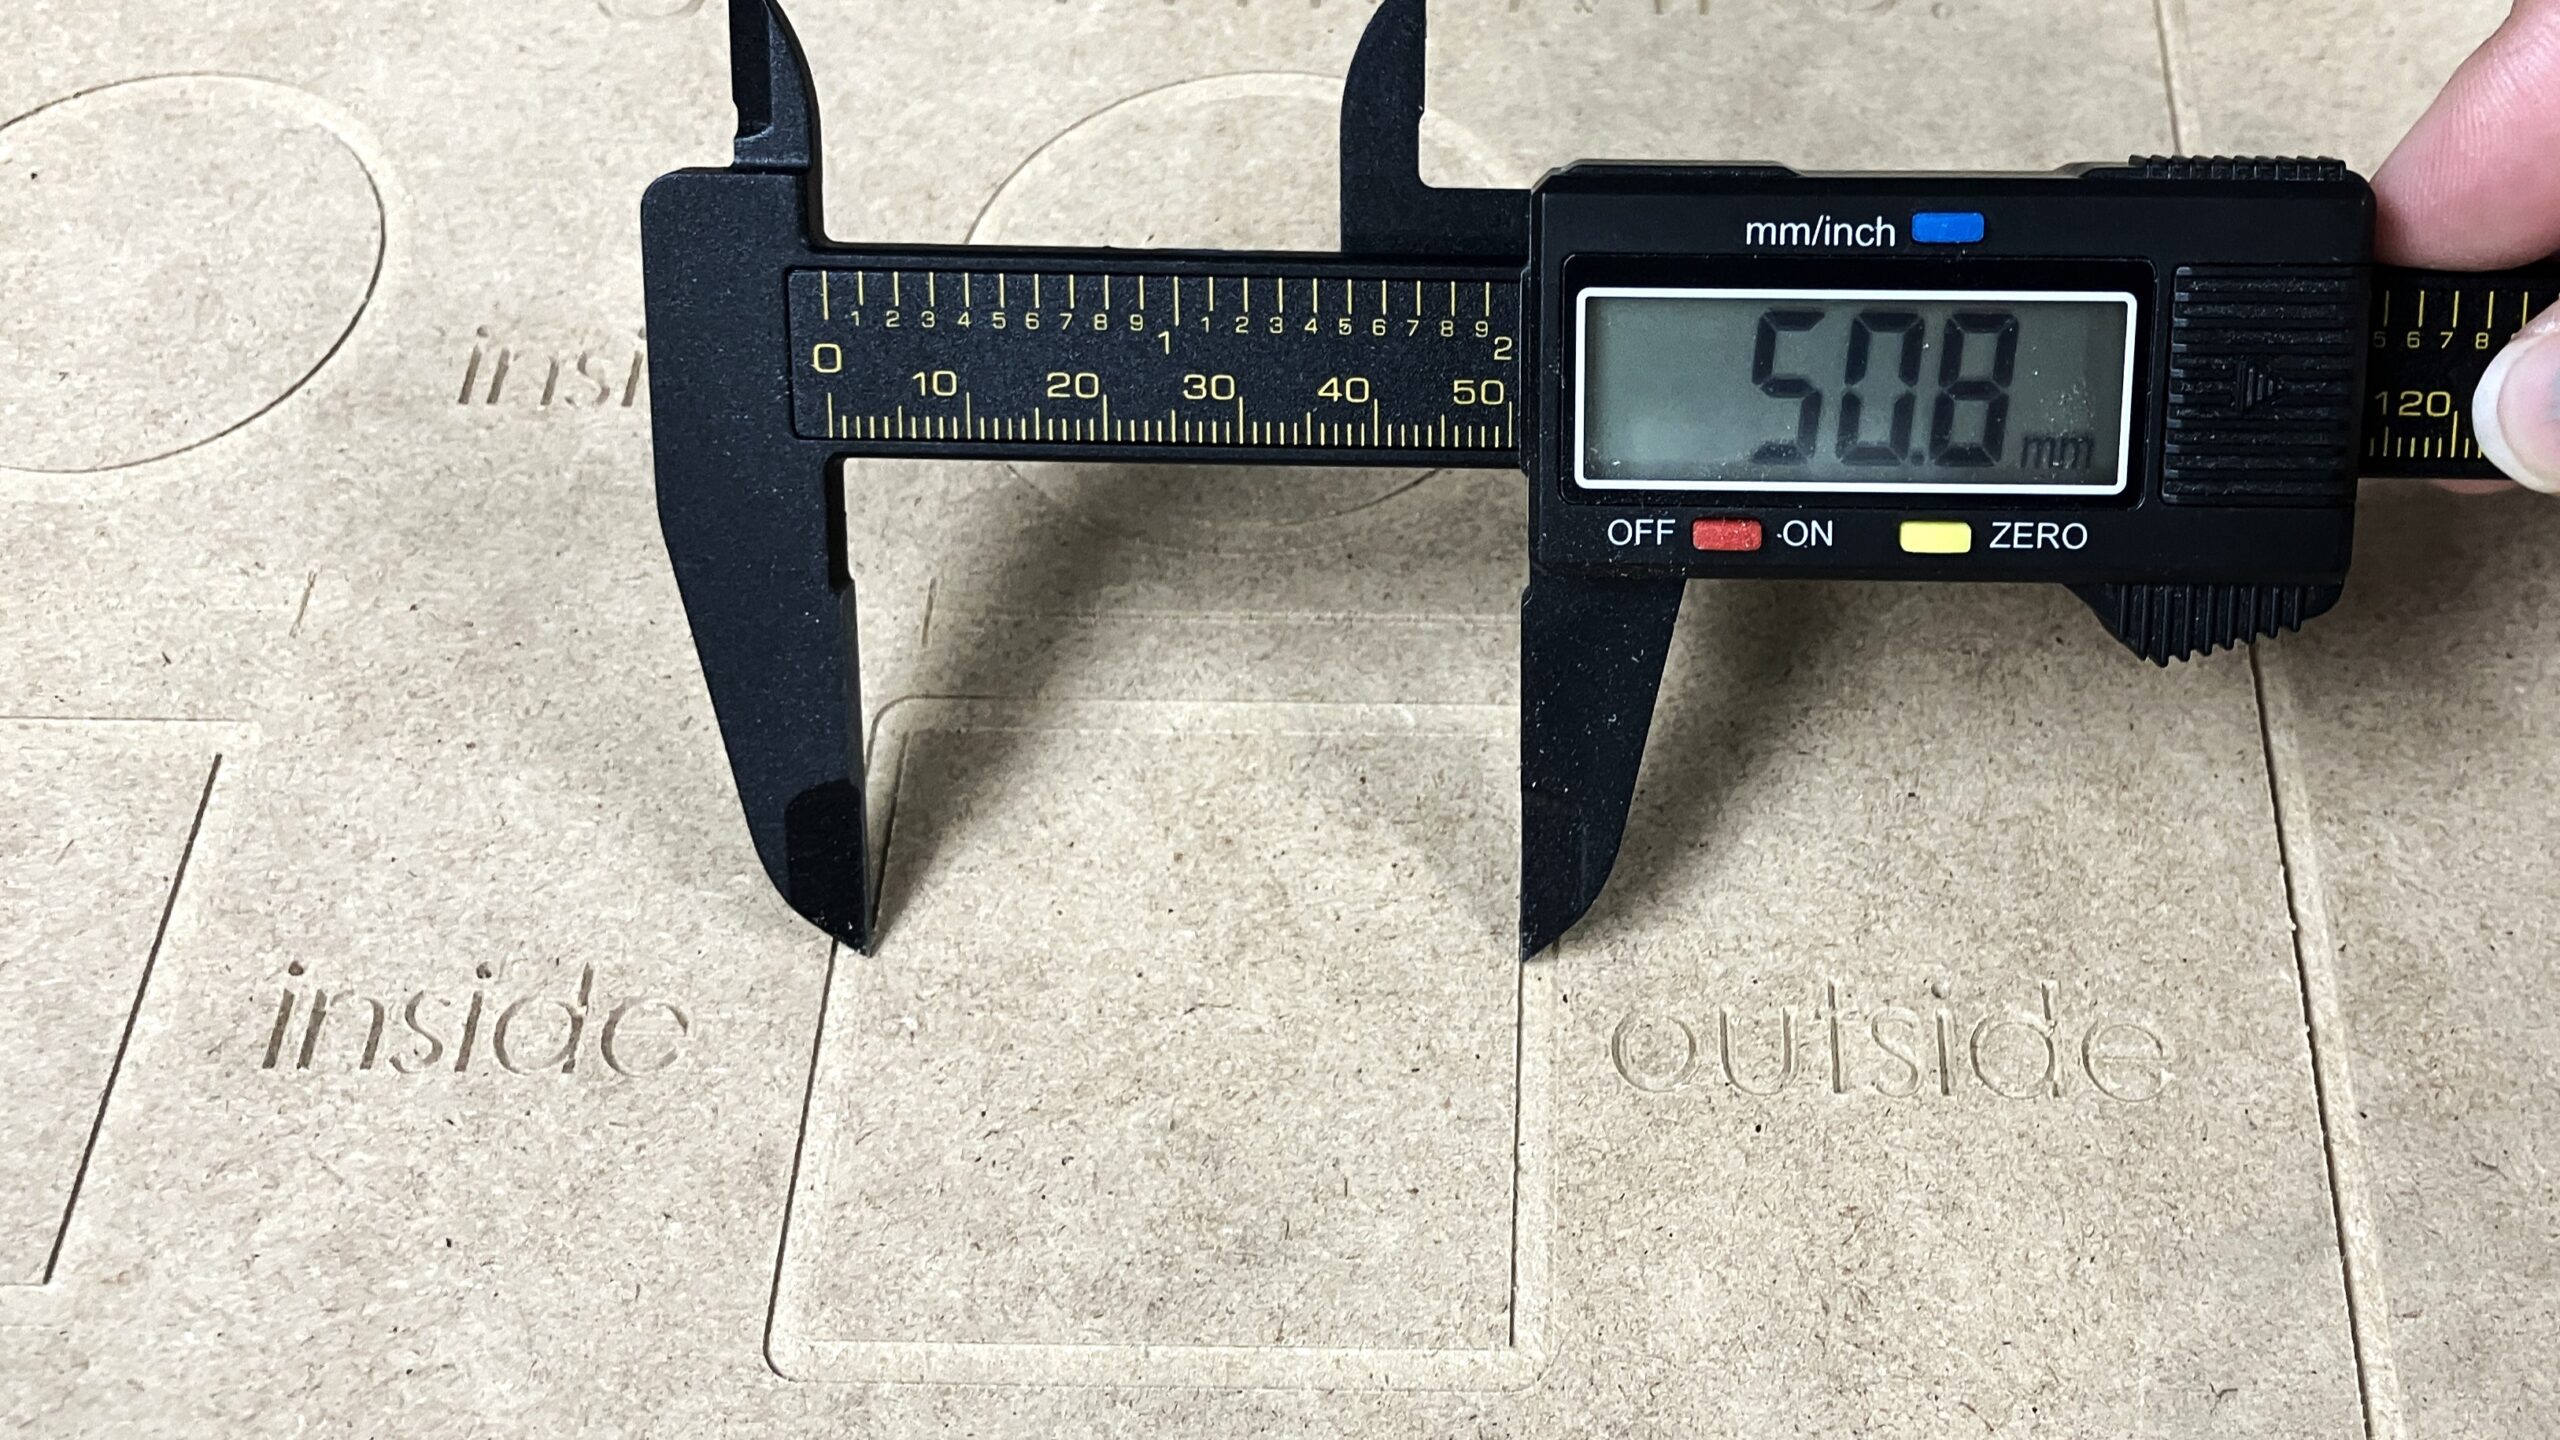
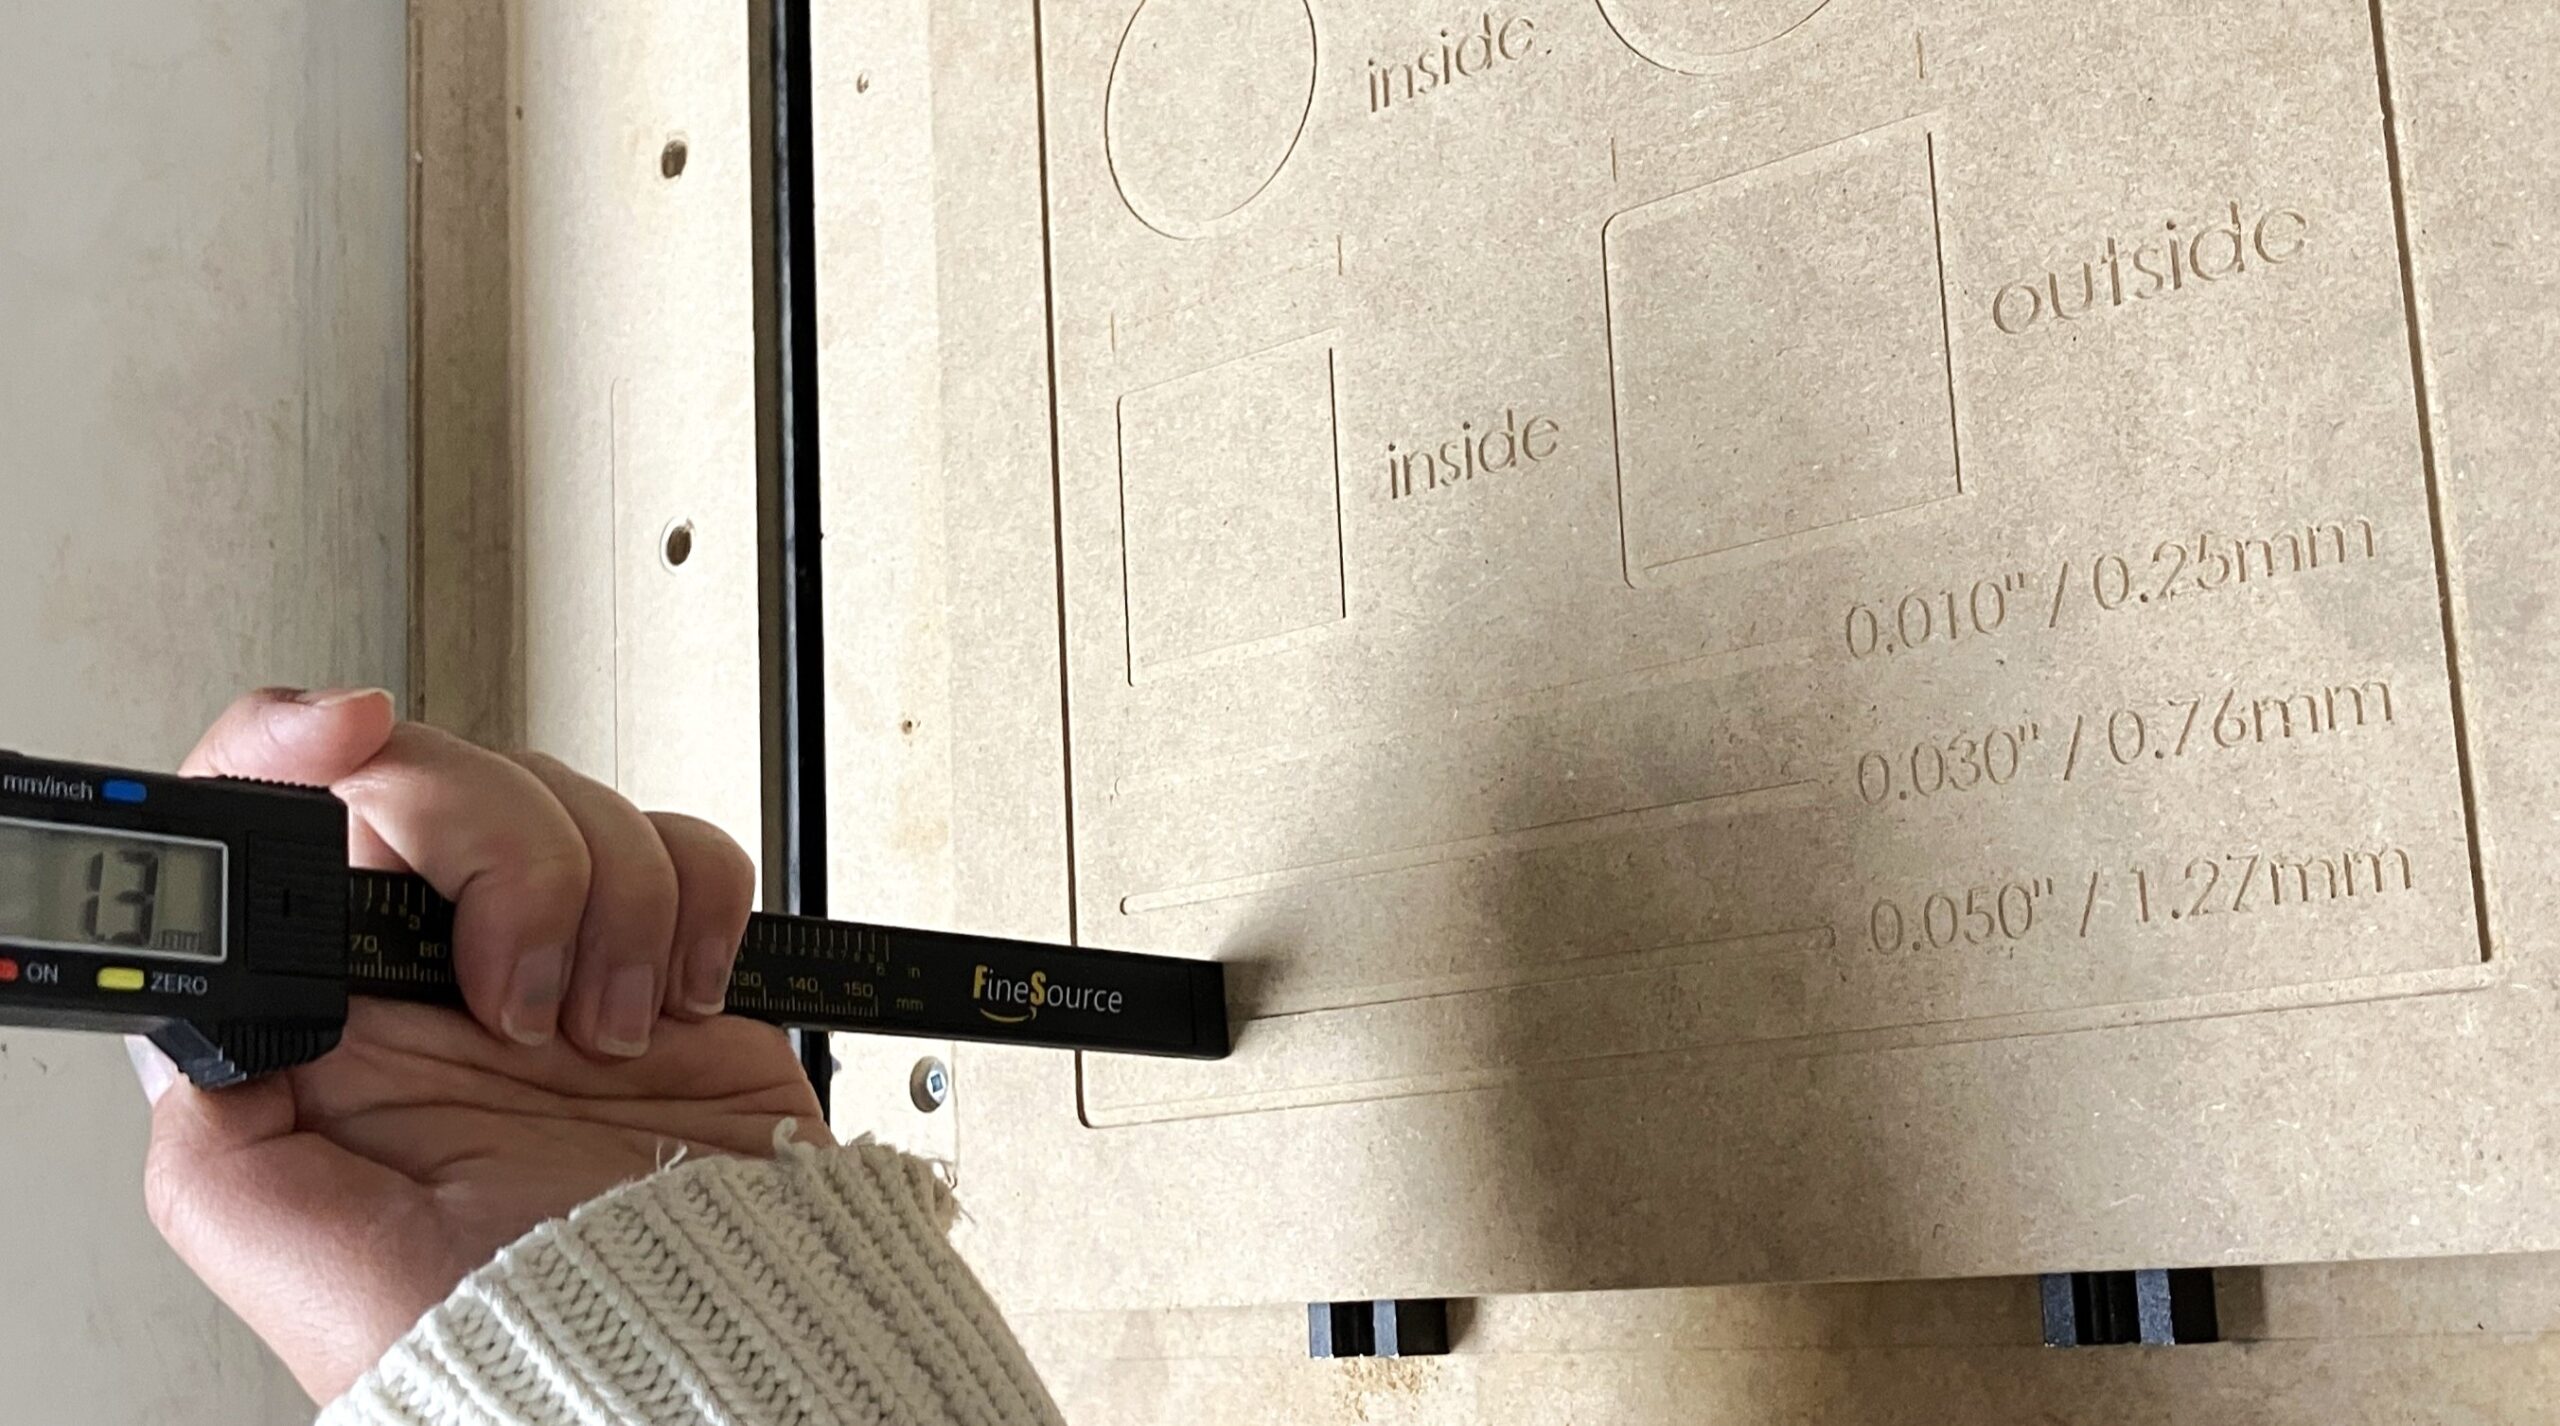
Once complete, brush off any dust and take out your calipers. See if your machine is in tip-top shape. You should expect a tolerance of +/-0.1mm.
Congratulations on completing your first project on the MK3! 🎉