

Z-axis
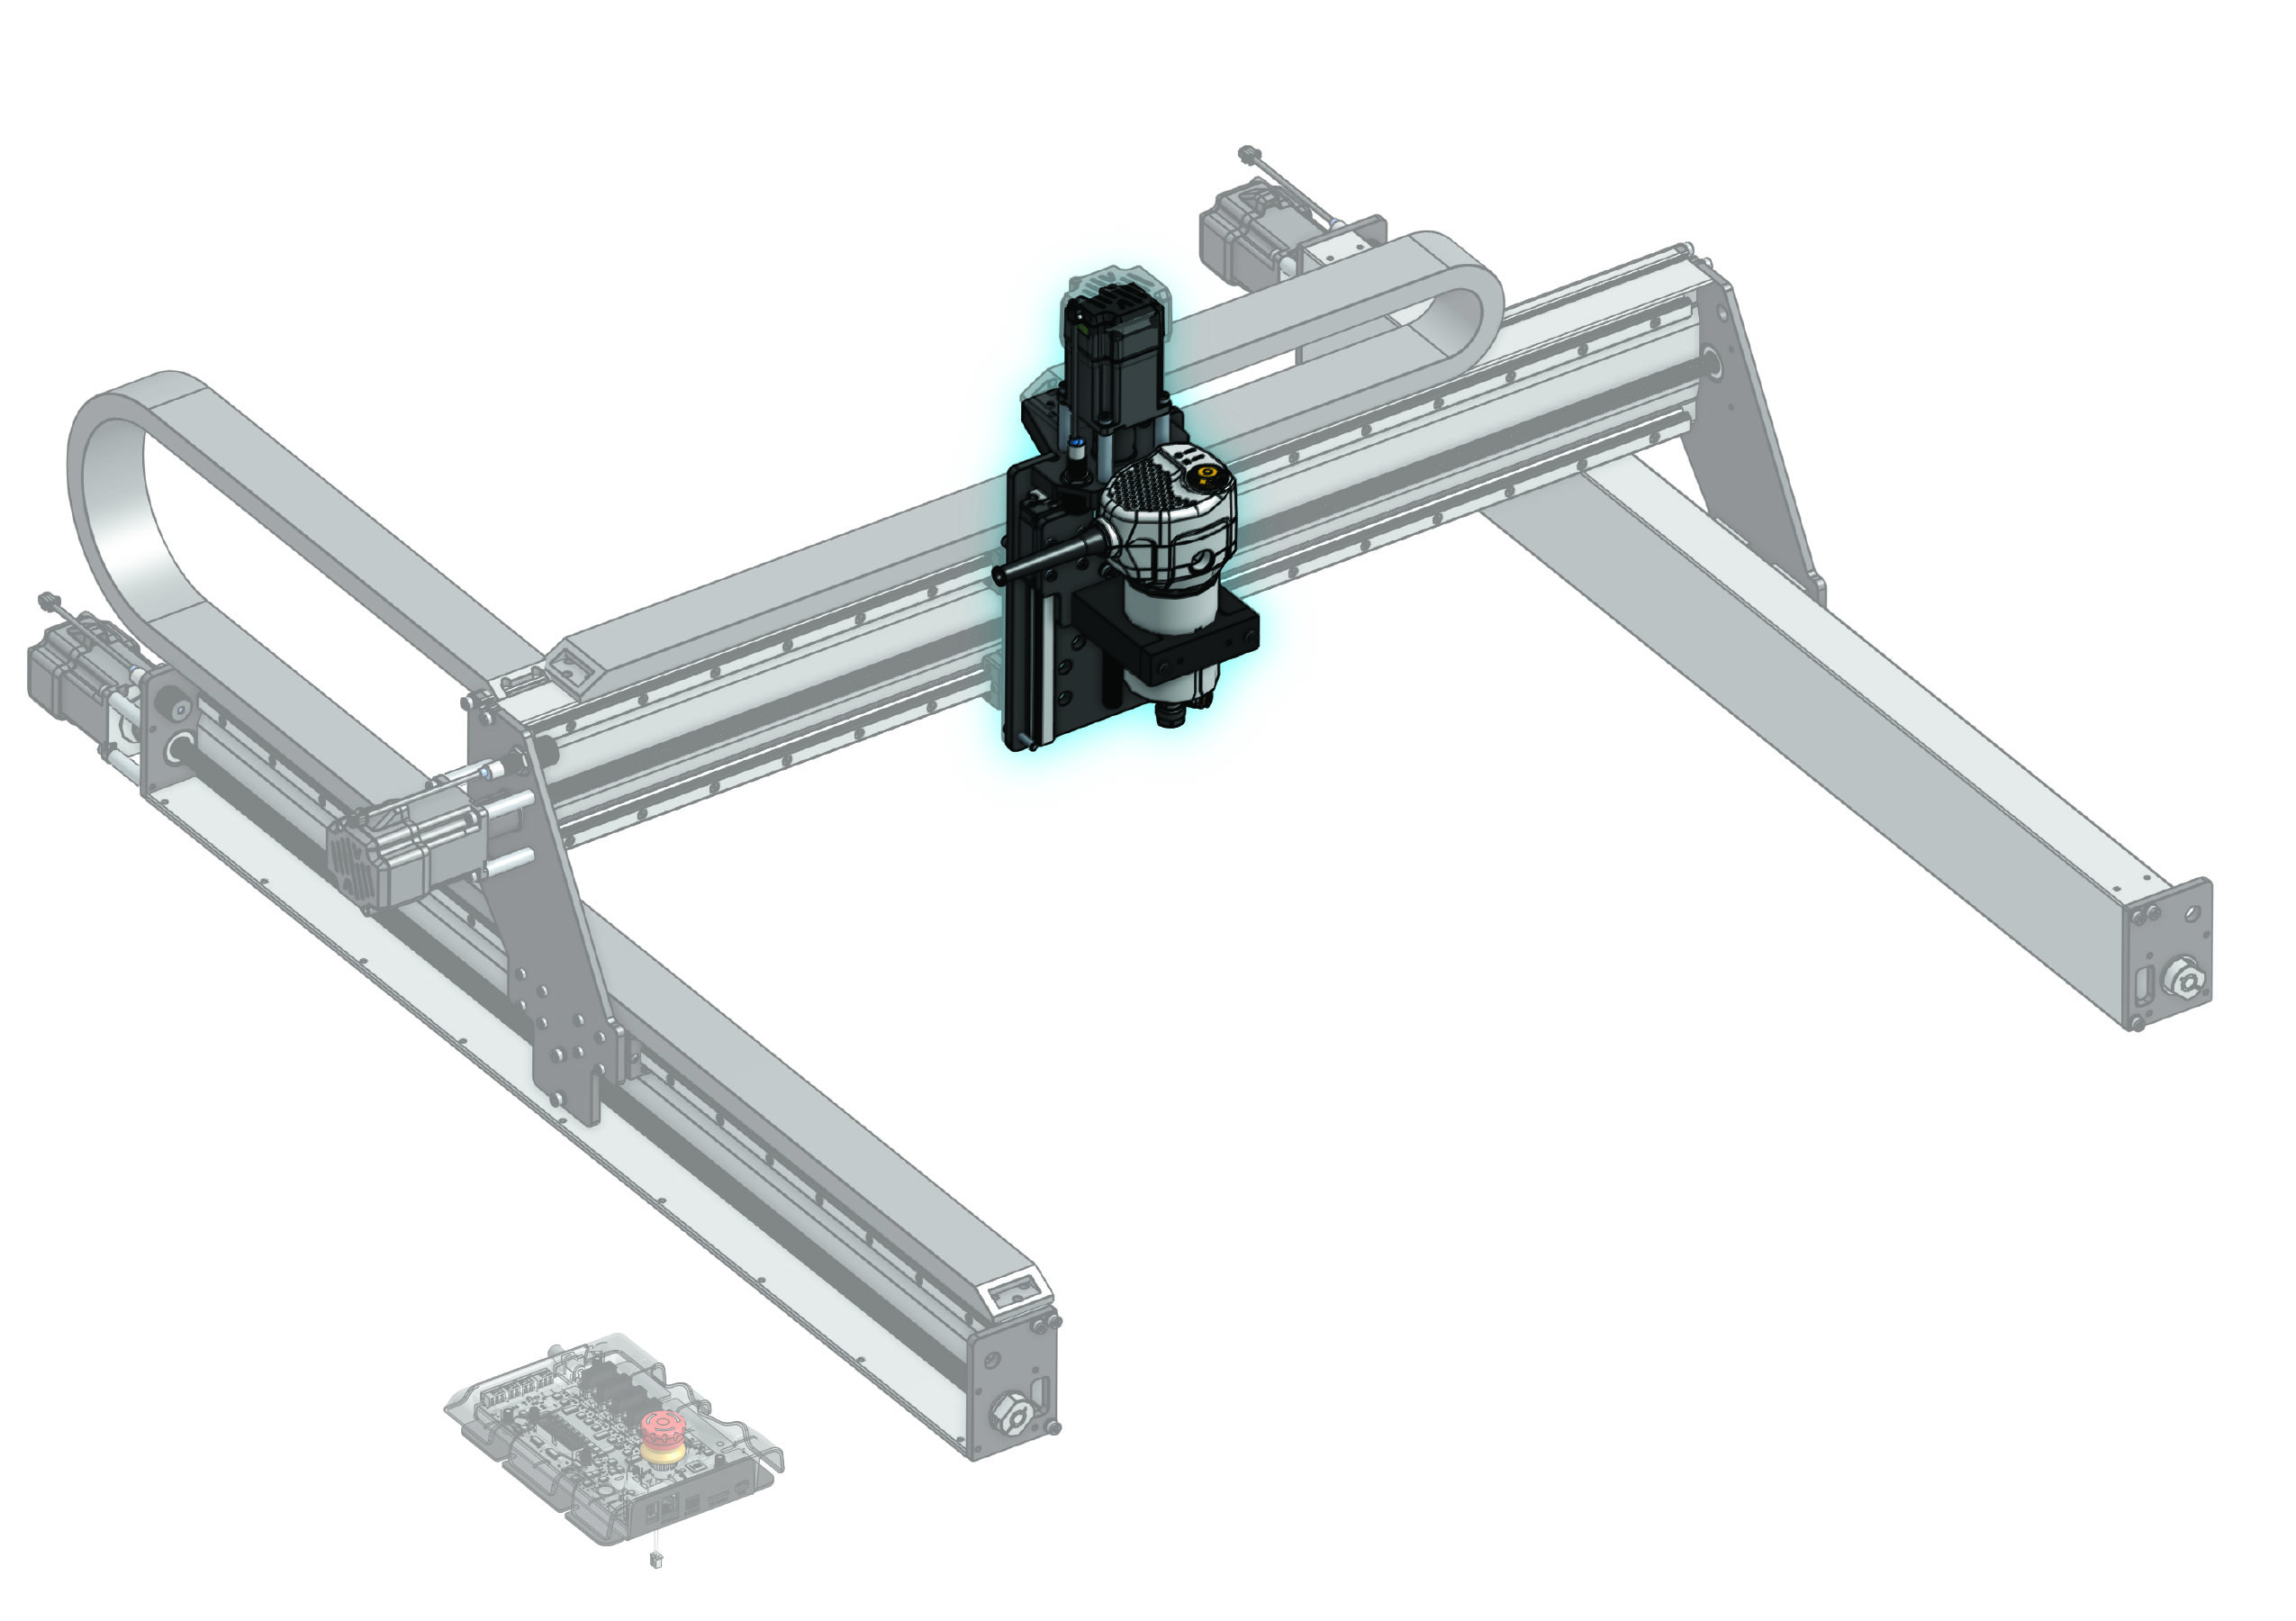
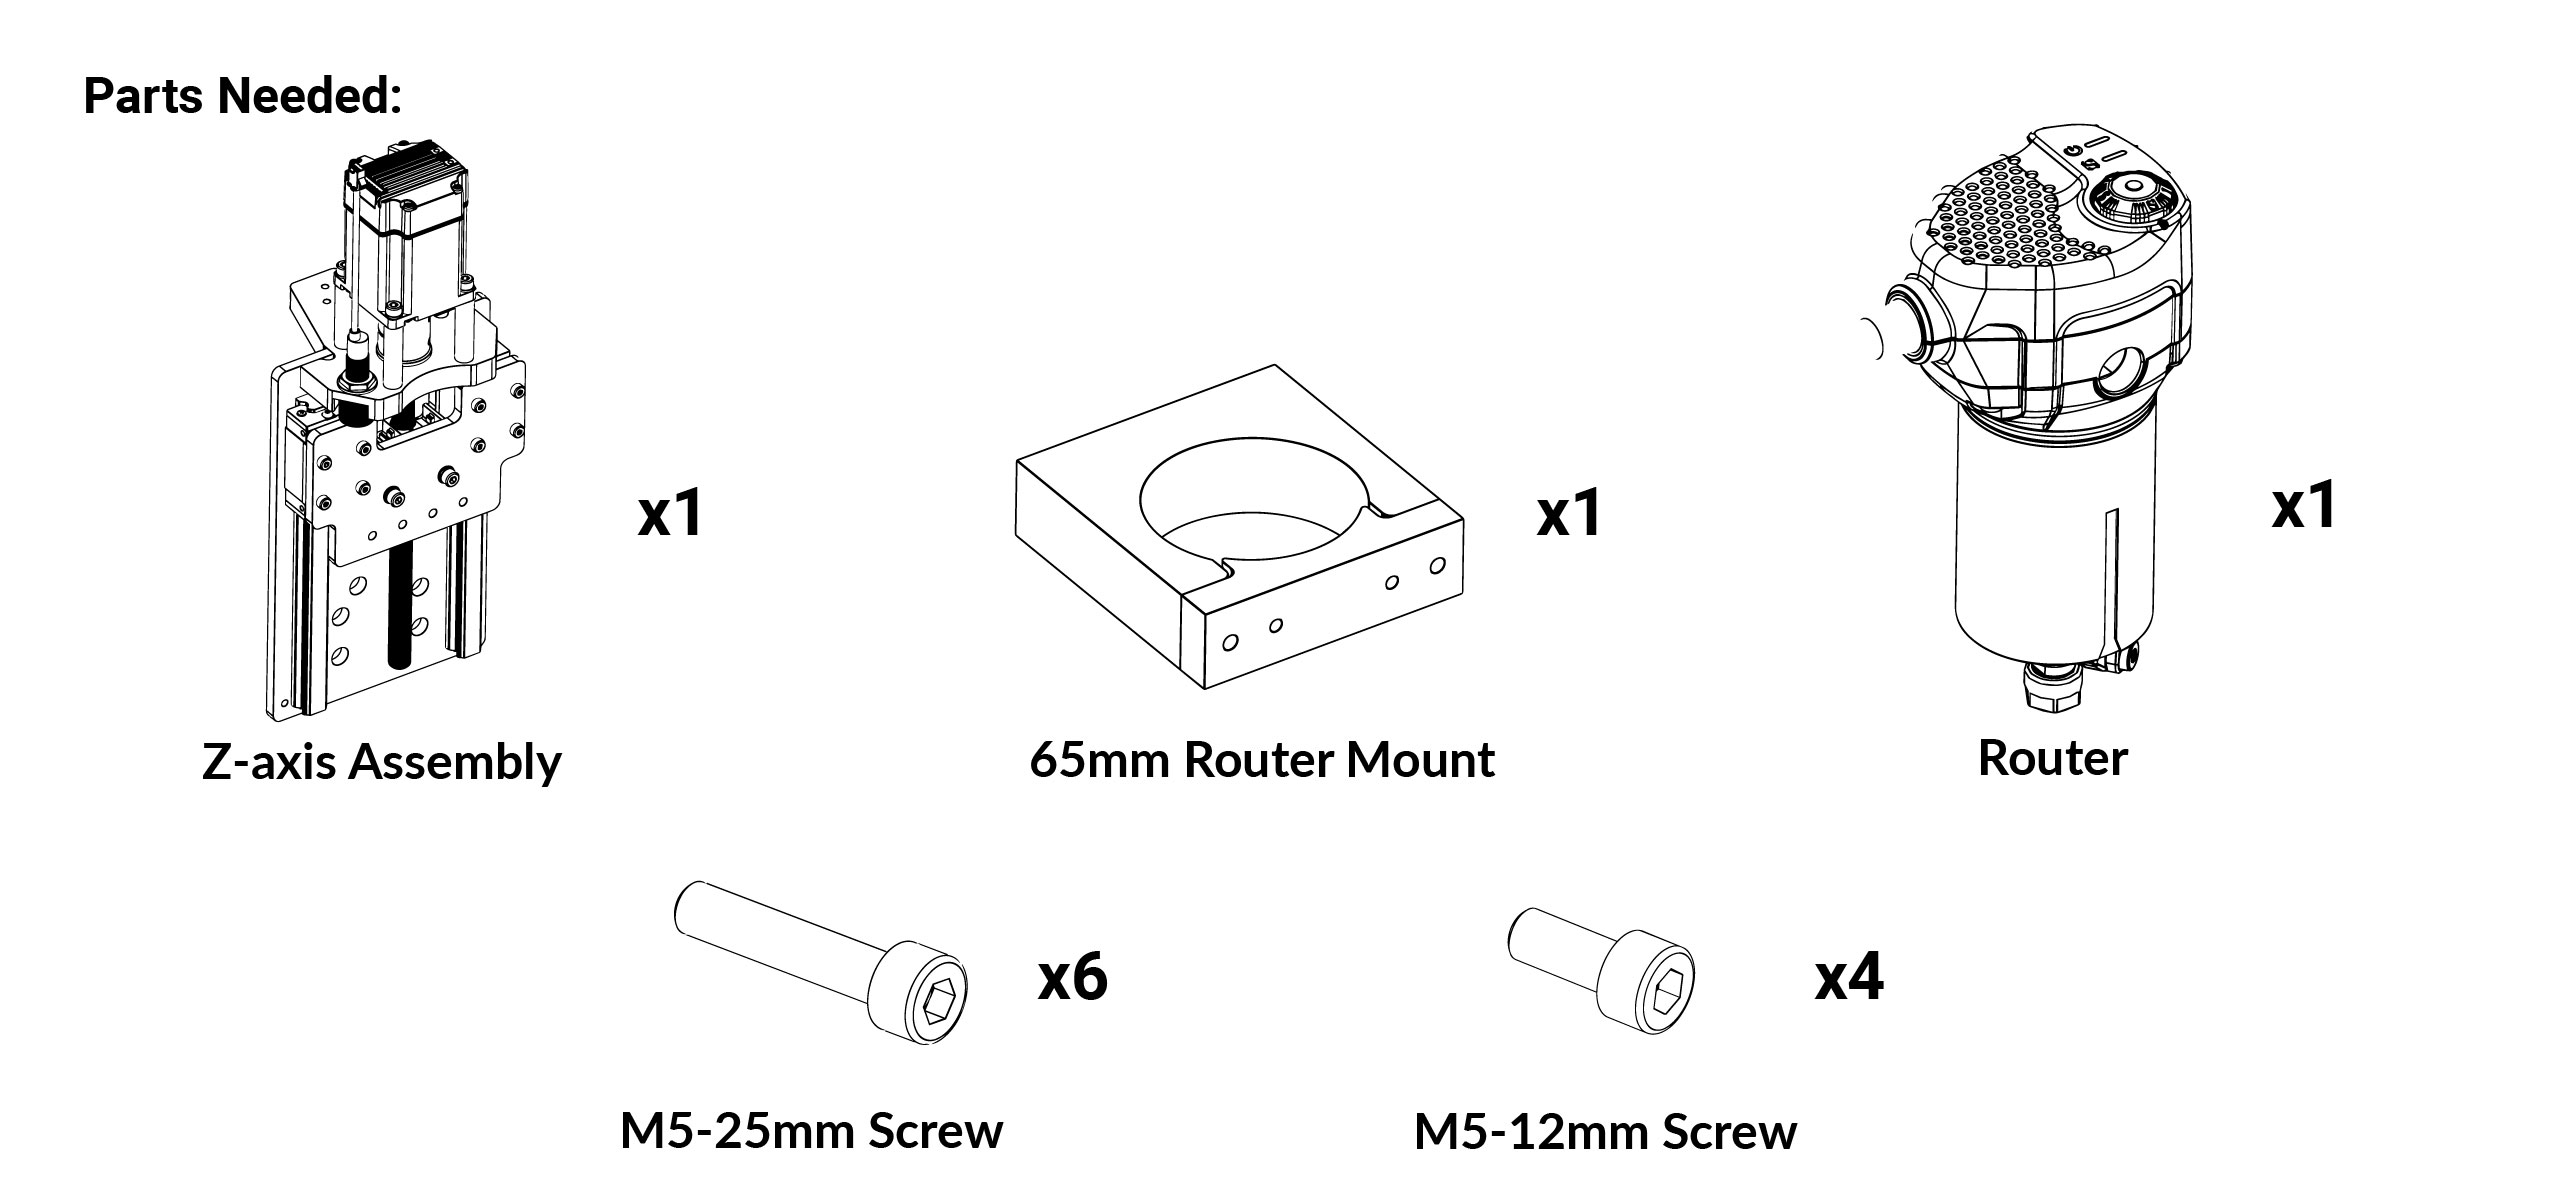
-
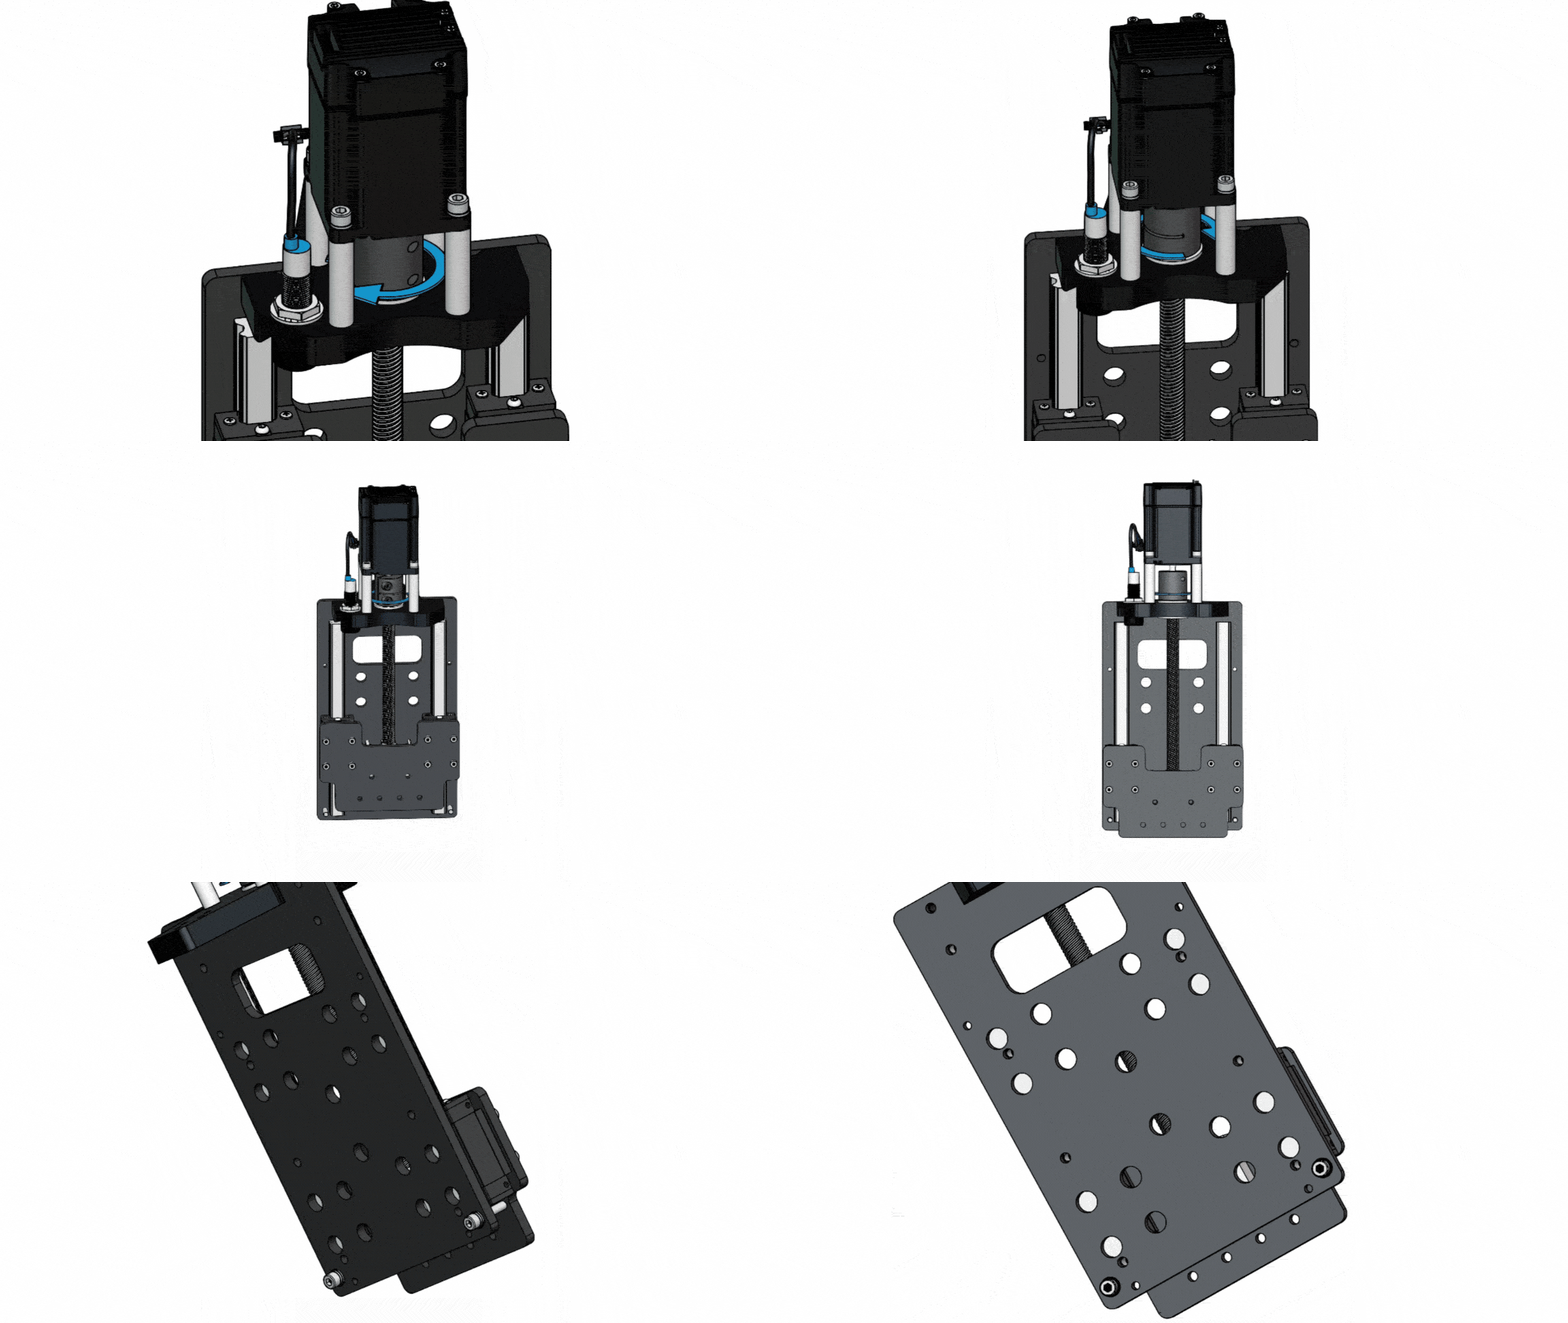
Grab the Z-axis assembly. Rotate the Z-axis coupler, so the gantry bottoms out and you cannot rotate it any further. Look at the back – you should now have access to the four (4) router mount holes.
-
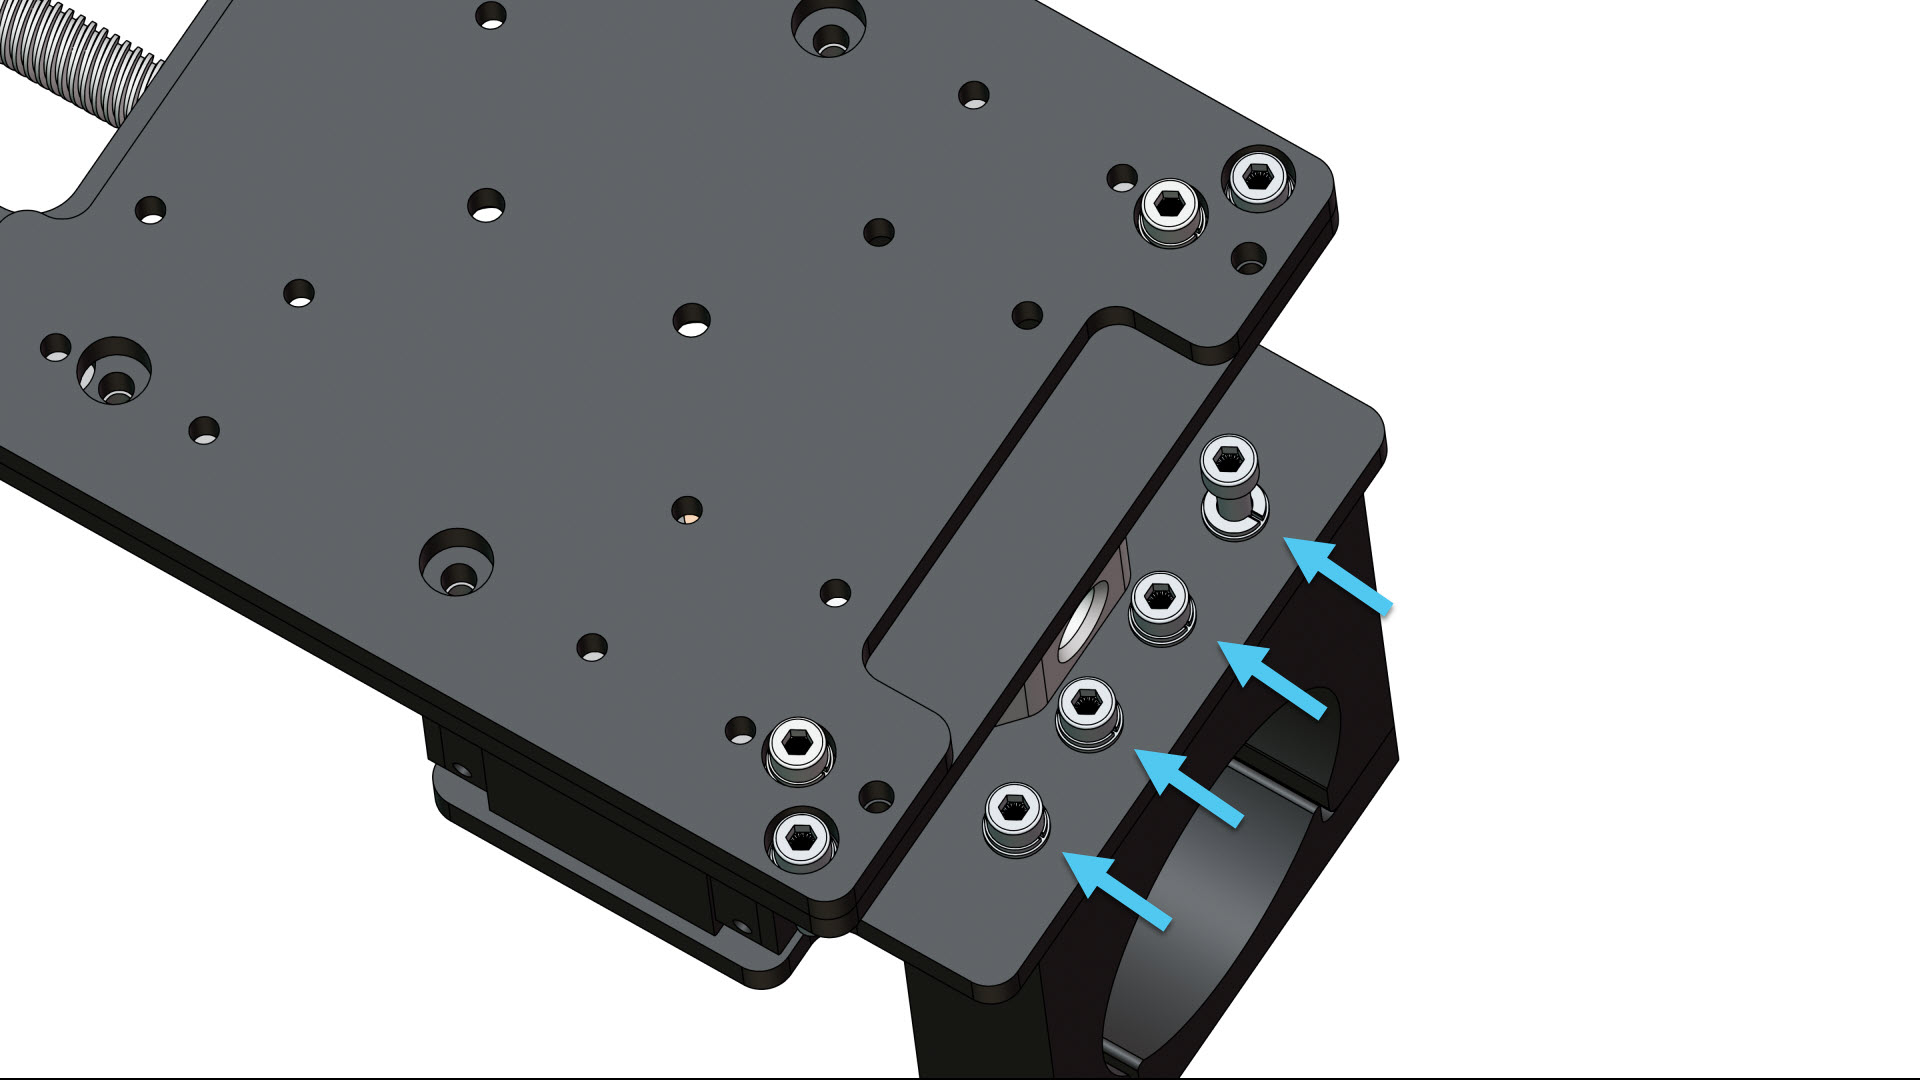
Loosely assemble the router mount using four (4) M5-25mm screws.
-
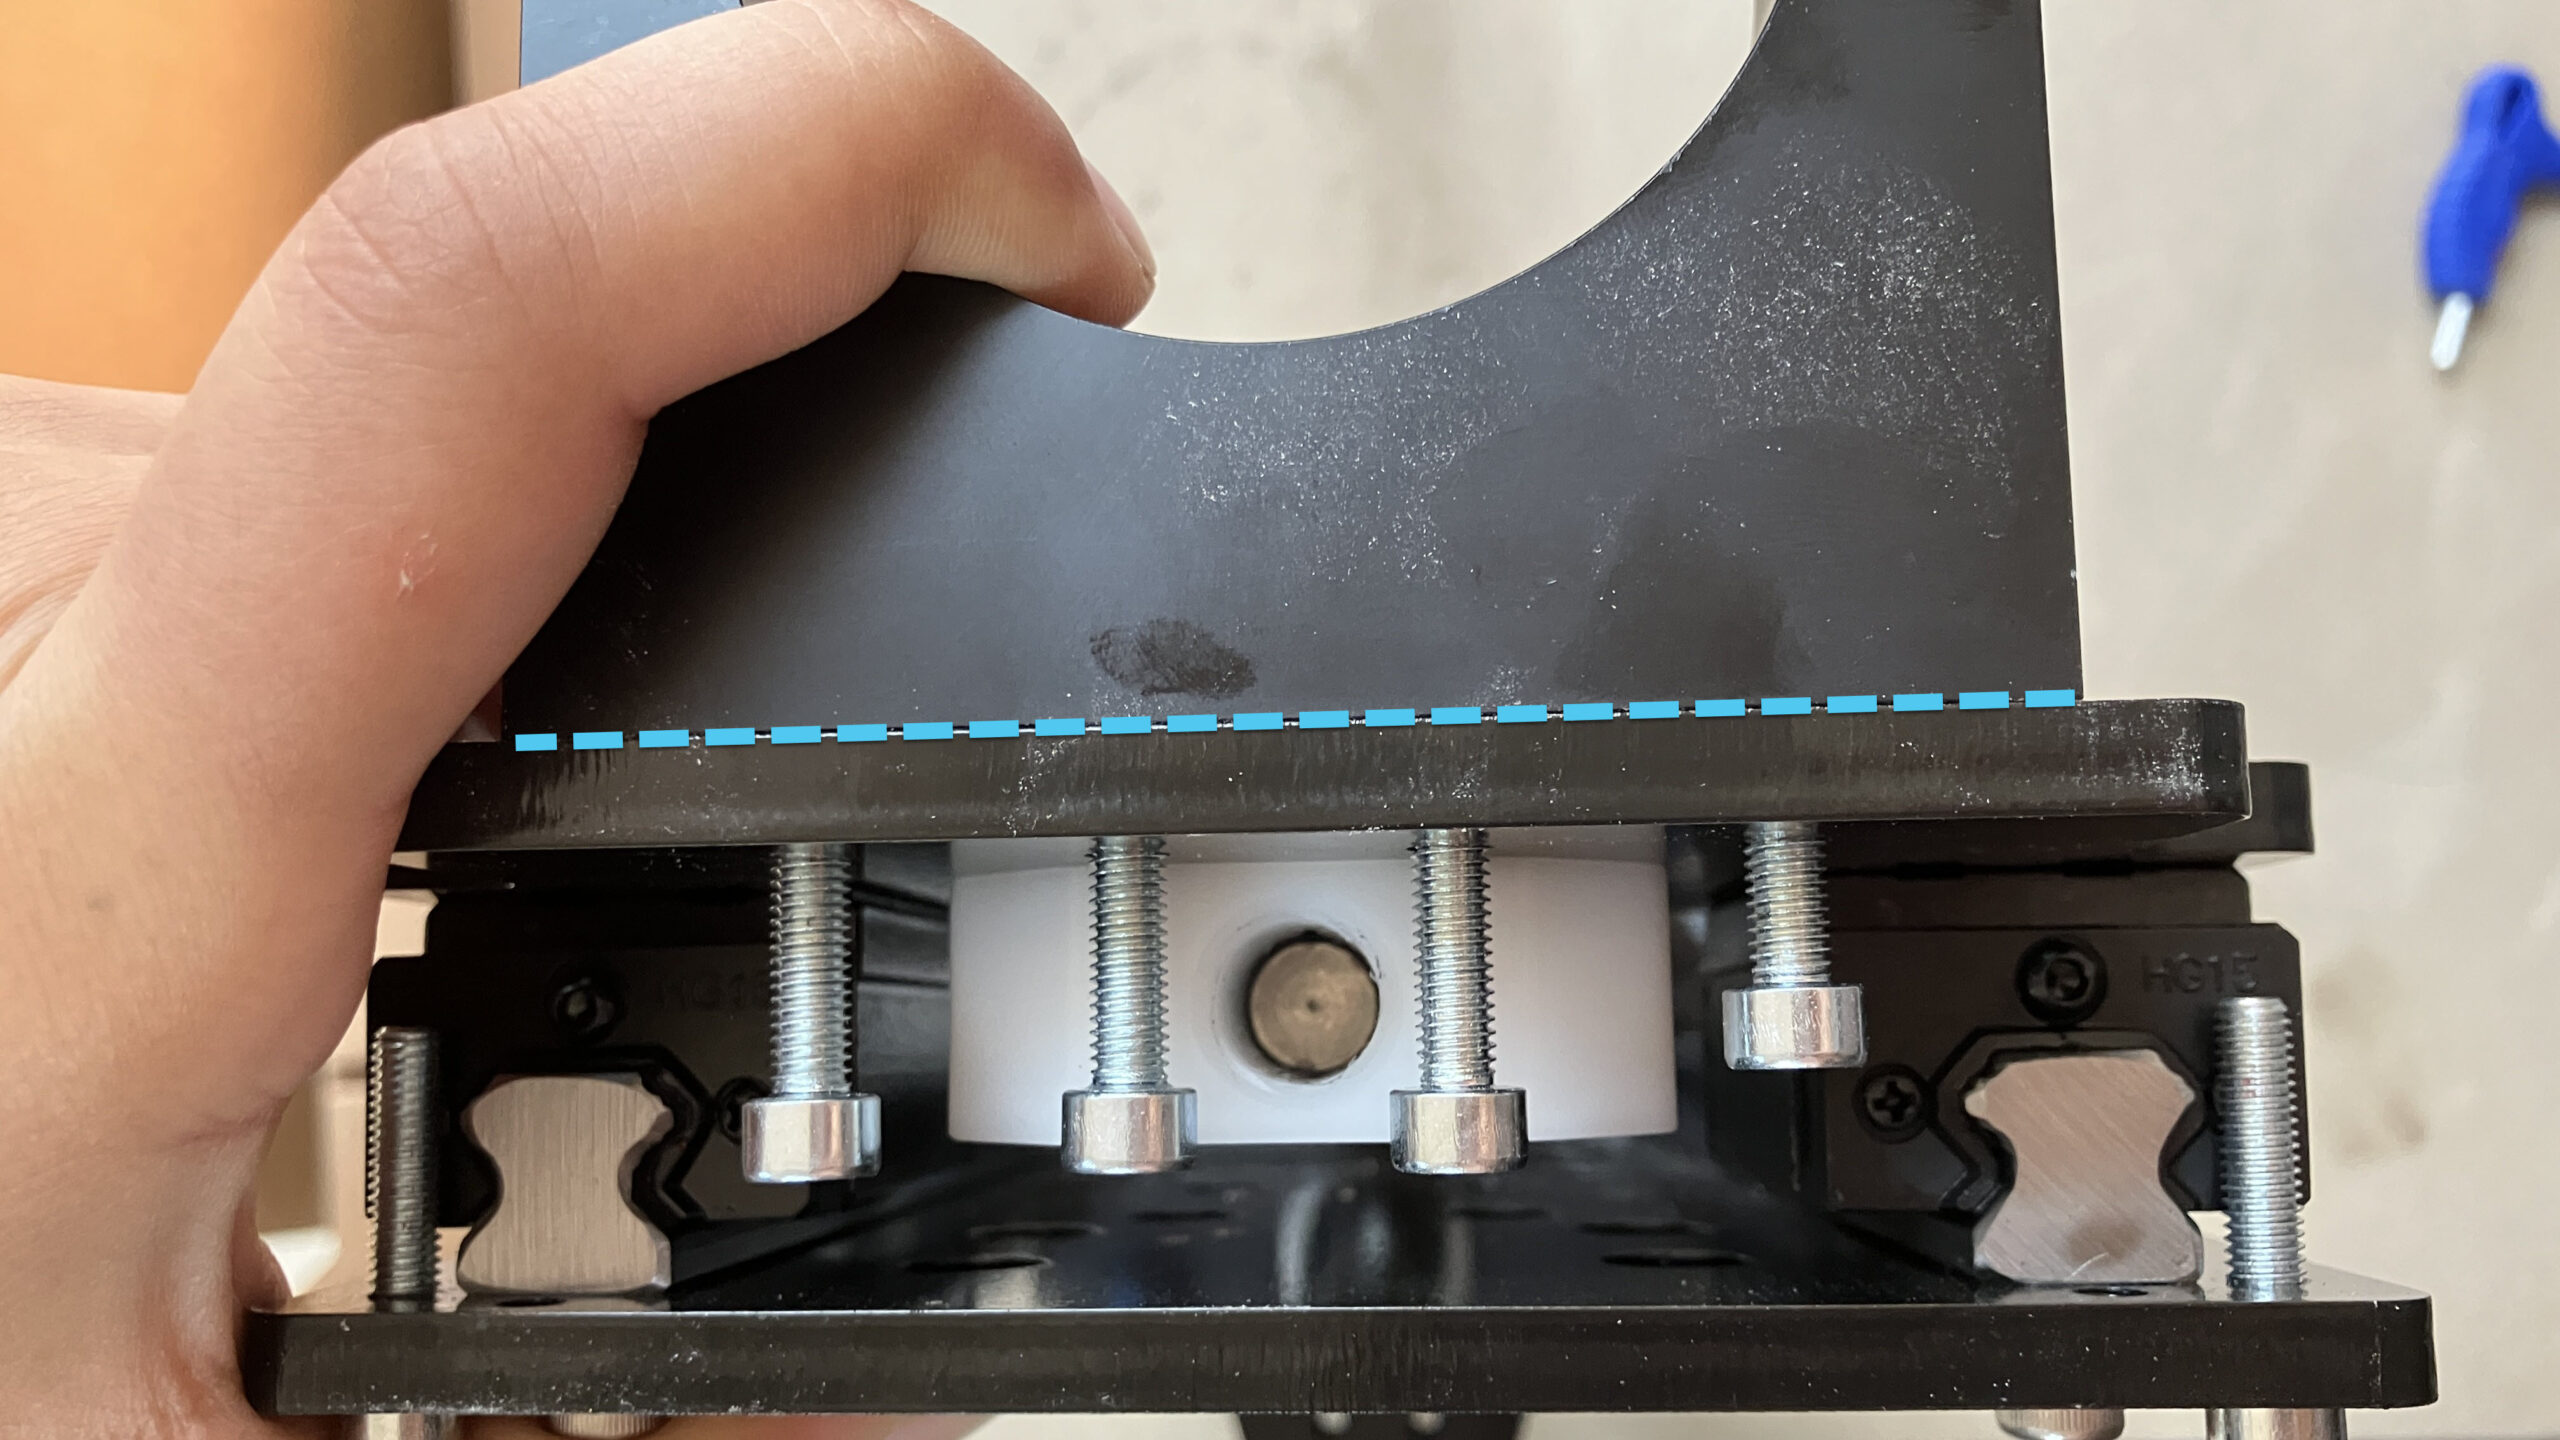
Align the router mount to the edge of the gantry so it is flush, then finish fastening the M5-25mm screws to completely secure the router mount.
-
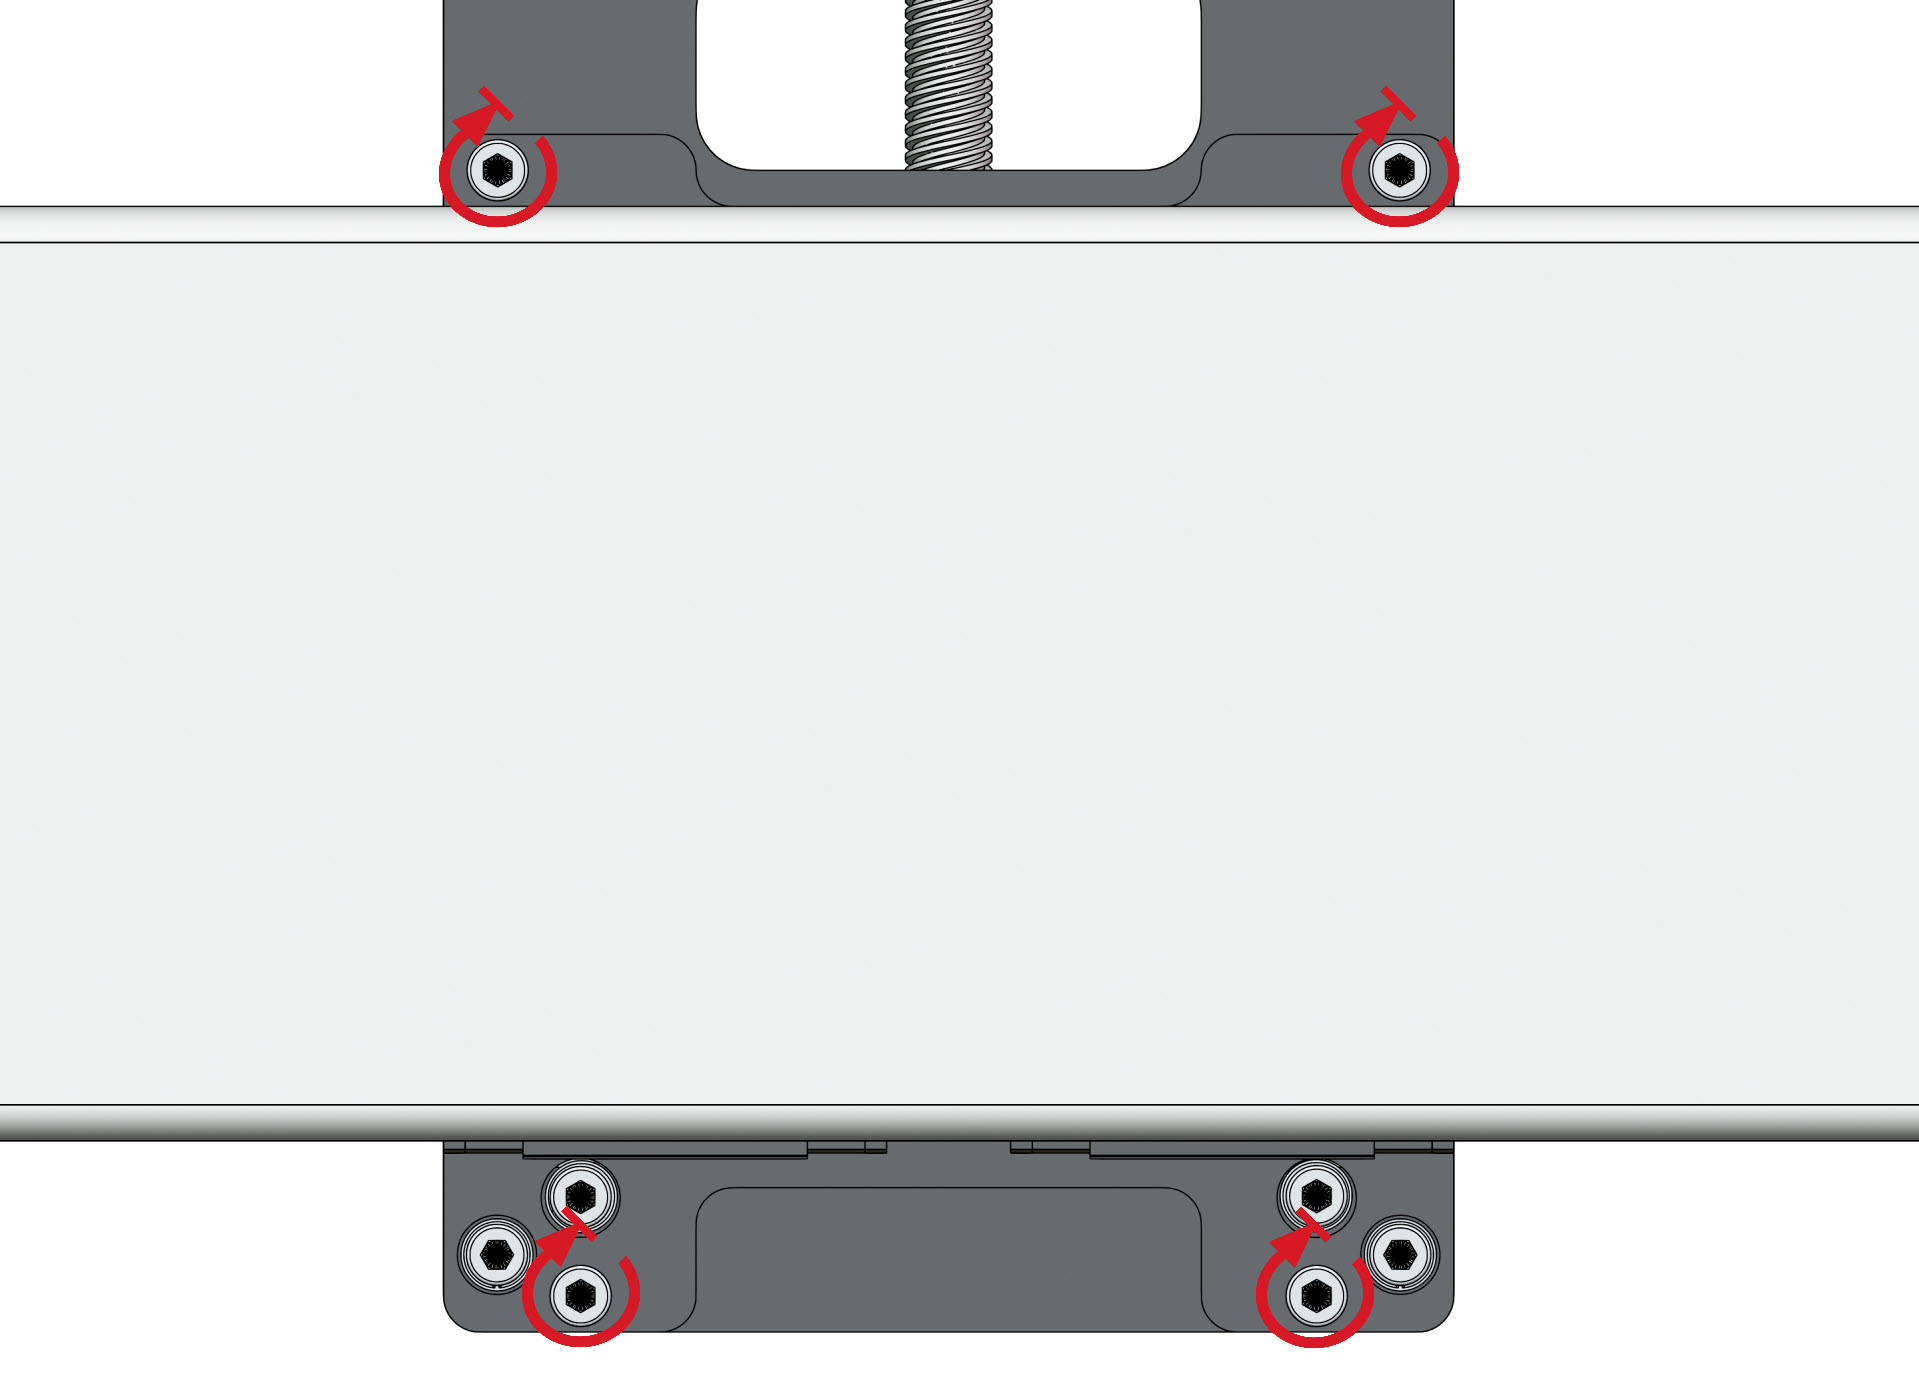
From the back of the machine, fasten the entire Z-axis assembly onto the X gantry using four (4) M5-12mm screws by loosely installing all four (4) screws, then fully secure them.
-
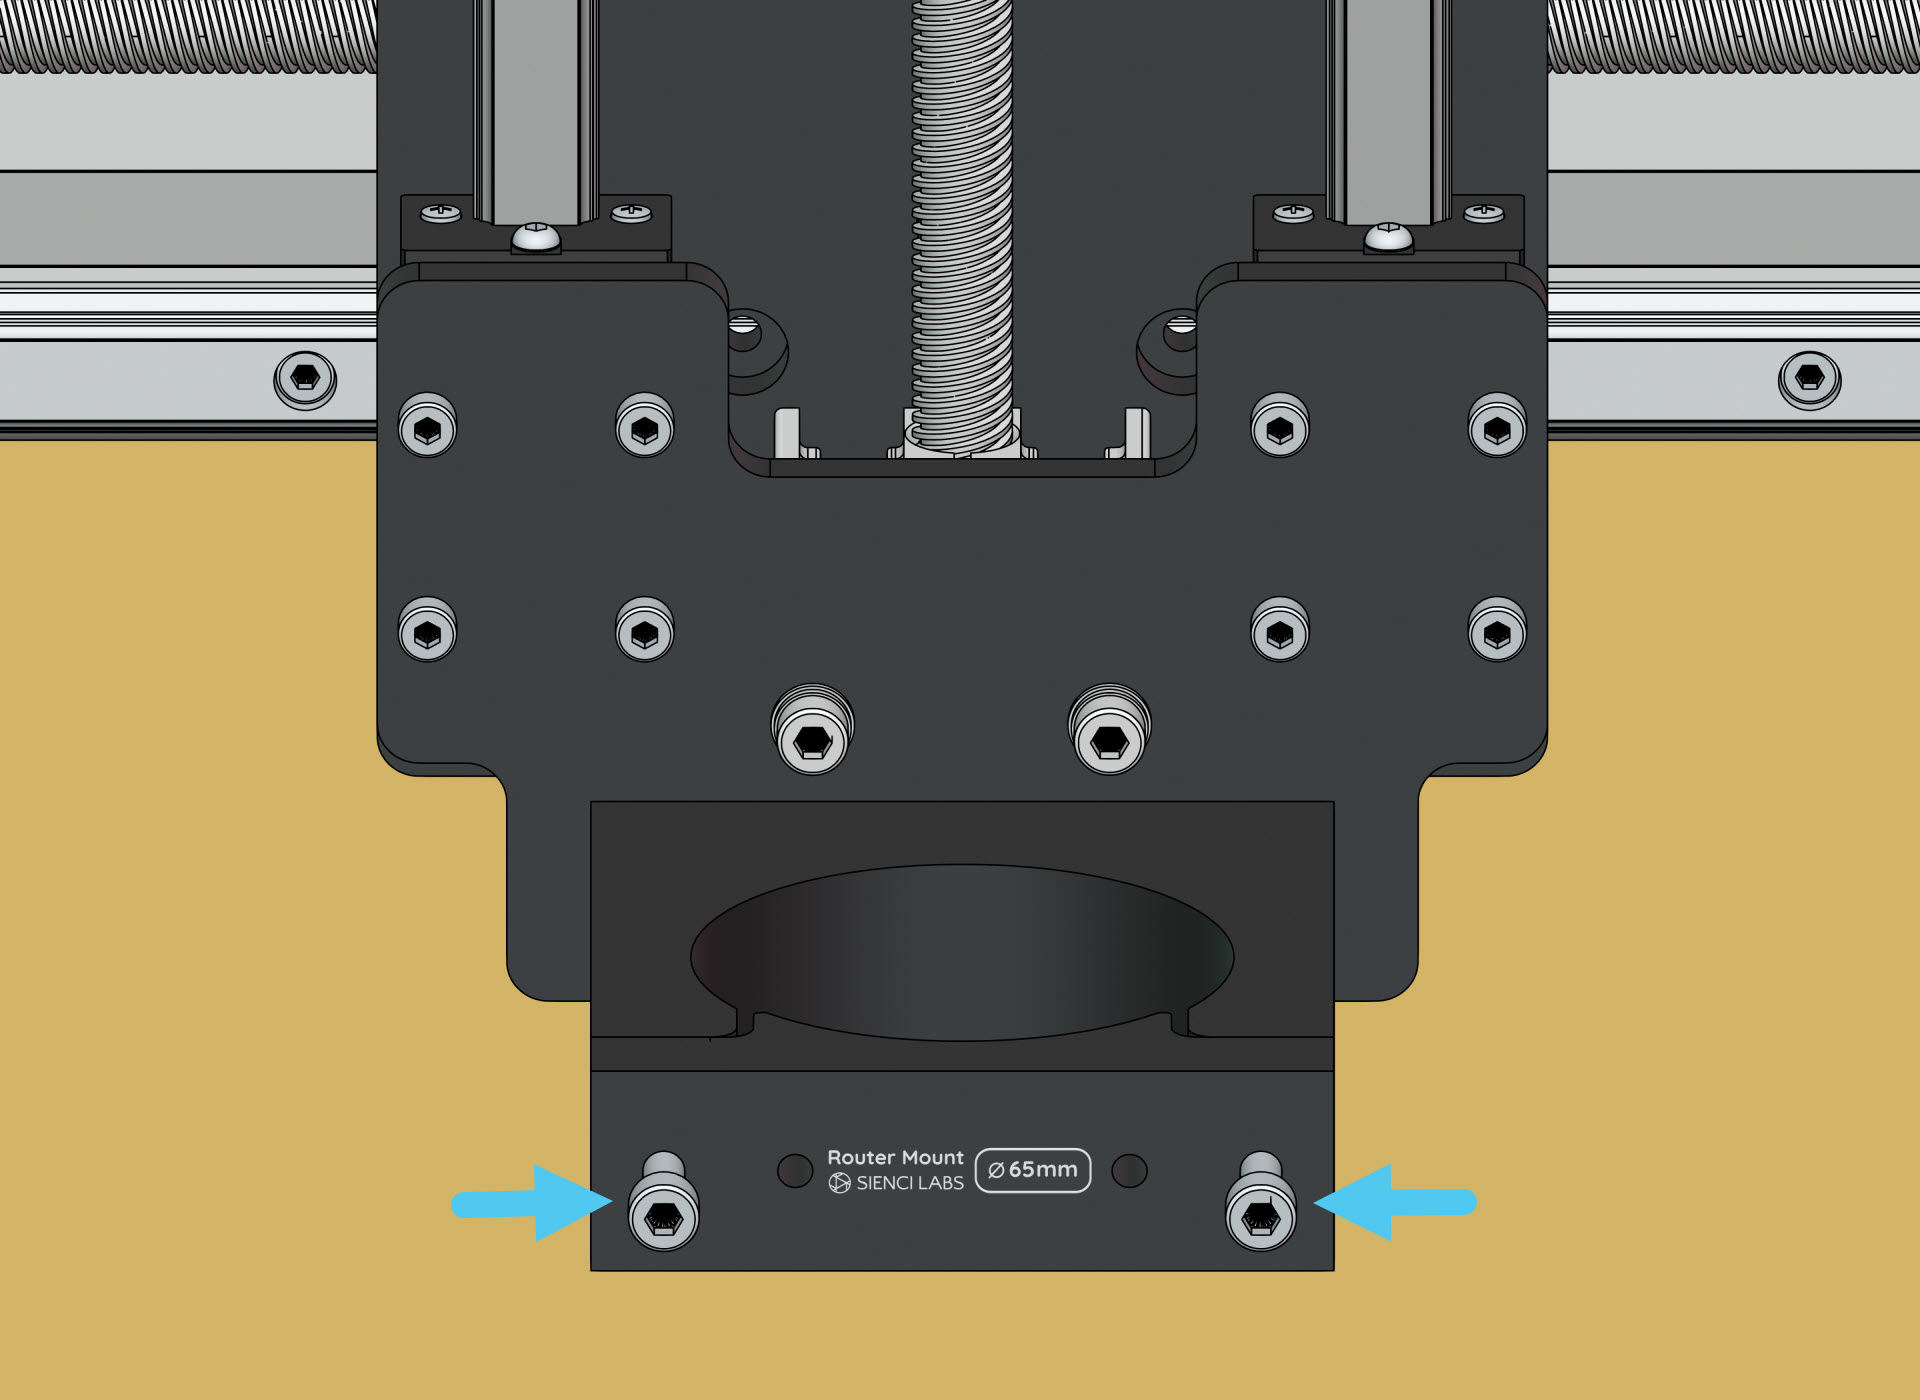
To finish up the router mount, loosely fasten the front half of the router mount using the two (2) M5-25mm screws.
-
Grab your router and slide it through the router mount from above, until it bottoms out. Then secure it in place using the two (2) pre-installed screws, with an Allen key.
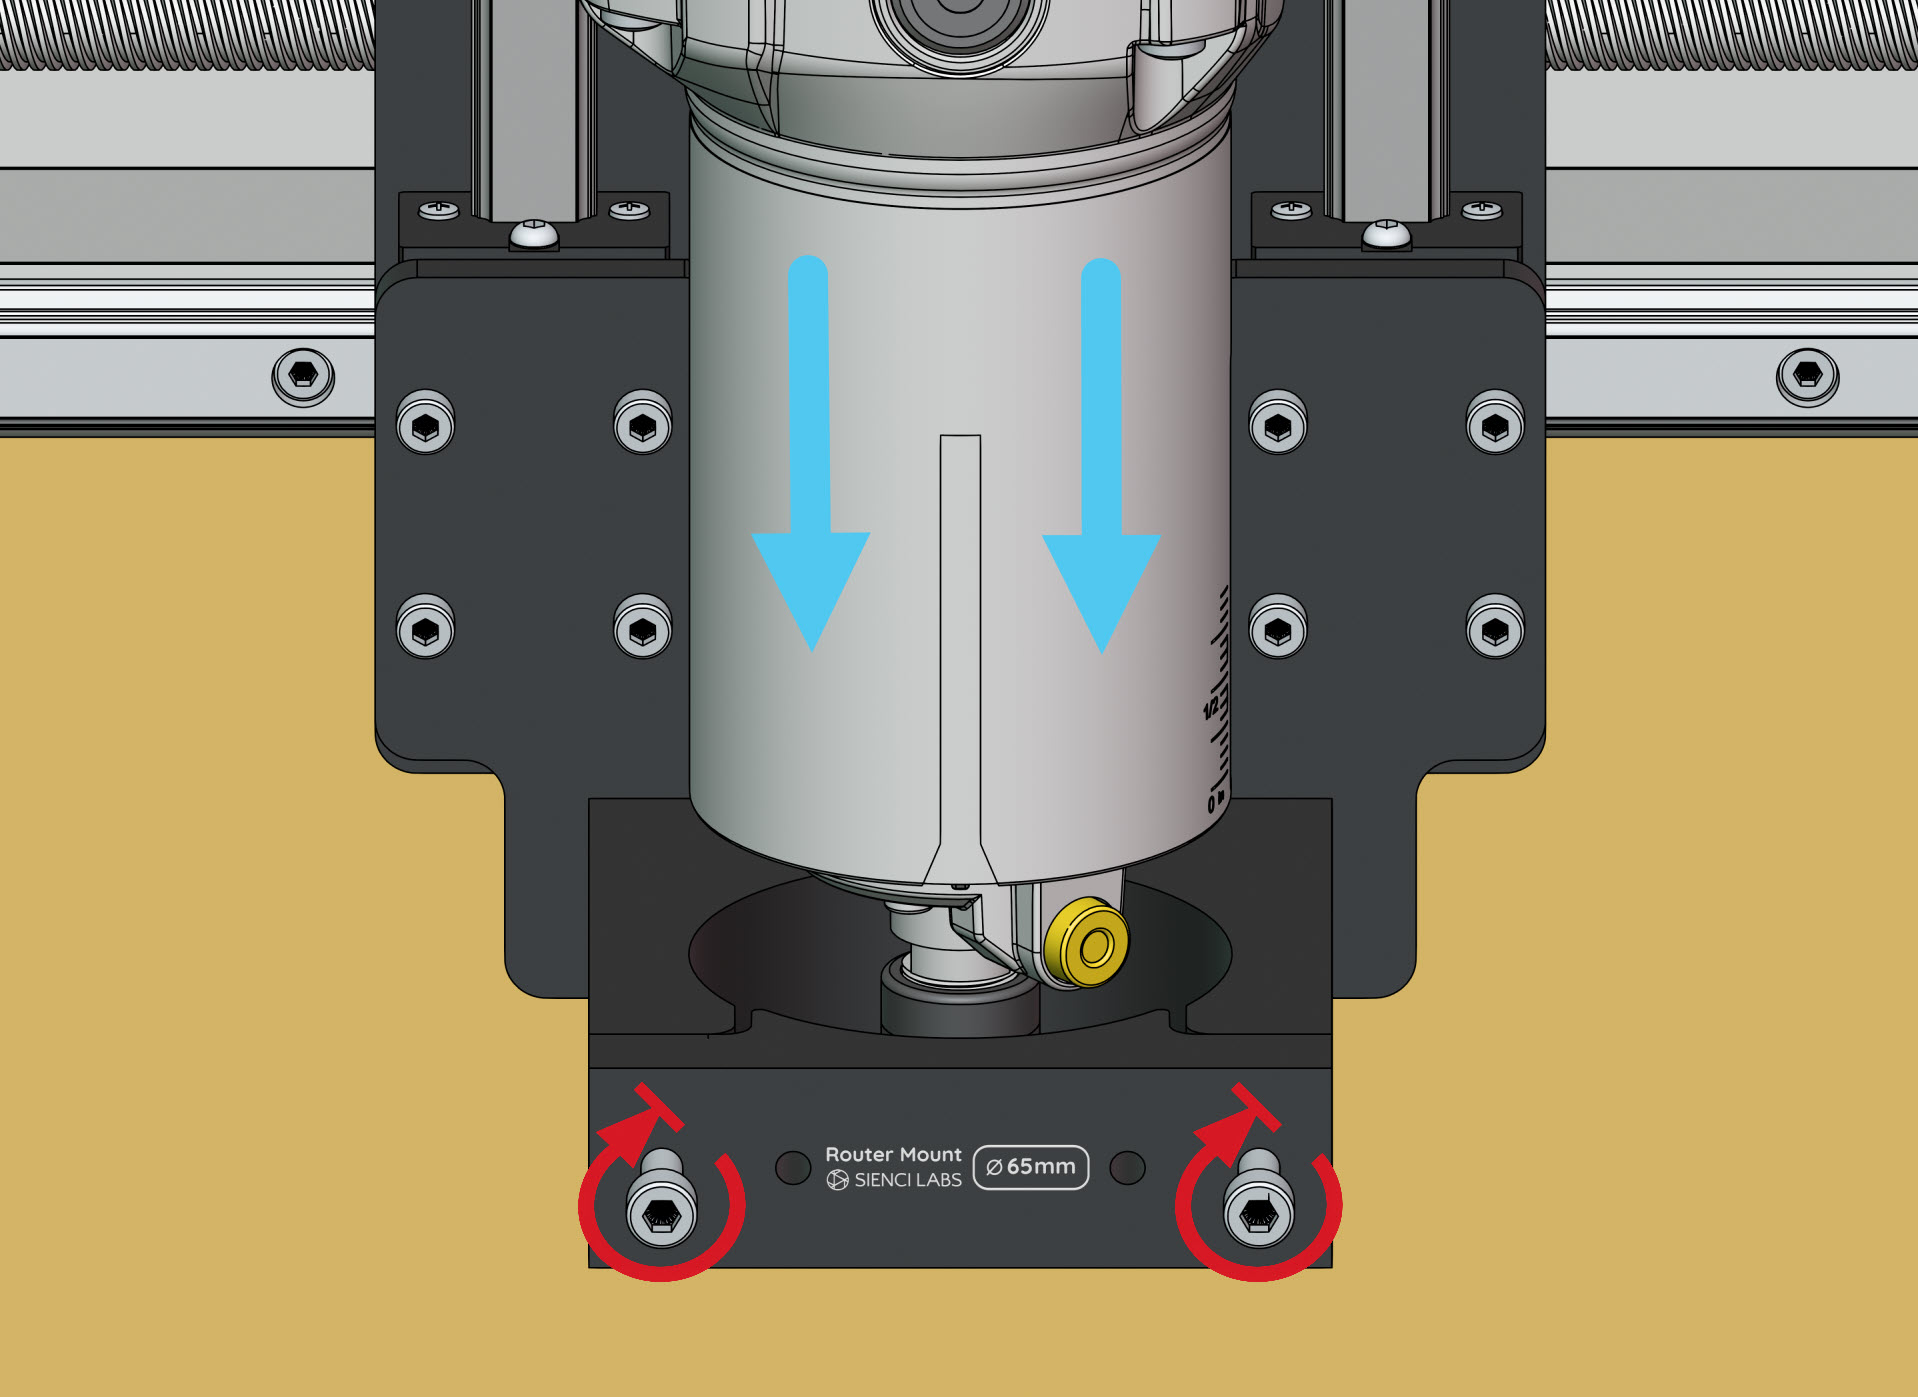
💡 Note: You can adjust the router height later, if you need more space to install longer end mills.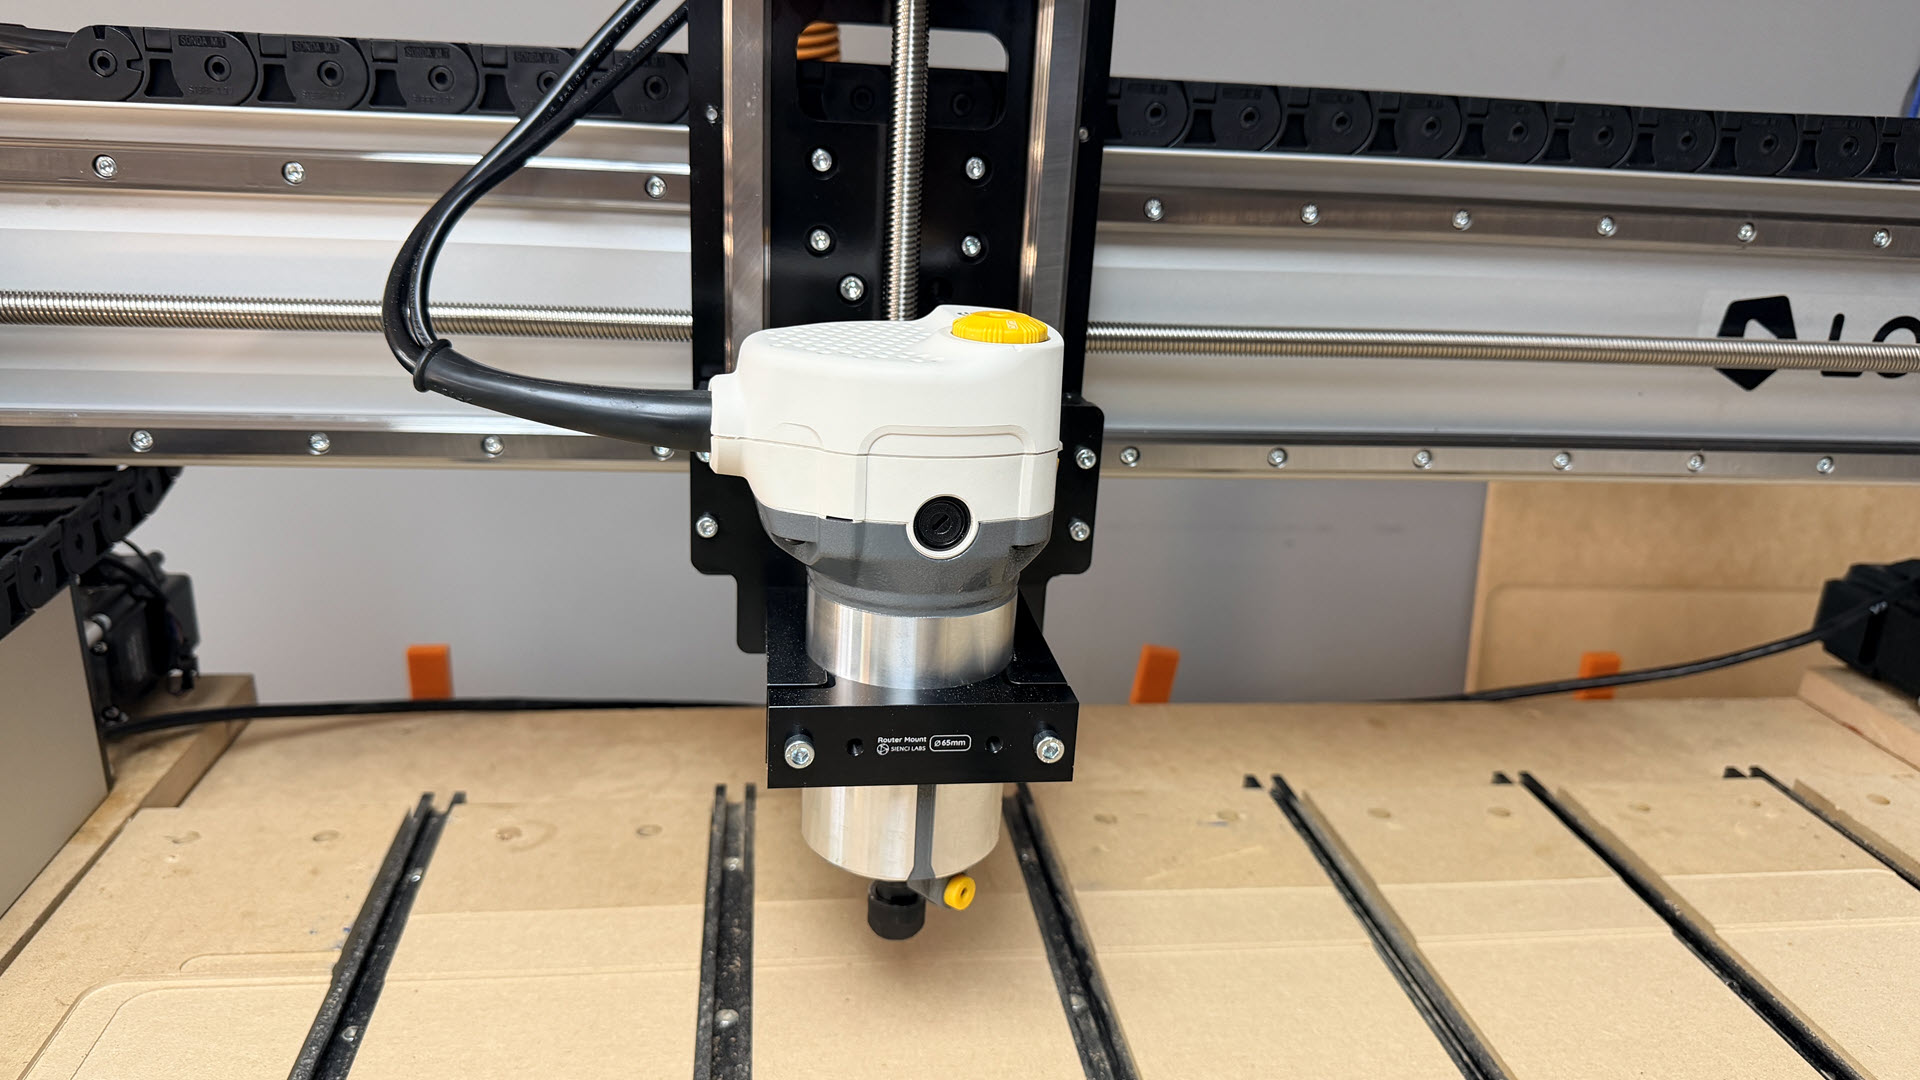
Nicely done! Let’s keep going.