

Table Mounting
We will now use gSender to jog the machine to the travel limits, which will square up the machine and allow you to secure down the machine to the MDF sheet. The MDF will act as your wasteboard.
⭐ Due to the use of linear guides on the X and Y axes, there is zero play in the axes which means they can be squared to each other simply by jogging front to back.-
Adjust the position of your assembled machine, so that there is space for the SLB-LITE to sit on the MDF.
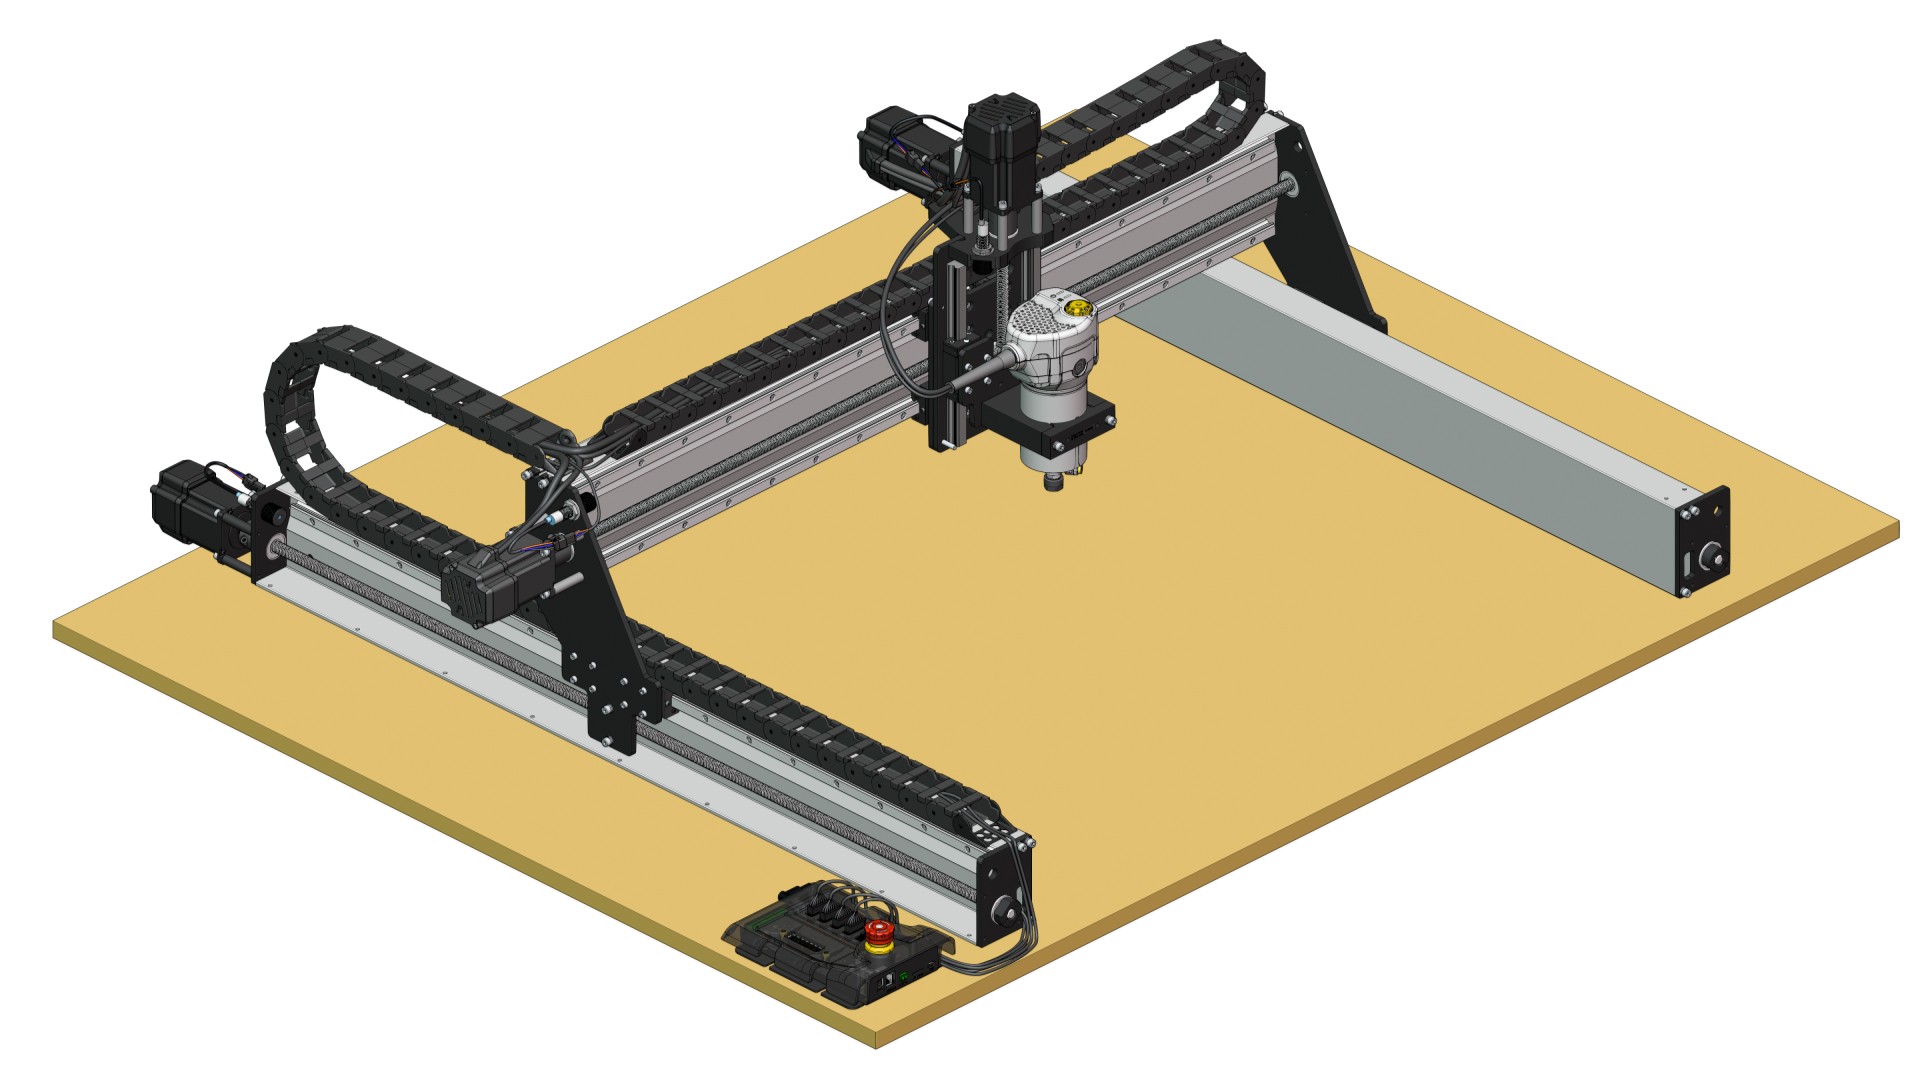
-
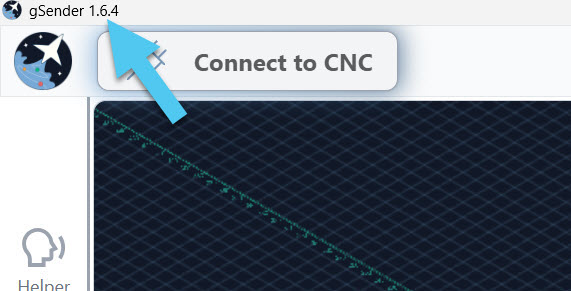
Download the latest version of gSender onto your computer. If it was pre-installed, check that you have gSender 1.6.4 or above, at the top of the window. Detailed installation instructions can be found on this page.
-
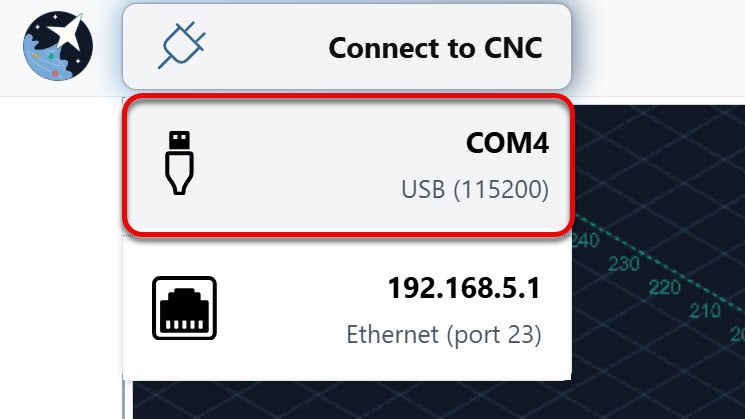
Connect to gSender through USB using the top left corner dropdown.
-
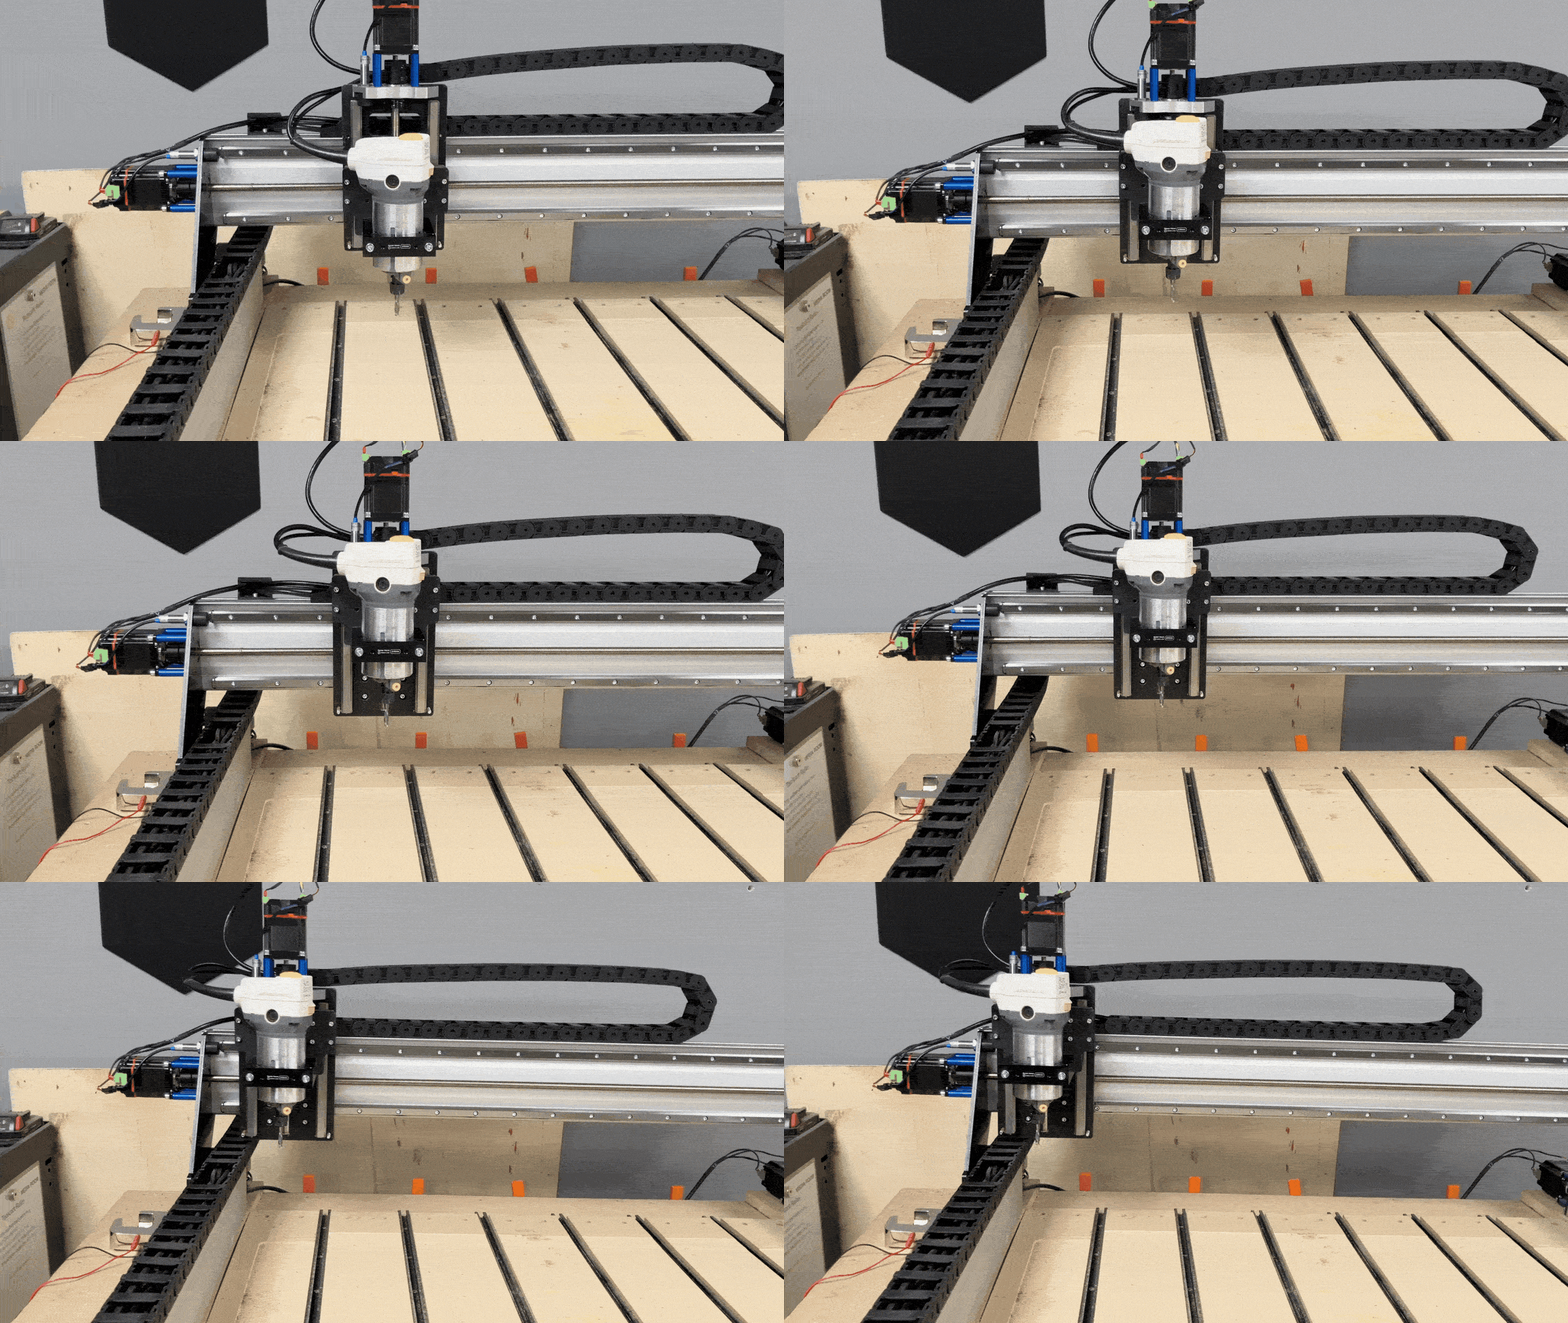
You will see a red Alarm 11 at the top of the screen. It will prompt you to home your machine, go ahead and press the red button on gSender to proceed. Your machine will move up to the top, then to the back left corner.
-
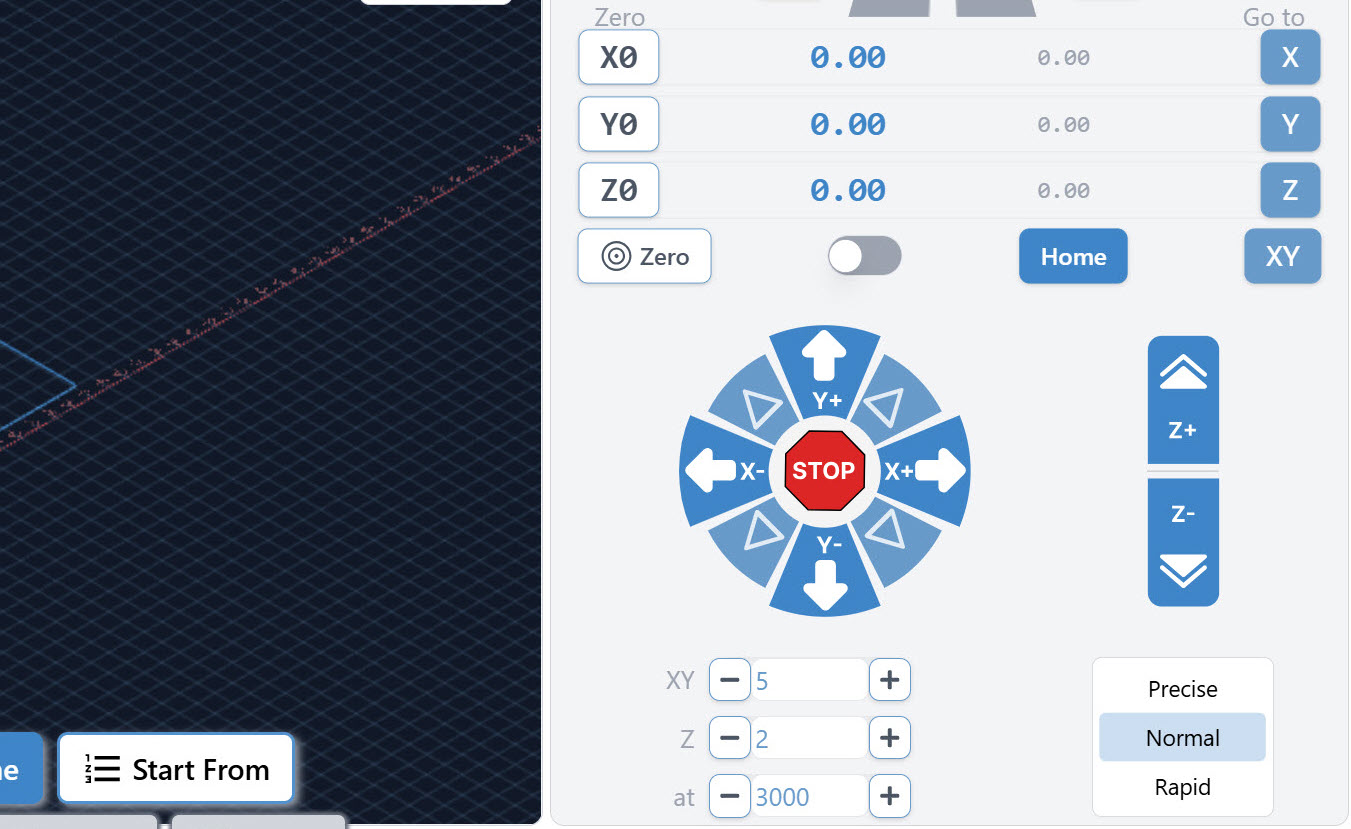
Once homed, move the machine around with the jog wheel buttons, to make sure your motors are moving the expected amount and in the right direction.
-
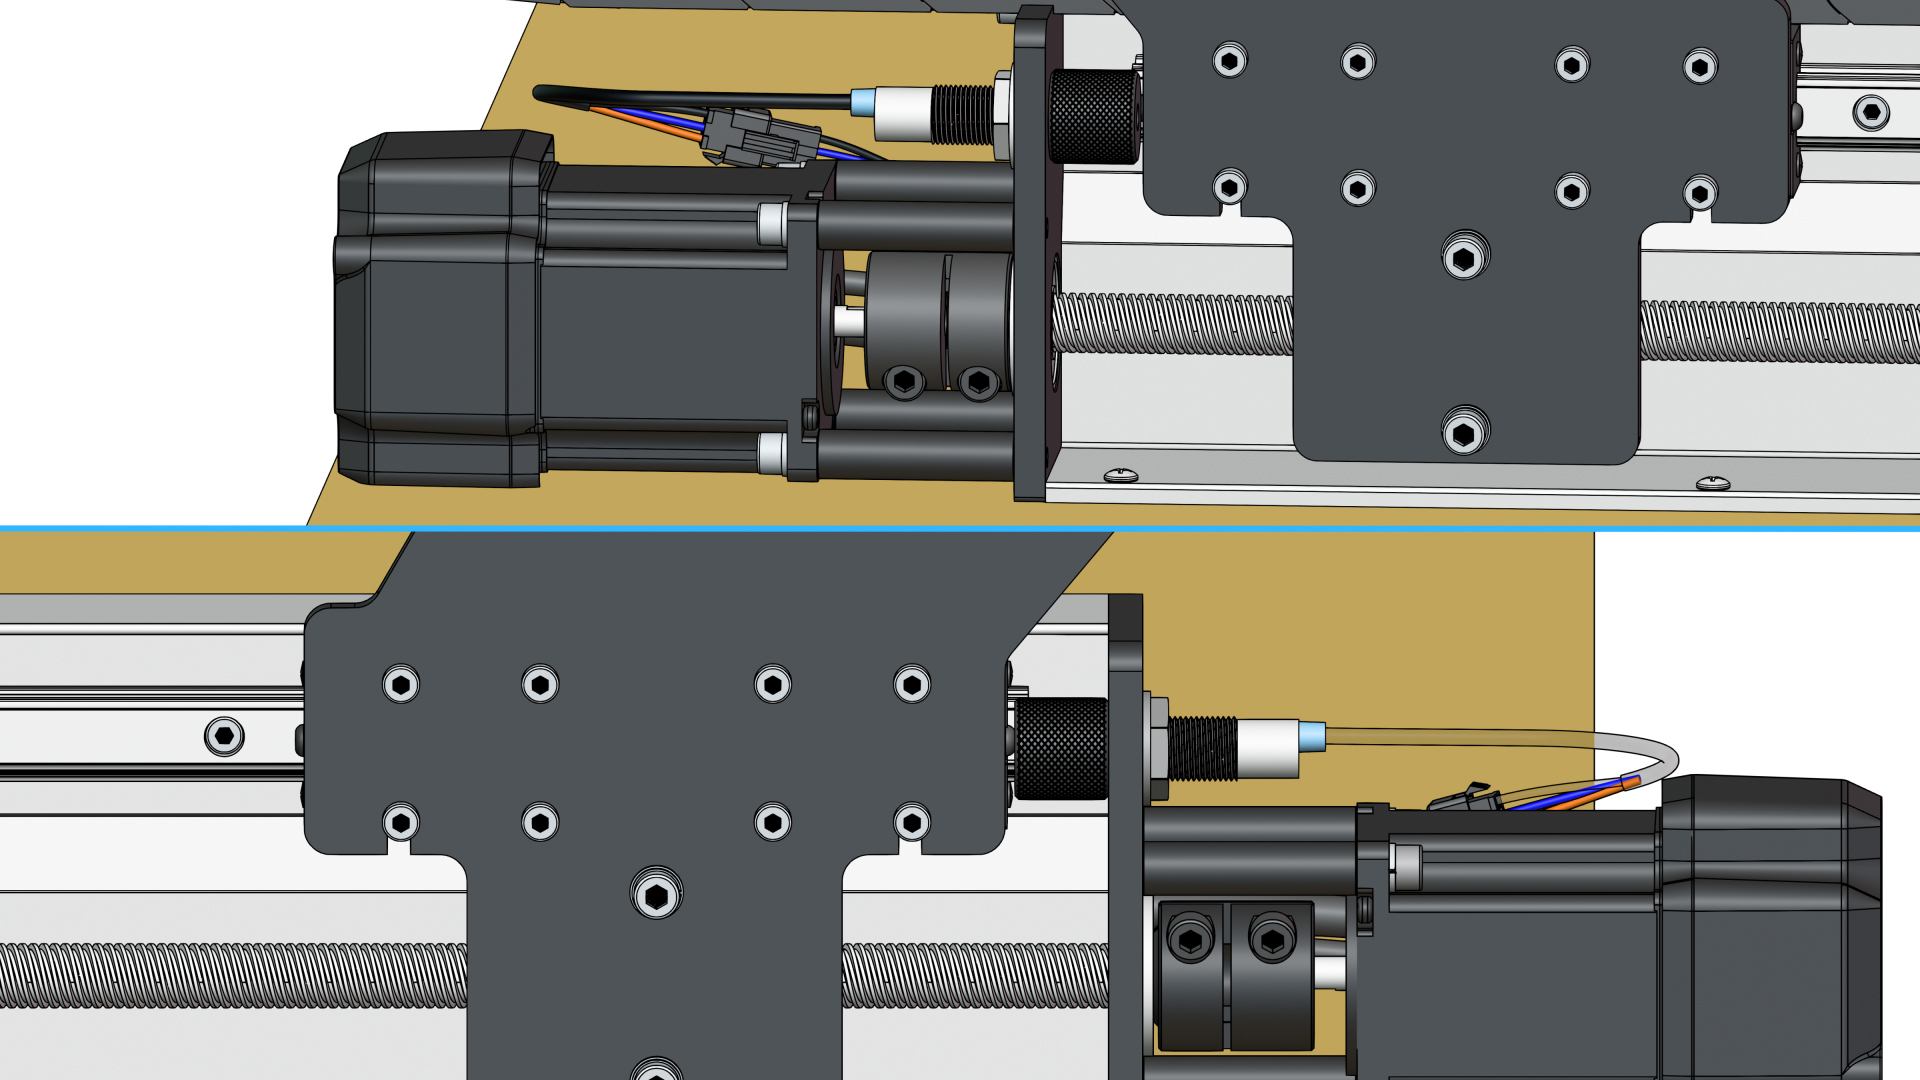
Then jog the machine to the very back using the Y+ button.
-
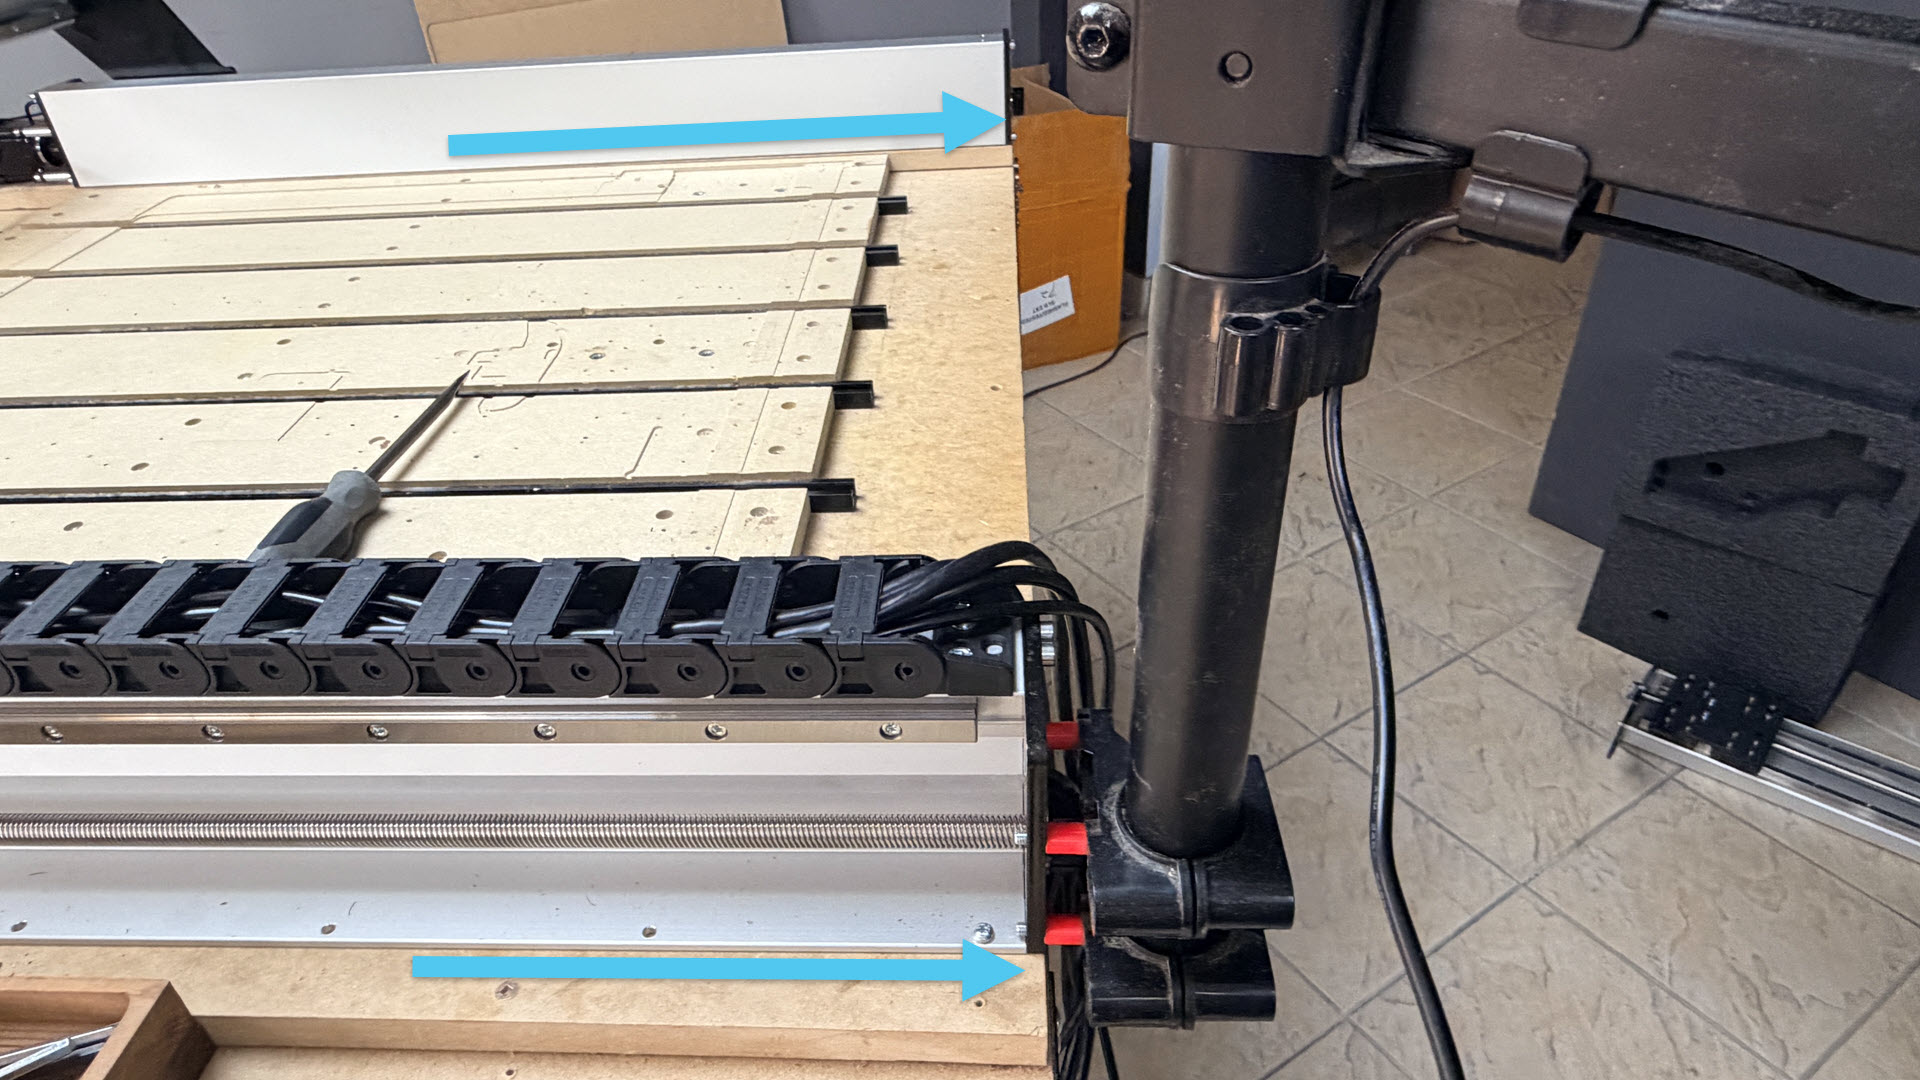
Square the machine to your MDF sheet; use the measuring tape to evenly offset the Y rail plates from the back edge of the MDF. If you are planing on using the gControl panel, shift your machine to be flush with the front, so the bracket can mount.
-
Shift your machine to get it into the desired position.
-
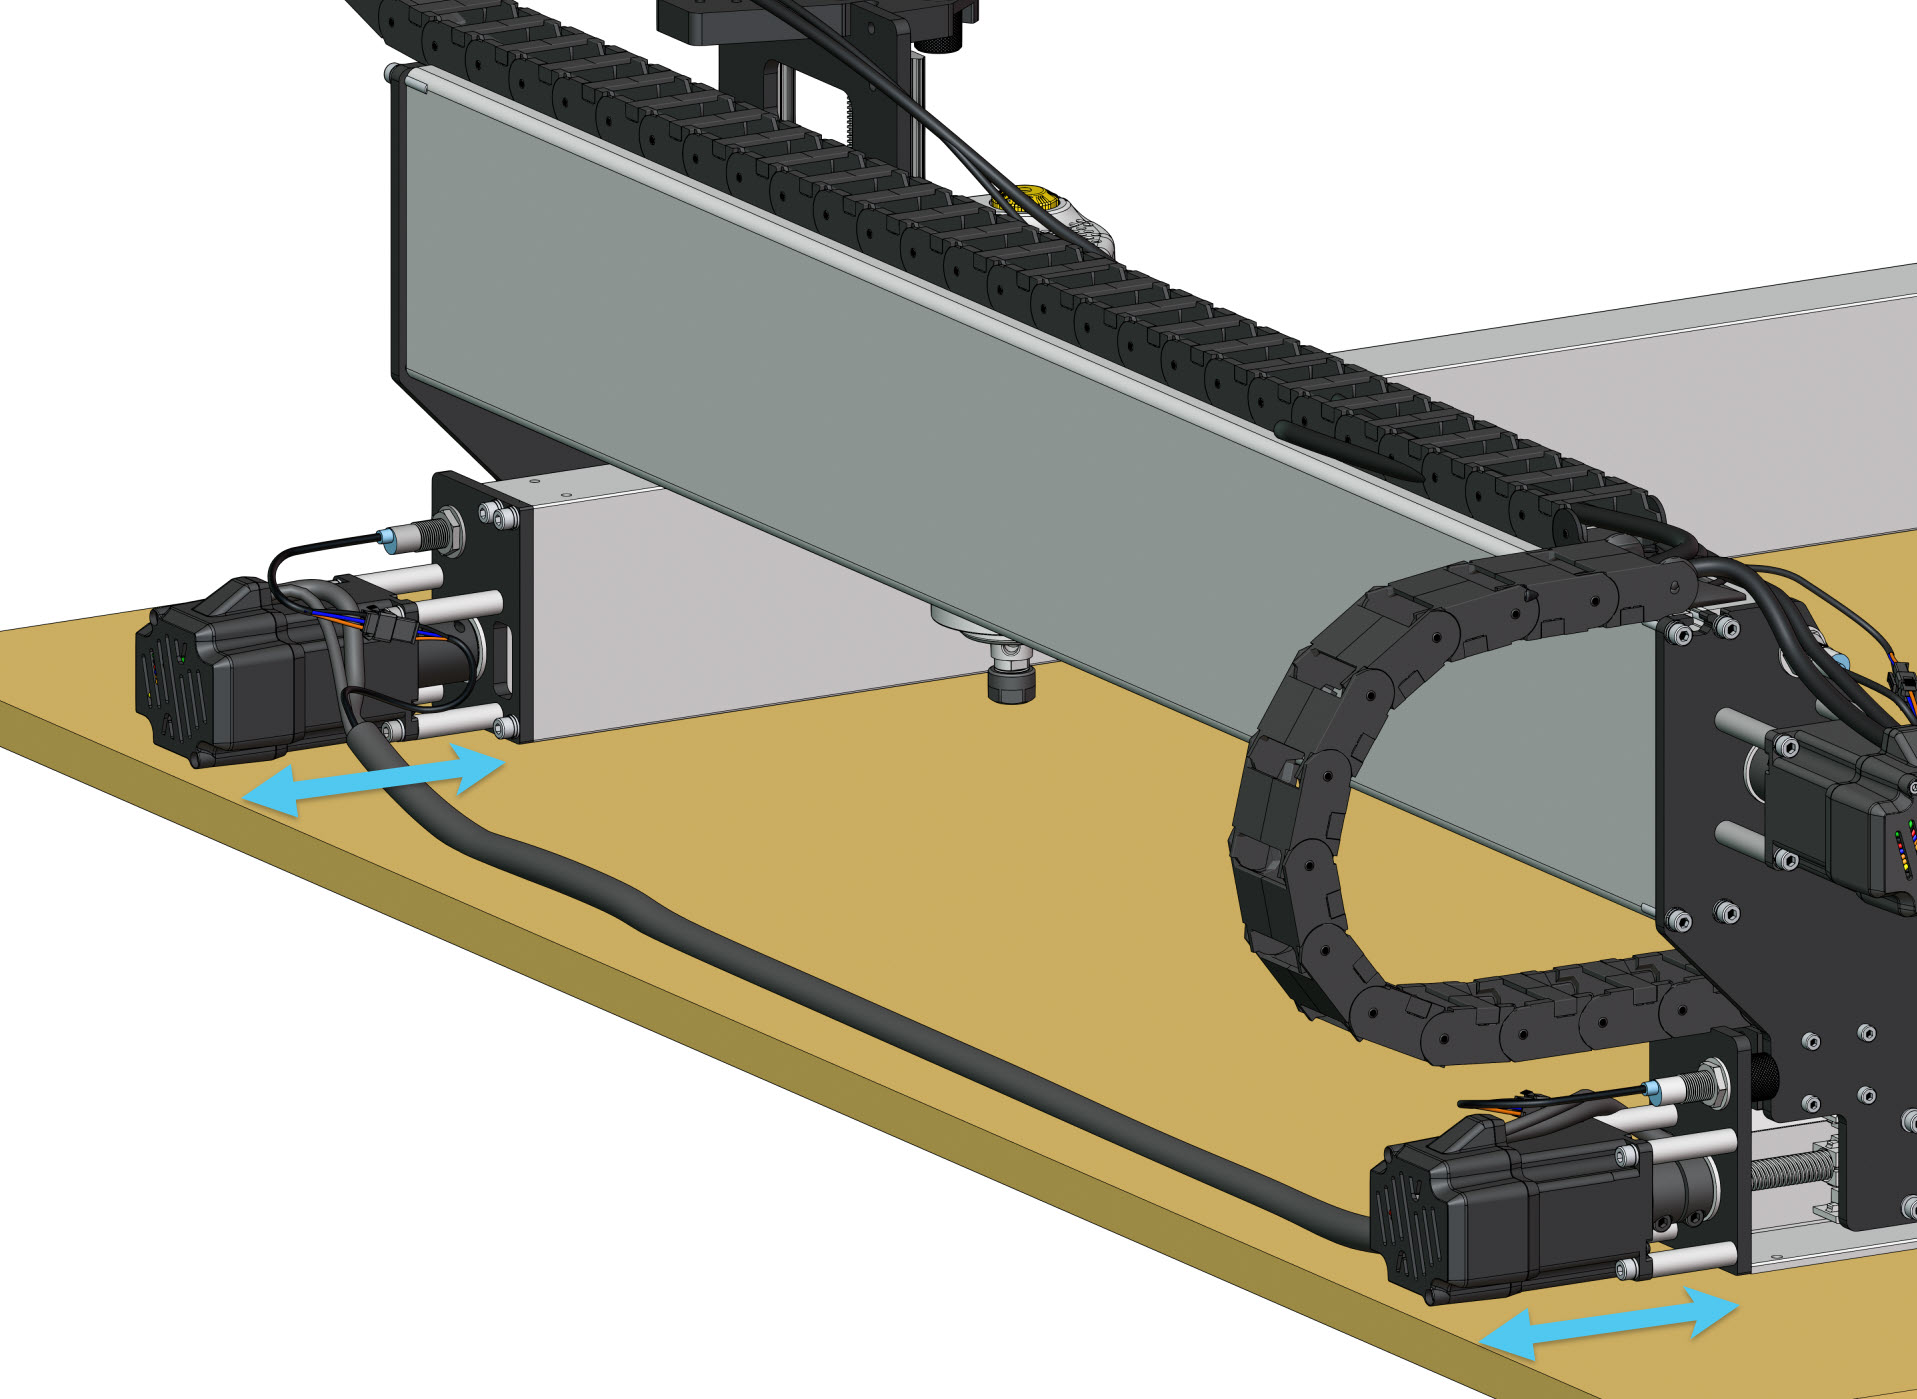
Screw down the back-most holes of both Y rails using the wood screws.
-
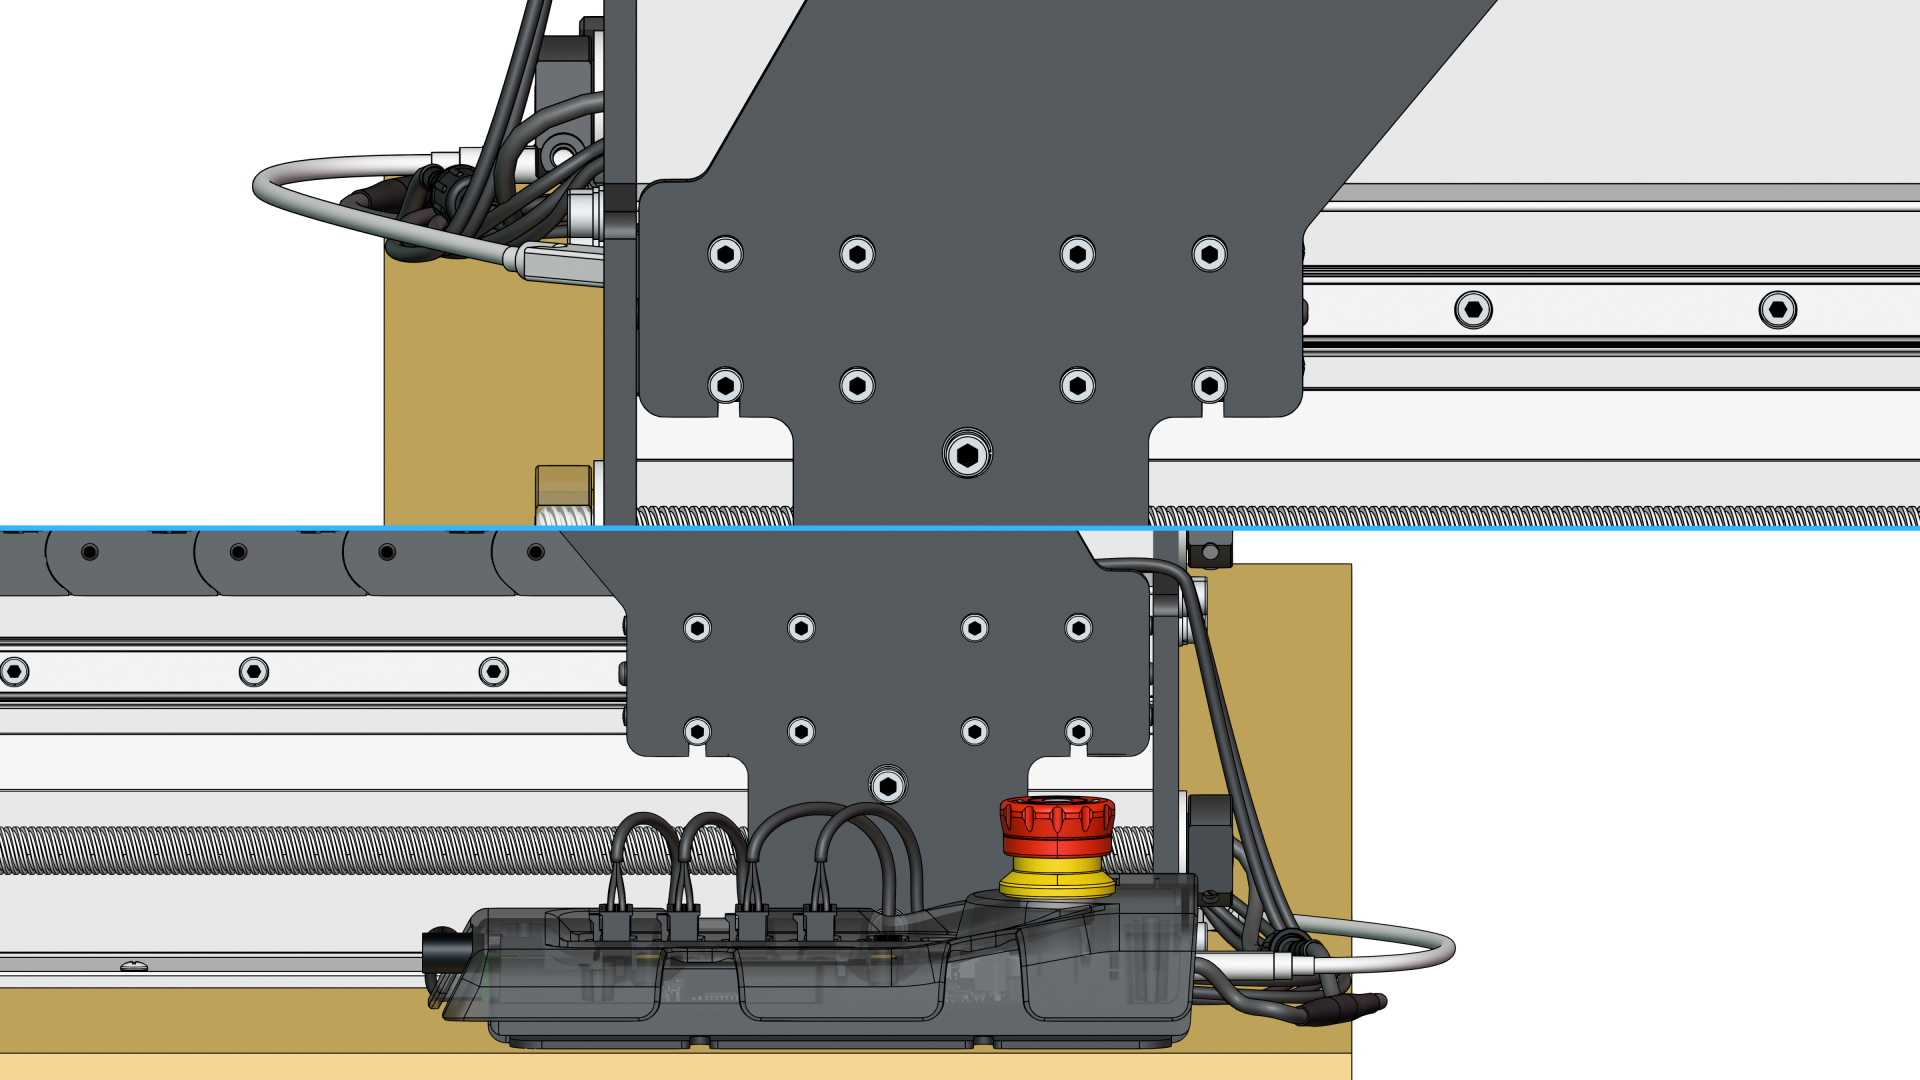
Then jog the machine to the very front using the Y- button.
-
Screw down the front-most hole of both Y rails using the wood screws. Then finish securing the remaining holes to complete table mounting.
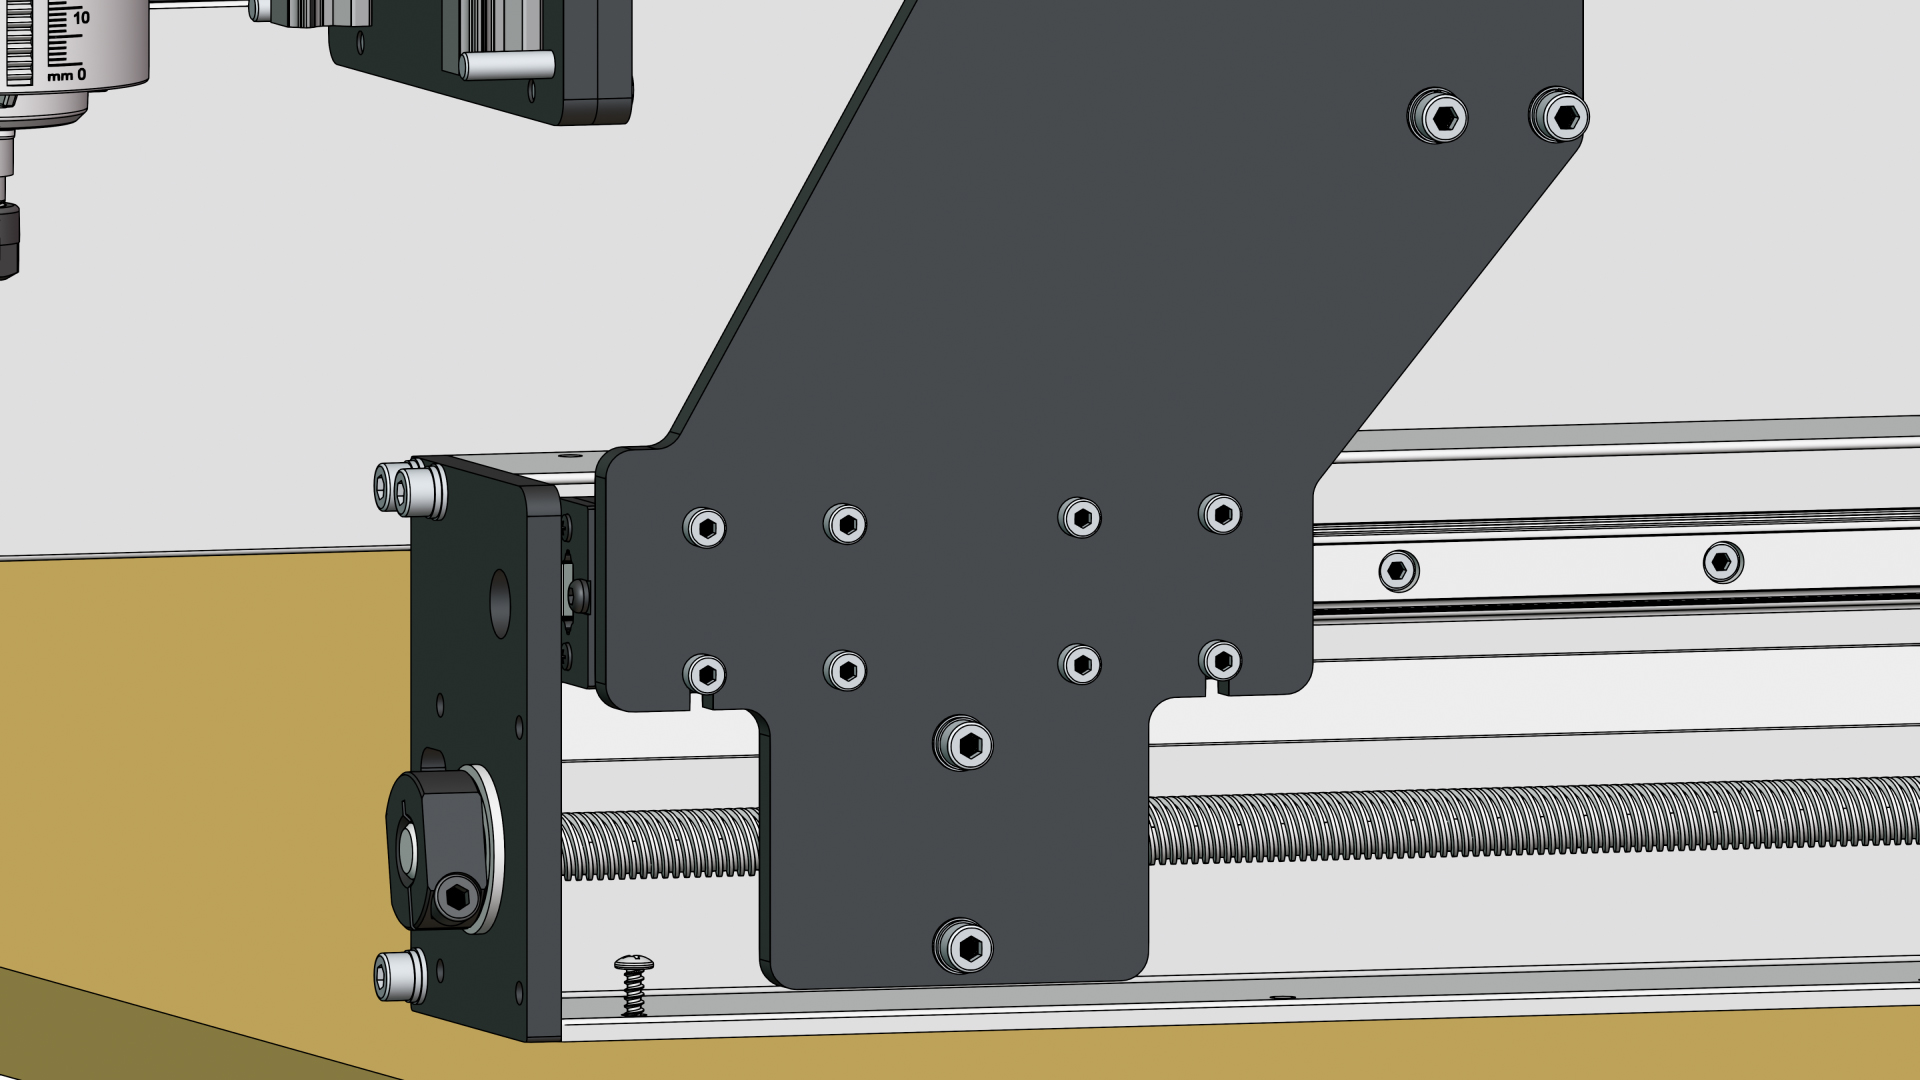
You did it! Your machine is now assembled. We only have a few final set up tasks for some accessories, so go ahead to the next page to finish it up!