Router Installation
Refer to the manufacturer’s instructions on how to install a router onto your machine.
https://www.onefinitycnc.com/support
Wiring
Make sure the AutoSpin is unplugged and the power switch is in the OFF “O” position.
Also make sure the controller is powered OFF.
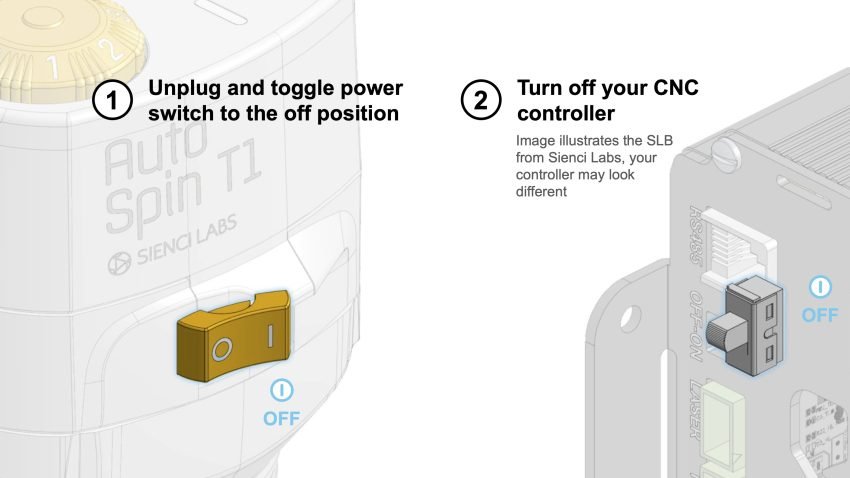
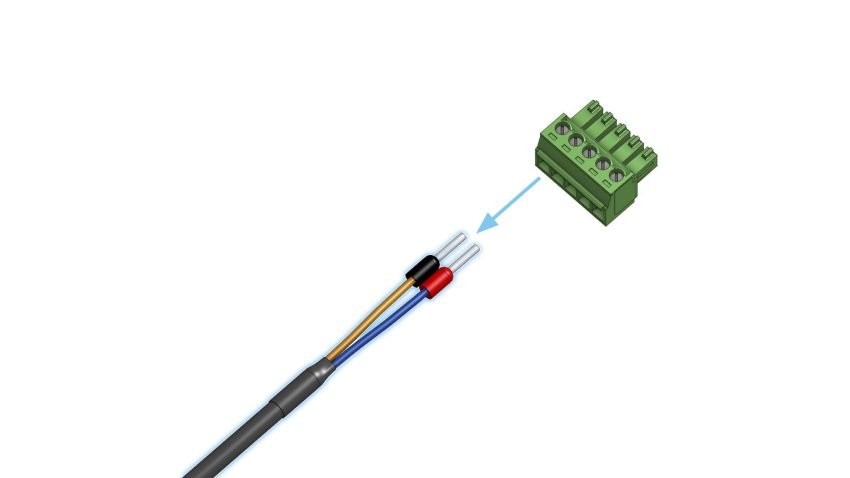
Use a small flathead screwdriver to remove the default 5-pin connector from the signal pigtail.
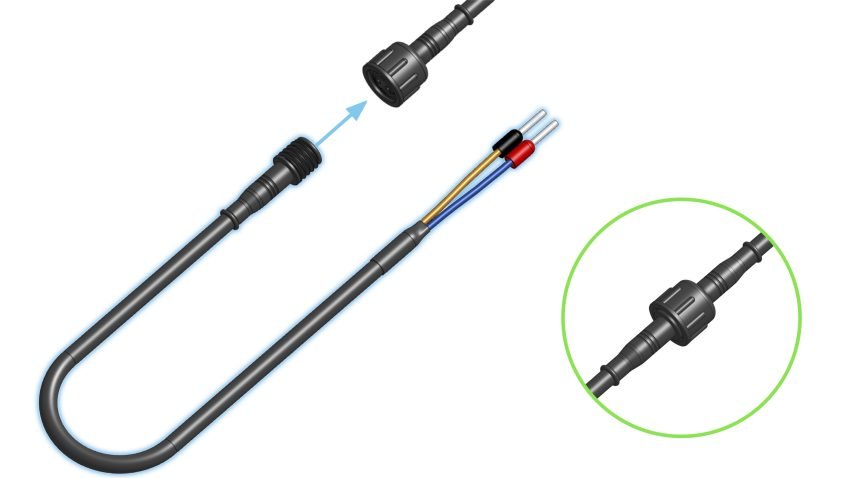
Connect the included signal cable pigtail with the signal cable coming out of the router.
Disconnect the DB25 connector from the controller.
Open the connector and identify the 17 and GND terminals.
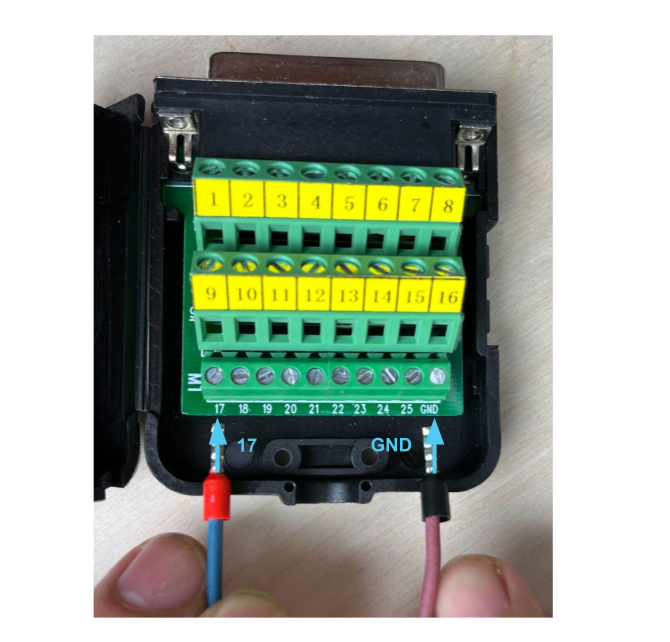
Using the screwdriver, loosen the screw at terminal 17 and GND.
Make the following connections, keep in mind these may be a tight fit:
- Secure the signal PWM wire (red ferrule) from the pigtail to terminal 17.
- Secure the ground wire from the pigtail to the GND terminal.
Plug in the DB25 connector back into the controller.
Power ON the controller. Make sure to leave the router OFF until instructed in the later steps.
Software Setup
Go to SETTINGS > Tool and make the following changes:
- tool-type: PWM Spindle
- max-spin: 30000
- min-spin: 10000
- pwm-min-duty: 0
- pwm-max-duty: 96
- pwm-freq: 4000
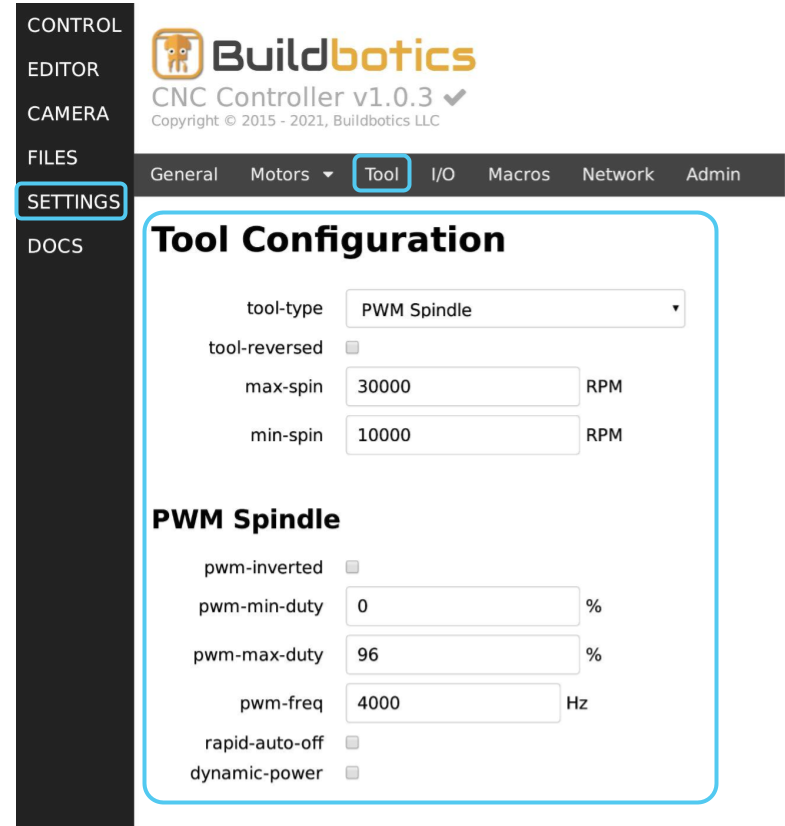
Save the settings.
Now we will test that the AutoSpin is set up correctly.
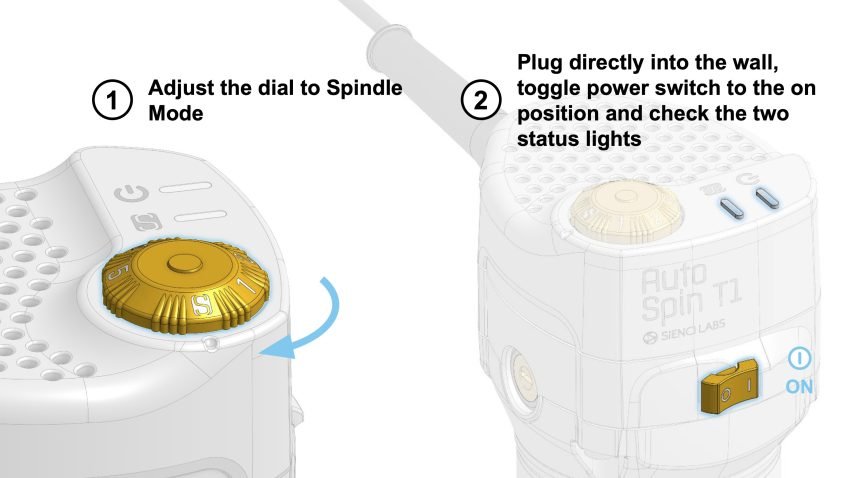
First turning the dial of the router to the “S” position.
Then plug in the router and flip the power switch to the “I” ON position.
The two indicator lights on the router, for the power and spindle mode respectively, should both turn ON .
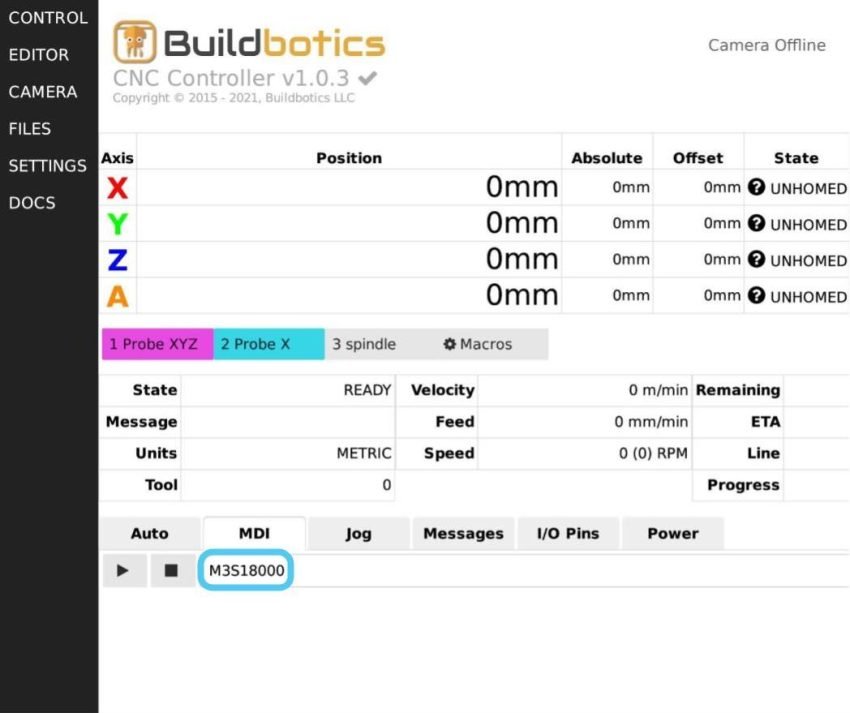
Go to the “CONTROL” tab and enter the following commands in the MDI:
M3 S18000 – This will turn on the router, and spin up to 18000RPM
S12000 – This will change the speed to 12000RPM
M5 – This will turn off the router
