
CNC routers are machines that receive and execute commands from a computer to cut and shape material. A 3-axis CNC router can move in three independent directions—X, Y, and Z—allowing it to carve 3D shapes in space. This makes them versatile tools for hobbyists who want to turn digital designs into real projects with precision.
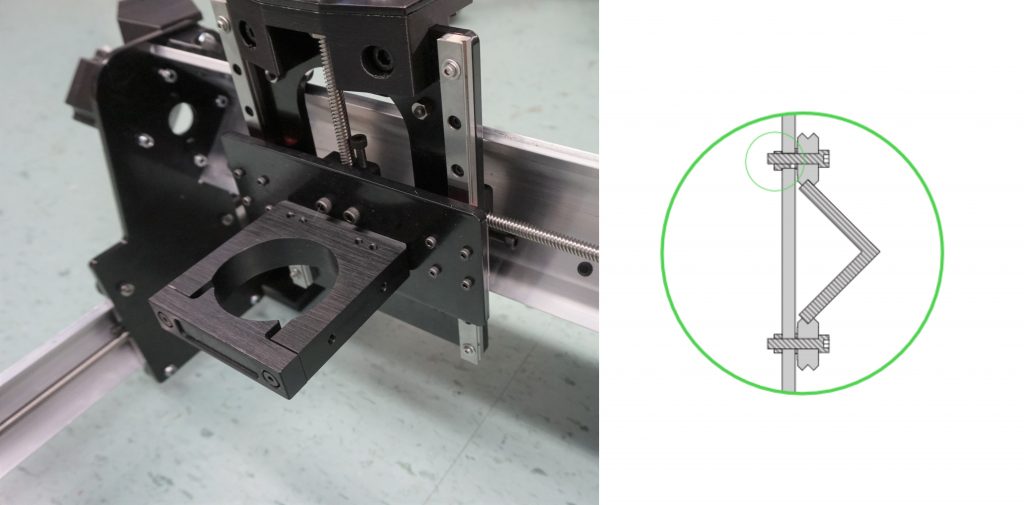
Most hobby CNC routers use motion systems like wheels, rails, and lead screws to provide smooth, accurate movement while keeping the machines affordable and accessible. These designs balance precision and cost, making them a practical choice for small workshops. At the industrial level, CNC milling machines expand on these same principles with additional axes of motion, more powerful drive systems, greater repeatability, and often much larger cutting areas.
CNC routers are capable of working with a wide range of materials. Most can handle wood, plastics, foams, machining wax, and other soft materials. Some are also capable of cutting soft metals such as aluminum, brass, and copper, and higher-end machines can even take on stone, tile, or hardened steels. At this point, hobby CNC routers start to overlap with industrial CNC milling machines in terms of capability.
Projects can range from simple surface engravings and v-carving to cutting line profiles, pocketing, carving reliefs, or even creating multi-sided jigs for more complex parts. Many common projects can be made with straightforward 2D cuts designed from simple drawings or images, while more advanced users can experiment with 3D carving and multi-axis workflows.
")
Even more complex objects can be made on a CNC router after diving into the world of ‘3D’ carving. Cuts like these are normally made by finding or making a 3D file, then processing that for the machine to cut. This is a slightly more involved process than using a drawing or picture. These “relief” cuts, as well as a few other examples of classic CNC router projects can be seen below.


To create all of these cool projects, you will need to use CAD/CAM software for design and creating toolpaths that the CNC will follow.

Once you have your design file toolpaths (g-code file) you can use a Sender to communicate with the CNC, like gSender!

Now that you know what a CNC router is and what it’s capable of, you should be able to get an idea of how you might use your own to make parts or projects in your home or for your business. The next pages should act to further deepen your knowledge on the primary concepts of CNC routing.