Even with regular XYZ CNC machining, setting up workholding for your material can be one of the more challenging aspects of a project.
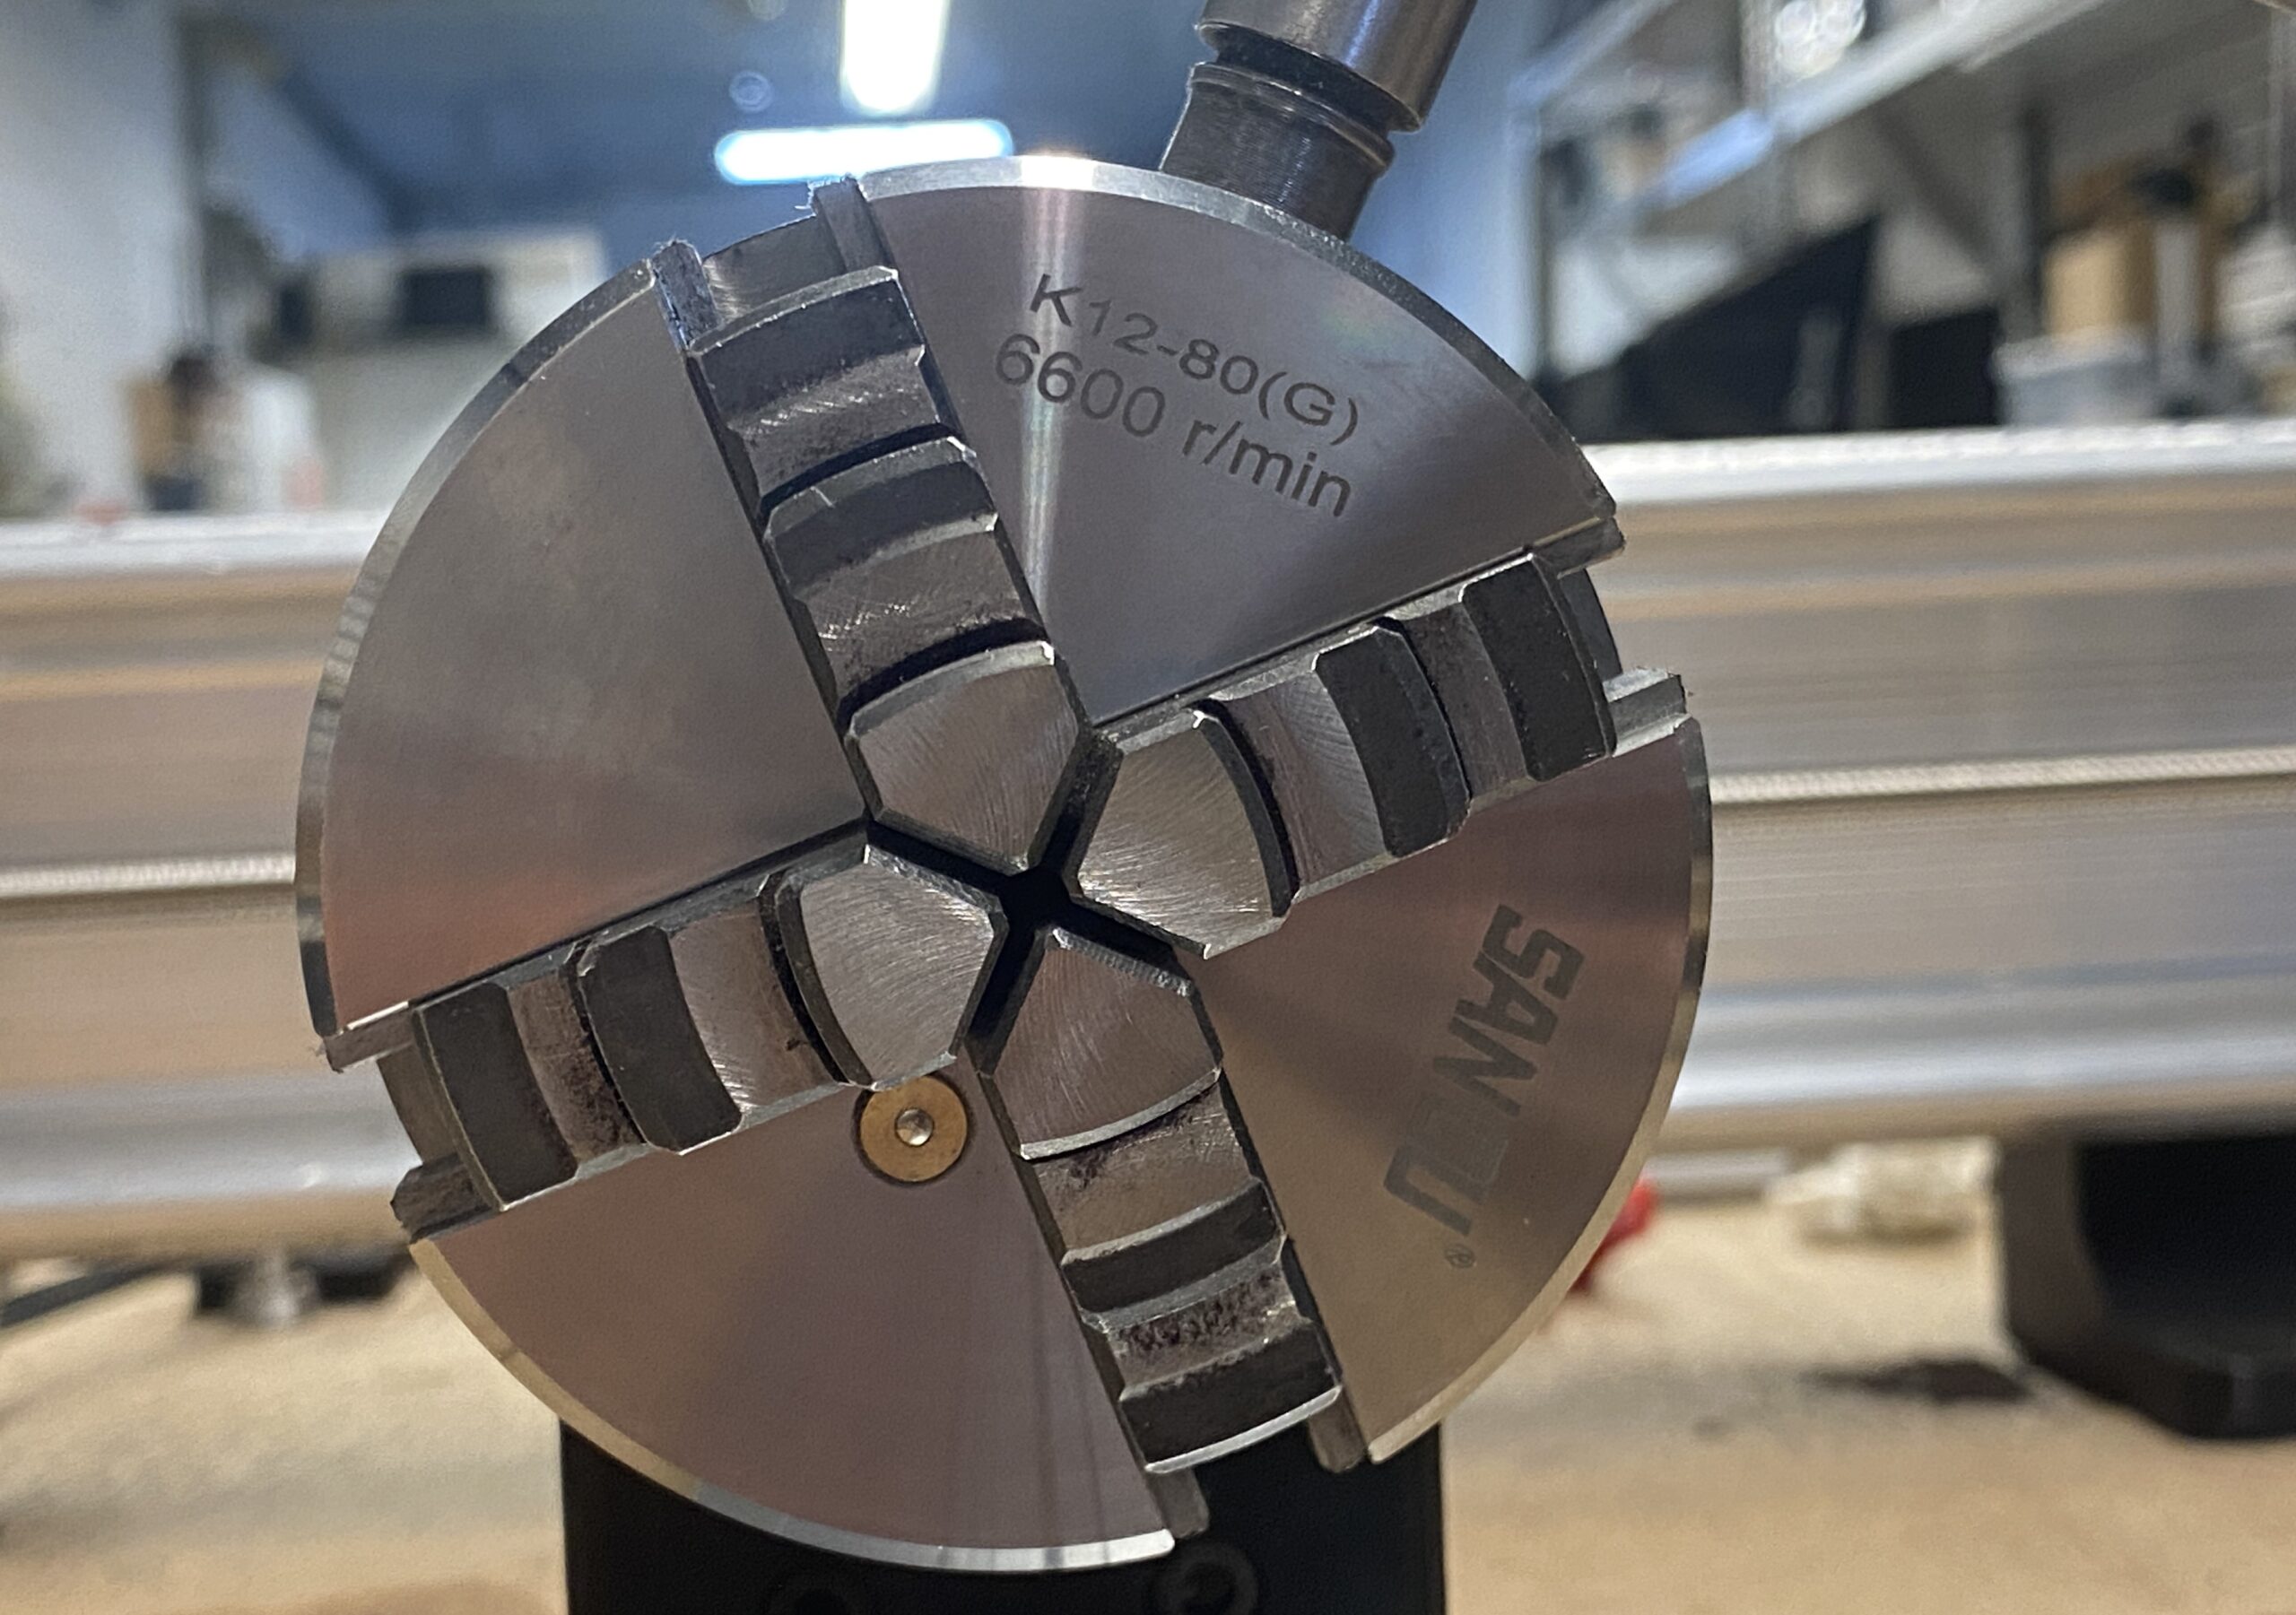
Clamping Jaws
The four-jaw chuck used on the Vortex includes two sets of jaws:
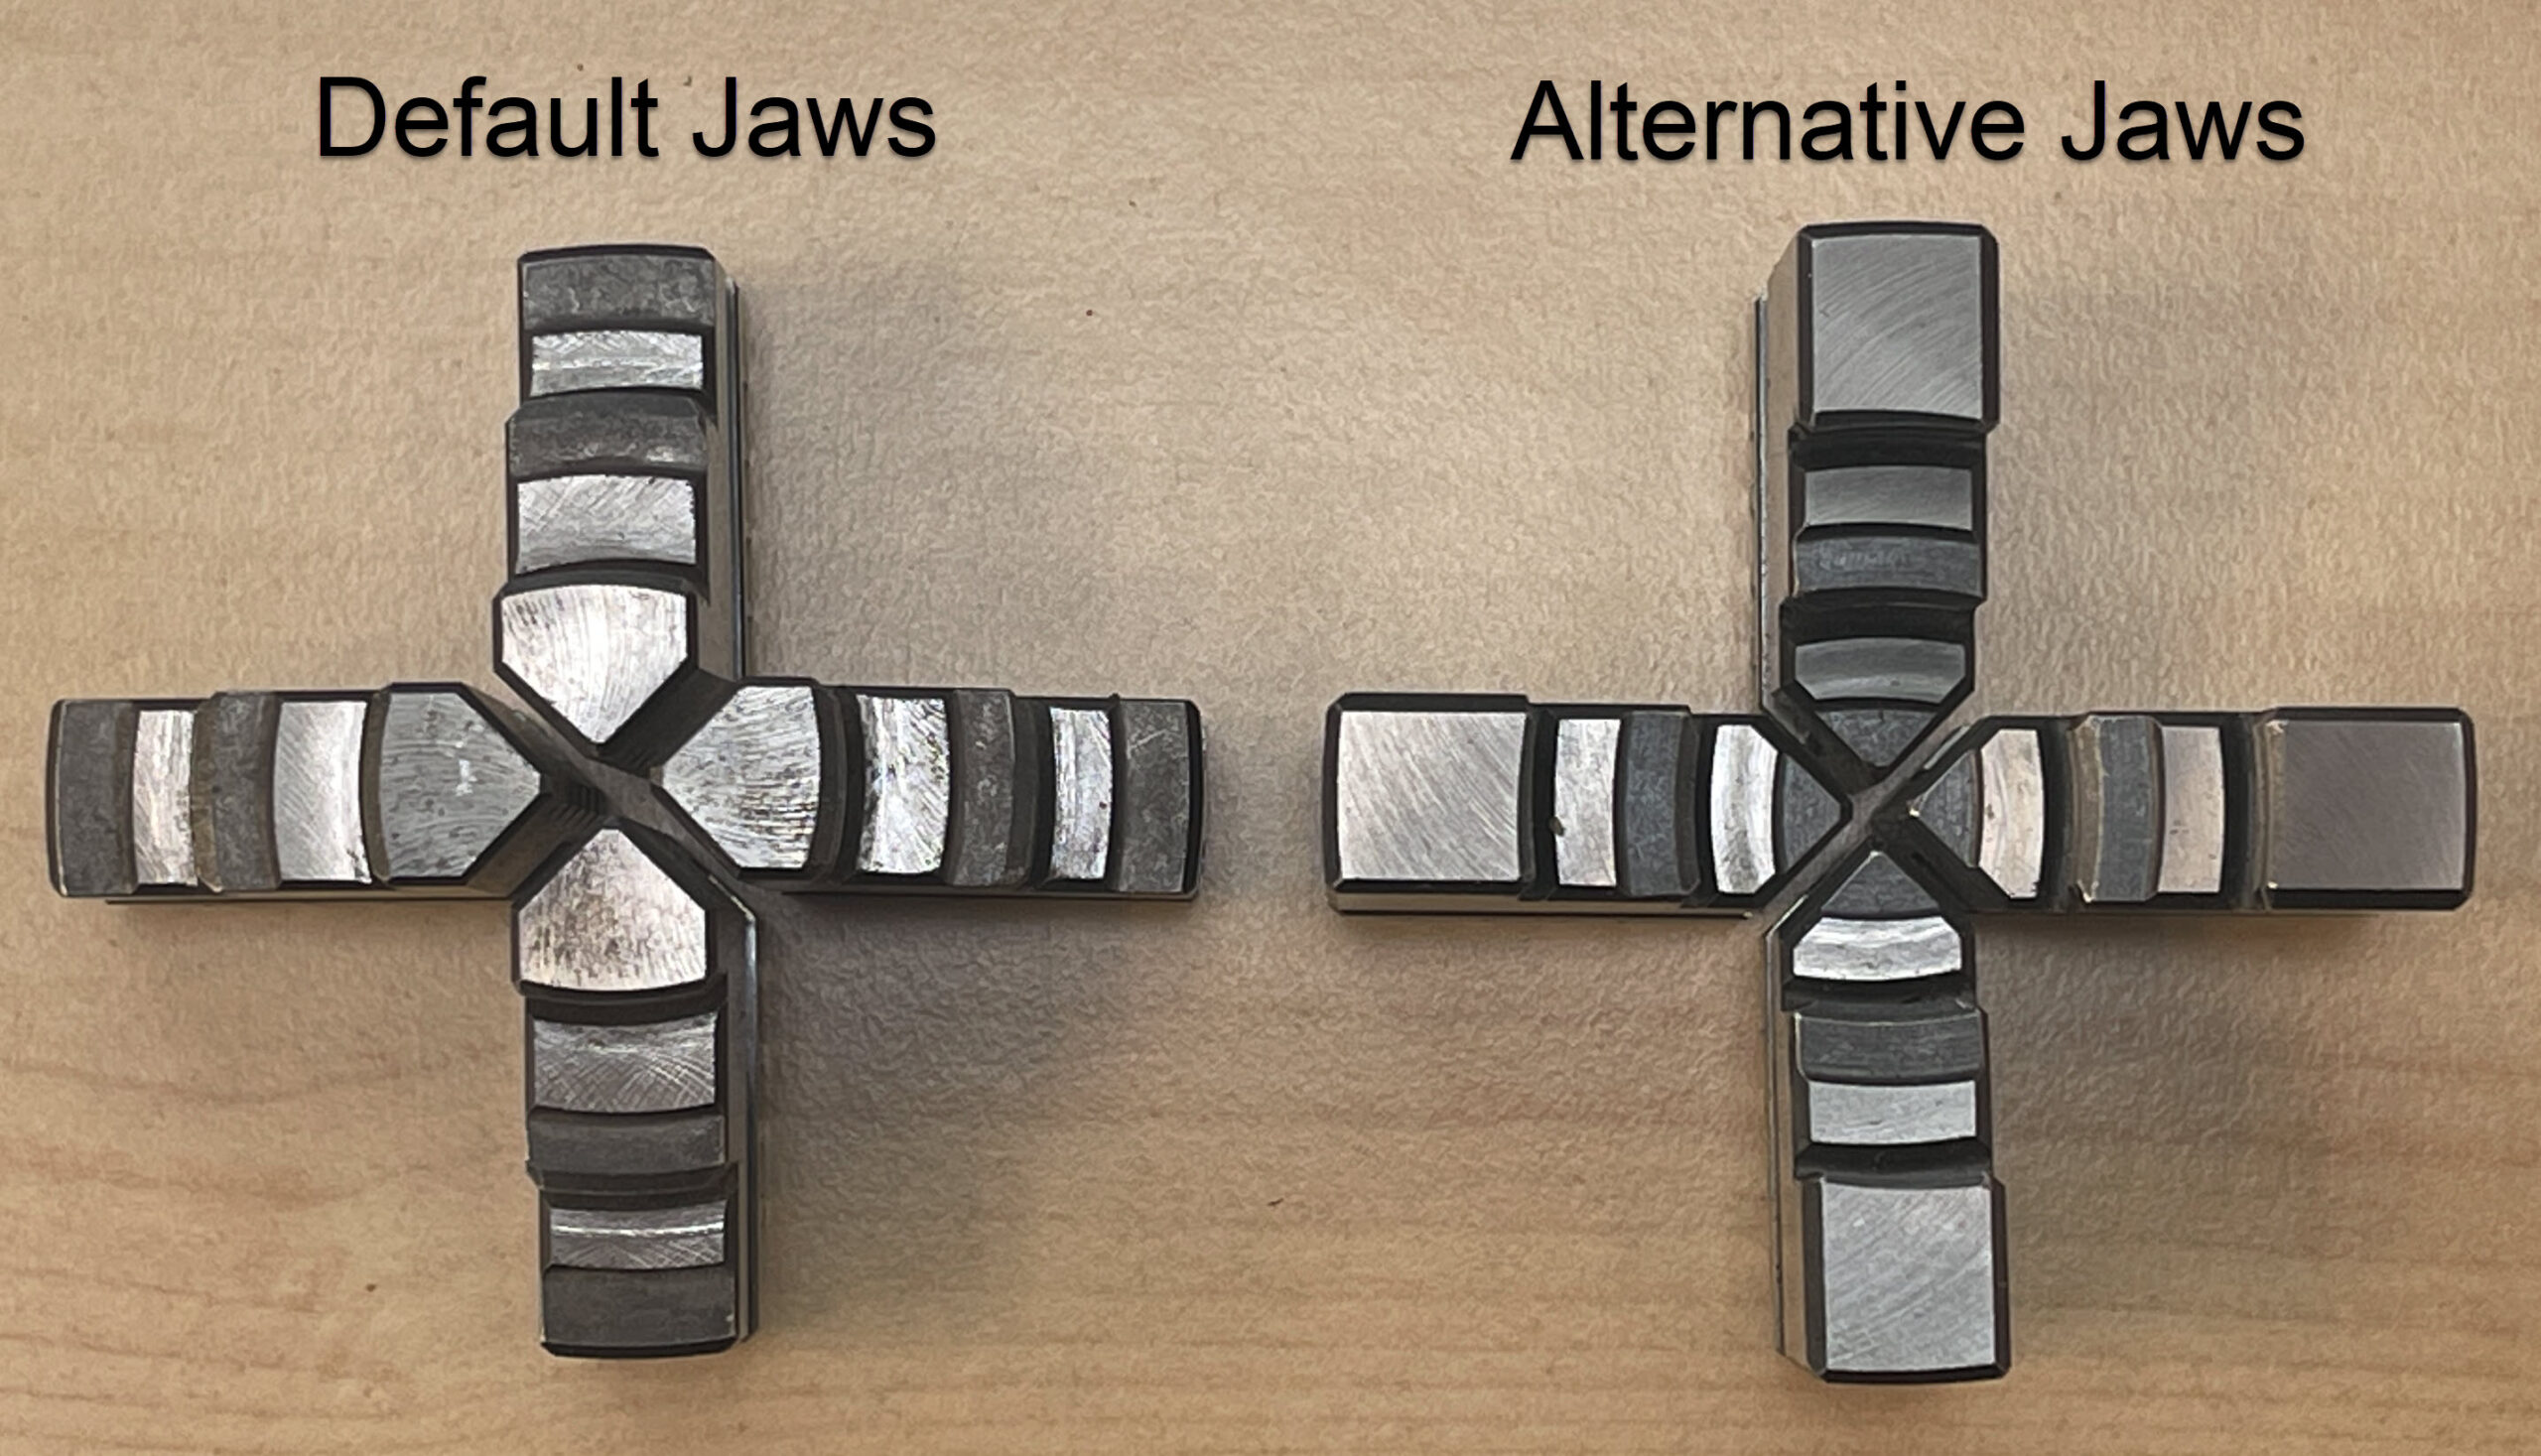
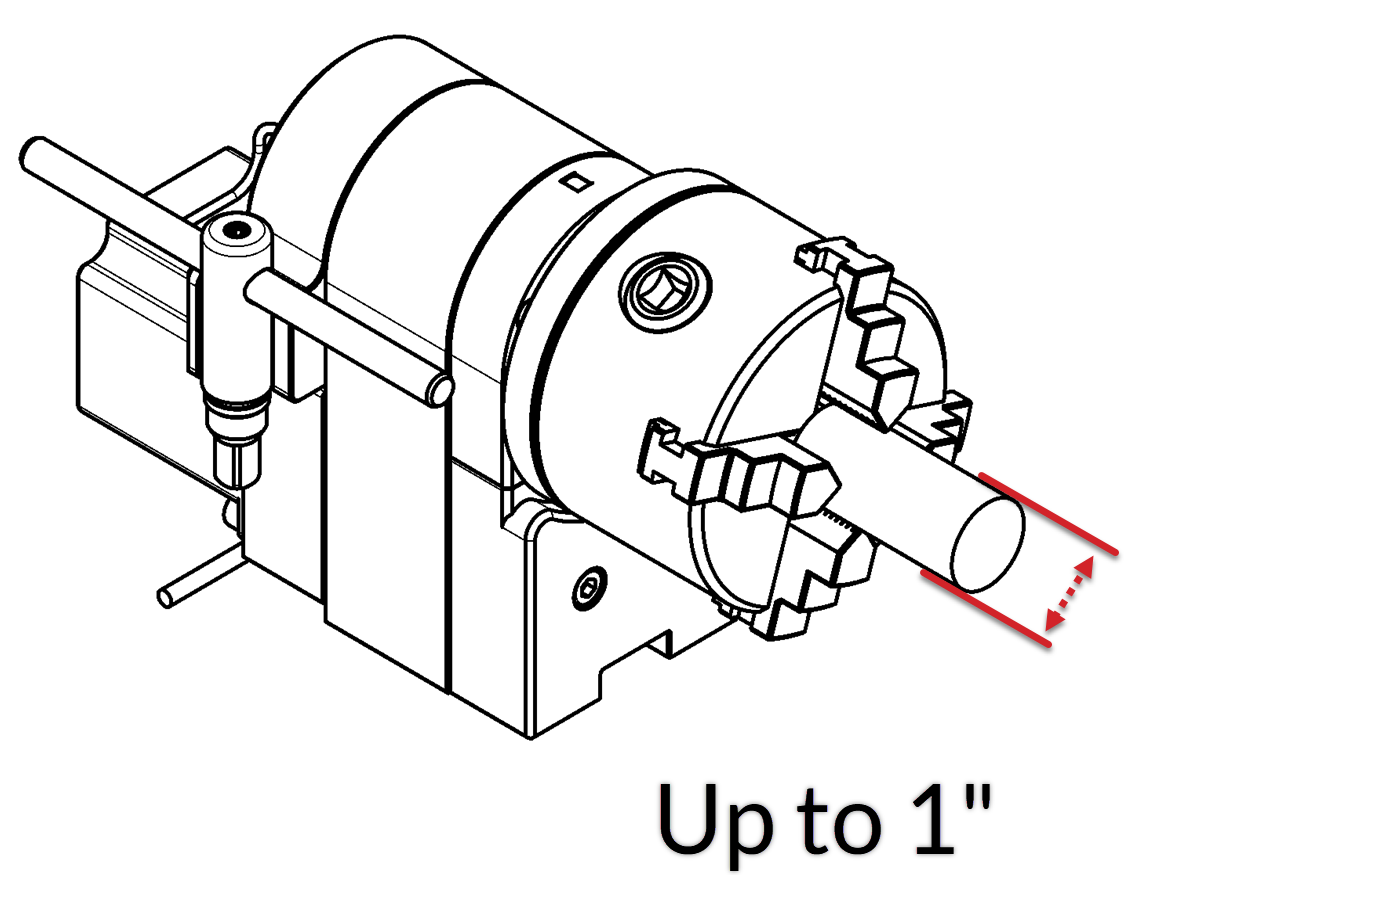
- A pre-installed, Default set of jaws for material that is 0-0.9″ diameter. This ‘internal’ set of jaws has the ability to clamp the internal diameter of hollow objects such as pipes, cups, or any other internal geometry.
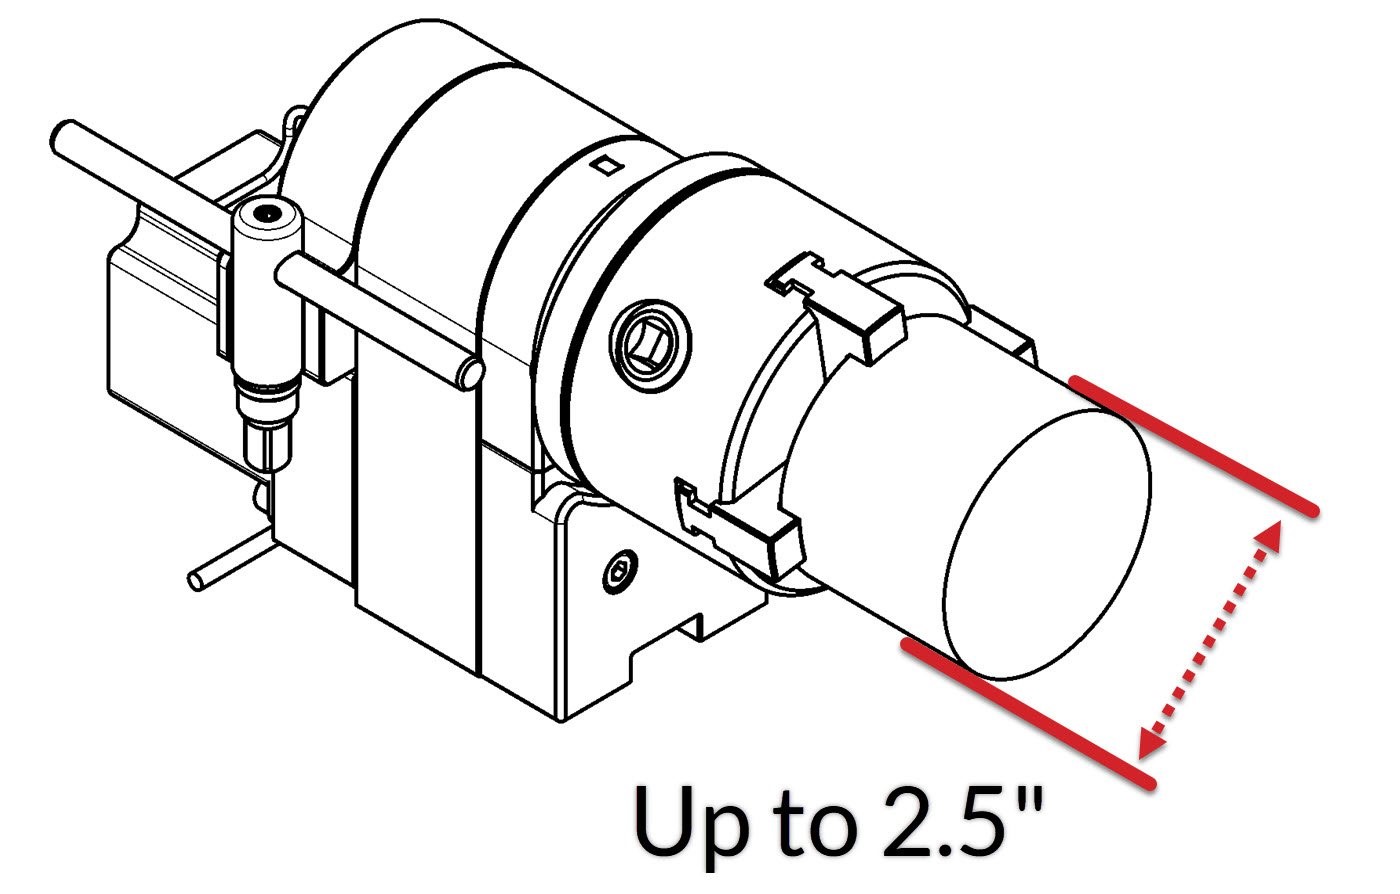
- An Alternative set of jaws (for stock that is 1-2.5″ diameter).
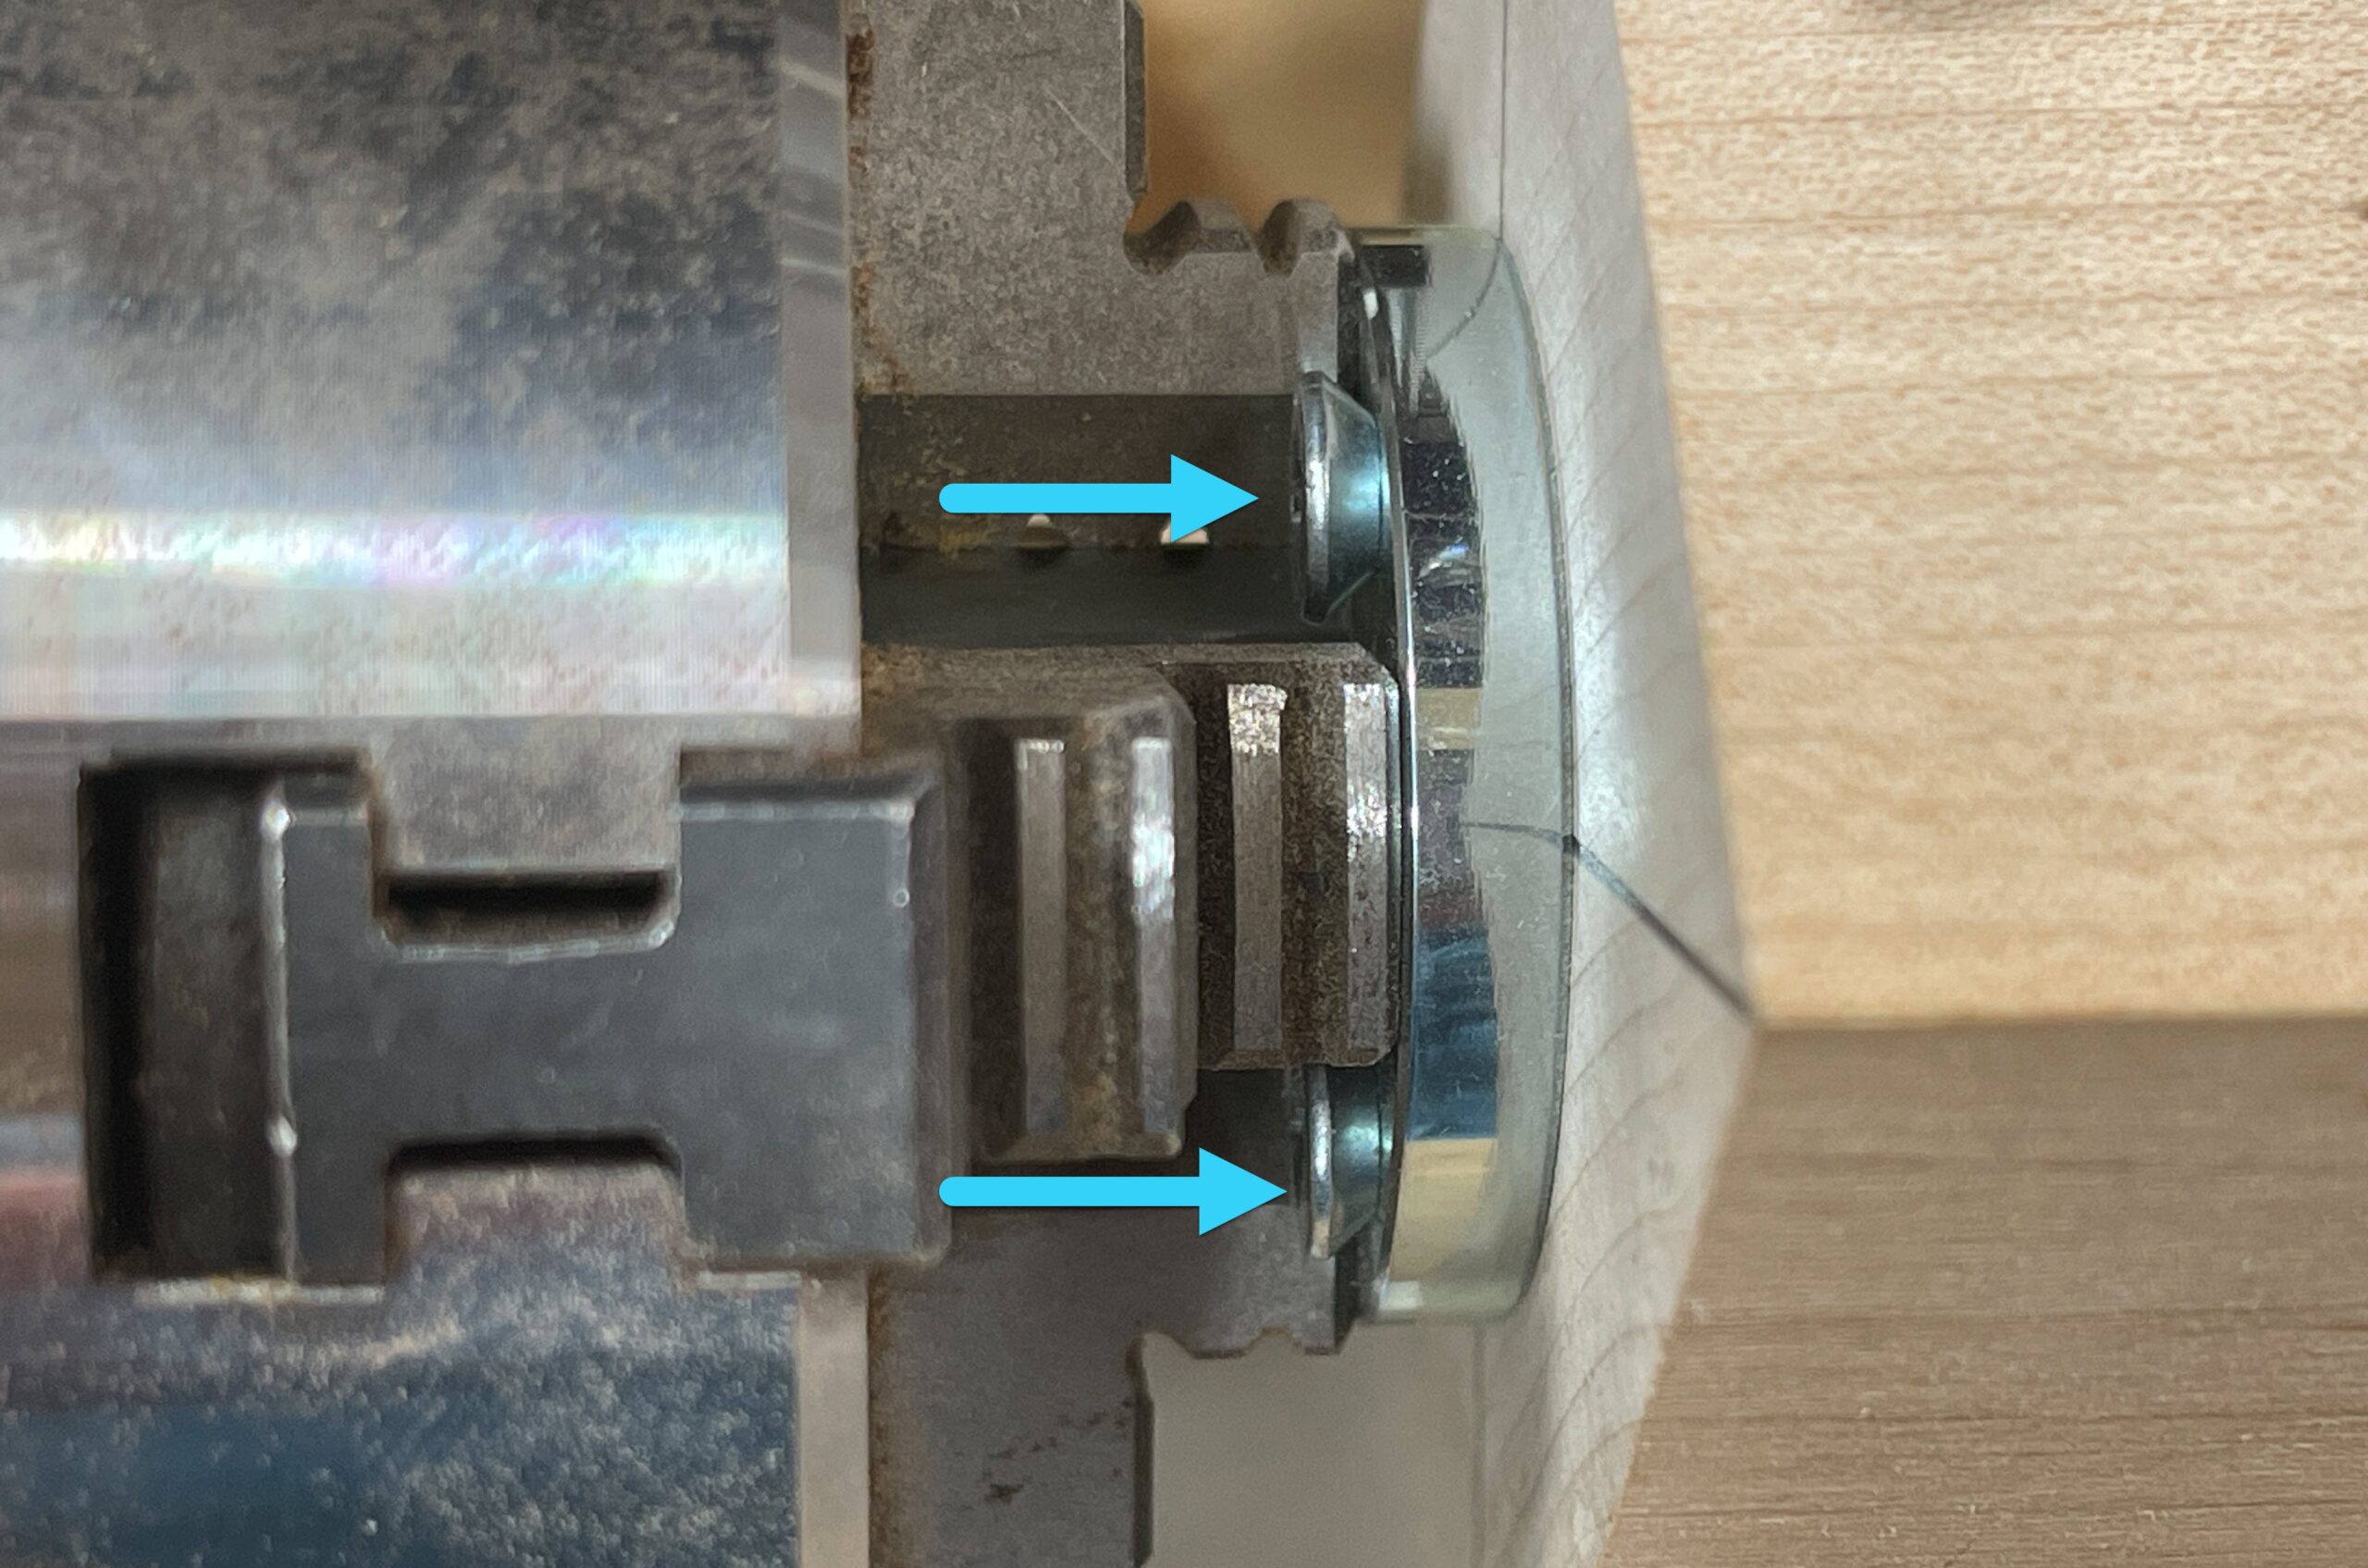
To swap out these two sets, simply insert the chuck key into the chuck, and turn this counterclockwise until each jaw falls out. Grab the set of chuck jaws you’ll be swapping in, and check the side of each jaw for a small number (1-4) etched into the side.
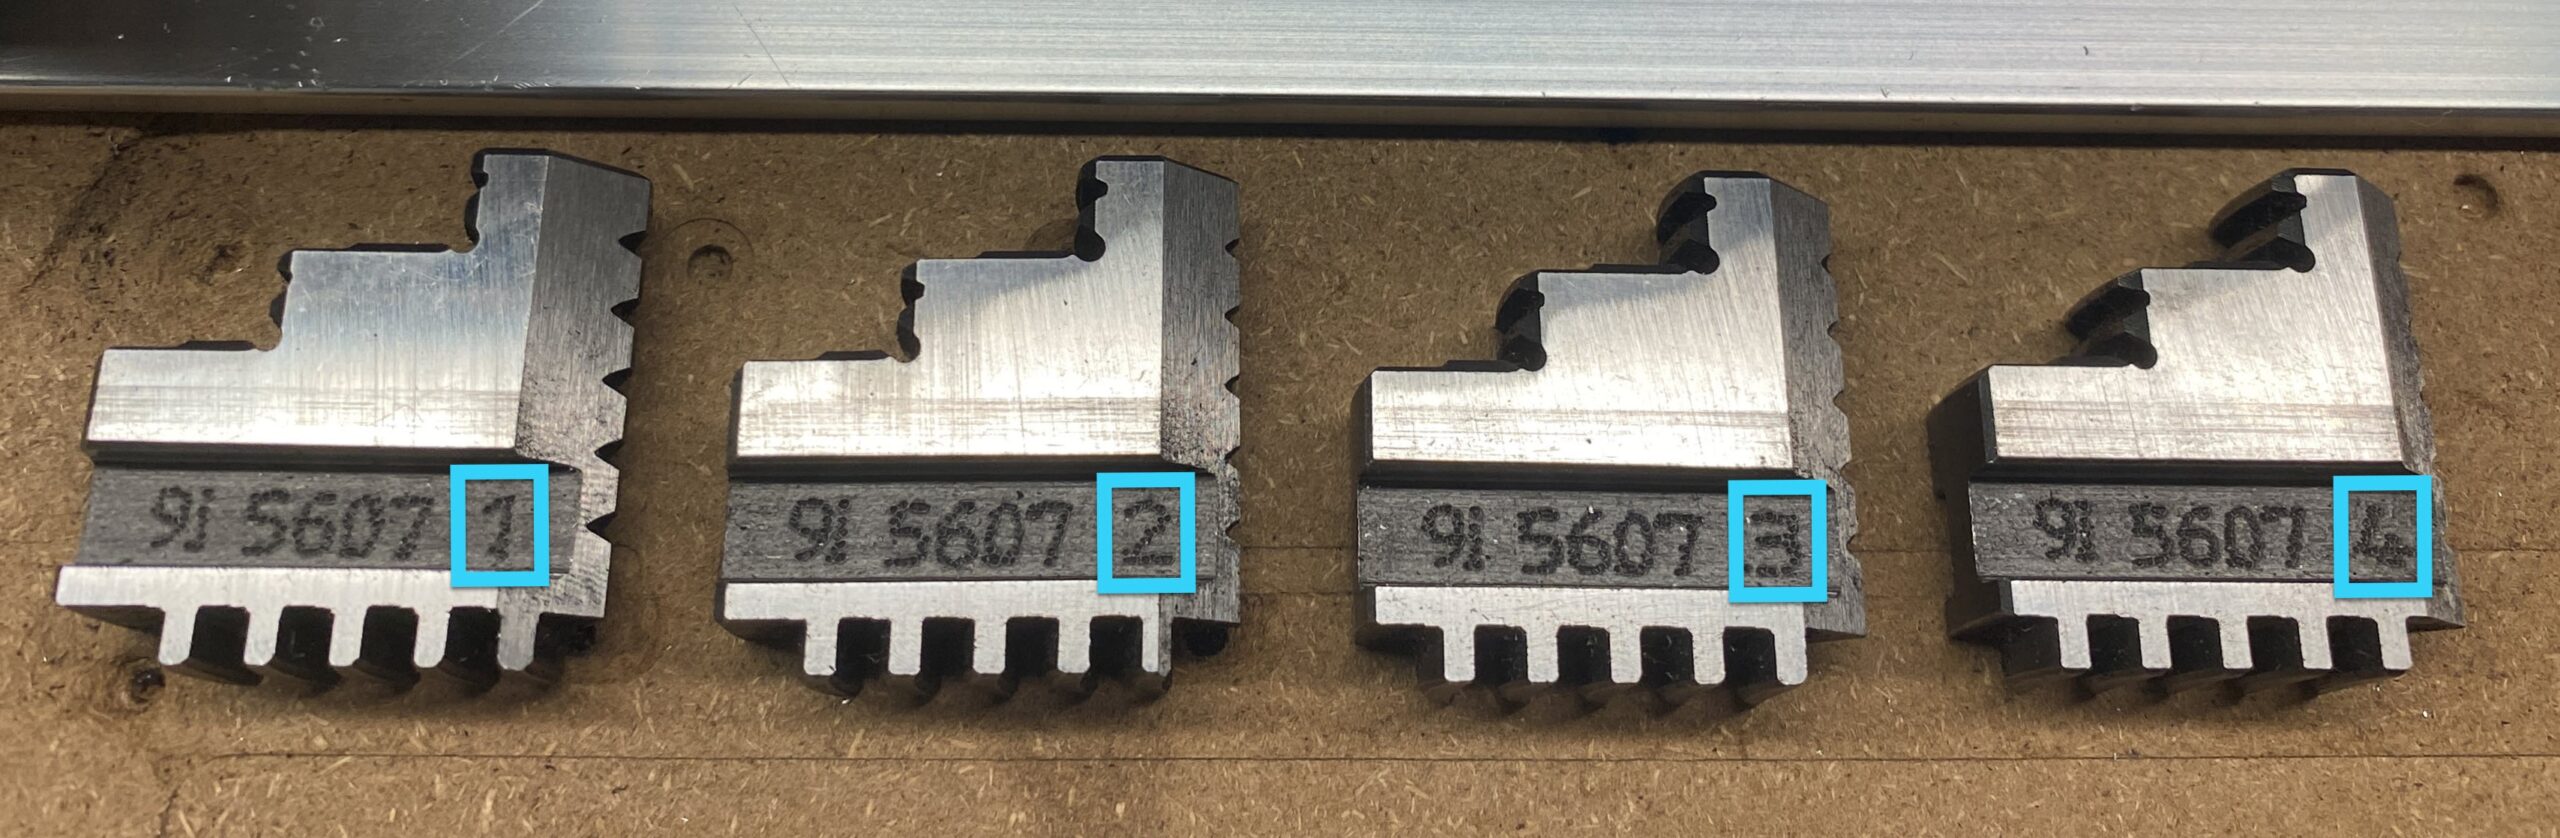
Peer into the front of the chuck and look through the slots of the chuck and find the number which corresponds to each individual jaw.
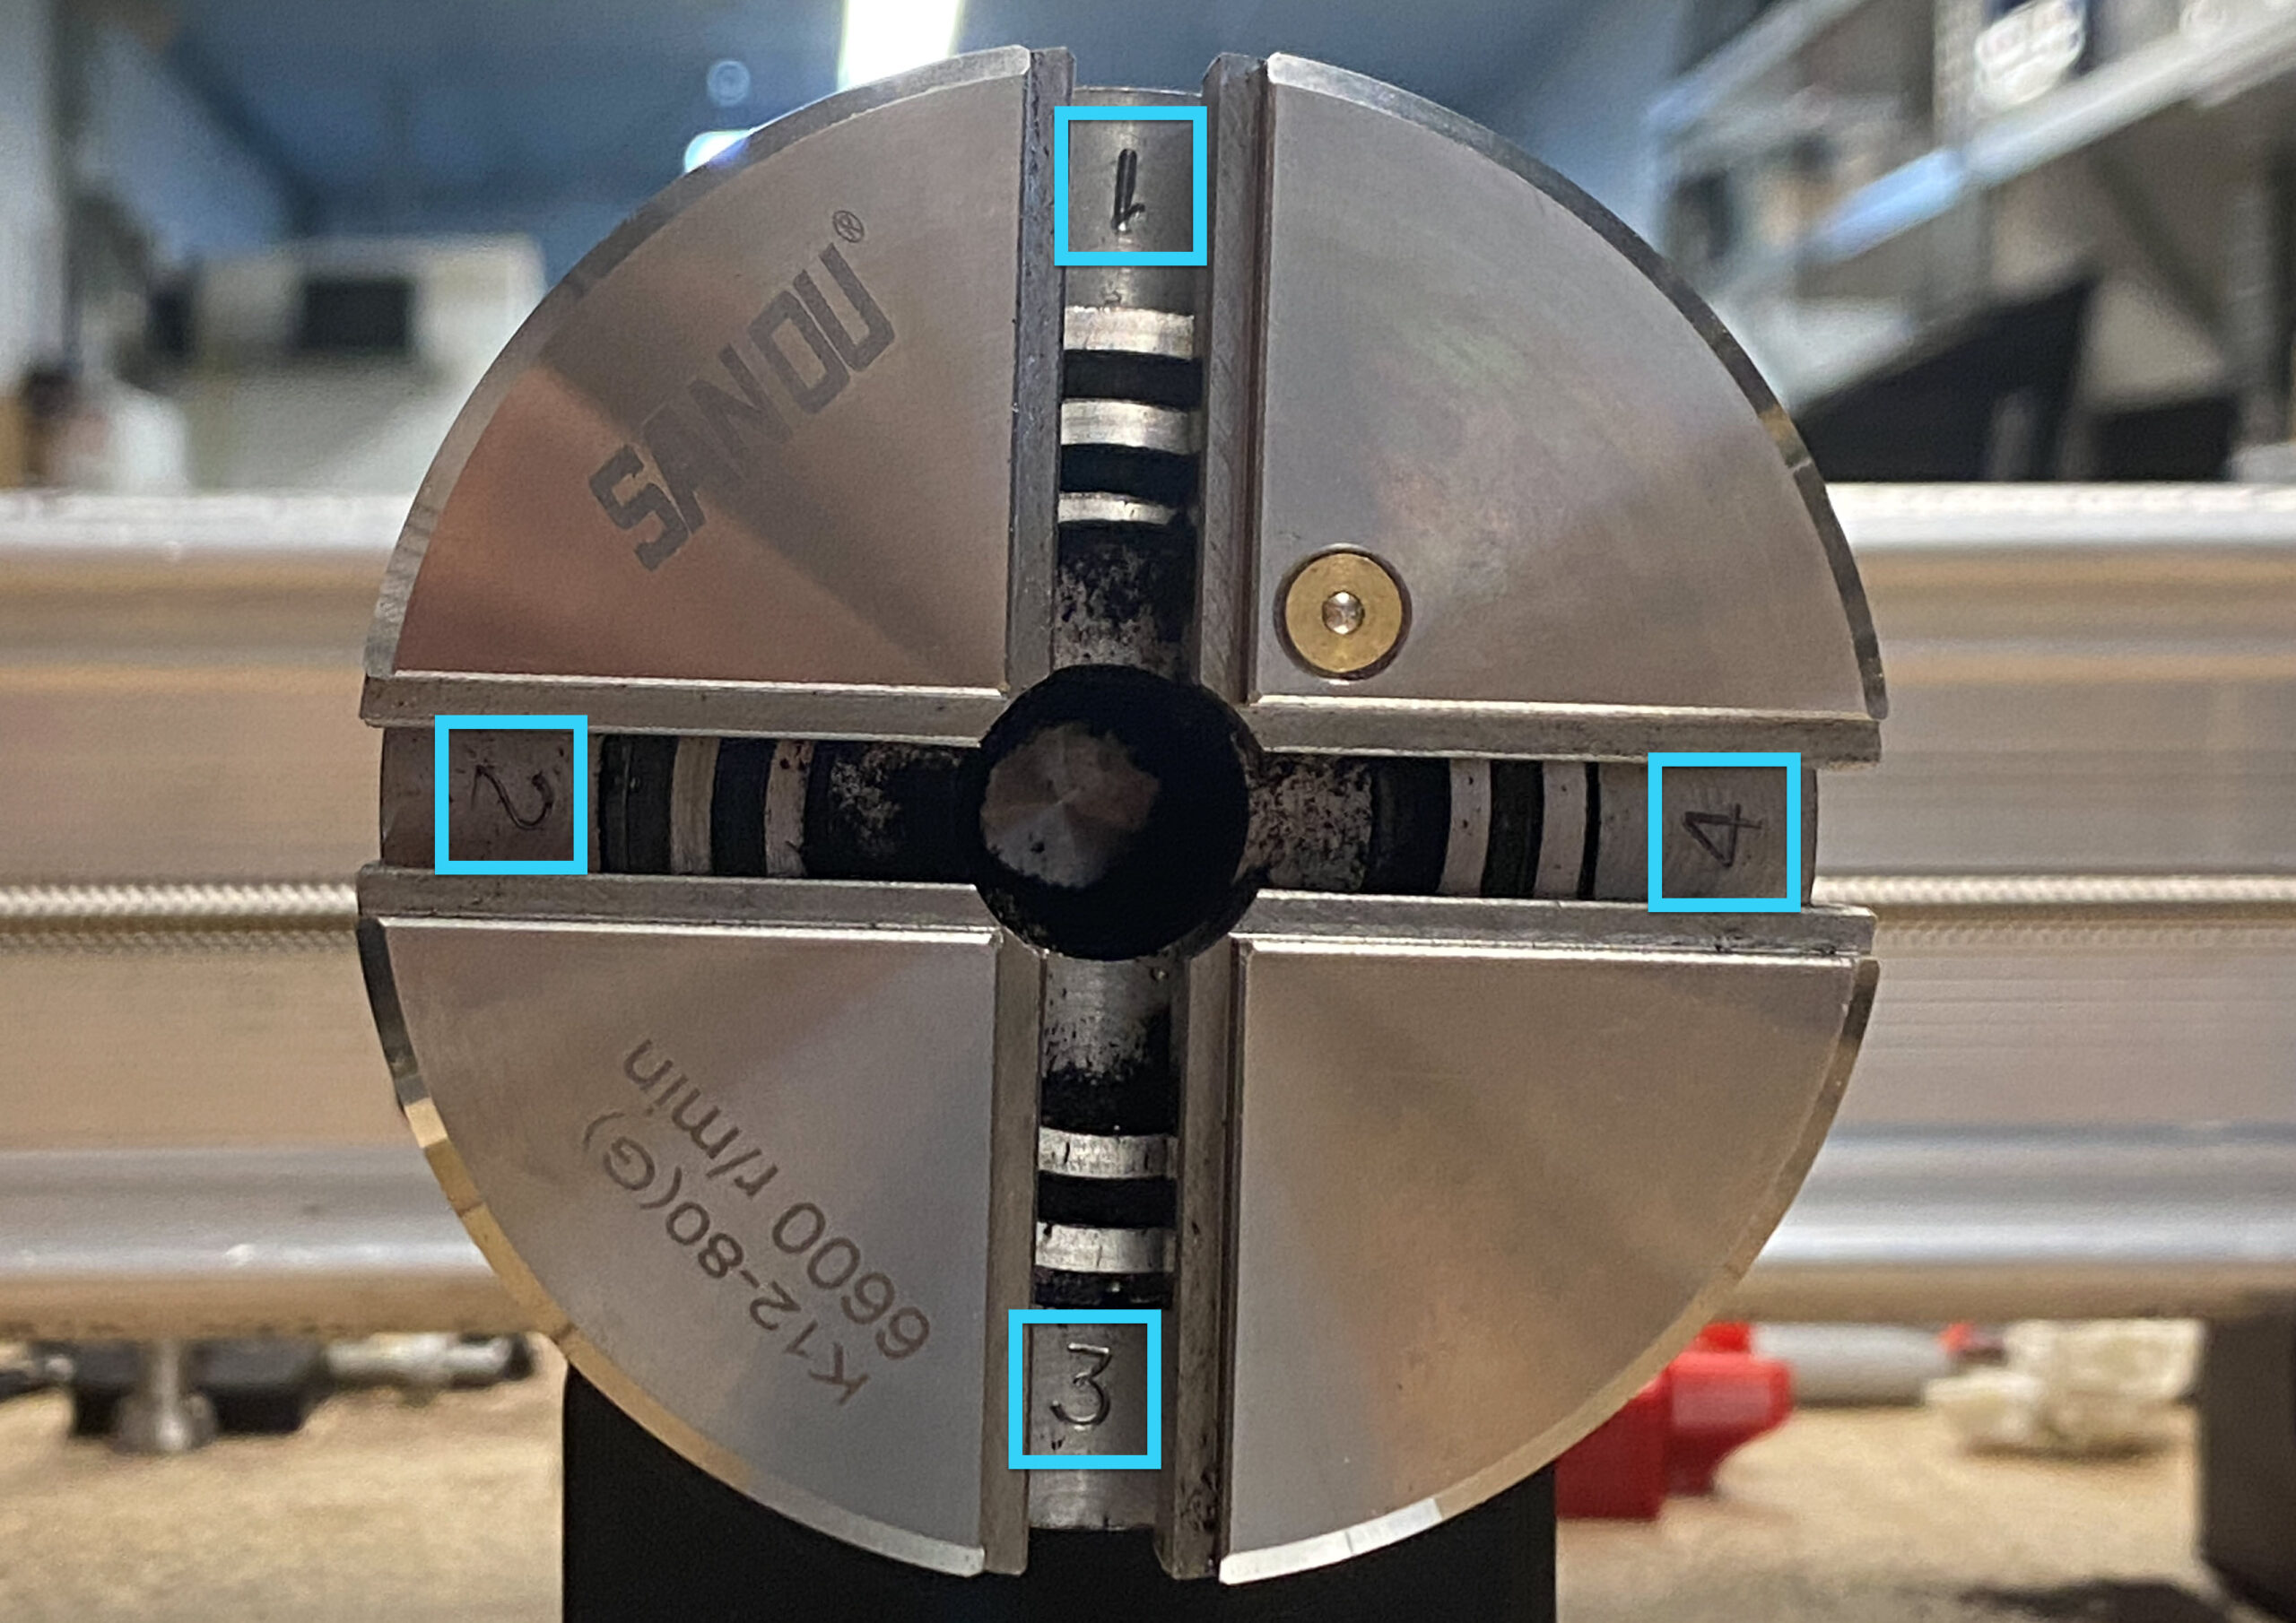
Insert the key into the chuck, turning this either clockwise or counterclockwise. Peering inside the chuck, you’ll see the starting point of the steel spiral rotating inside the chuck. Turn the chuck key such that the start of this steel spiral is aligned with the slot labelled 1.
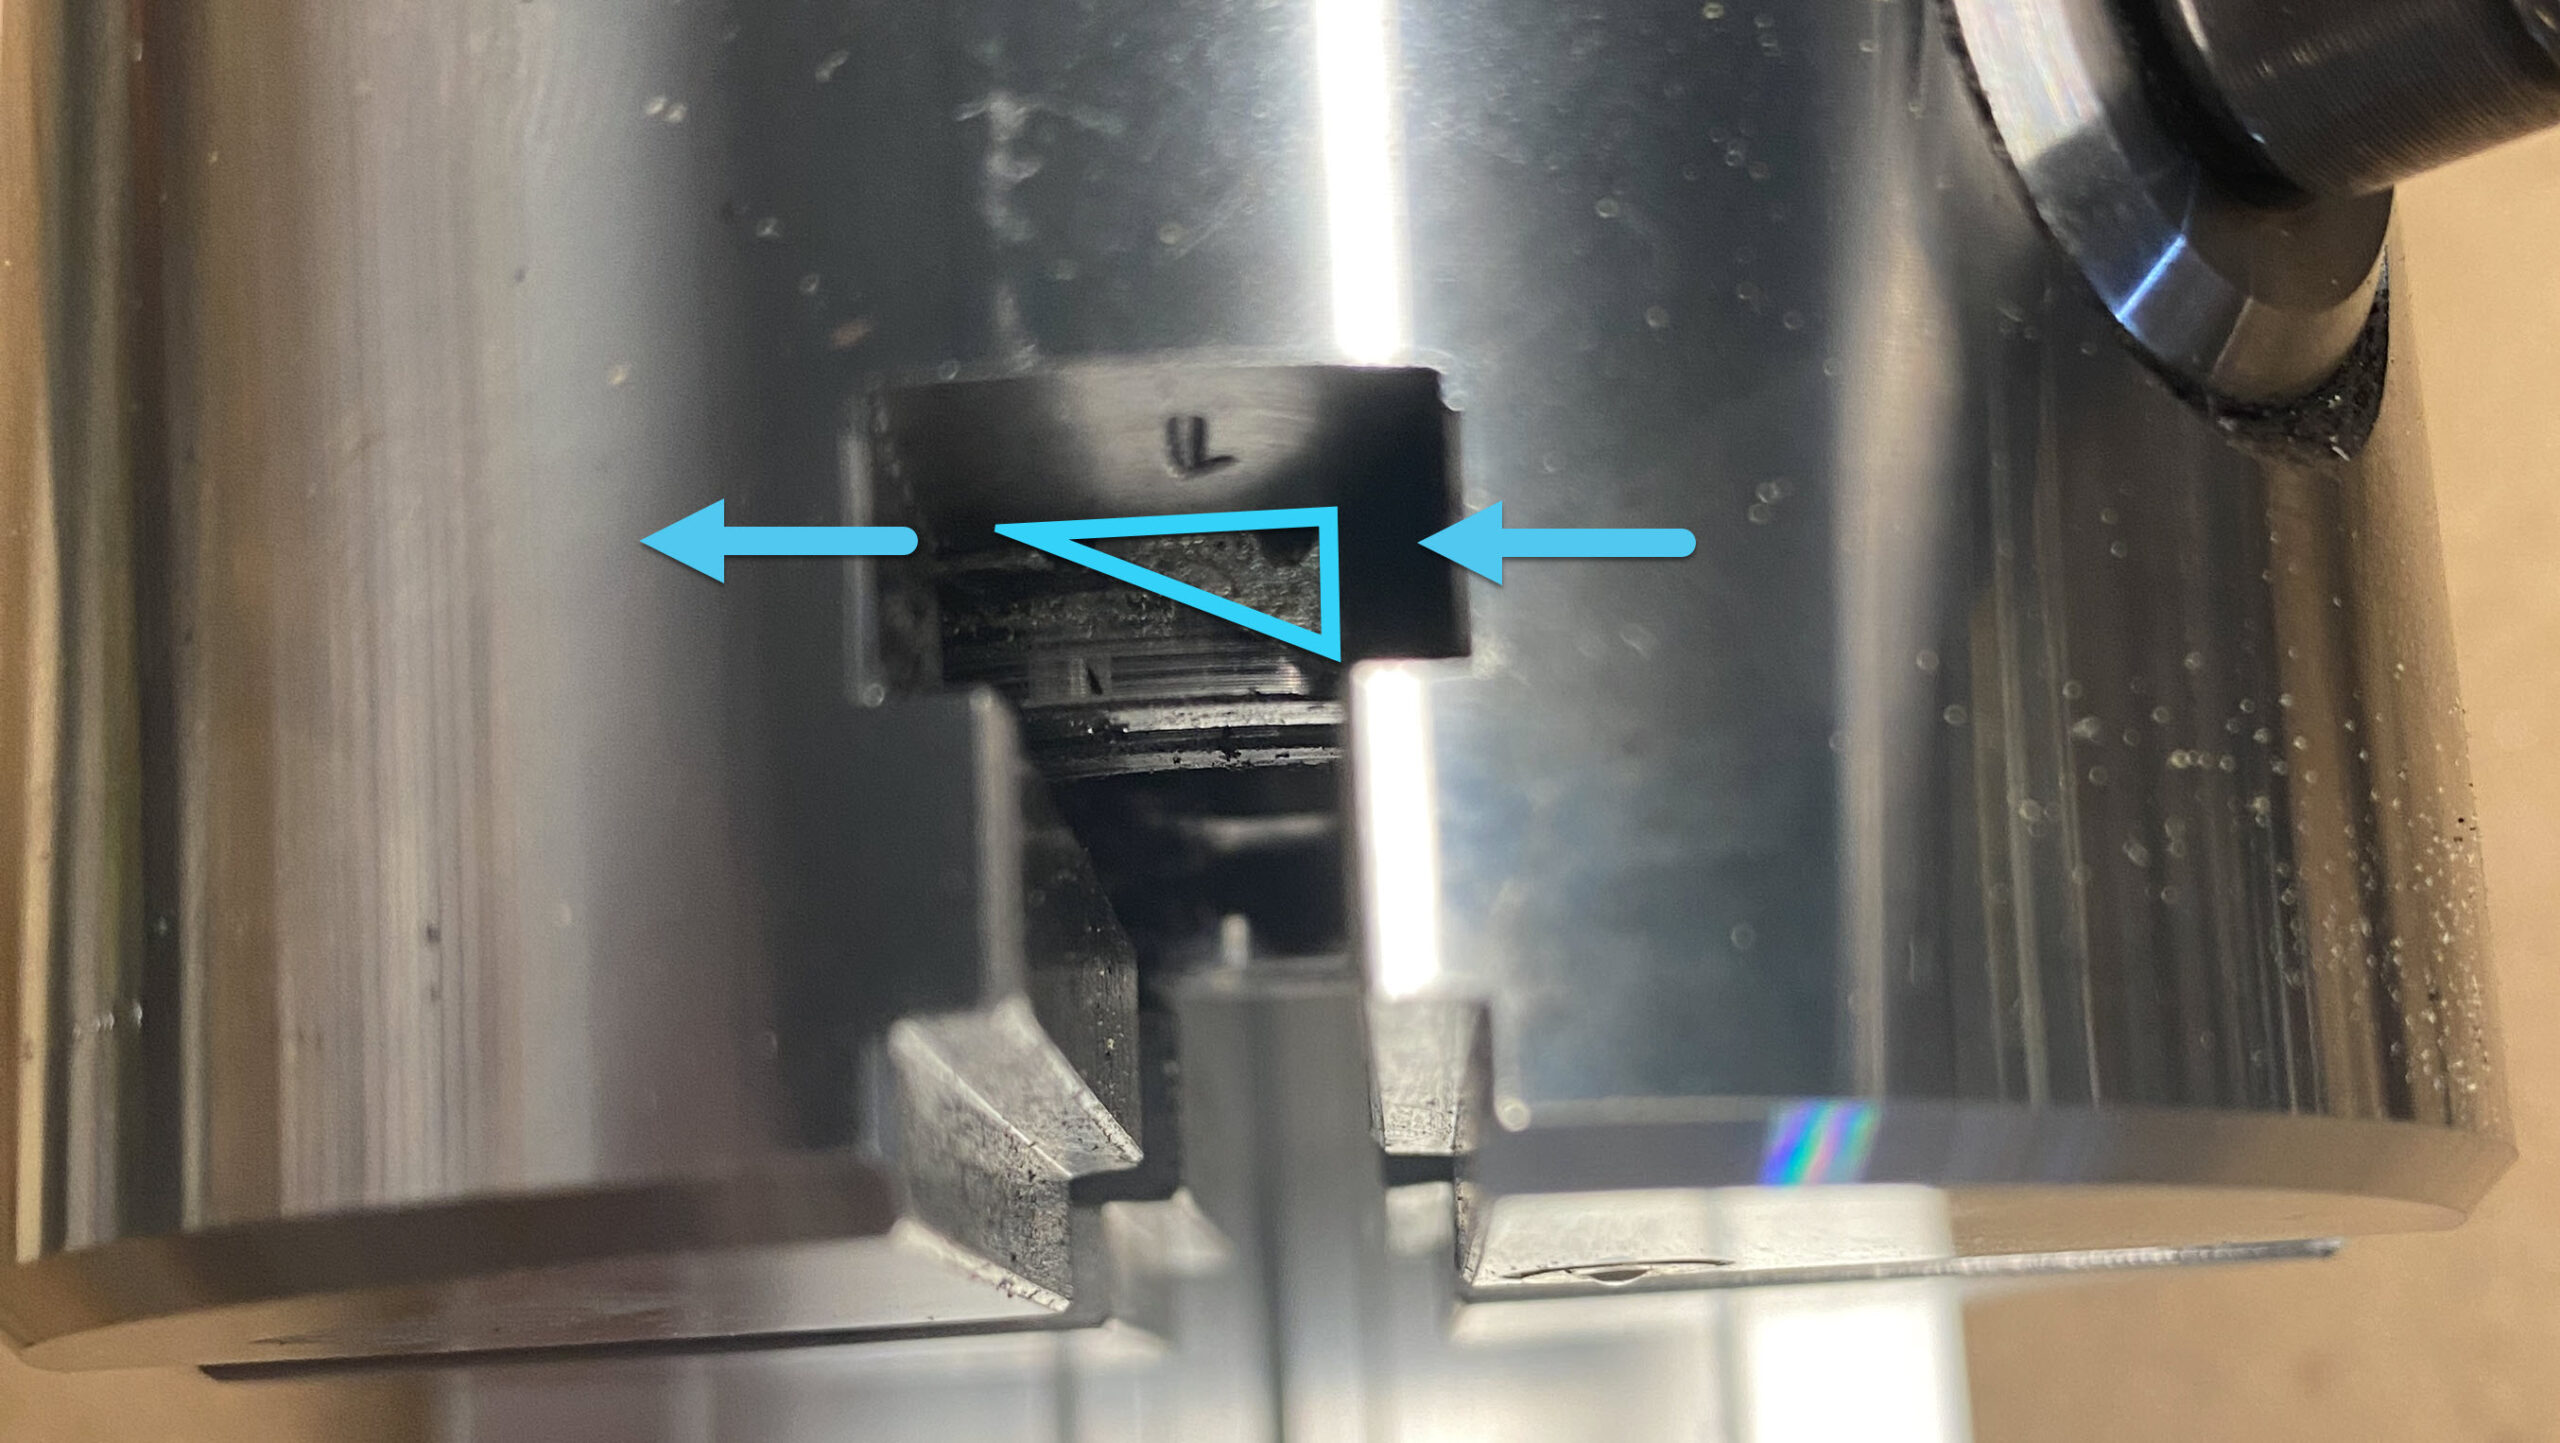
Grab jaw 1 and slide it into slot 1, ensuring that it is fully seated. The tapered point of the jaw goes in first. (On both sets of jaws)
Turning the chuck key a full turn clockwise will fully engage this first jaw inside the steel spiral.

Now you will be in a perfect spot to load in jaw 2, as the position of the starting point of the spiral is already at the second position.
Insert the remaining 3 jaws into their respective slots one at a time, matching the numbered markings.
Rotate the chuck key by ¾ to a full turn each time you insert the next jaw.
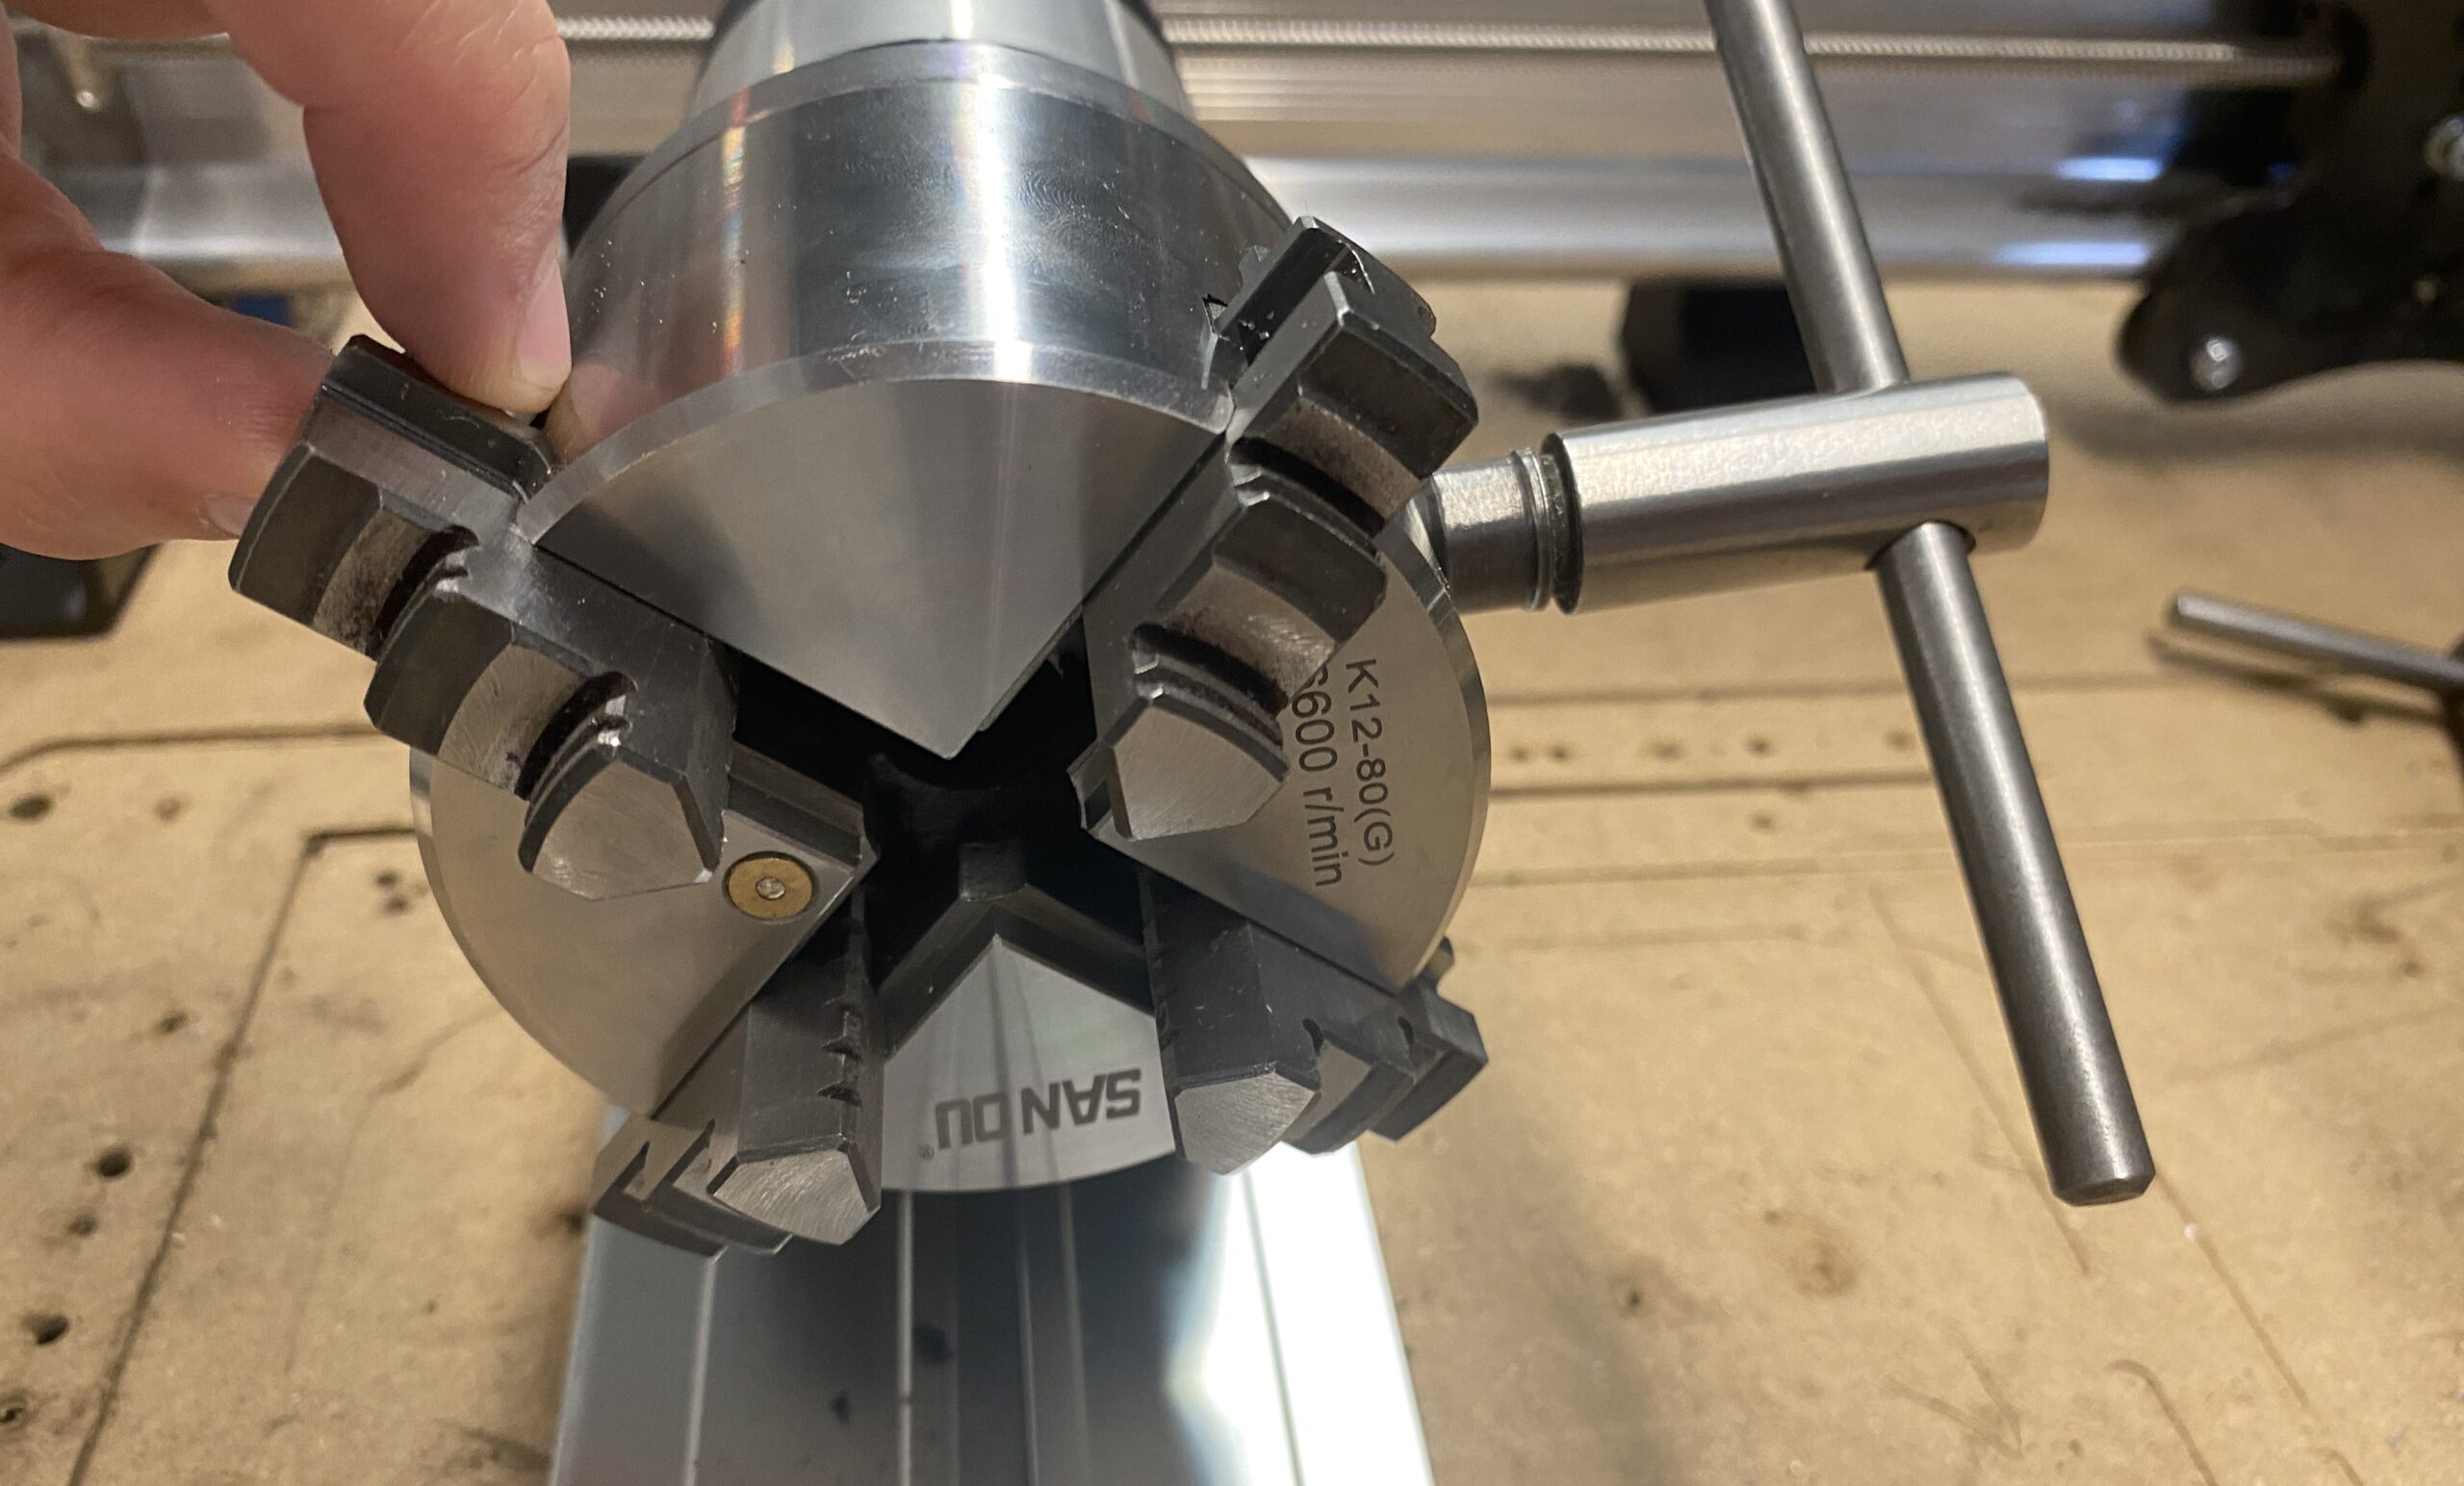
Once all jaws have been inserted, you can tighten them all the way down to meet in the center.
Faceplate
Not every piece of wood will be perfectly square or perfectly round, but that shouldn’t stop us from using these pieces in a potential rotary project. With the included workholding faceplate, you’ll be able to screw on a mounting point to the end of your stock material, allowing you to mount almost any type of geometry for carving.
Just like screws going through your stock material with a regular XYZ carving, using the workholding faceplate option is slightly destructive. It involves leaving screws in the bottom of your material, but allows you much more flexibility.
The second obvious benefit of using the workholding faceplate is that material up to the maximum recommended 4″ diameter can be held.
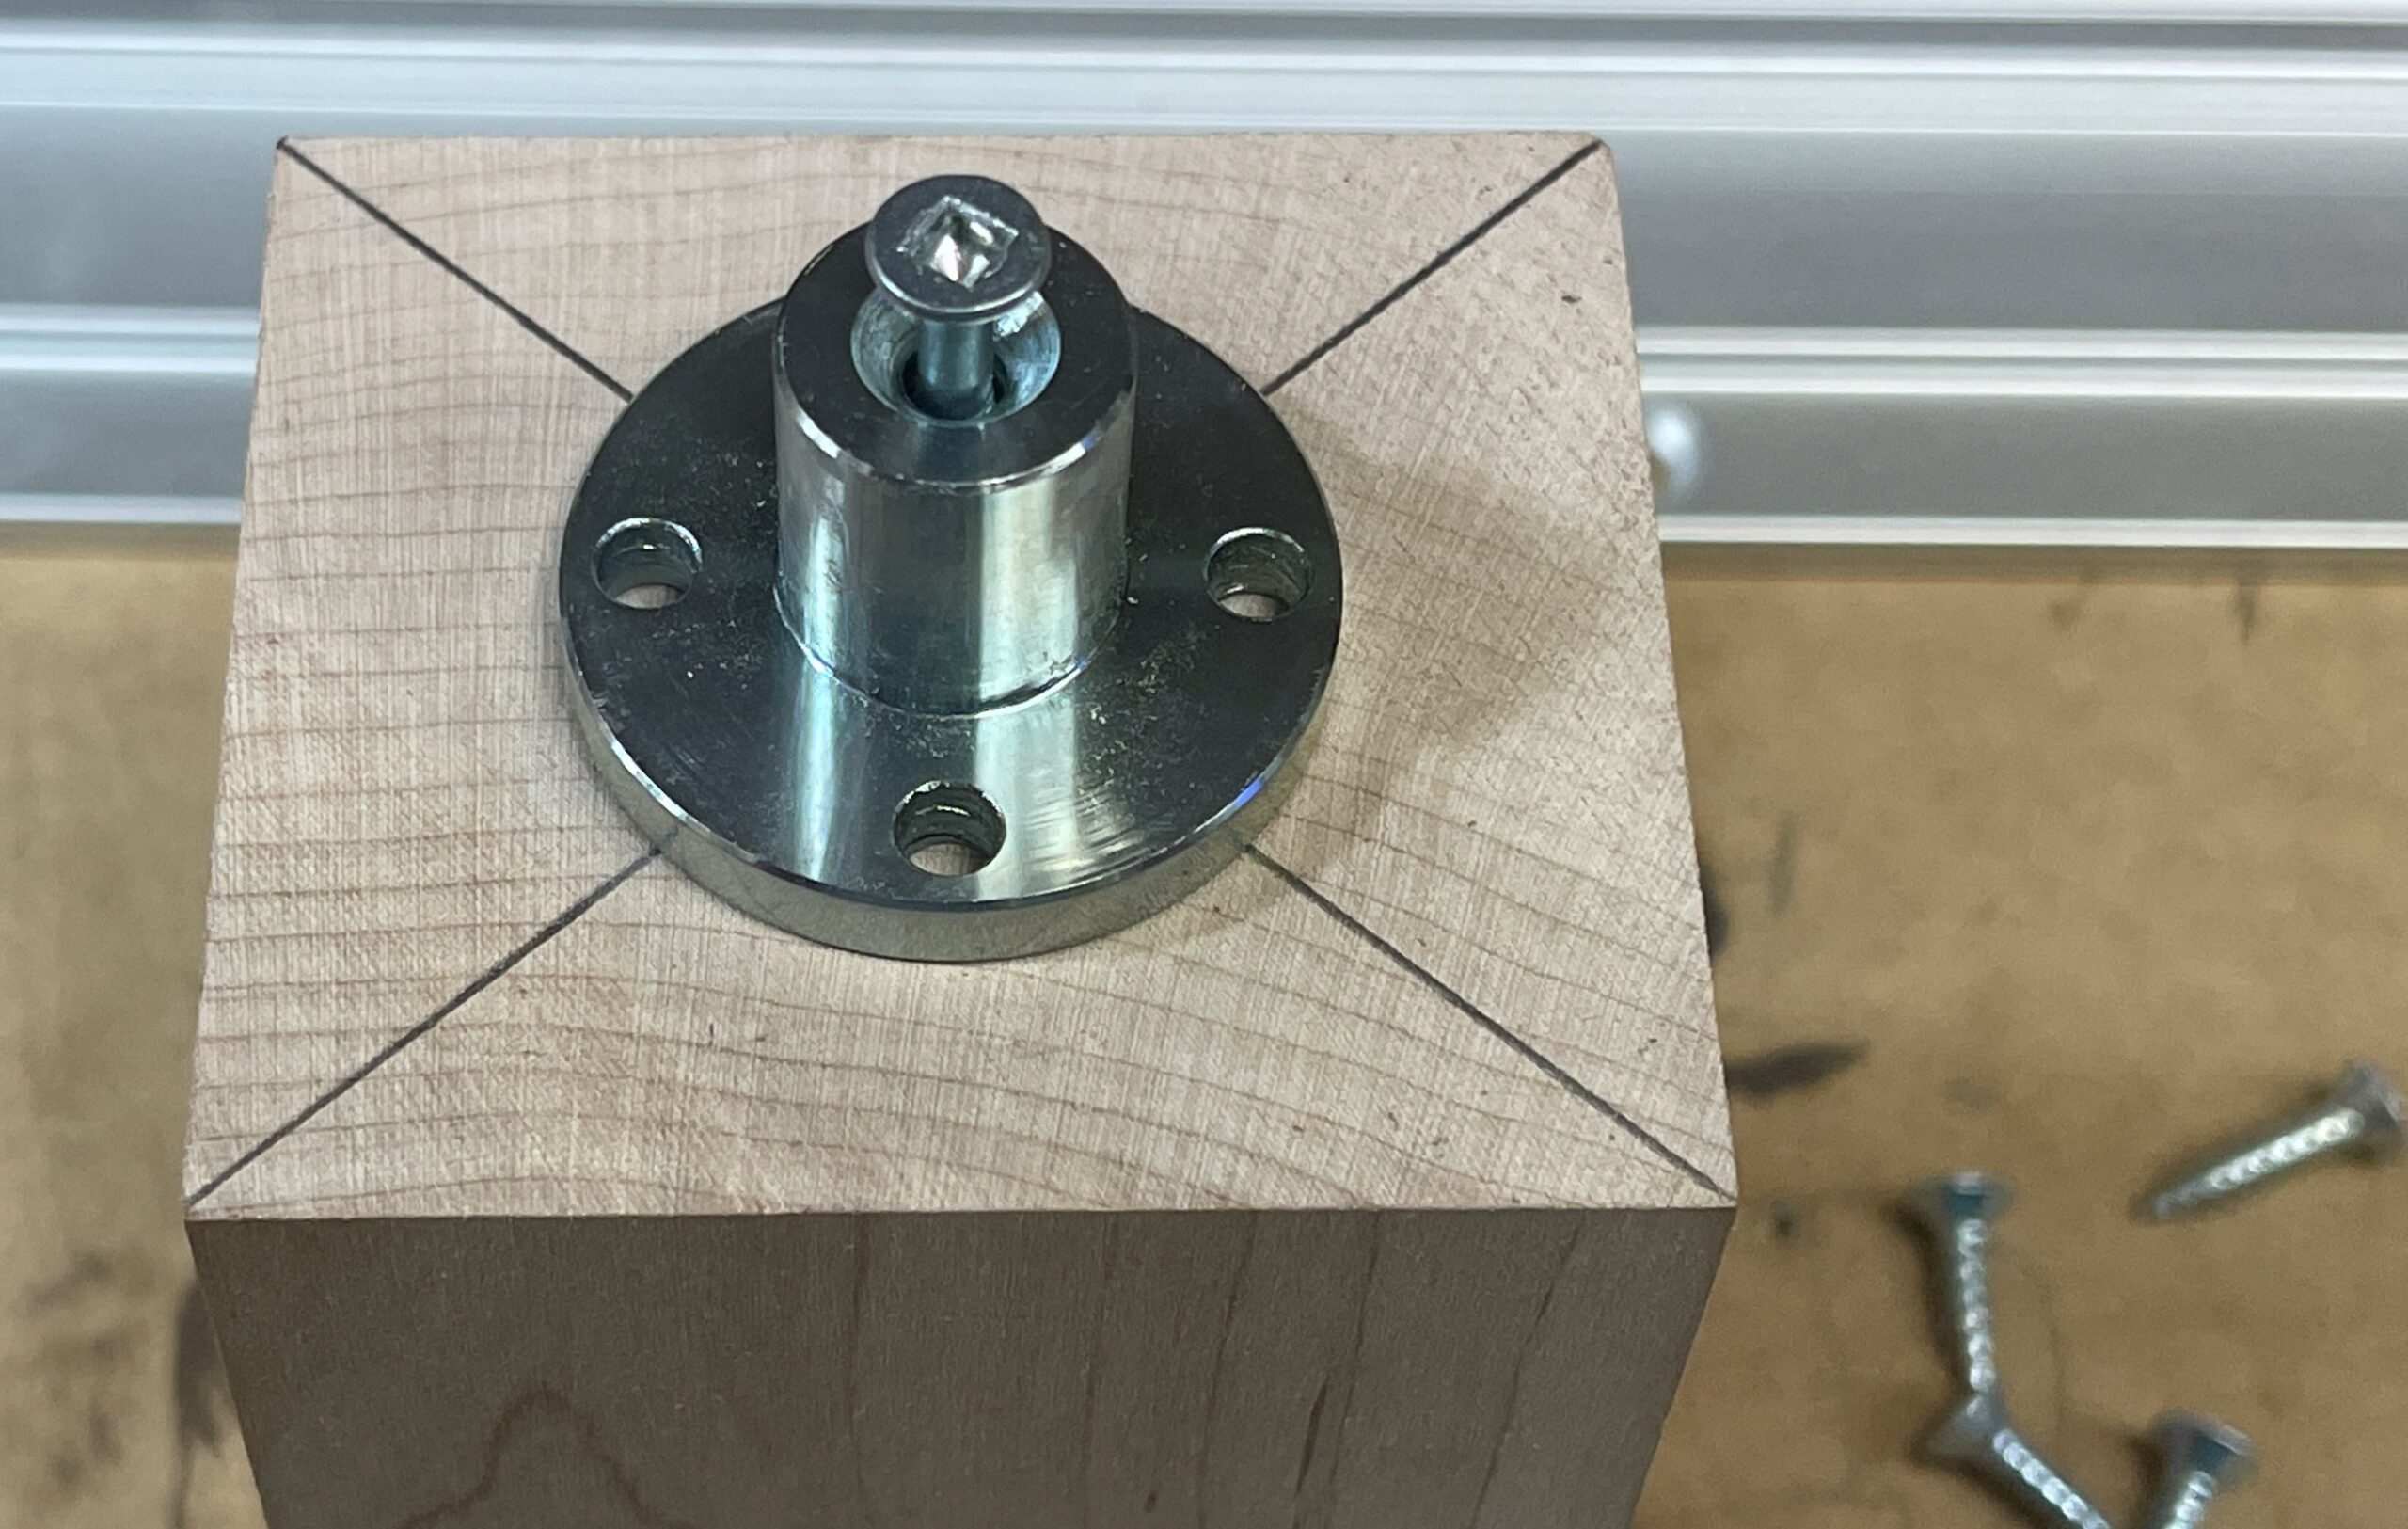
The face plate can use four #4 – #6 sized screws that are not included. The center hole is great for centering the faceplate on your stock, but not necessary for running your job.
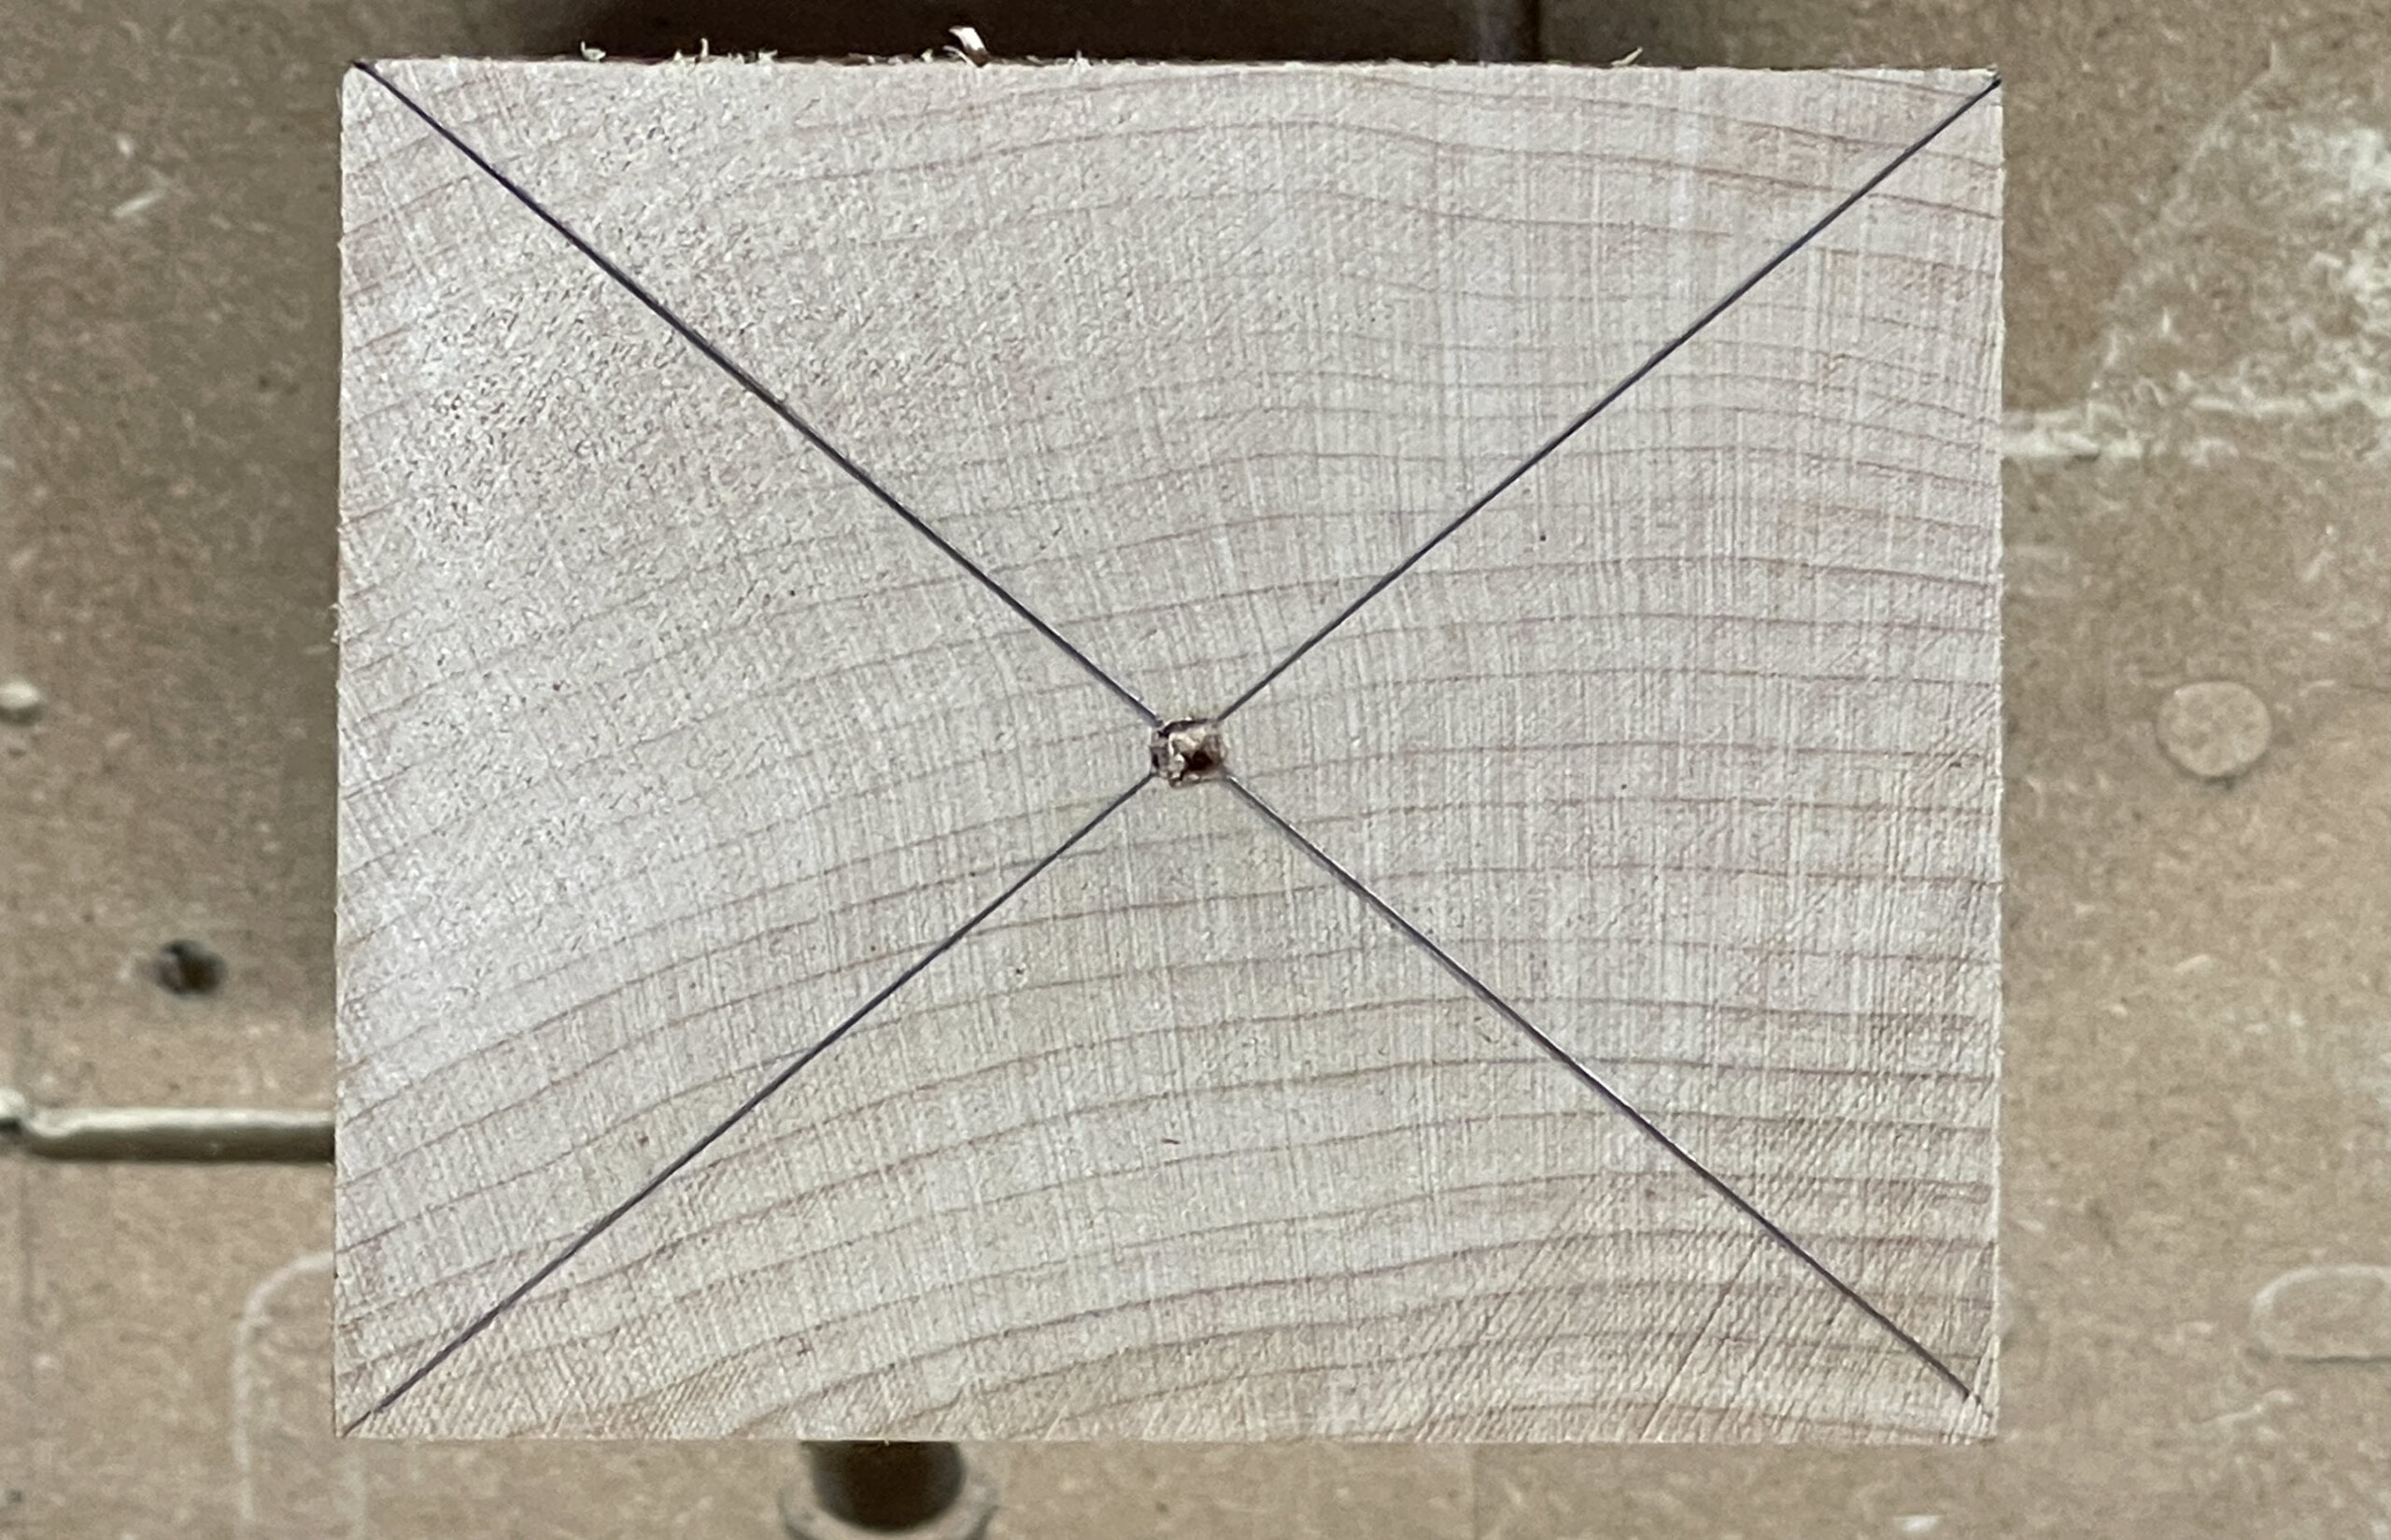
We want to find the middle of our stock, and mount the center screw as close to that as possible. To find the center, simply run a line from corner to corner. Where the lines cross is where we want to pre-drill a small hole to allow the screw to grab in the correct spot.
Once the center screw is in, you can continue by putting the 4 smaller screws around to secure the faceplate.
Once the faceplate is secured, place it into the chuck so that the screws are between the teeth, and tighten the jaws down.