
Parts List
- 3x Drag Chain End
- M5-10mm Socket Head Cap Screws
- M5 T-nuts
- M5 Nylock Nuts
Take a drag chain end with two open holes in both tabs. Place one M5-10mm socket head screw into the left of the three holes as shown.
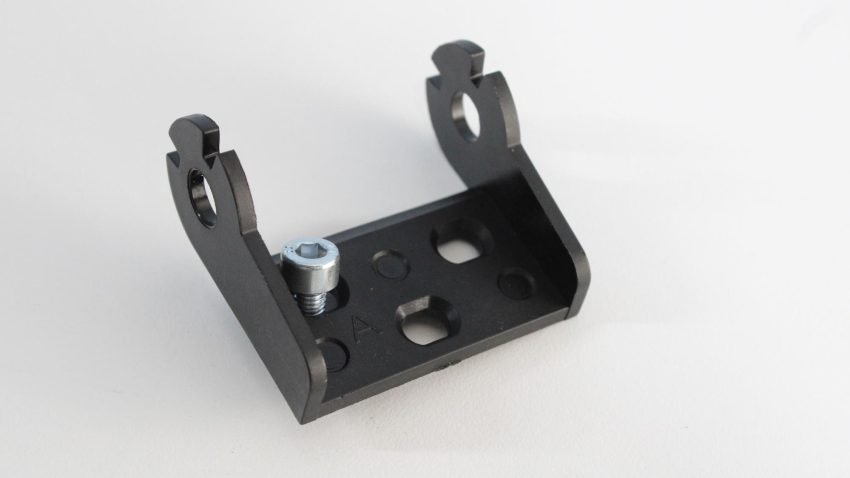
Drag chain end with holes on tabs, one screw lightly fastened on left hole
Thread on an M5 T-nut to the M5-10mm socket head cap screw, leaving this loose.
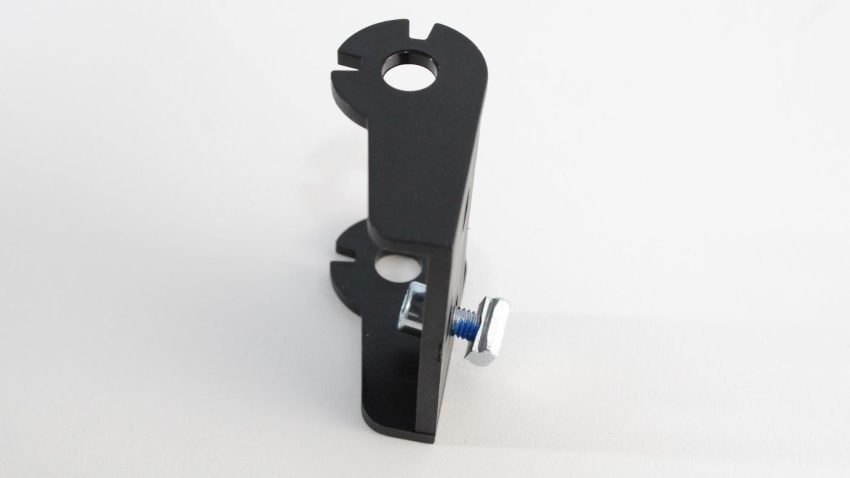
T-nut installed on back of drag chain end
Drop this T-nut into the opening on the left side of the X rail’s T-slot channel, and slide this into the T-slot. Orient the drag chain so that the tabs face into the center of the rail. Do not tighten this screw.

Sliding drag chain end onto T-slot on X-rail
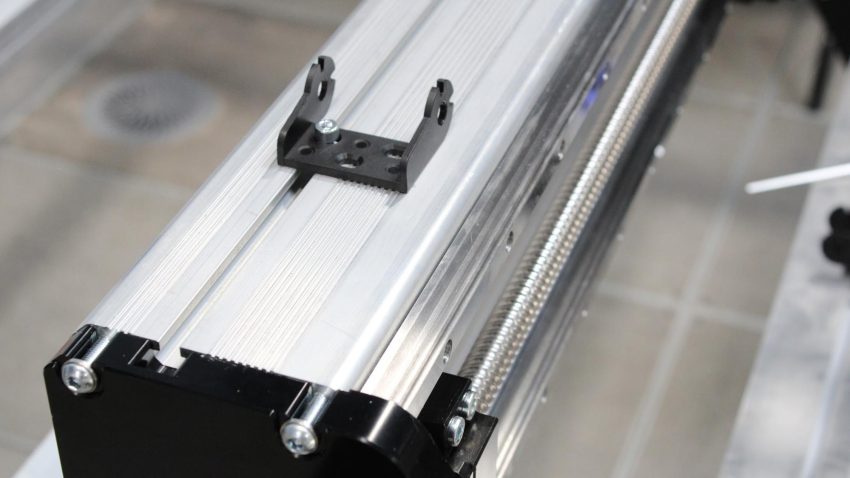
Correct orientation of drag chain end on X-rail
Take the drag chain end with studs and install two M5-10mm socket head cap screws.
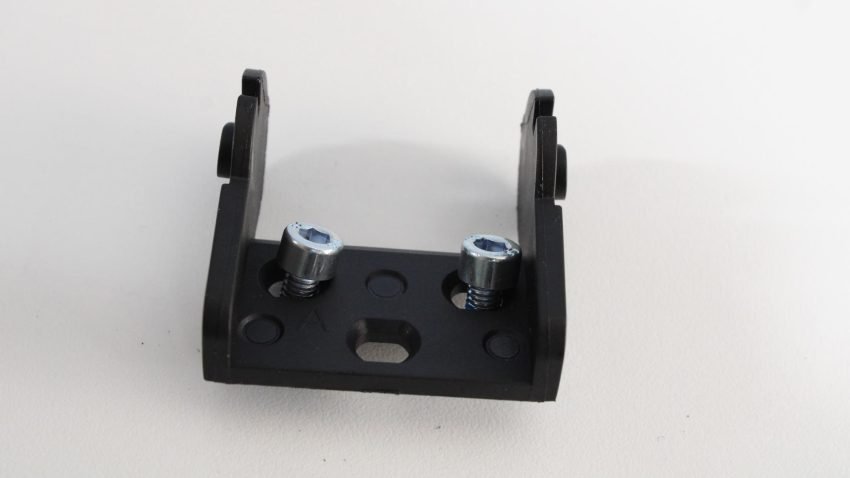
Drag chain end with studs on tabs, two screws lightly fastened
Slide two (2) T-nuts into the top left of the X rail. Use a small tool like a 3mm hex key to help slide these into the T-slot channel.
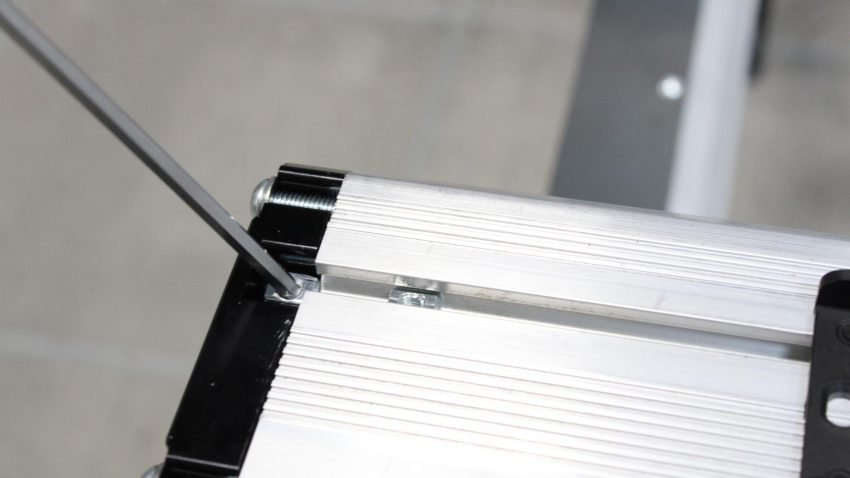
Two T-nuts installed onto top left corner of X rail
Line up the two (2) T-nuts with the two screws on the drag chain end with studs. Orient the drag chain end so that the tabs are facing the rear, then lightly fasten the two screws, connecting to the T-nuts.
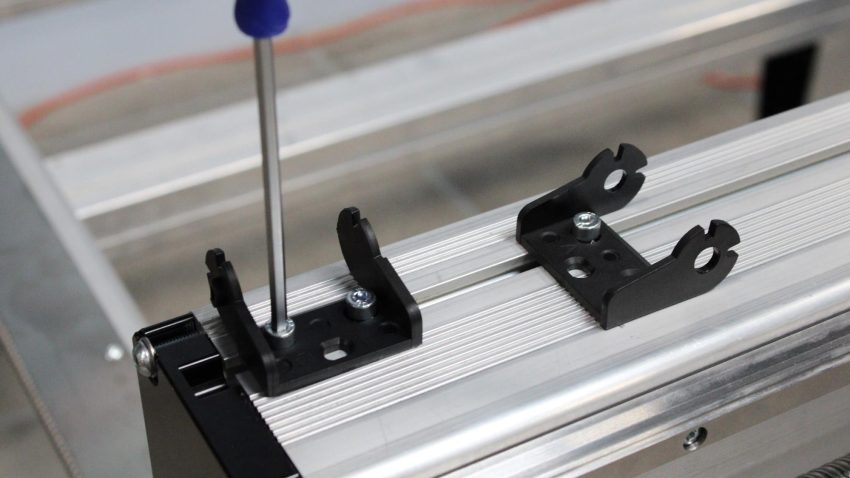
Lightly fastening drag chain end with manual screwdriver
Take the last drag chain end, with two studs on both tabs, and use two (2) M5-10mm socket head screws with two M5 nylock nuts to securely install this onto the drag chain bracket on the Z-axis assembly. Note the orientation of the drag chain end, as shown below.

Drag chain end mounted onto drag chain bracket
Fully fasten the previous drag chain ends, ensuring their orientation and position approximately match the photo below.
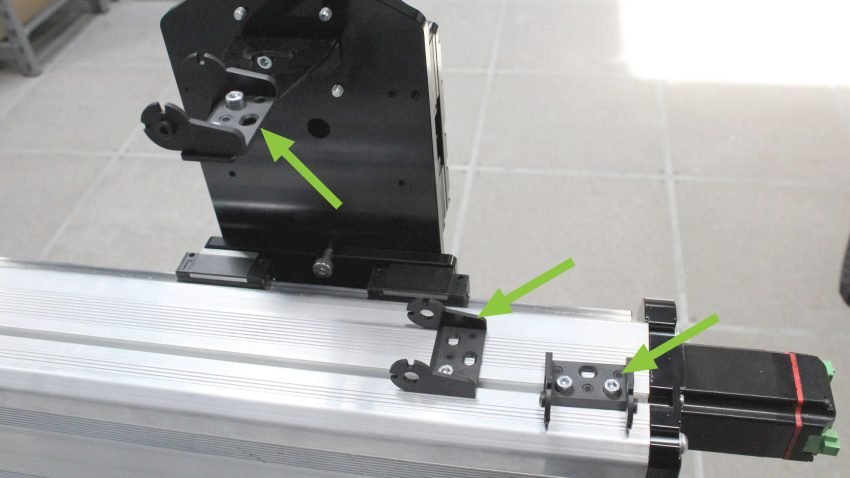
Completed drag chain ends installation