
Parts List
- 1x Z-Axis Assembly
- 1x 80mm Spindle Mount
- 1x Drag Chain Bracket
- M6 Shoulder Screws
- M6-25mm Button Head Cap Screws
- M5-10mm Socket Head Cap Screws
- M6-16mm Button Head Cap Screws
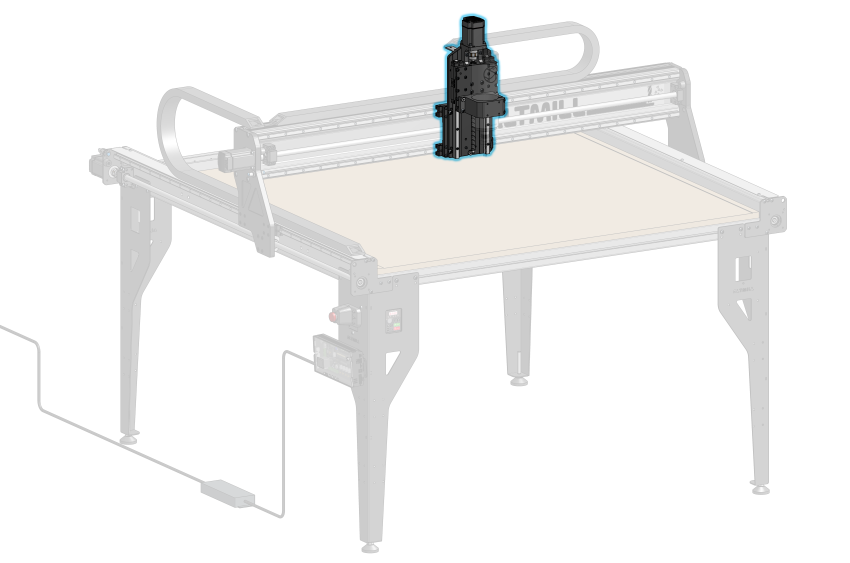
Z Axis Carriage Assembly
Take the spindle mount with the spindle clamping bolts on the right side. Insert the two (2) shoulder screws into the top holes of the mount, aligning to the holes on the Z gantry plate. Insert two (2) M6-25mm screws into the bottom holes. Fully tighten all screws, starting with the shoulder screws.
Attaching spindle mount onto Z-axis assembly
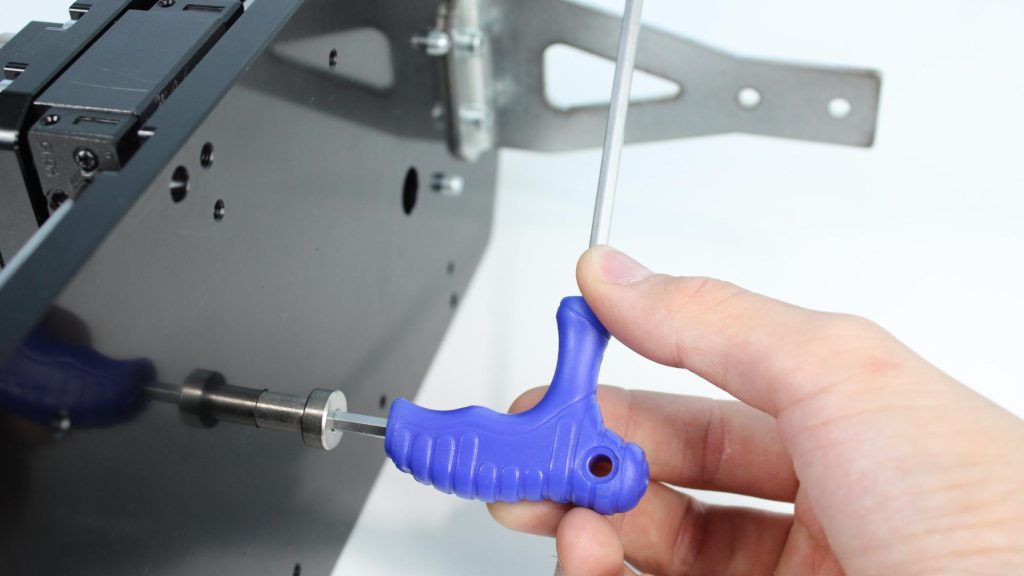
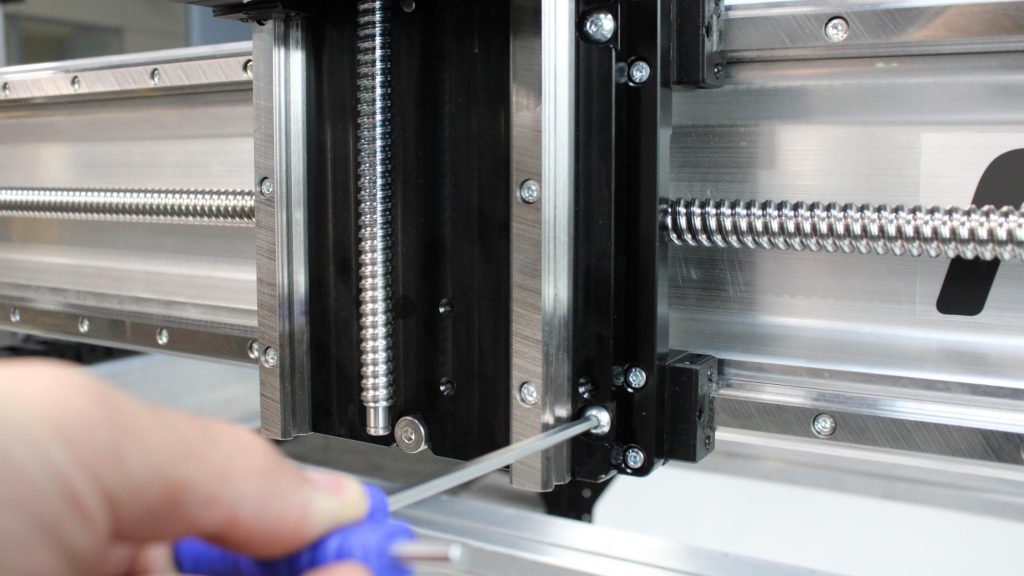
Securely fastening shoulder screw on spindle mount
Flip the Z-axis assembly onto its side. Fasten the drag chain bracket onto the carriage backside, placing two (2) M5-10mm socket head cap screws at the flange then tightly fastening.
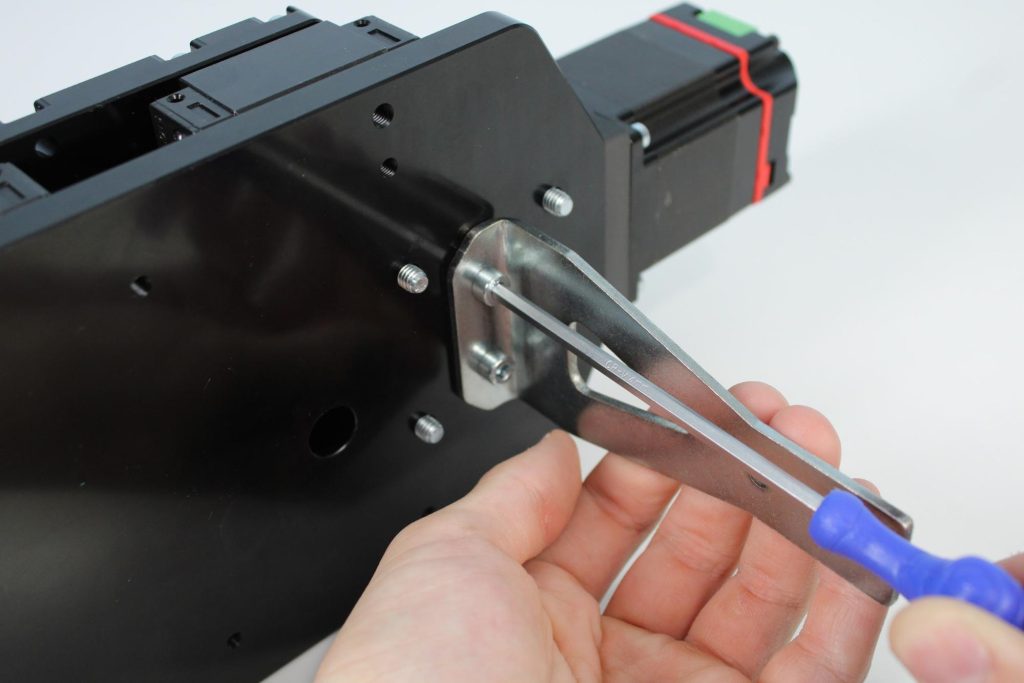
Fully fastening drag chain bracket onto backside of Z carriage
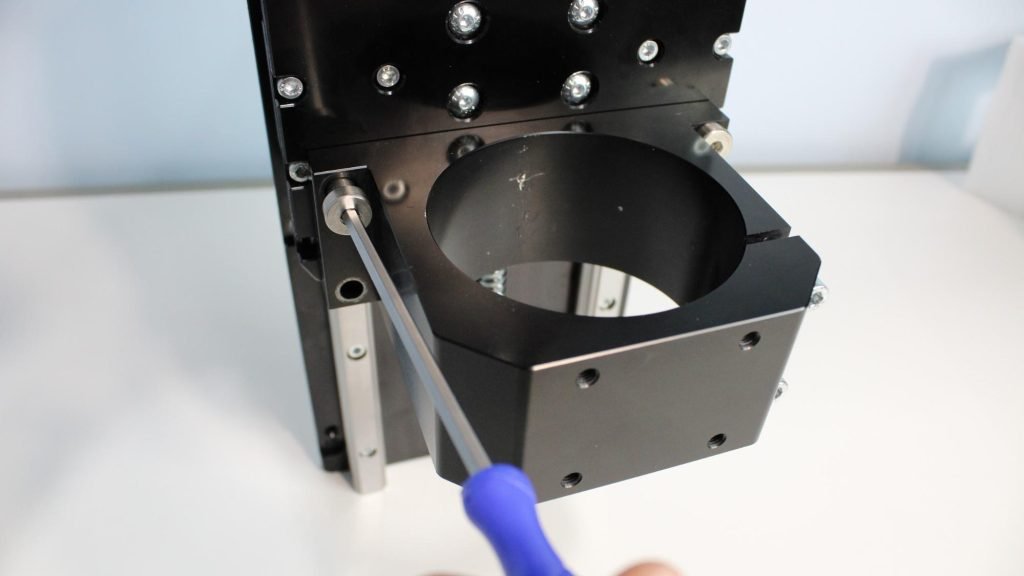
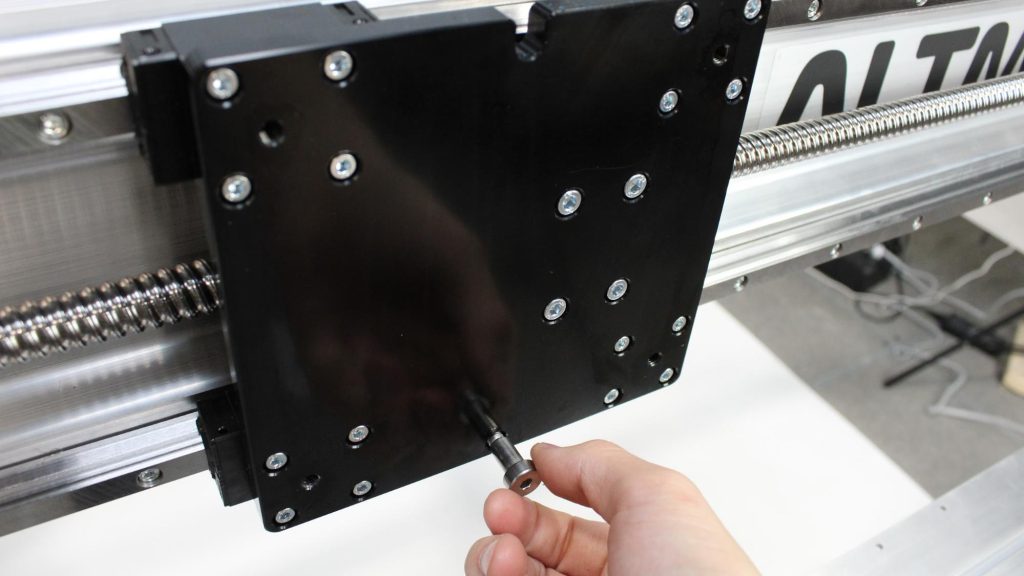
Insert one M6 shoulder screw into the back of the Z carriage plate.
Placing shoulder screw onto Z carriage
Insert one M6 shoulder screw into the X gantry plate loosely. Don’t tighten at this stage
Placing shoulder screw onto X gantry
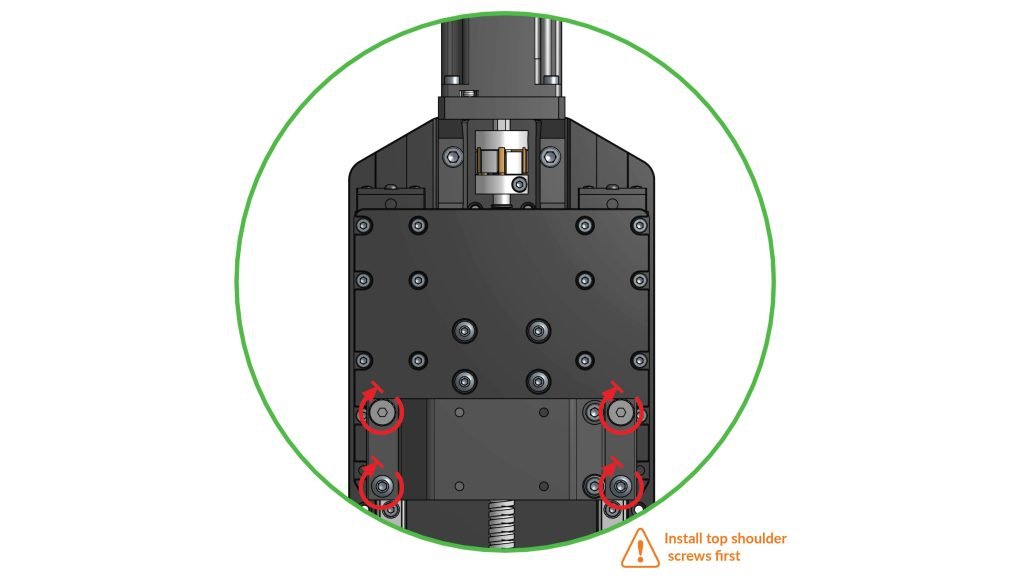
Align the two M6 shoulder screws with the two notches. Set the Z carriage plate onto the X gantry plate. Tighten the bottom M6 shoulder screw. The top shoulder screw will stay loosely fastened, used for alignment only.
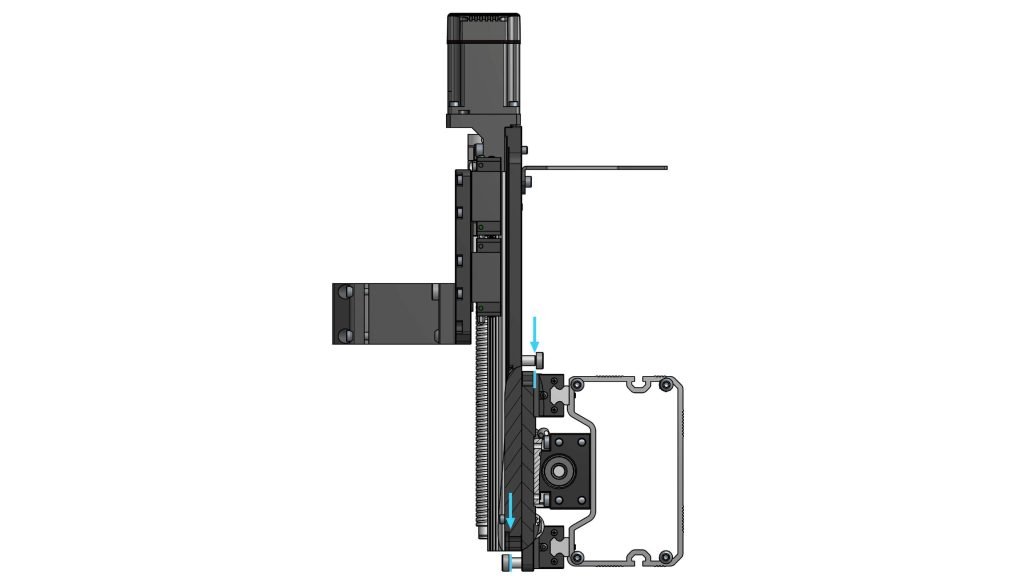
Cross section view indicating location of two shoulder screws

Shoulder screw aligned to slot on X gantry
Insert four (4) M6-16mm button head screws into the four holes on the outer edges of the Z carriage.
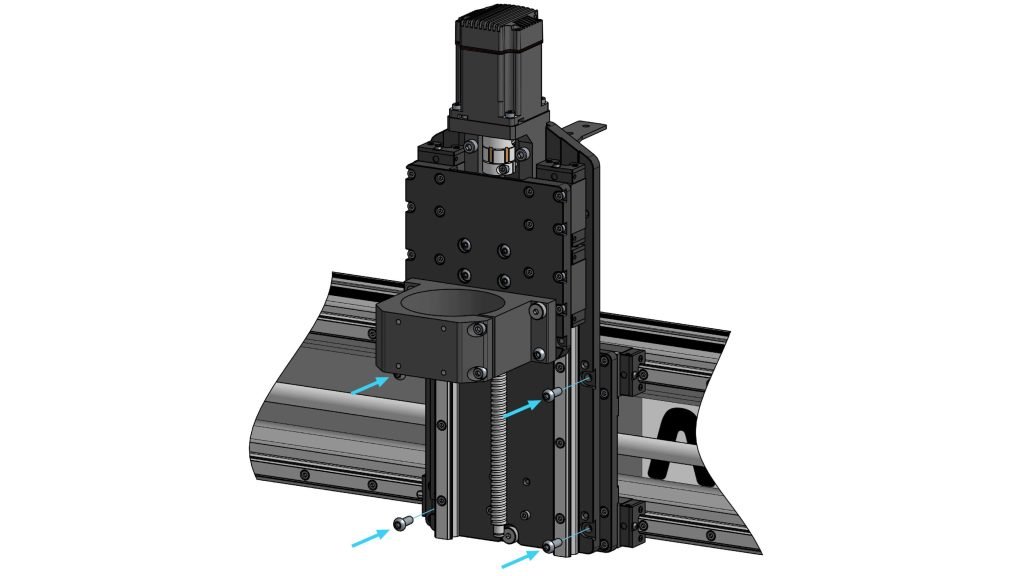
Location of screw holes on Z carriage
Fastening button head screws on Z carriage