
Hello and congratulations on receiving your new LongMill MK2.5 Benchtop CNC!
We’ve worked very hard on this new machine as the next step-up in affordable hobby CNC. Years spent learning and iterating on our popular Original LongMill meant that once we had the chance to start from scratch on a new design and with new manufacturing scale on our side we were able to arrive here:
- New cutting area of roughly 866 × 818 × 124mm (34 × 32⅛ × 4⅞”) in depth, width, and height
- Mechanically this CNC uses only 40 unique parts (nuts and bolts included in that count)
- New custom rails on both axes that are ×3 stronger and yet weigh less than on the Original LongMill
- Designed with add-ons in mind. Dust shoe, shields, and limit switches take up no additional travel
- Fine-tuned part geometry to keep parts light and strong
We’ve kept all this in mind because a simple CNC is one that is more reliable and can be assembled and maintained easier by you. It also means that with the right approach we can reduce manufacturing costs, packaging material, and even the final packed size of the machine. This allows us to manufacture a high-quality machine right in Waterloo, Canada while keeping costs much lower than normal and passing those savings onto you in the form of an affordable and strong hobby CNC. We hope that you’re excited to start making new and interesting things as this CNC router becomes yet another tool you can reach for on your tool belt.
Starting up
We’re always making improvements where we can to our CNCs. The main differences between the MK2 and MK2.5 happen during assembly, so when following the instructions make sure you select the right one. All other pages and reference material in our resources will still apply so you can still click and follow advice for the MK2 even if you have a 2.5 since they’re part of the same family.
- MK2.5: if your machine shipped after May 2024, then you have the MK2.5. This now comes standard with the upgraded SuperLongBoard CNC controller for faster speeds and more features, plus spring-loaded anti-backlash nuts and the updated lead screw hardware.
- MK2: the MK2 began shipping end-of-March 2022 and ceased May 2024. Partway through we introduced bulkier couplers, lead screw nuts, and removed the nylon motor washers.
Assembly instructions are available in 3 formats. You can follow an online manual, download the PDF, or watch our videos. If you have a 48×30, it has a separate manual and video series since it has some of its own unique steps, in the online instructions these pop up as a unique symbol so keep your eye out for it.
When in doubt, the online manual will always be the most up-to-date. If you’re a very visual person, the videos pair excellently with the written instructions plus you get to see a real-time assembly and explanation from one of the LongMill designers.
MK2.5
| Model | Read Online |
Download |
|---|---|---|
| 12×30 30×30 |
KEEP READING |
 |
| 48×30 | KEEP READING |
 |
MK2
| Model | Download | Video Playlist |
|---|---|---|
| 12×30 30×30 |
|
|
| 48×30 | |
Although it’s nice to ship a glossy paper manual to you, we make a lot of choices with the LongMill and our business to reduce excess material use and carbon impact where possible; a theme you’ll see continues when unboxing your machine. Switch to reading the PDF at this point if you’ve chosen to download it or continue reading if you’ll be following the instructions online.
Welcome to CNC
You got yourself a LongMill MK2.5 desktop CNC so, now what? Here’s everything you should know before you start building your machine.
Please read this whole section before continuing on with assembly. It will provide you with the startup information and context needed to have a smooth and successful assembly.
What to expect
Diving into your LongMill box you’ll be met with a whole lot of boxes within. This assembly manual is laid out in a way that you unbag and grab things as you need them so don’t feel the need to take stock of everything right away, instead just start off by getting your space organized and getting each initial box opened up.
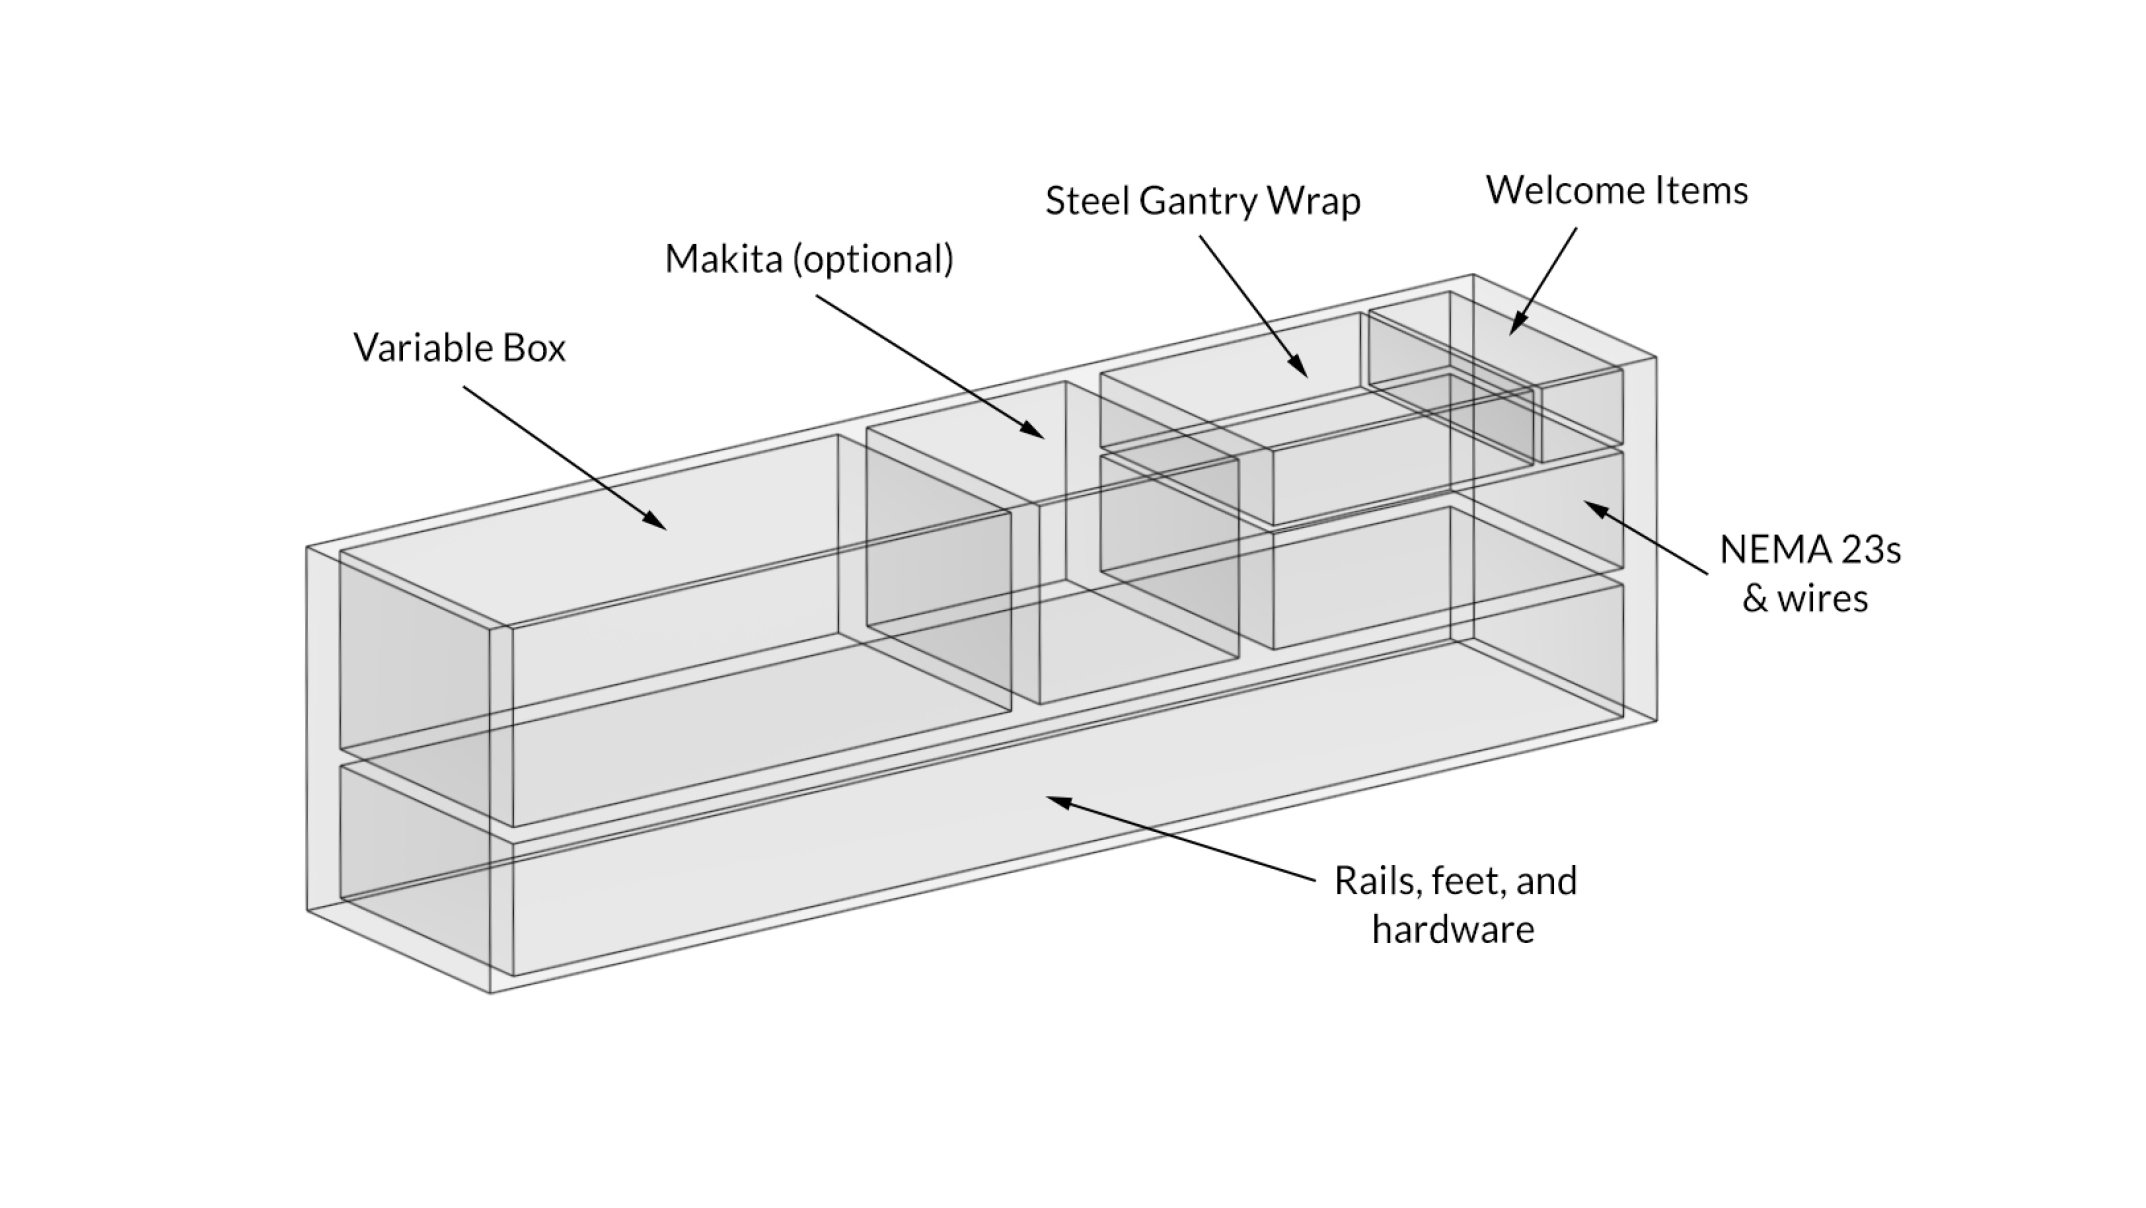
Check out the ‘welcome items’ where you’ll find our letter alongside some tools provided for assembly and some fun stickers. Also check out the ‘variable box’ and ‘rail box’ for extra goodies, some are hidden within the rails themselves. Set aside items like the Makita and NEMA23 motor box as well any add-ons from the variable box like bits, dust shoe, touch plate, since you won’t need these until much later on in the assembly.

Tools you’ll need
You’ll need these tools on hand for assembly. Most people will have these in their shop:
- Metric Allen keys (we provide)
- Metric wrenches (we provide) or a metric socket set
- A small flat head screwdriver
- A red Robertson driver or bit (optional if using the wood screws we provide)
We provide a specialized ‘LongMill wrench’ and the needed Allen keys to help complete your assembly and act as dedicated maintenance tools once your machine is in operation. We don’t recommend you use an impact driver for assembly except when mounting the machine because you won’t save much time and some assemblies are prone to damage if they’re overtightened
Missing/broken parts?
Don’t sweat it – your kit has spares and redundancy included. If a part is lost or isn’t going together how you expect, no worries; just check through the bags and you’ll likely find what you need to continue assembly. Expect a pile of bolts left over at the end and feel free to set these aside for future machine maintenance.
We supply extra parts so that:
- If a part doesn’t work properly the extra one can be used instead
- If you lose something (especially small things) you don’t have to search the floor
- You can more easily upgrade to a larger LongMill model at a later date
- We reduce the chance of packing too few on our end
If a part is missing completely, check that you’re looking for the right thing and ensure you look through all the packaging you received with your LongMill. Some parts and add-ons such as the t-tracks ship in a separate package if they can’t fit into the box for the main kit.
If a part arrives broken and doesn’t have a spare, the LongMill’s warranty covers replacement parts and we’ll even be happy to help you out if you break it yourself. Just shoot us a message here (https://sienci.com/contact-us/) and see if there are any other areas of assembly you can continue with in the meantime. We’ll get back to you as soon as we can.
Assembly tips
- Take breaks when needed
The assembly process can take a few to several hours. Pace yourself and enjoy the process – after all, you are learning CNC as a hobby! - Read the instructions
Many issues during assembly can be solved by re-examining the instructions. Check that you didn’t skip a page and that you completed the previous step correctly. Some steps are hard to explain and some parts have names that are hard to remember so looking at the pictures more closely can also help you to better understand what needs to be done. Reading is encouraged if you’d like more detail on where to locate the part, what function it serves on the machine, and other elaborative information.
Our assembly videos can’t be updated as often as the online or PDF instructions so if packaging or parts change the written manual will always be able to clarify these changes. - Remember the language
This manual contains some technical language as well as a distinct visual language. Keeping these in mind will make the assembly easier for you to understand and ensure that less mistakes happen.Description Image • Section title pages: show the part of the machine you’ll be working on next 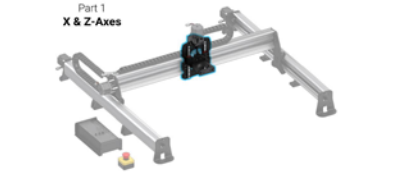
• Transparent parts: outlined in blue with a blue arrow path to show where the part starts and where it ends up 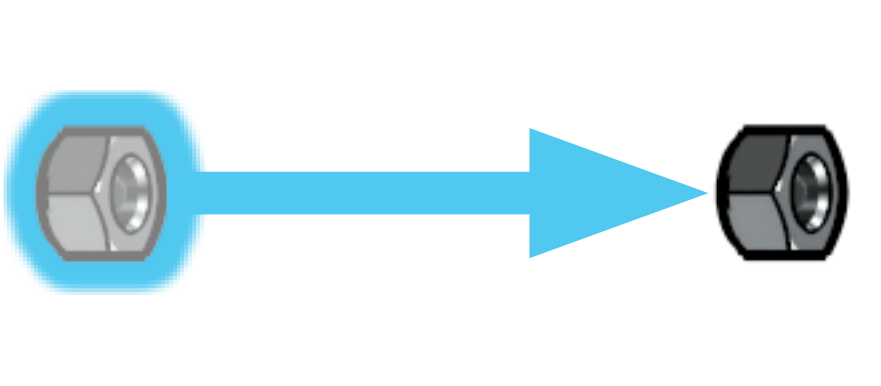
• Rotation arrows: come as either blue or red, blue indicating a loose placement of the part and red indicating a firm tightening required to fasten the part into place 
• Caution triangles: marks something that requires attention 
• Large green circles: provide a secondary view of the current step for added clarity 
• X, Y, and Z: during assembly if you see these capitalized letters used it’s because we refer to some parts by the axis they belong to. For reference, if you’re looking at the LongMill from the front, the X-axis is when the machine moves left/right (red), the Y-axis is towards/away from you (green), and the Z-axis is moving up/down from the tabletop (blue). 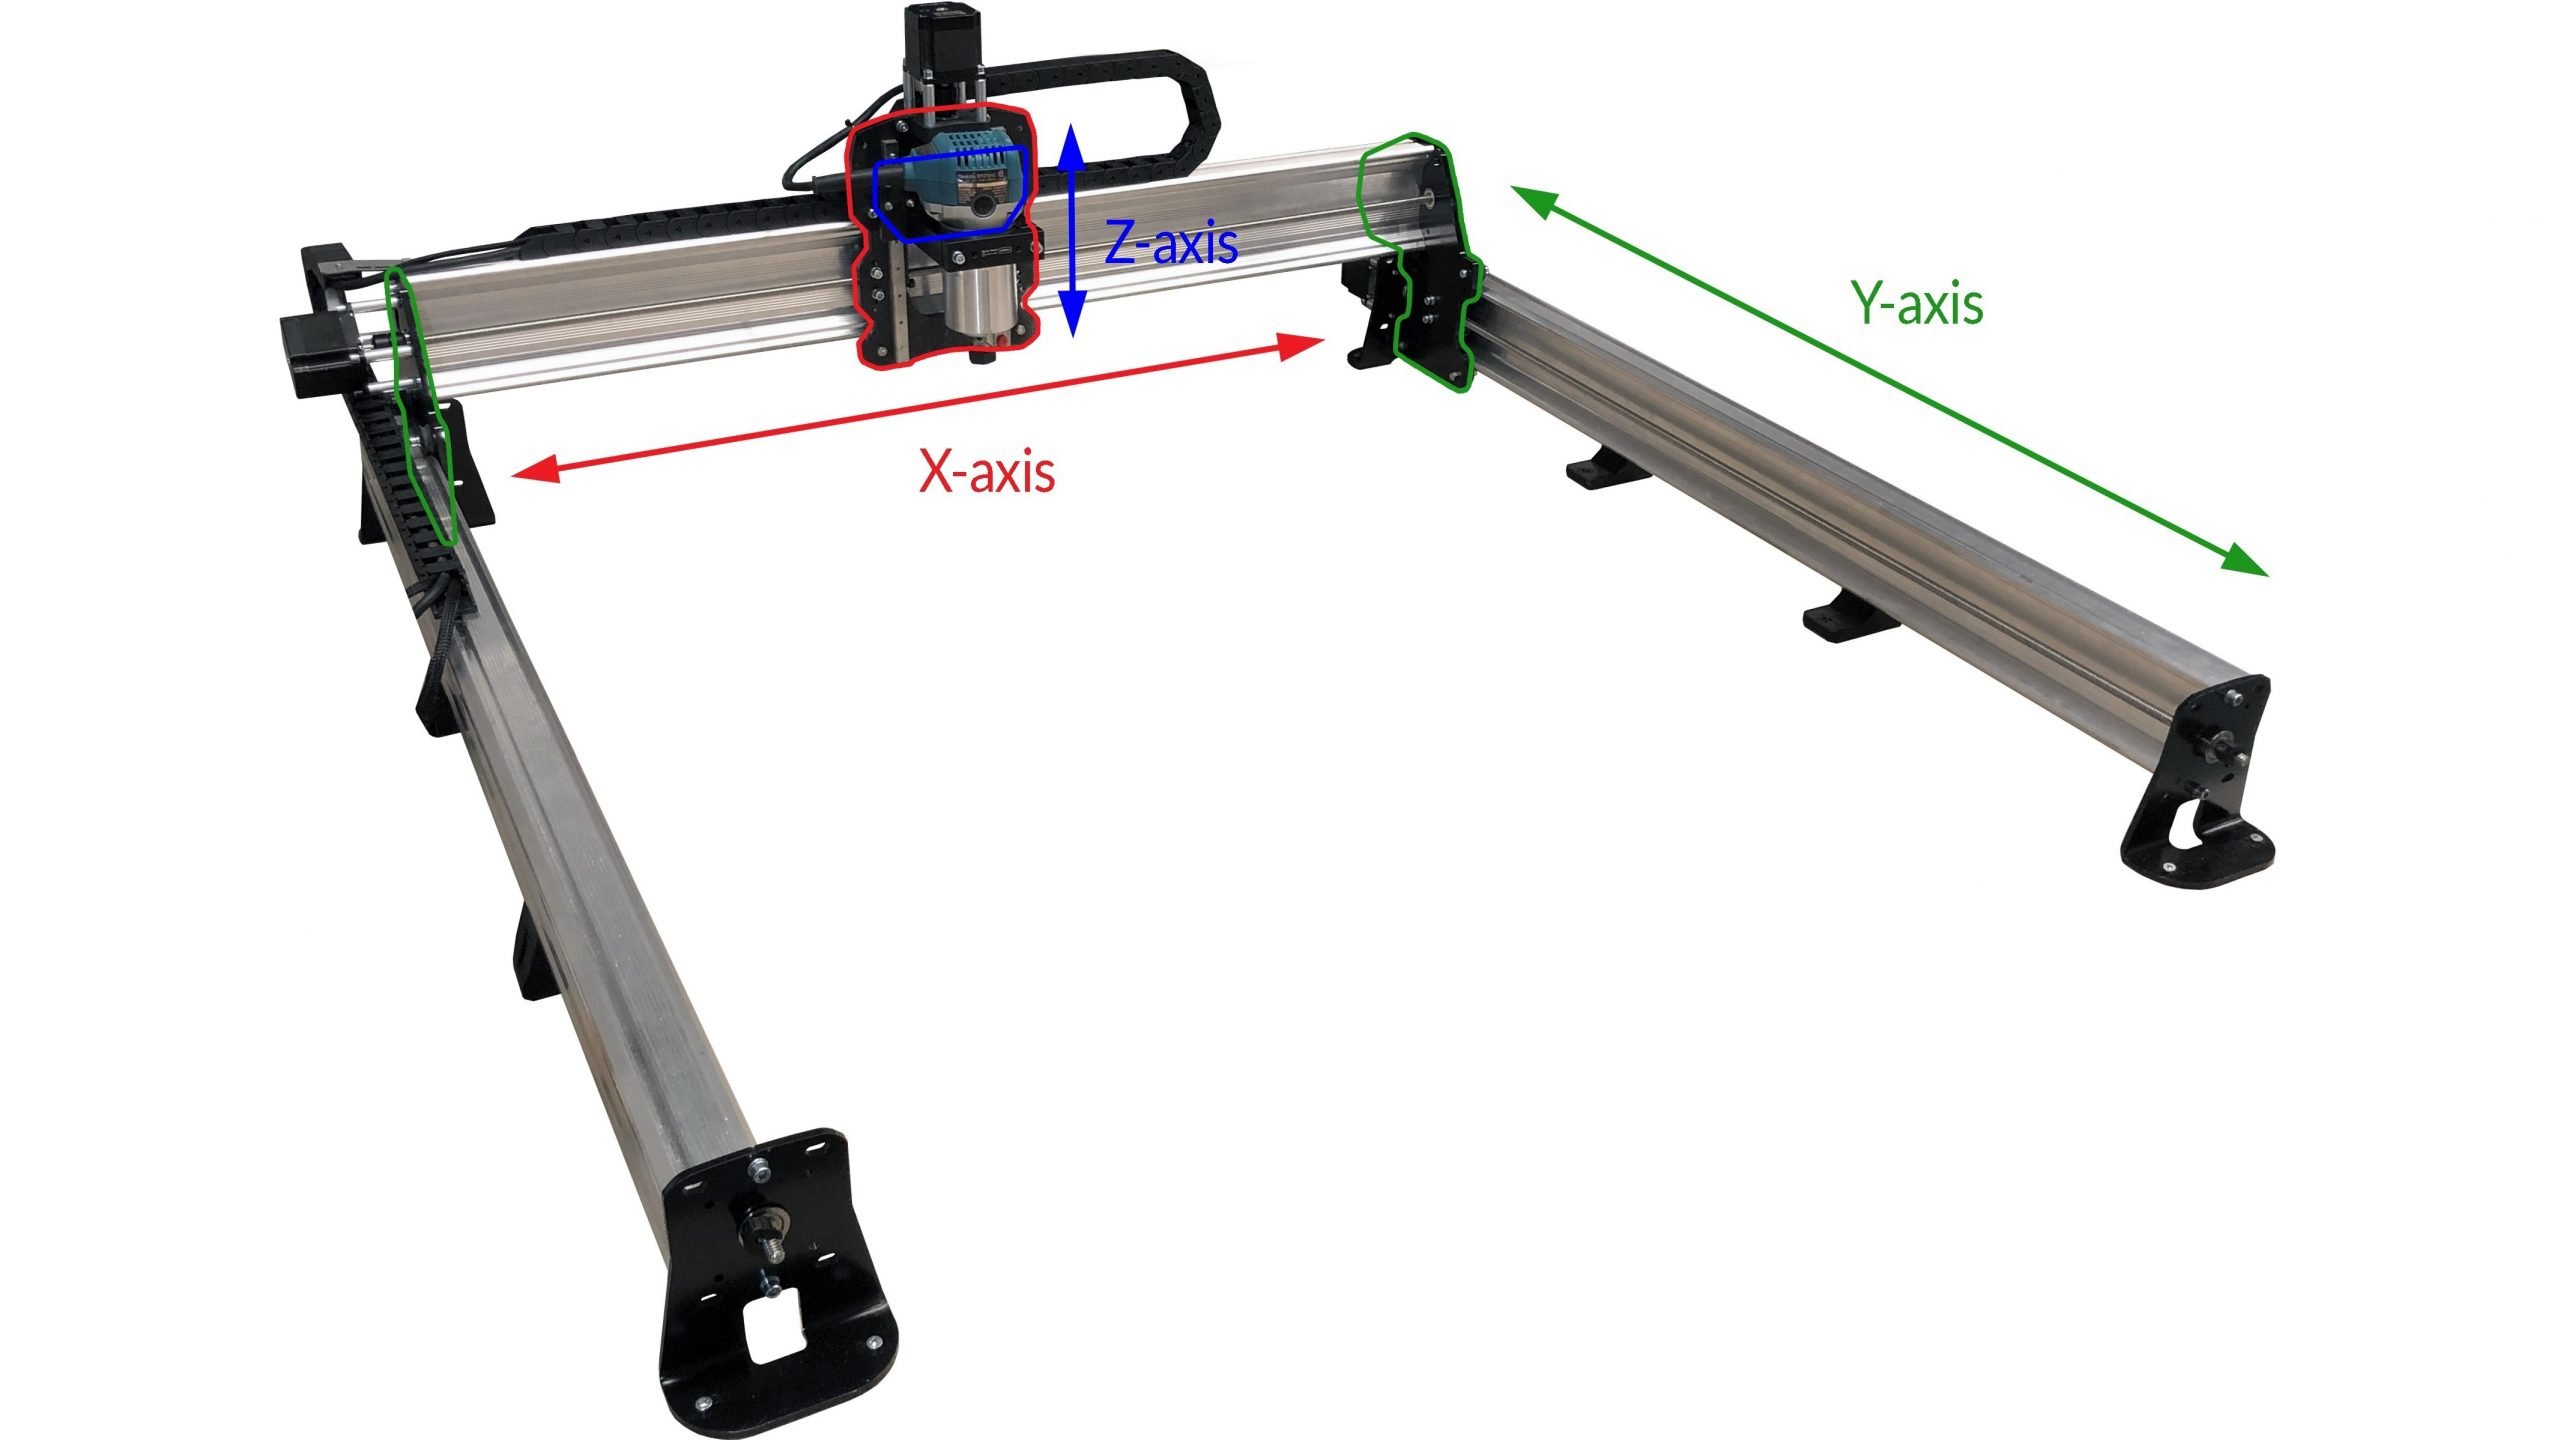
• 48″ EX symbol: always comes after a blurb of text to indicate that you’ll need to follow a few different steps outlined in the accompanying manual. If you aren’t assembling the 48×30 model of the LongMill MK2 you can ignore these 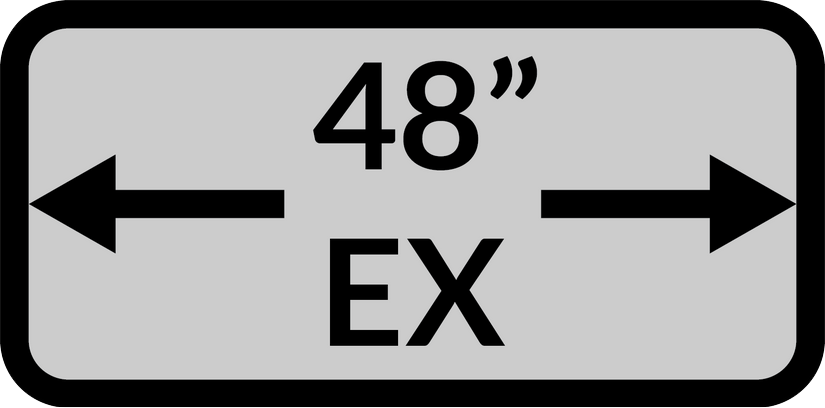
- Connect with the community
If you are looking to get quick advice or to share your excitement about the LongMill, post in our forum or Facebook group! We have a large and friendly group of CNC enthusiasts who enjoy engaging in conversations and sharing their CNC experiences.
Final words
You’ve got this! We want you to succeed and have designed this machine to give you a great CNC experience while not requiring much experience or assembly accuracy from you. Thousands of people have been in the same shoes as you, starting off as CNC beginners who eventually find their way through.
We’ve got many resources at your disposal on our site and amongst our community. Be curious, take it easy and you’ll soon be teaching everyone your new craft 🙂
Click the blue button below to continue to the Next Page of your MK2 assembly ⭛