
A T-Track system can be very useful and functional for your CNC bed if you find that it suits your needs. This workholding option comes alongside a wide variety of other options that exist when it comes to mounting materials and setting up jigs for your LongMill which you can read more about here.
The reason we decided to make this t-track system available is because we designed its profile to use standard ¼-20 hex nuts and hex bolts rather than the more expensive t-nuts and t-bolts that are normally required. This means:
- You can easily find and buy ¼-20 bolts for cheap
- You can use different lengths of ¼-20 hardware to suit your own clamping or jigging needs
Installing the T-Track
The t-track system is very flexible and can be used however you wish. If you’d like to see a generic approach to installation, you can follow either the write-up or video below. Scott begins the t-track installation starting at about 4 minutes into the video.
This layout minimizes reductions in cutting area and depth, and can be prepared in advance before your machine arrives. It uses a 48″x48″x ¾” MDF sheet, which can be purchased and cut to size at home or at your local hardware store.
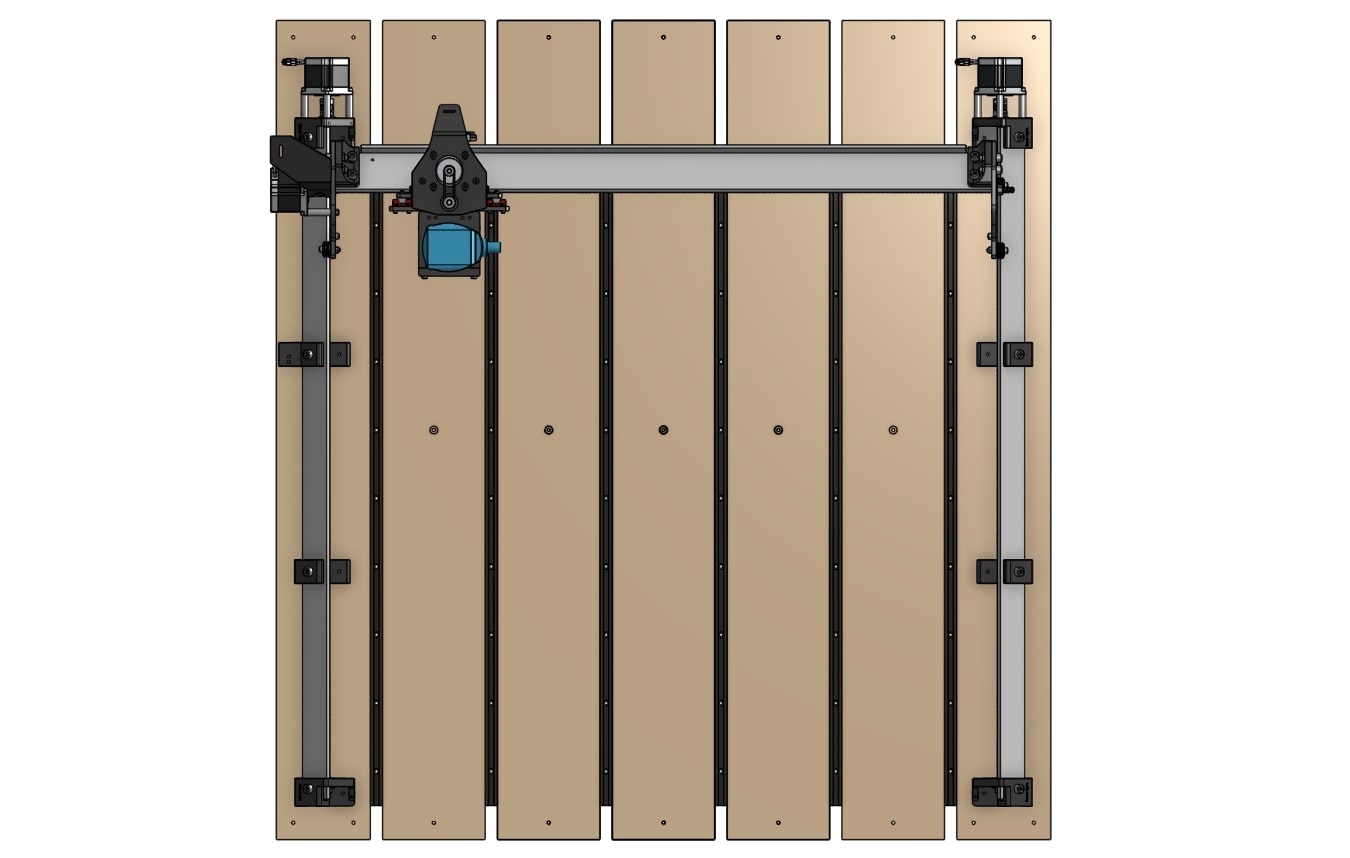
- Cut a 48″ x 48″ x ¾” MDF sheet into five pieces of 6″ wide planks, and two pieces of 5 ½ ” wide planks.
- Lay out the T-tracks and planks on the table, and fasten them down with wood screws. The machine will sit on top of the 5 ½” planks, as the 6″ planks are arranged between them. They should be fastened with screws at least 1″ in length. Leave about 1″ of space between the screws and the ends of the MDF planks.
- To ensure your planks are flat against your table, drill counterbore holes in the middle of the 5 ½” planks. You can use the LongMill, a counterboring bit, or a larger drill bit to create the holes, making sure you have removed enough material to recess the screw heads and surface the MDF planks at least 1mm deep. Then fasten them down with wood screws.
- Complete the rest of the Table Mounting process as described previously if not yet done: https://resources.sienci.com/view/lmk2-table-mounting/
- Surface the MDF planks, as you would normally conduct wasteboard surfacing: https://resources.sienci.com/view/lmk2-surfacing-the-wasteboard/
- Mount your clamps or clamping system onto your newly installed T-track table, and enjoy!
The T-Clamp System
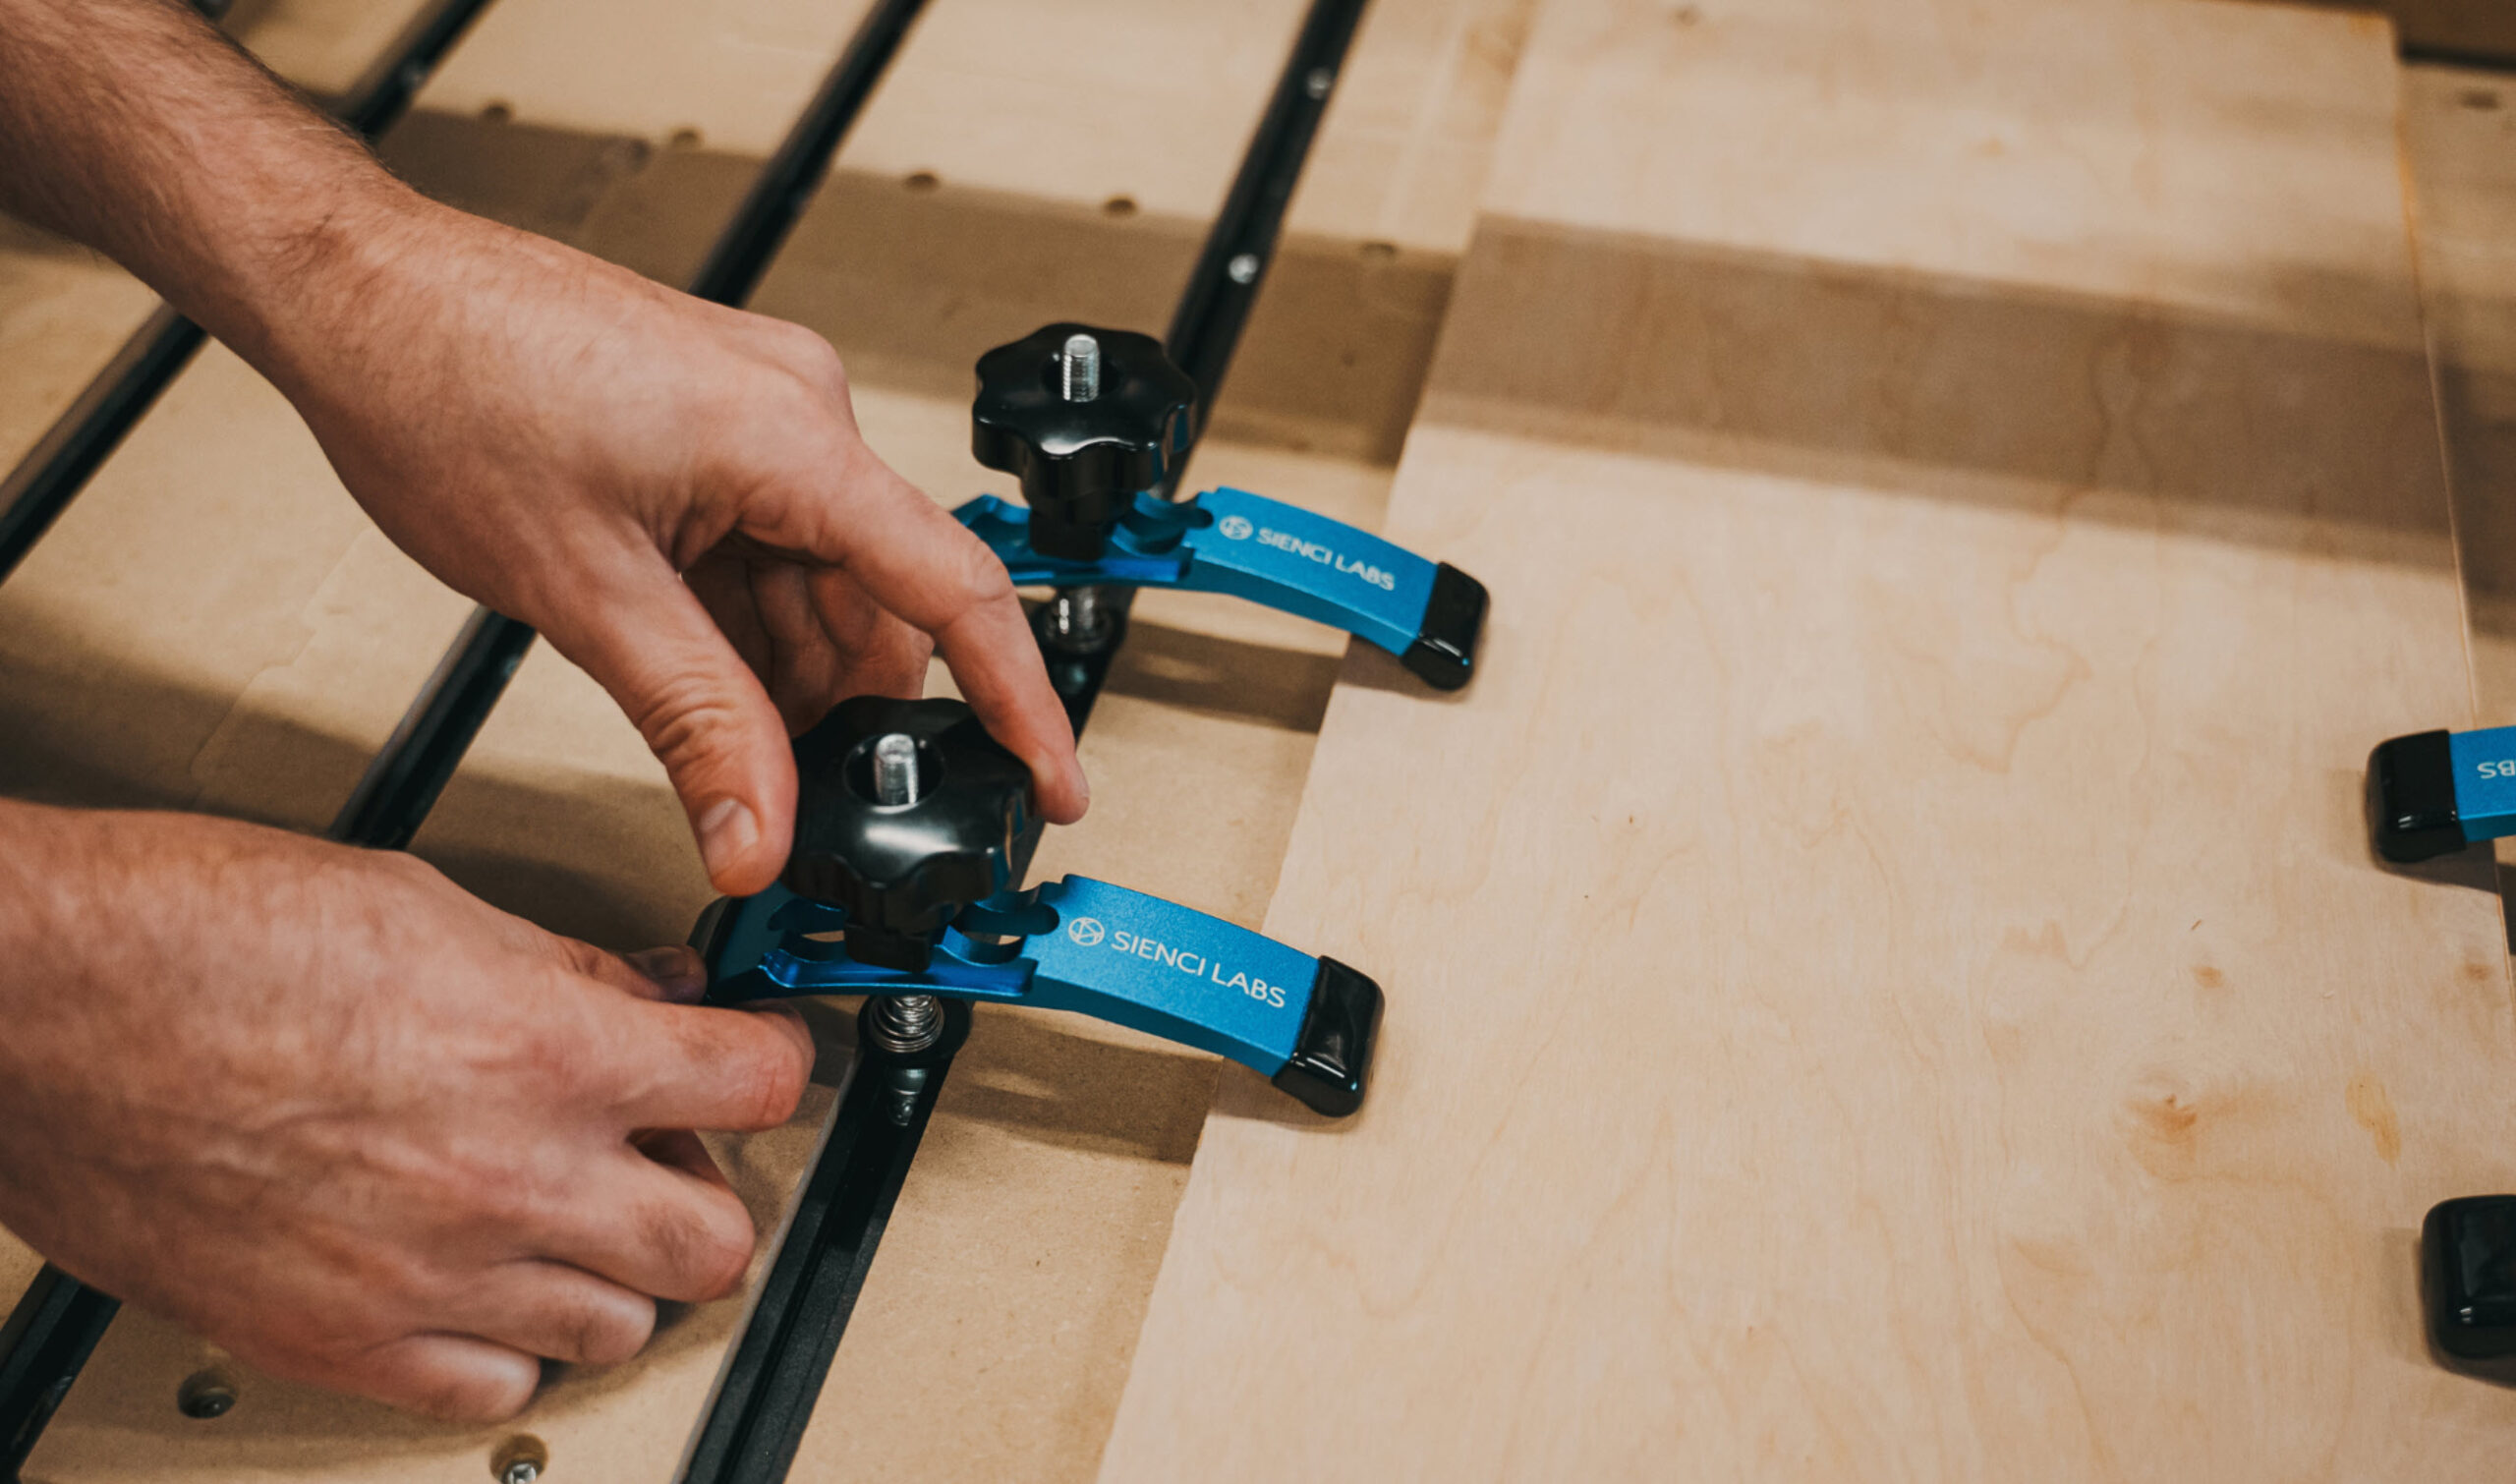
T-clamps are simple and reliable workholding tools that are used alongside T-Track tables, holding down metals, plastics and woods at varying different thicknesses. These are ideal for holding down small to medium sized pieces of material and also leverage their plastic ends in case you cut a little closer to the clamp than you expected.
To use the T-Clamps:
- Slide the hex bolt head through the t-track so that the entire clamp is on the table. You may need to adjust the bolt and knob to have it fit onto the table.
- Place your workpiece onto the table.
- Move and adjust the clamp to push down onto the workpiece, ensuring that the clamping end is lower than the bolt end. Tighten both bolts until snug. Position the clamps so that there is enough space for your cutting job on your workpiece.
- Push your material to check if it is secured onto the table. If not, use more T-clamps or other workholding methods.
{.aligncenter .size-medium}
Making your own clamps
The great thing about having a CNC machine is that you can make your own clamps for it!
For full details and file downloads, please see the full article.