Below you can find some of our custom-made starter projects. We’ve made these to help you start cutting many types of materials on your Mill One. If you’ve got similar materials on hand, use our provided g-code to cut your own! If not, you can still get the 3D model and put it through CAM yourself. We hope that they’re both informative and inspirational for whatever projects you end up making next!
Tons of members in our community have gotten straight to making on their Sienci Mill One. Their projects can be found on our Community Facebook Group where members share their machine experiences, endorse projects that they think are neat, and post projects that they’ve made.
If you have no experience with 3D modelling, another great online resource for downloading freely available models is Thingiverse.com! Search and download whatever you want to make on your Mill One without requiring a membership.
Happy making!
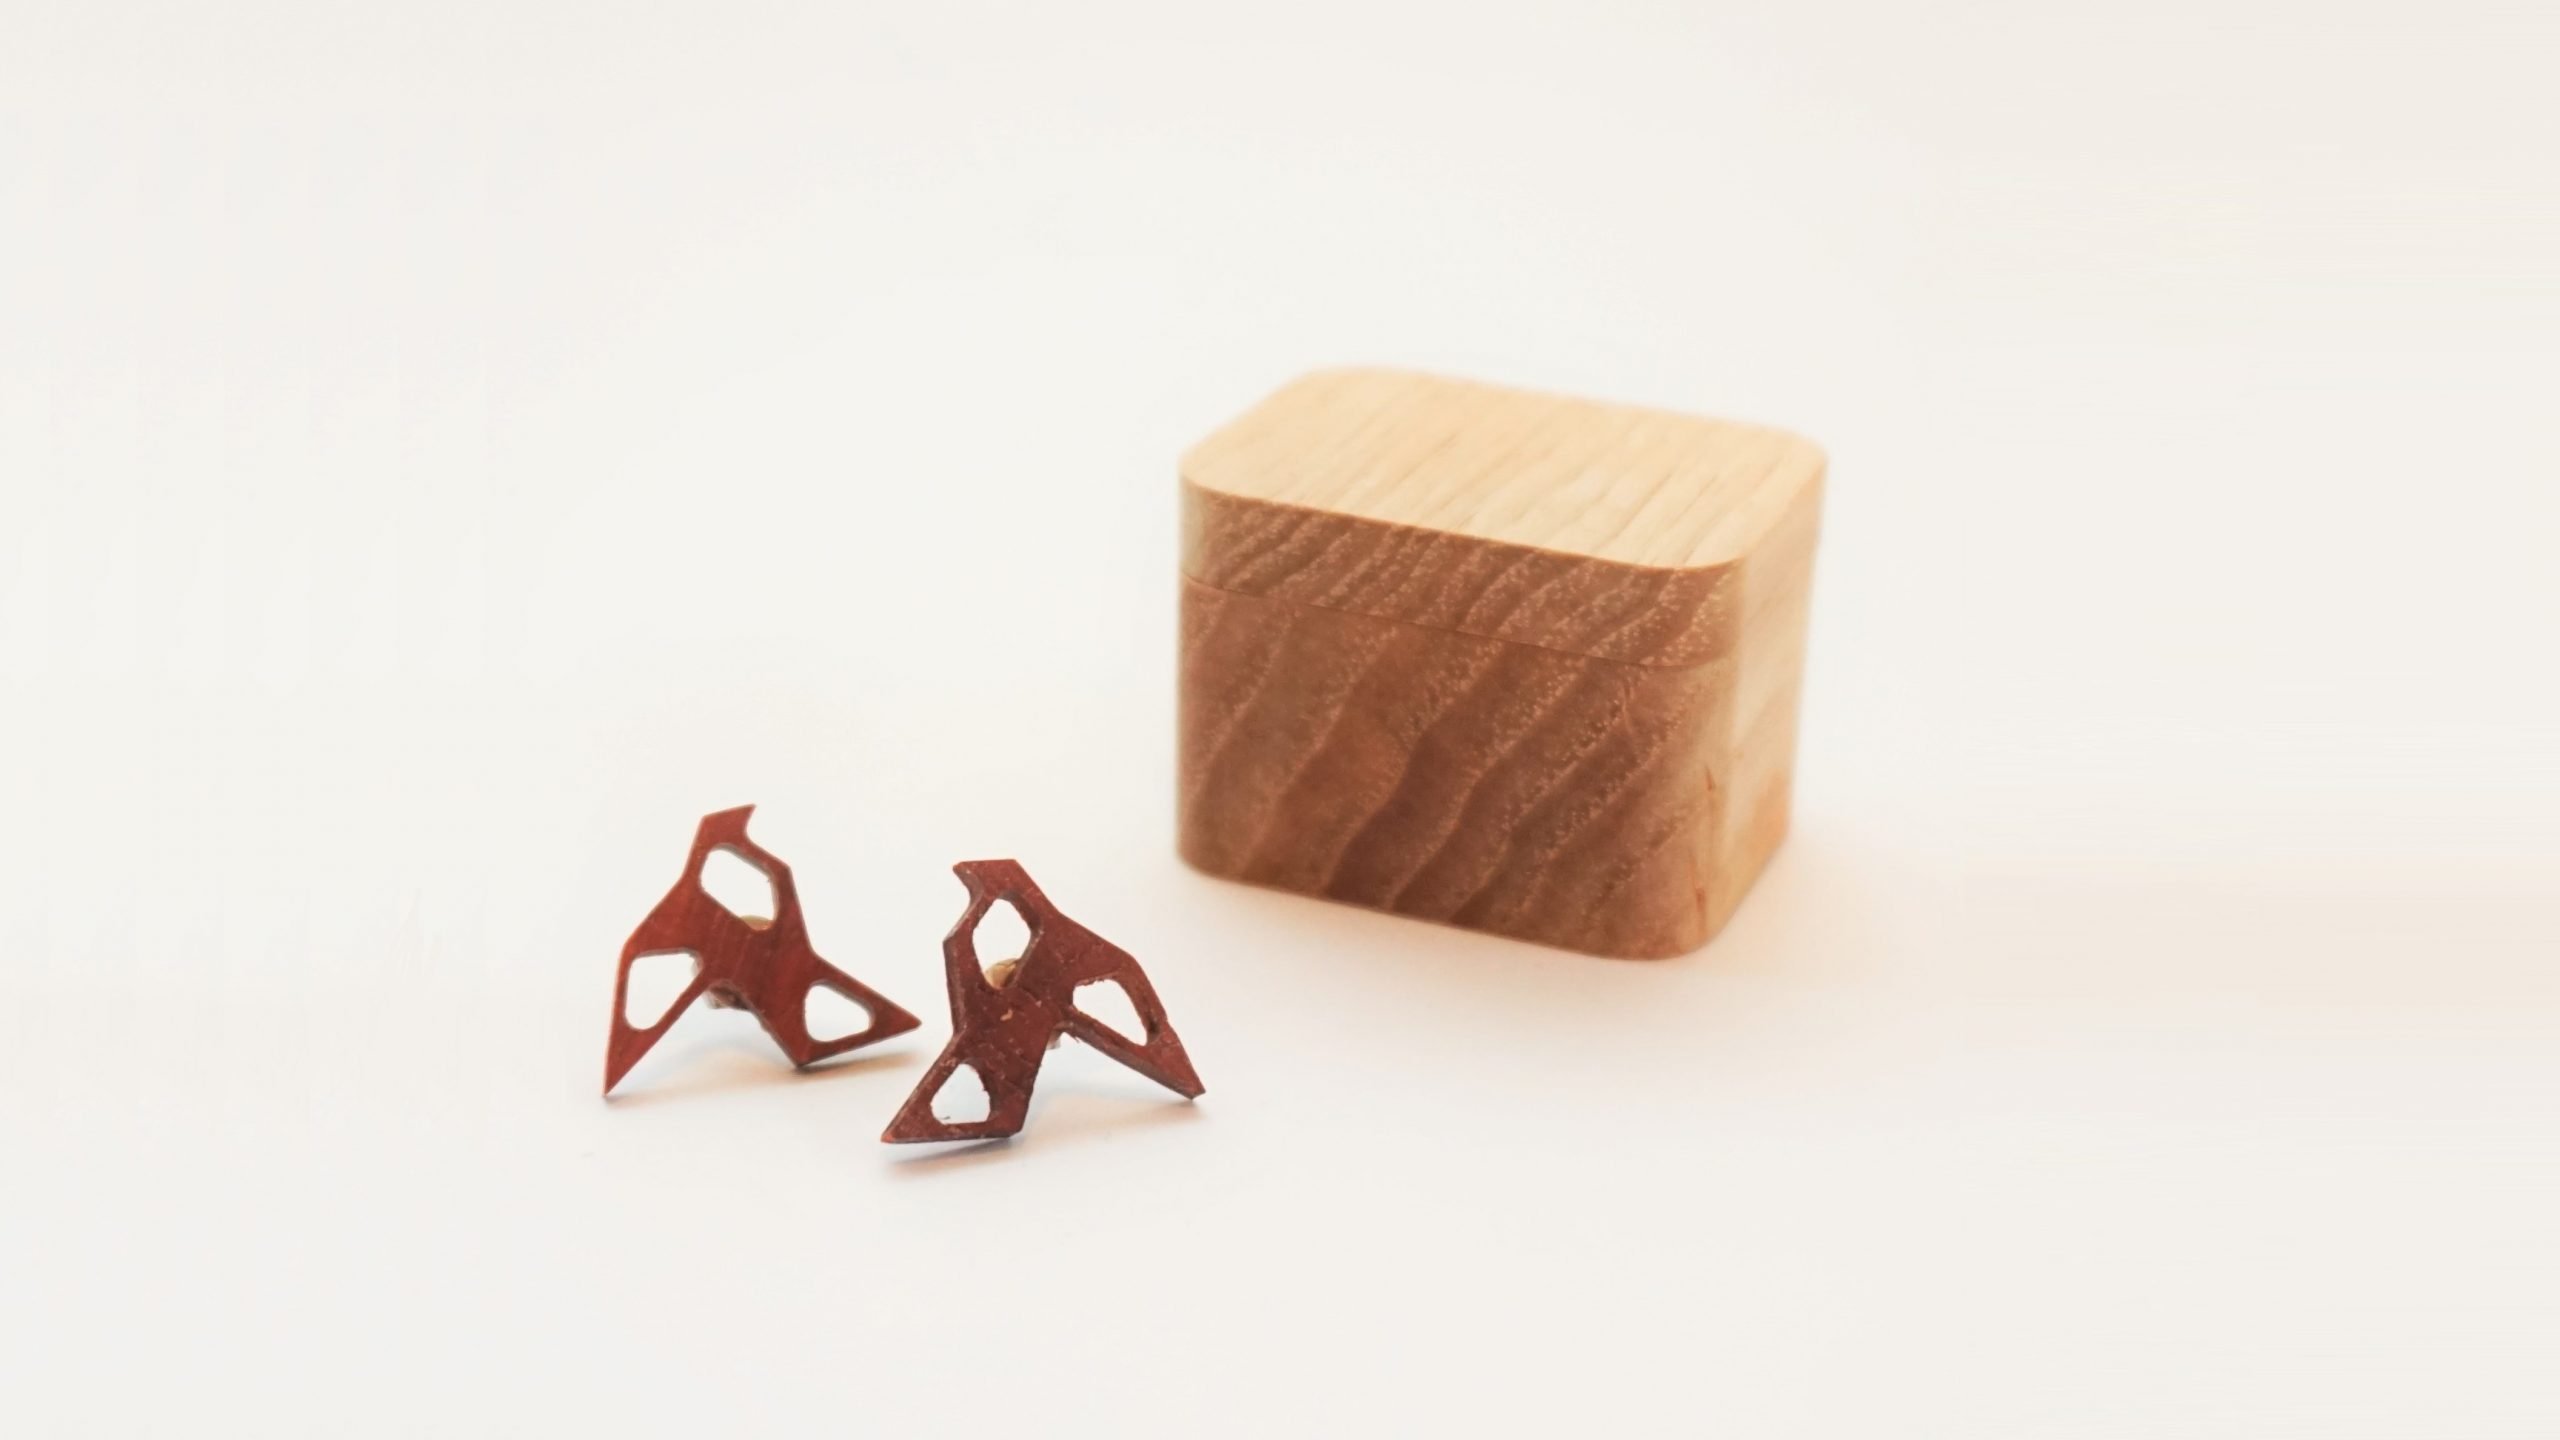
Wooden Box
A great starting project for the woodworker at heart. The hardness of wood varies by species and other factors, however most commonly available woods such as pine, oak, cedar, maple, or cherry are quite easy to work with. A depth of cut of about 2mm at around 700mm/min works well with soft to medium hardness woods, but you should reduce the depth of cut to around 1mm if you’re working with a very hard wood. Medium speed on the router at around 20,000RPM works well.
The following box was designed by Andy. It’s beautiful in its simplicity and fits together nicely. Refer to our Feeds and Speeds table to set up your machine based on your choice of wood.
Material: Any species of wood you wish, at least 22mm tall for the base and 13mm tall for the lid
End Mill: 2-flute, 1/4″ end mill
Cutting Time: 25 minutes
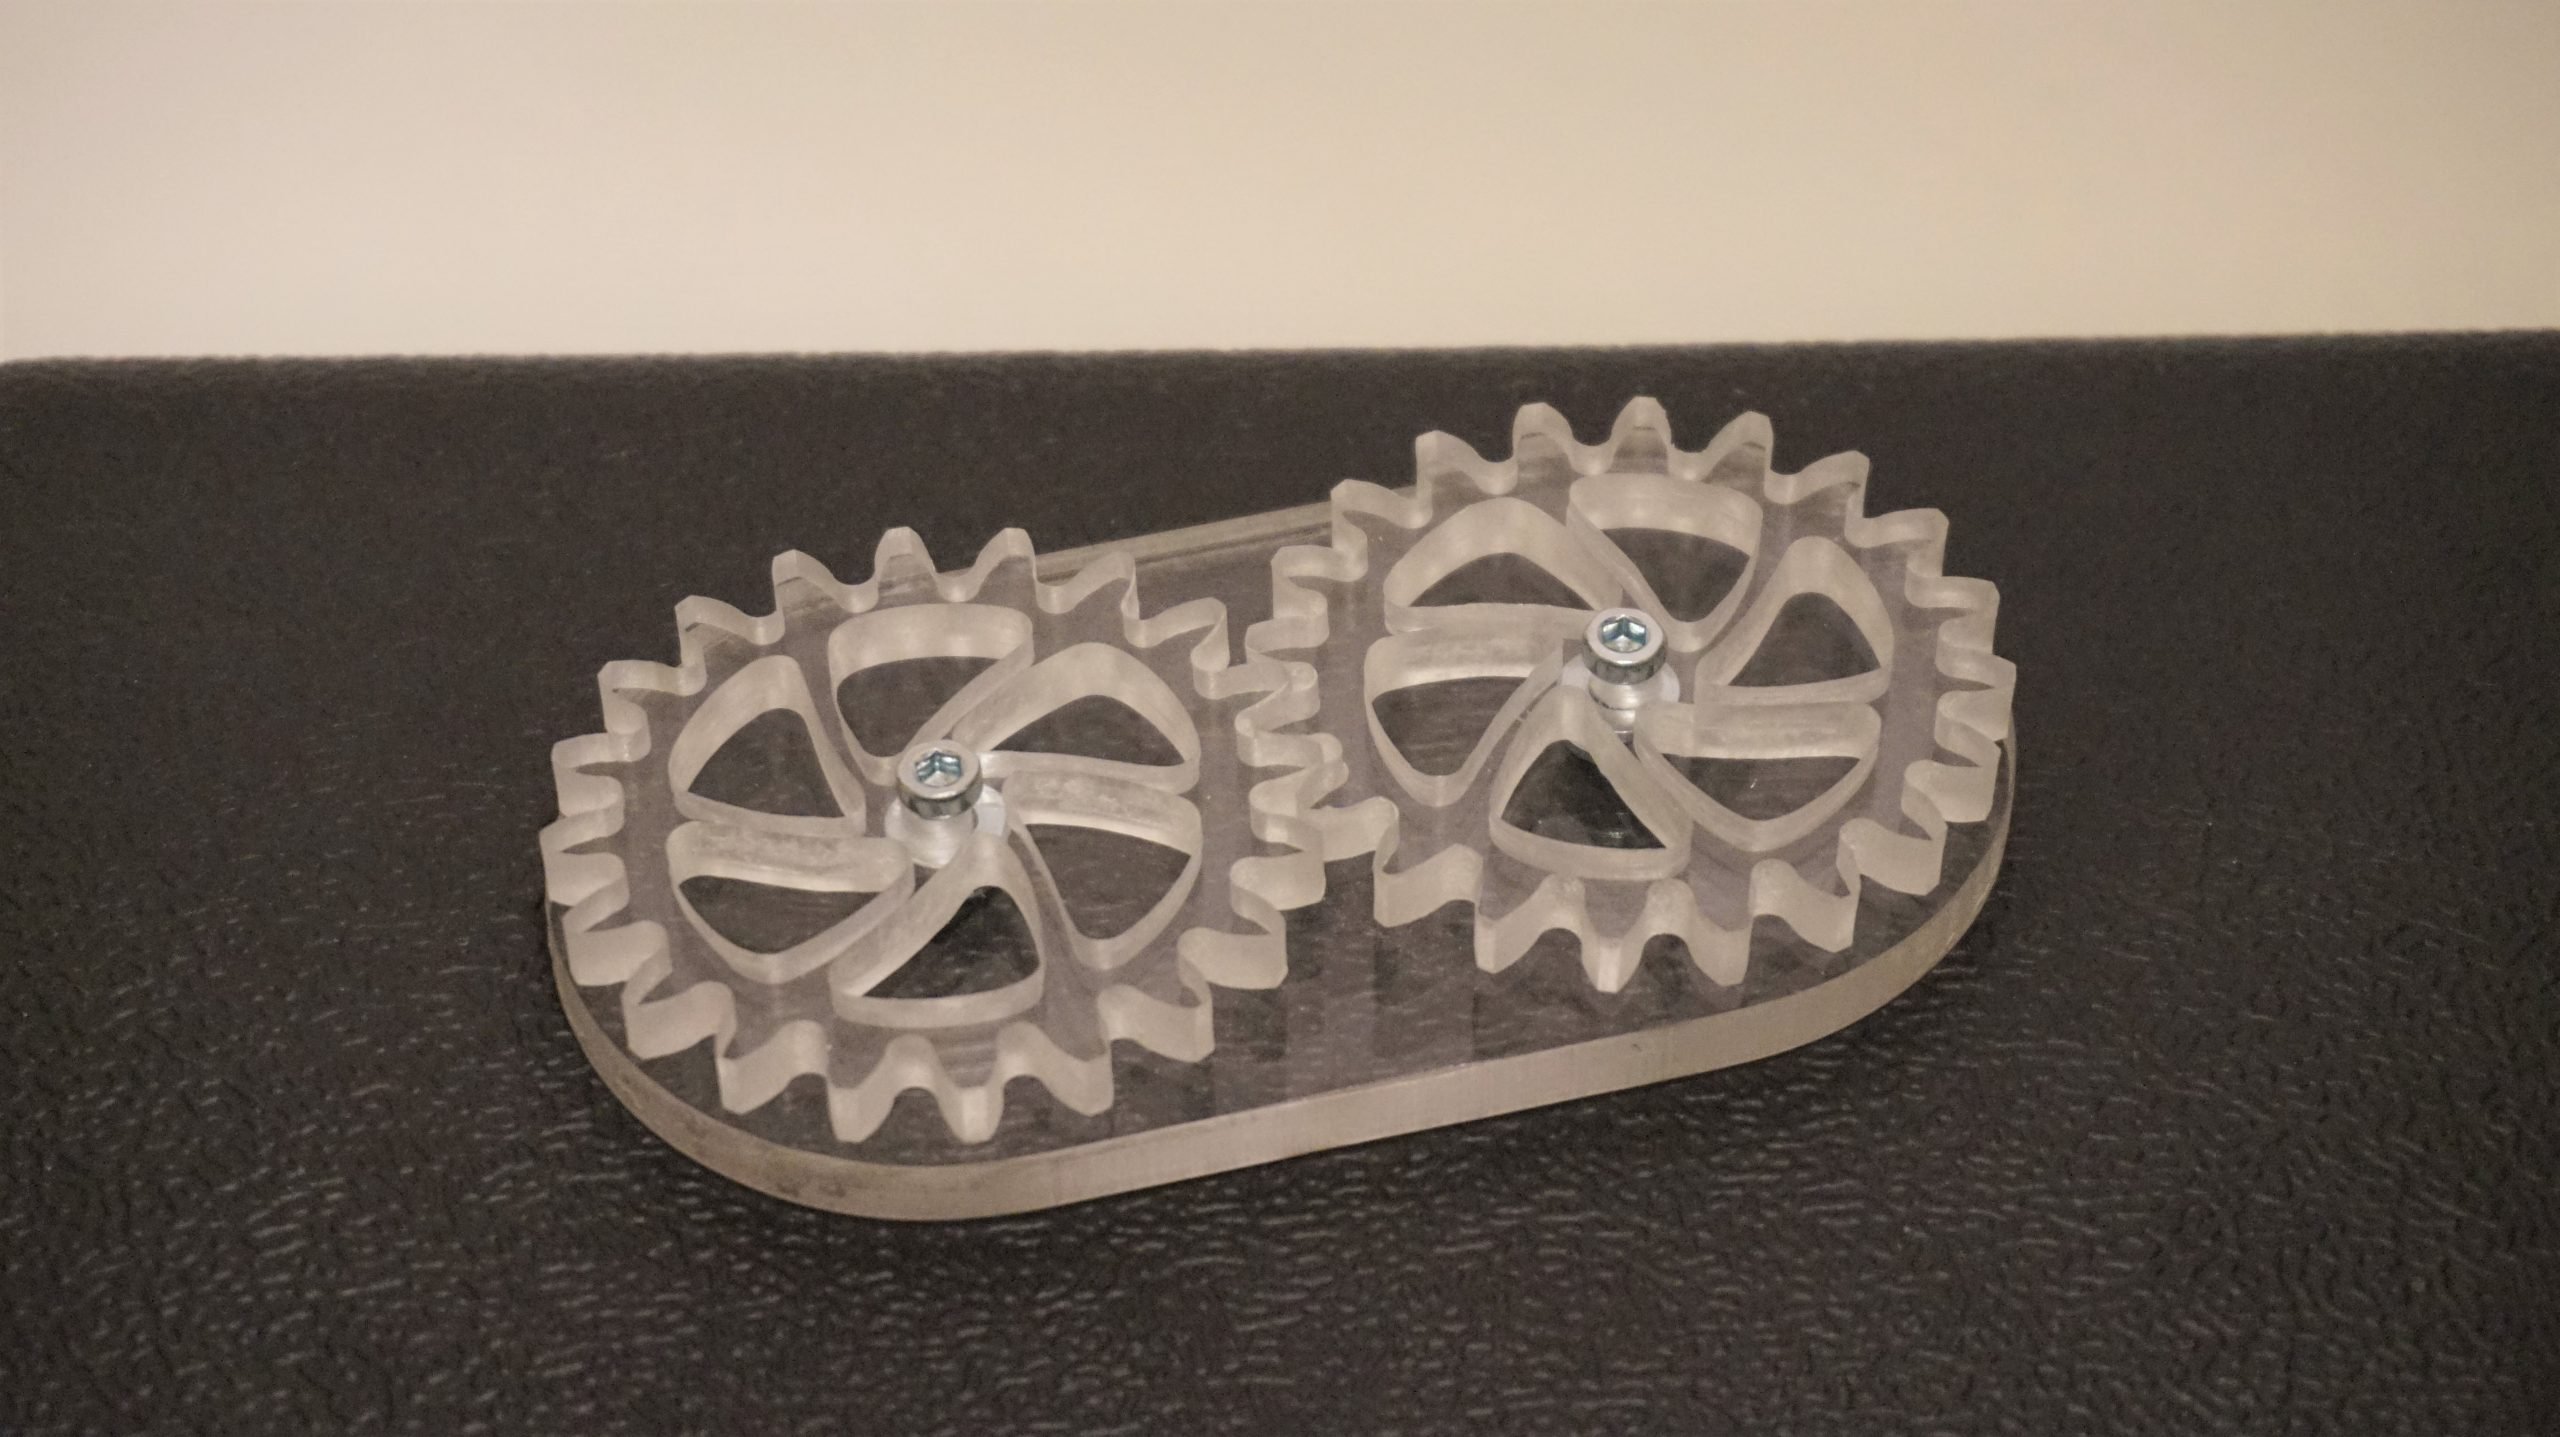
Acrylic Gear Train
Acrylic is a sturdy and useful plastic, commonly used in robotics applications due to its functionality, availability, and looks. At the right speed, acrylic and other soft plastics can be smoothly milled to yield very beautiful results. Generally, you’ll want to aim for an 800mm/min feed rate at a 1.8mm depth of cut. You’ll notice that there are burrs and debris left behind on the cut surfaces if the right speeds and feeds are not selected. Choose spindle speed around 24,000 RPM and adjust these settings as you need to get the best results.
This gear train was designed from scratch by Chris. If cut properly, minimal drilling should be required to use two M4 bolts and washers (or 8-32) and thread them into the gear train base.
Material: 6mm acrylic
End Mill: 2-flute, 1/8″ end mill
Cutting Time: 14 minutes
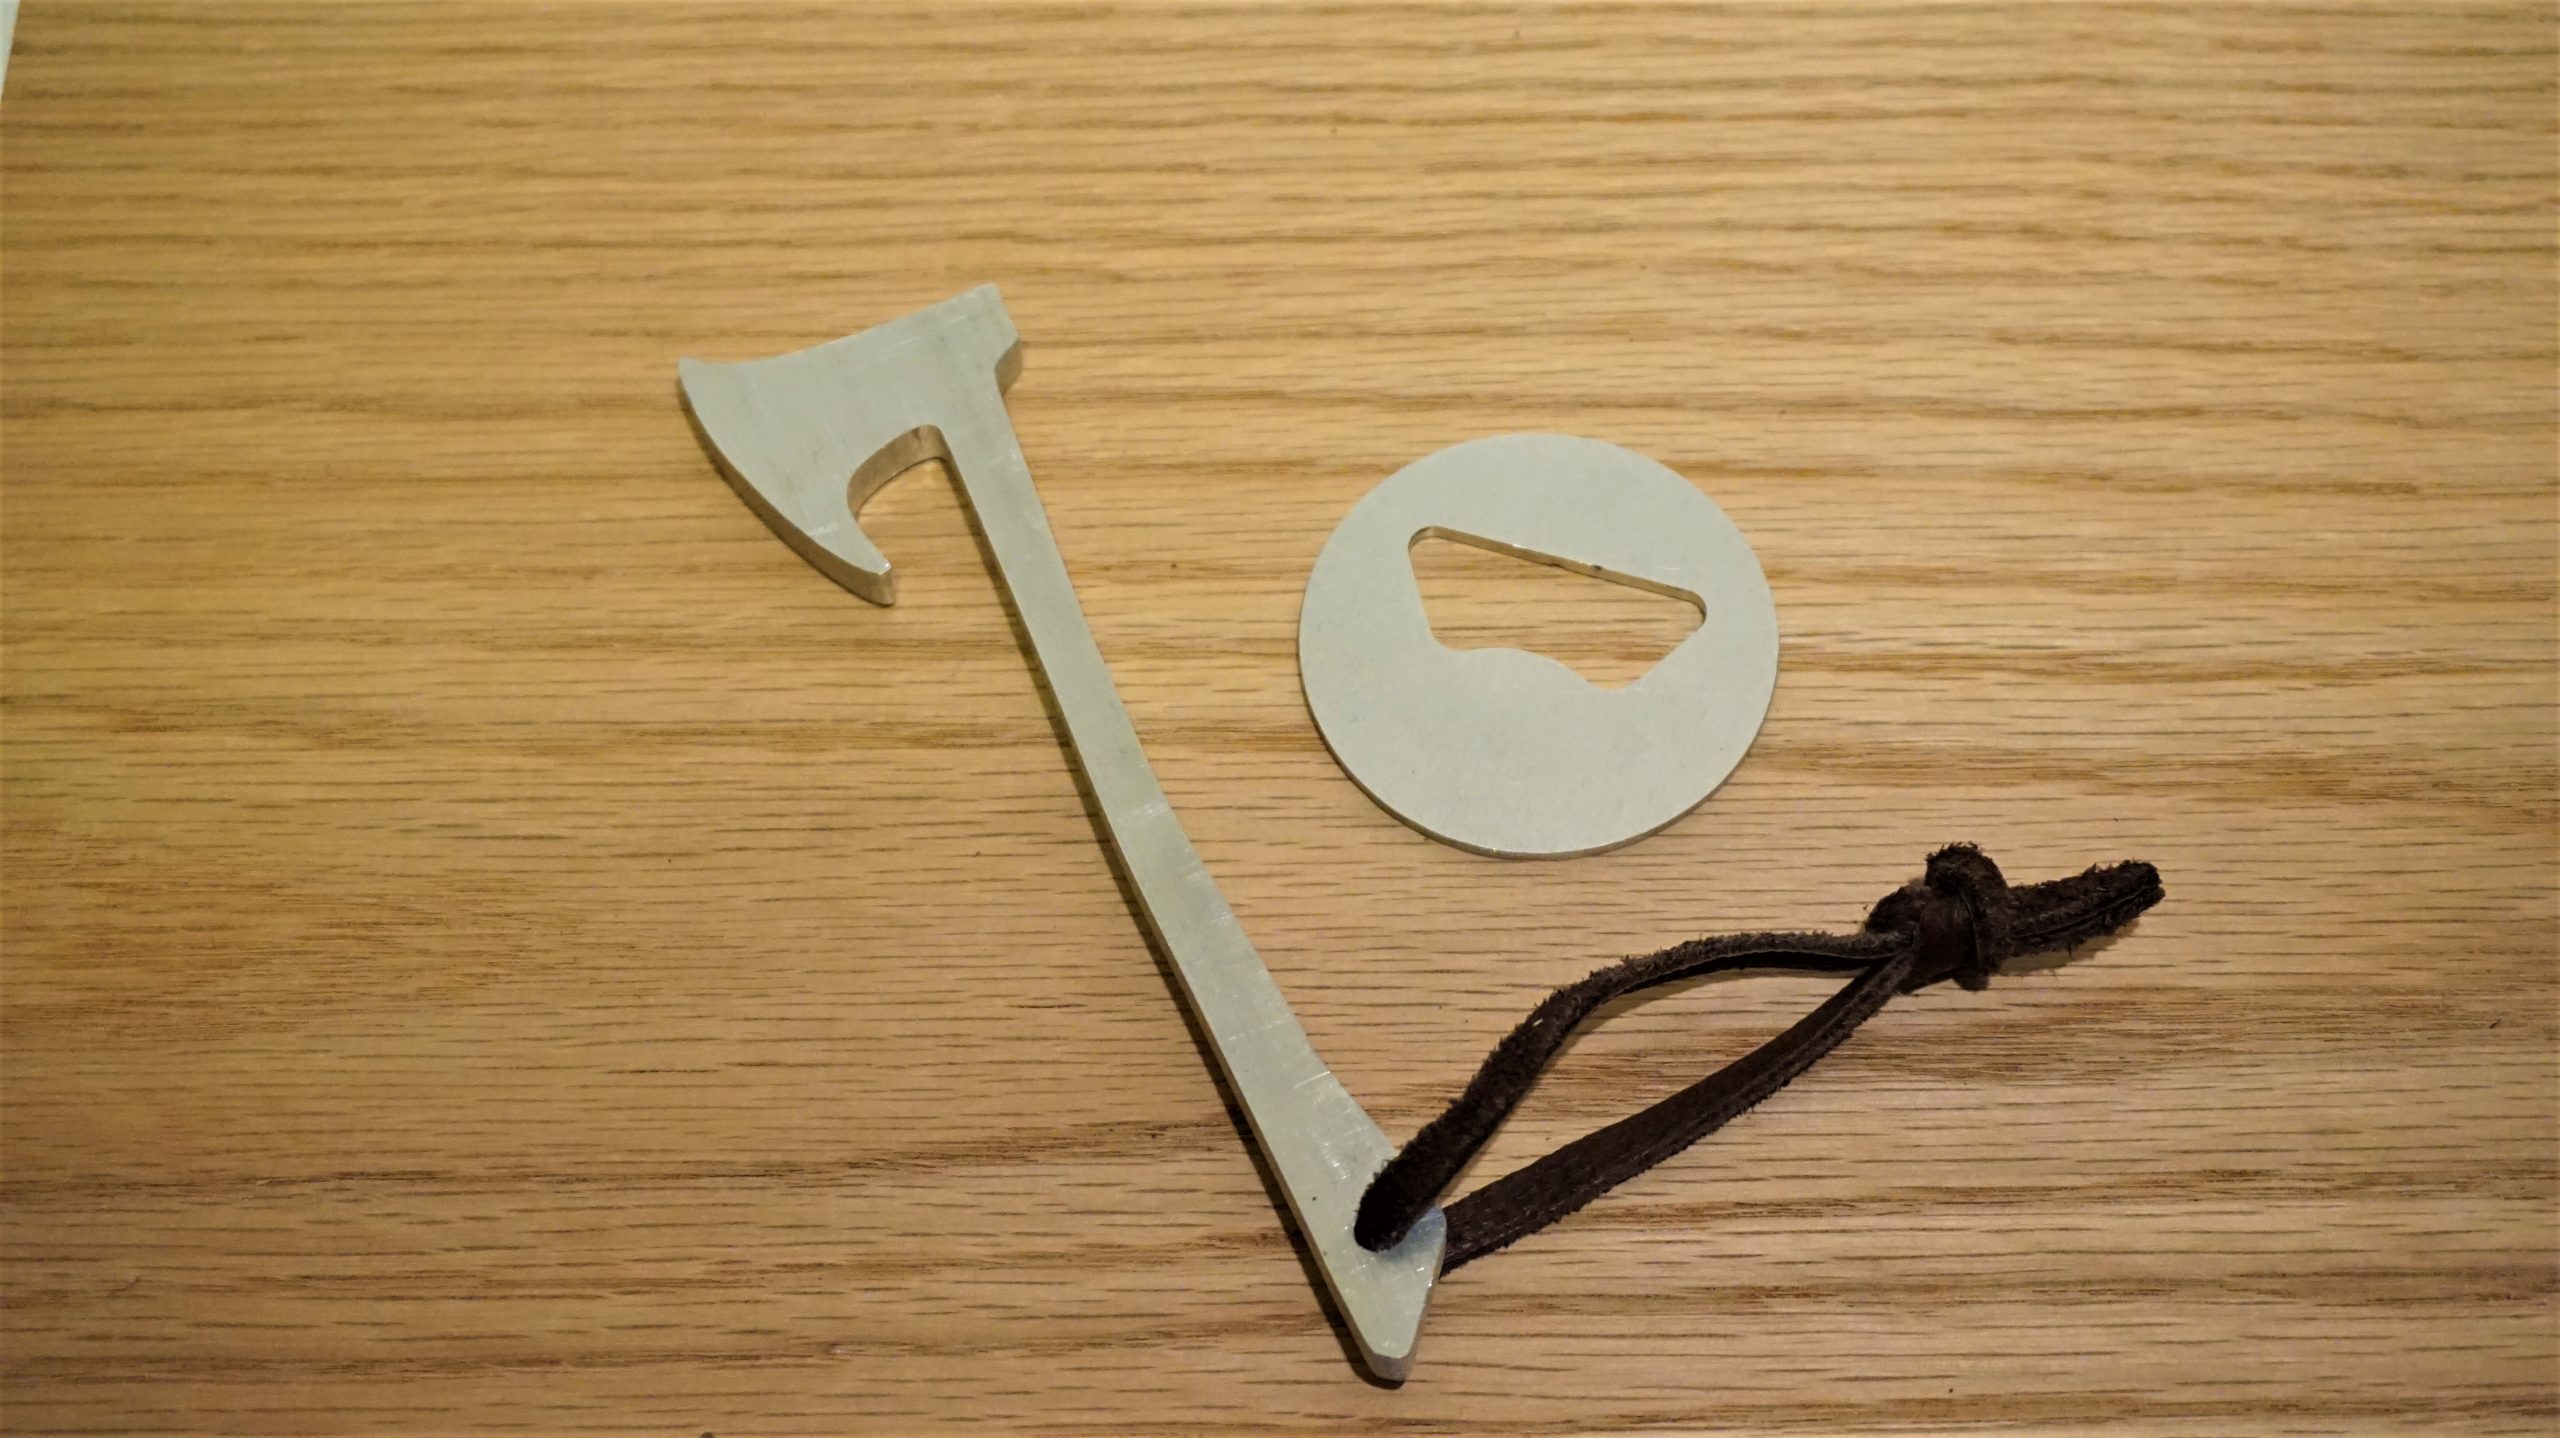
Aluminum Bottle Opener
A start at using the hardest material in the Mill One’s capability range. Aluminum comes in a variety of alloys, but the most common is 6061 Aluminum. It’s a fairly hard and strong material and can be found in aerospace components and bikes. The trickiest part of milling aluminum is preventing the aluminum chips from melting and binding to the end mill, which will stop the end mill from cutting. In order to carry the right amount of heat away via the chips, we recommend an 800mm/min feed rate at a 0.4mm depth of cut and 0.2 step over. The depth of cut is also slower, about 100mm/min.
Choosing the right spindle speed for milling aluminum is a highly debated topic for hobby CNCers. Traditional machines set their spindle speeds at around a few thousand RPM, however routers like the ones used on the Mill One run between 10,000RPM to 30,000RPM. To get around this, less flutes are used (one or two) with shallower cuts and faster feed rates.
Both of these fully functional bottle openers were designed by Chris. They have a sleek, industrial feel and are certainly conversation starters in any scenario.
Material: 1/4″ and 2.15mm 6061 aluminum
End Mill: 1-flute, 1/8″ or 3mm end mill
Cutting Time: 12 minutes and 2 minutes