
Parts List
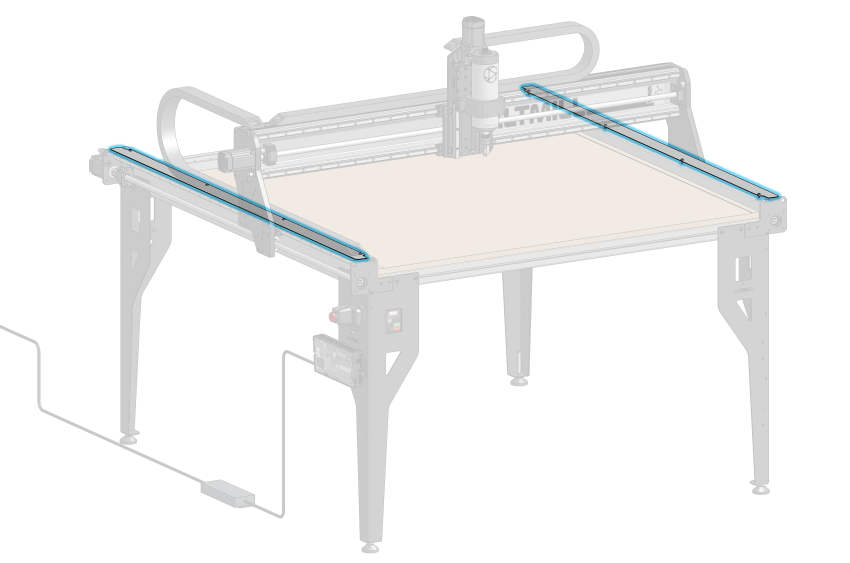
- 2x Dust Shield
- 2x Drag Chain
- M5-8mm Button Head Cap Screws
- M5-10mm Socket Head Cap Screws
- M5 T-nuts
For the two drag chains, remove the four (4) end links.
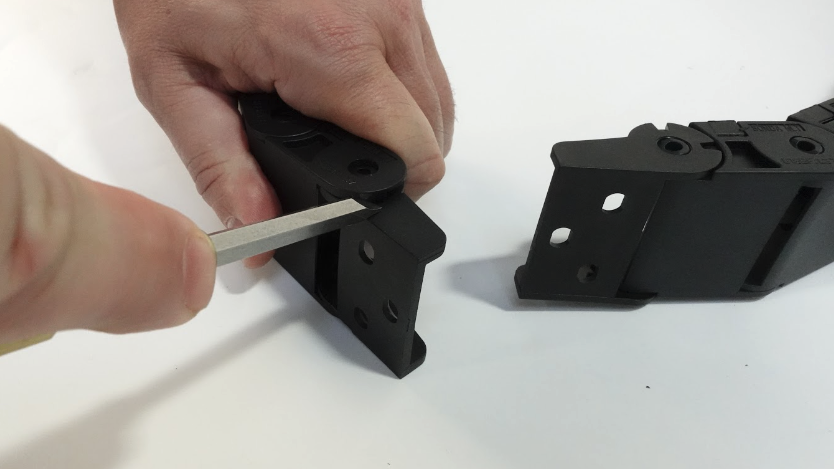
Using flathead screwdriver to pry open end link
Remove the protective plastic from the stainless steel dust shields.
Take one dust shield and insert a M5-8mm button head cap screw into one of the holes. Loosely fasten a T-nut onto the end of the screw, making sure that the wide side of the T-nut is facing towards the dust shield. Repeat this for the remaining three (3) holes. This will be the right side dust shield.
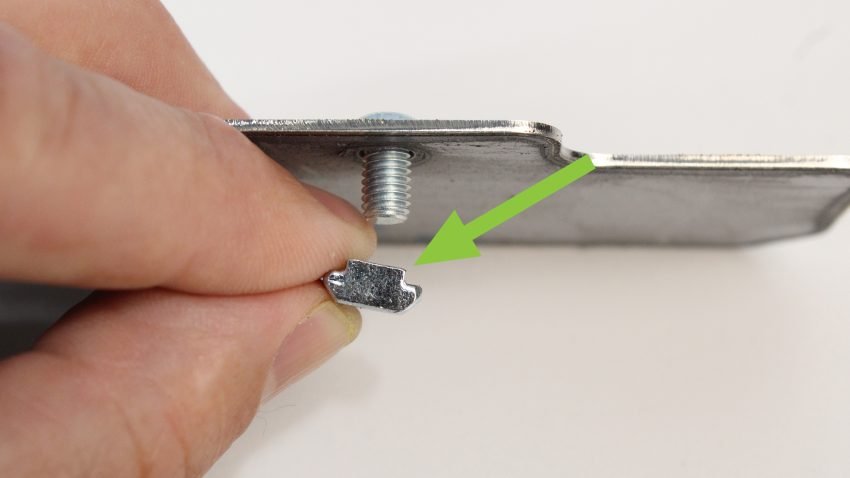
Closeup of T-nut, with flat side facing dust shield
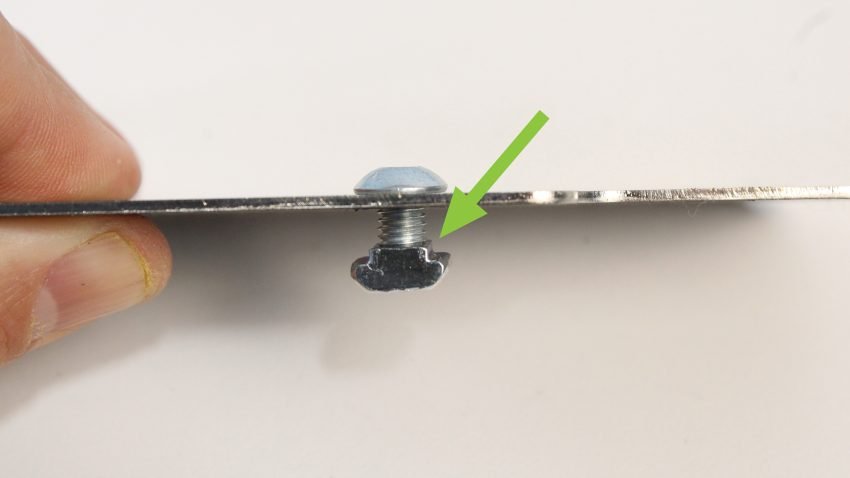
Assembled T-nut on dust shield. Don’t forget to leave it very loose for Installation.
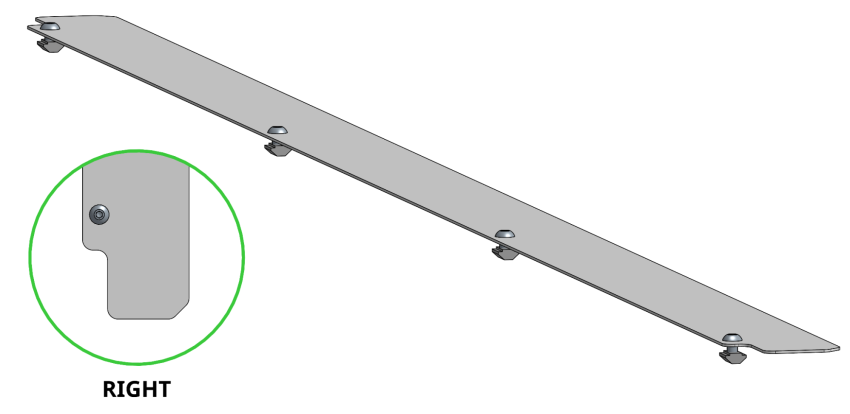
Right side dust shield with indication of the notch
Install the right side dust shield onto the machine by sliding the T-nuts into the T-slot on the top of the Y rail, making sure the notches on the dust shield are towards the center of the machine.
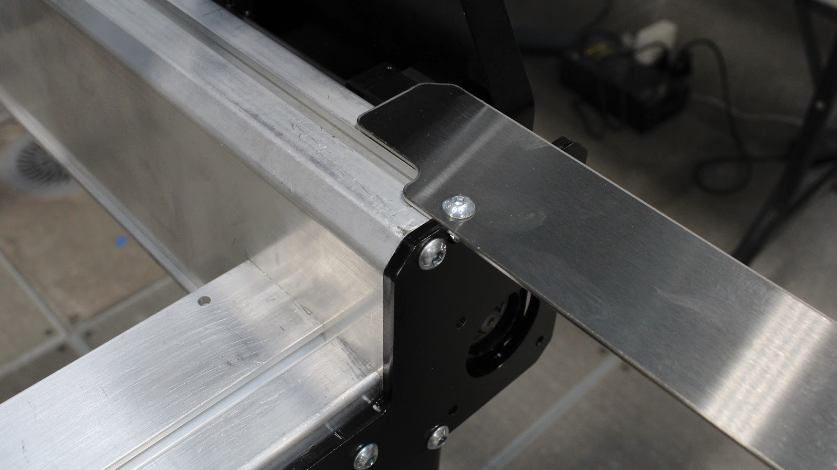
Sliding dust shield onto right Y rail
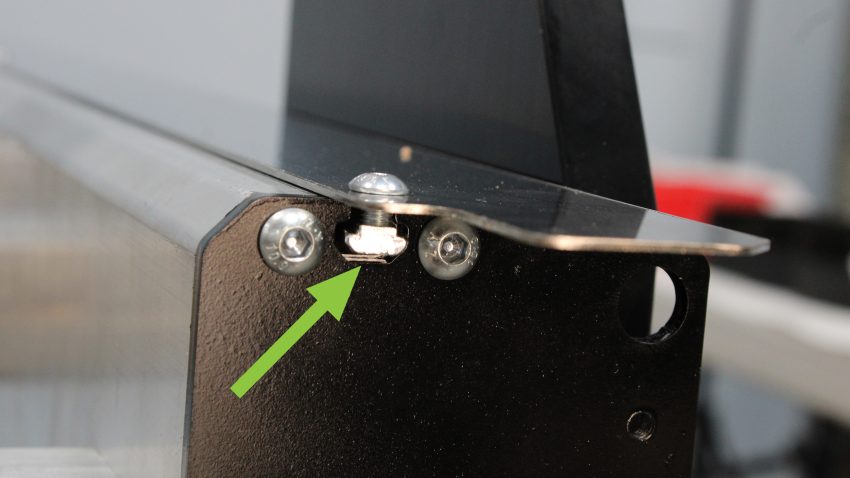
Make sure to have the t-slot nut positioned as shown when installing
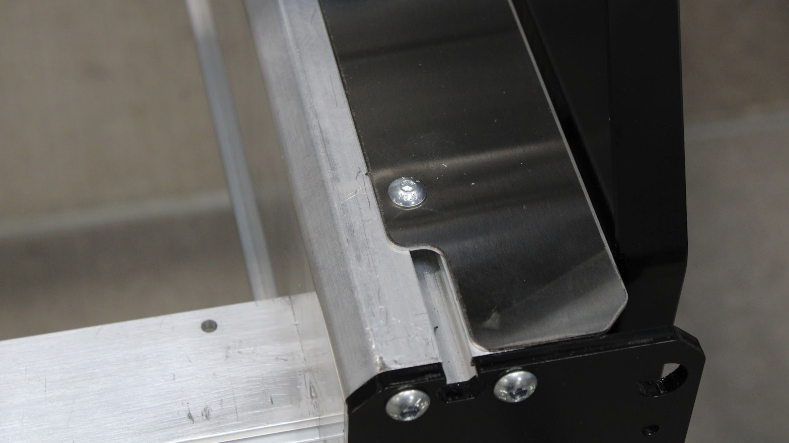
Positioning dust shield against end plate
Take one of the removed end links that has two (2) clip-in holes at the tabs.
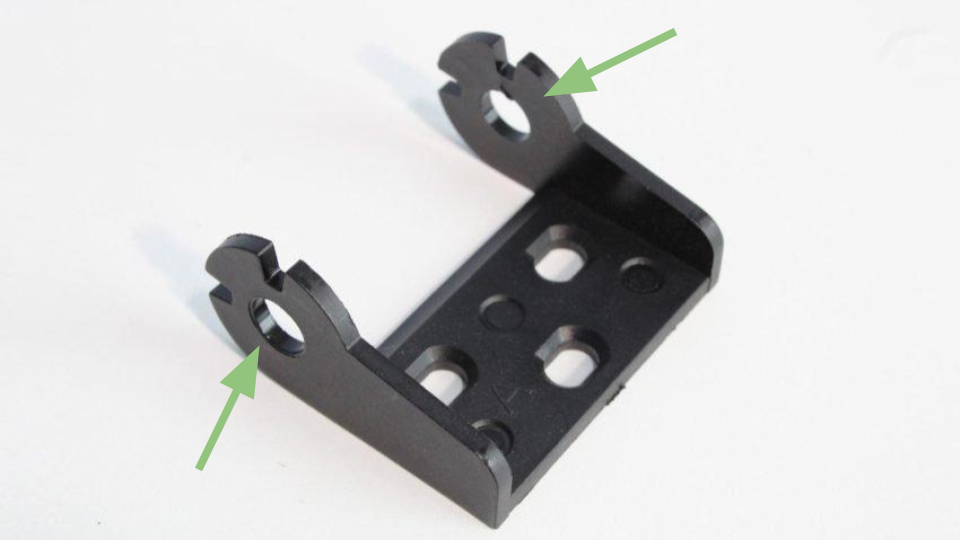
Drag chain end with holes at the tabs
With the second, left dust shield, orient it so the notches face the center of the machine when mounted. Install a single M5-10mm socket head cap screw through the shown hole in the drag chain end, and the hole at the front end of the dust shield.
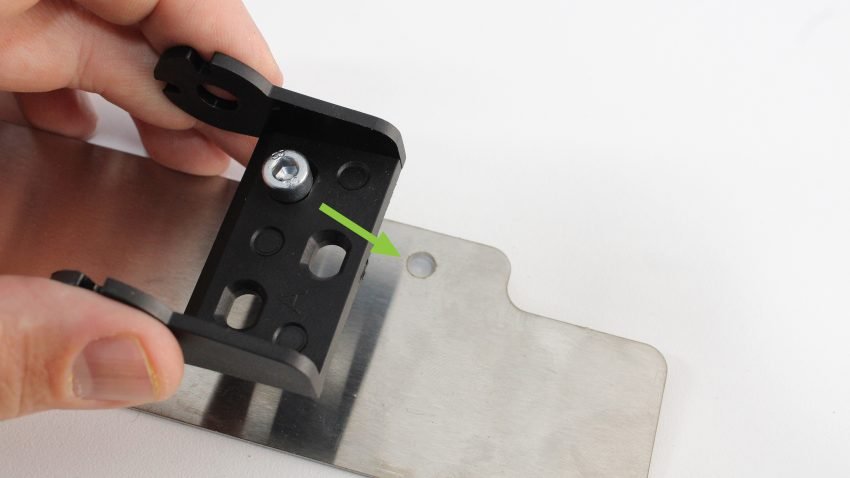
Drag chain end with screw installed at correct hole, positioned at the front end of dust shield
Assemble M5-8mm button head screws and T-nuts onto the remaining 3 other dust shield holes.
Slide the dust shield onto the left Y-rail in the same way as was done before with the right dust shield.
Fully tighten all hardware on both dust shields using the 3mm hex key for the button head screws, and the 4mm hex key for the socket head cap screws.