
In this section we will go over how to focus your laser. This should be done before you start each job! We will use the 4 black acrylic parts included with the LaserBeam, which are called focus finders. Each focus finder is labeled with its corresponding lens.
Grab the set of focus finders from your main LaserBeam box. Find the focus finder that matches the lens you have installed.
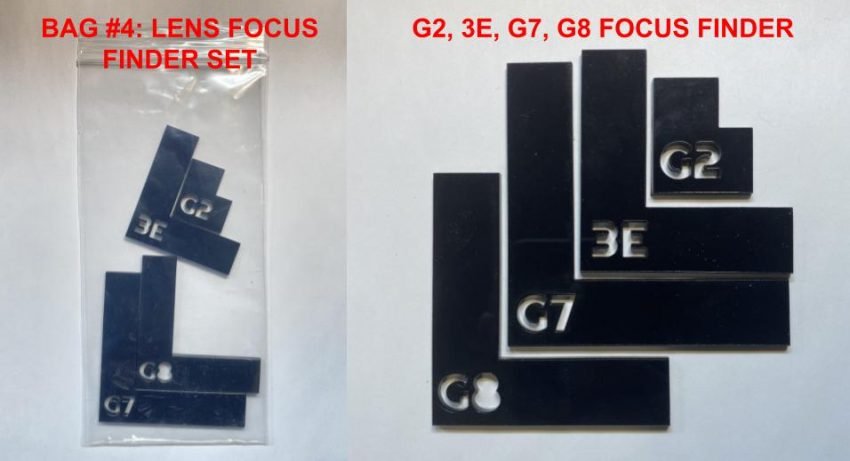
Types of focus finders
Each focus finder is in an “L” shape, one leg of the L indicates the maximum focus range height, and the other leg indicates the minimum focus range height. Your ideal focus height will be somewhere between the max and min.
On gSender, jog your Z-axis high enough so that your focus finder fits under the laser with some space above it. Stand the focus finder on a piece of scrap that is the same thickness as your workpiece (material you are using for your project). Then slowly jog your Z-axis until the bottom of the black anodized aluminum body is approximately at the top of your focus finder.
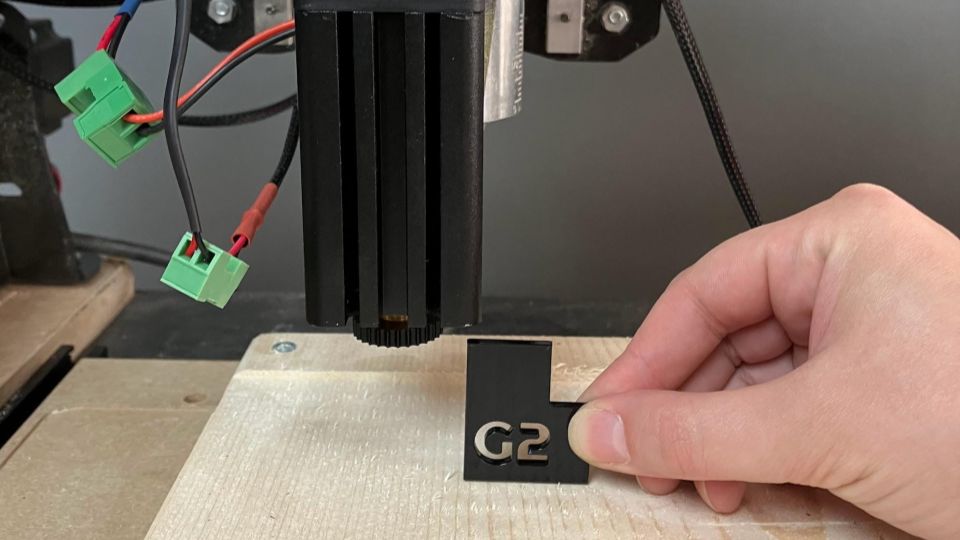
Approximating focus height
Put on your laser safety glasses for this section!
This is where you make granular adjustments to the focus height using the lens focus ring. Make sure your laser driver is ON. On gSender, set laser power to 1 or 2%, and press “Laser On.” Carefully turn the lens focus ring clockwise to dial in your laser beam. The beam should become a small pinhole shape, and the colour should turn from yellow to orange (while wearing your glasses). If the beam is getting large as you are rotating the ring, turn counterclockwise. Press “Laser off” when you are finished.

Fine tuning focus height (aka focusing) on laser
Make sure to zero your Z-axis to save your focus height for your job.
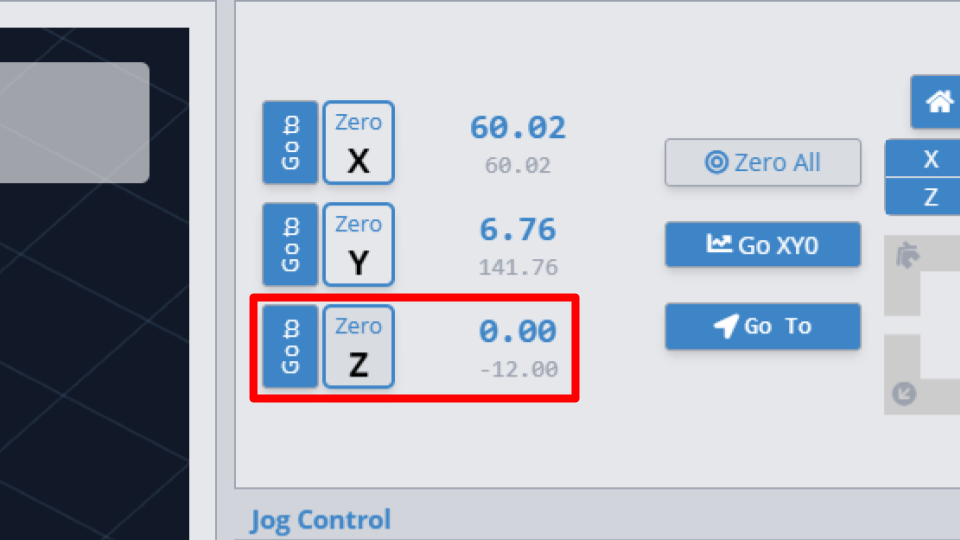
Zero the Z-axis on gSender