
Parts List:
- Laser assembly with steel mount
- 2pcs M5-12mm socket head screws
We will first attach the laser assembly onto the router mount.
Depending on your version of the router mount, you will be able to fasten the assembly on either the left/right side or the front of your router mount.
First grab the M5-12mm screws from the Small Parts bag, and identify where the two mounting holes are on your setup.
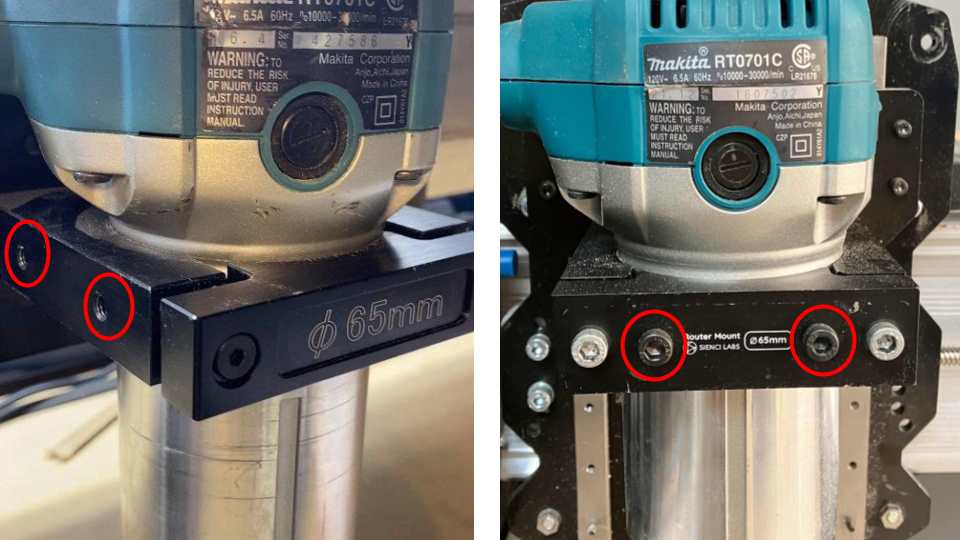
Mounting holes on the side (L) or on the front (R) of the LongMill router mount
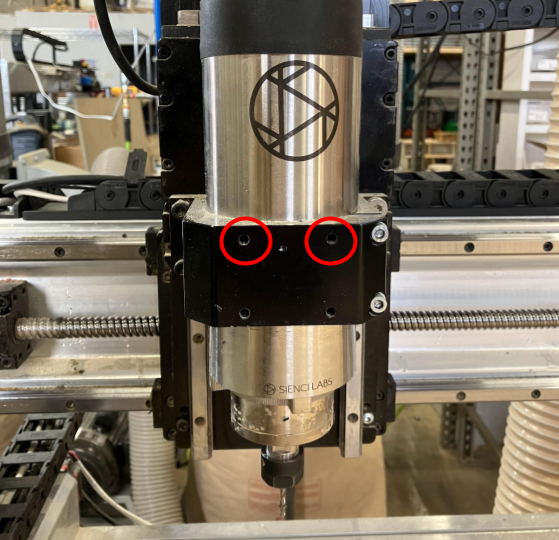
Mounting holes on the AltMill router mount
Align the 2 holes at the steel laser mount (on the laser assembly) to the 2 holes on the router mount. Then thread the two M5-12mms screw by hand.
Use a M5 Metric Allen Key to tighten both screws until firmly secured.
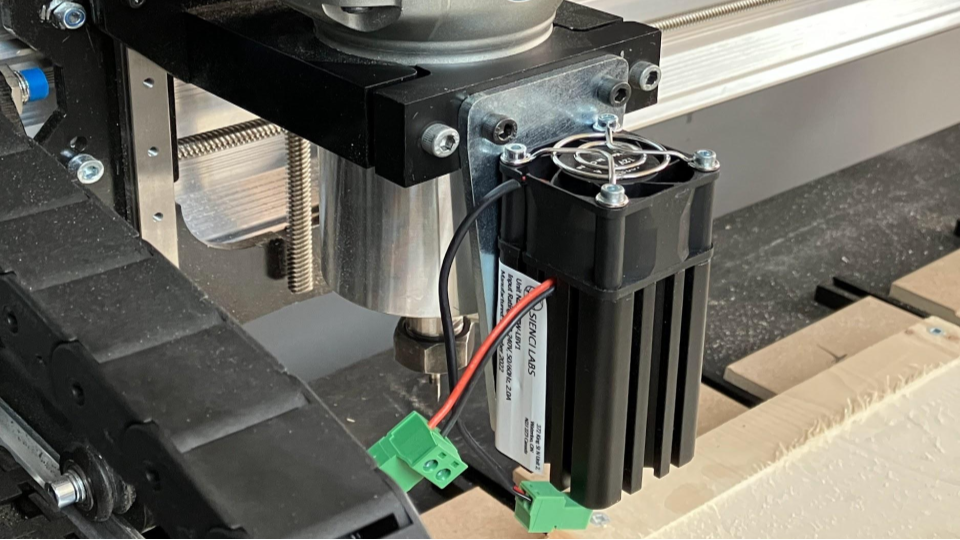
Laser diode assembly completely fastened onto LongMill router mount
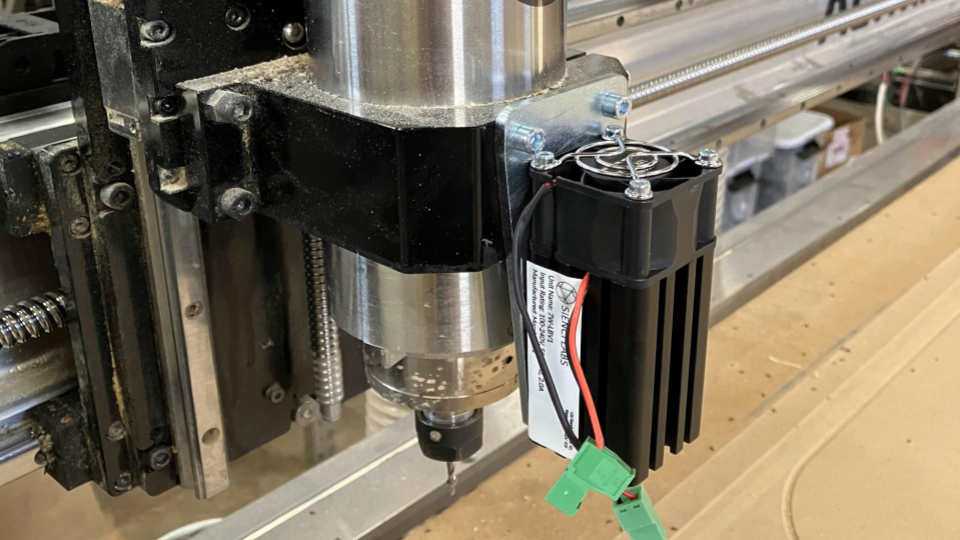
Laser diode assembly completely fastened onto AltMill router mount