
The DIP switch is used to limit how much current goes to your laser.
Before you turn on your laser driver, ensure that all switches located on the DIP switch are set to the OFF position (upward position) to avoid any accidents.
There are 5 settings, each labelled with a number which corresponds to the maximum current limit.
|
Label |
Maximum current setting (A) |
Photo |
| 1 | 1 | 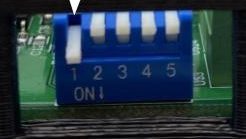 |
| 2 | 2 | 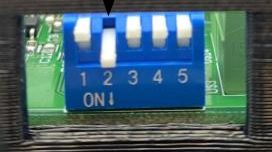 |
| 3 | 3 | 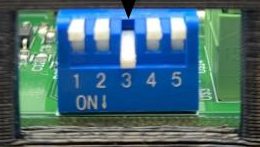 |
| 4 | 4 | 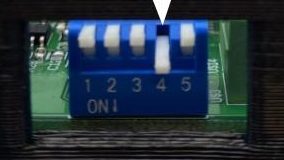 |
| 5 | 5 | 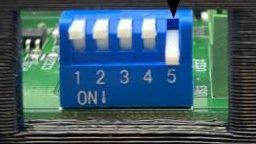 |
After you have turned your laser driver on, you must set your maximum current before accessing laser driver function. We recommend setting the switch to “4.” Warning: Ensure that you only have one switch ON (down position) at a time, or else it could cause damage to the electronics.
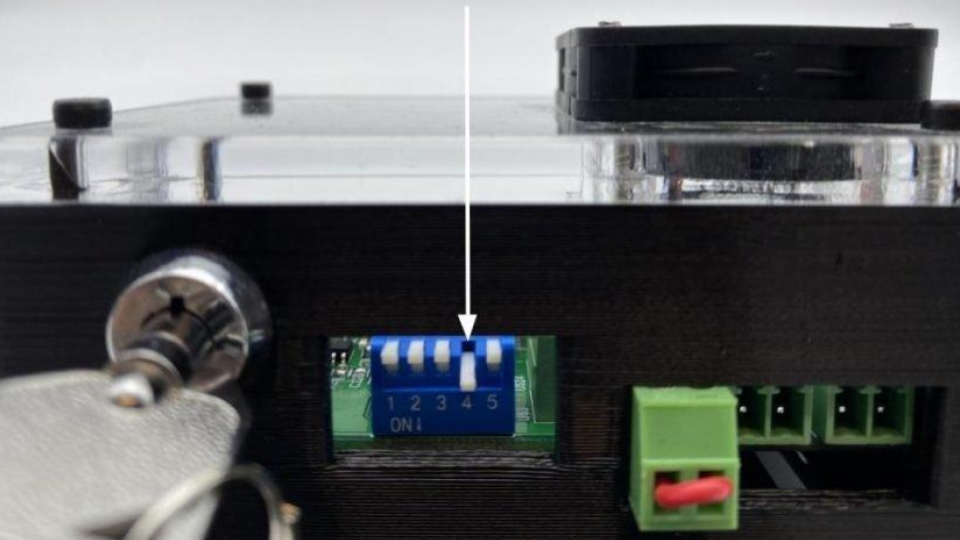
Setting DIP switch to 4A