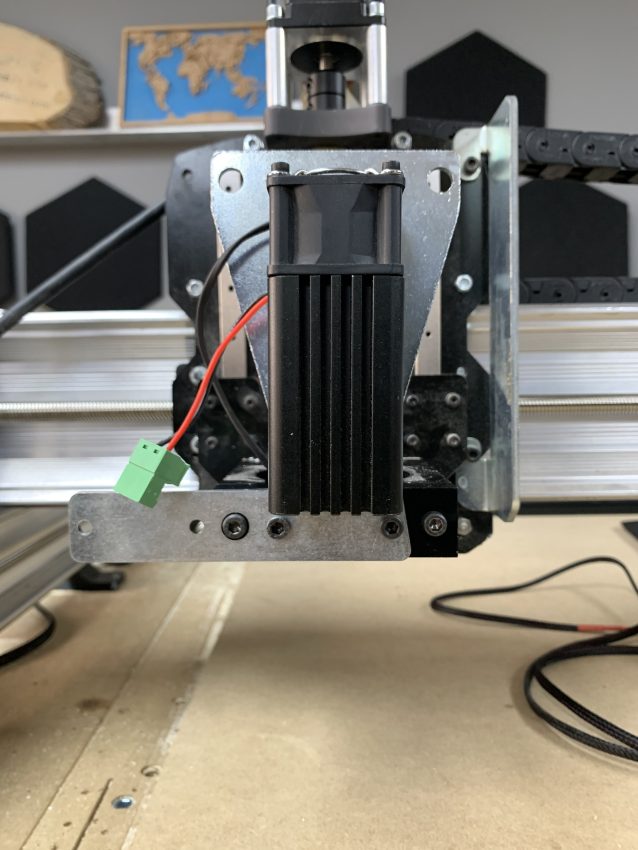
The LaserBeam Vortex Riser Mount was designed to raise the Z-axis height of your LaserBeam to provide more room for lens focusing. Below are video and text instructions on how to set it up.
Assembly 🛠️
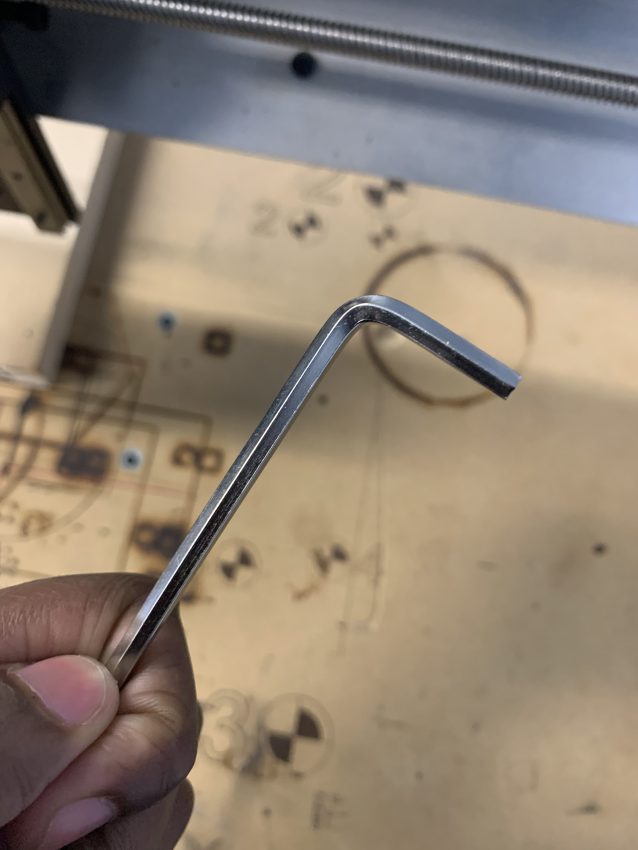
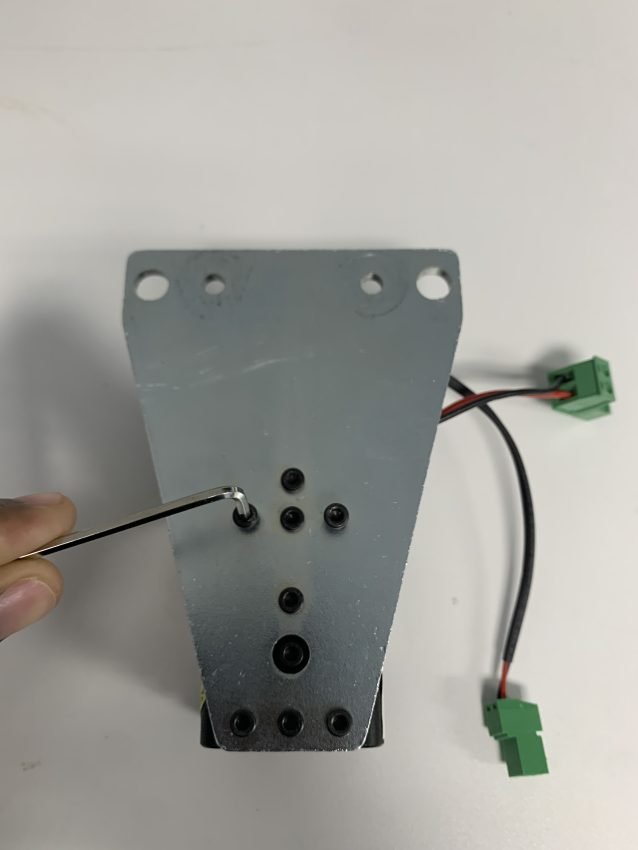
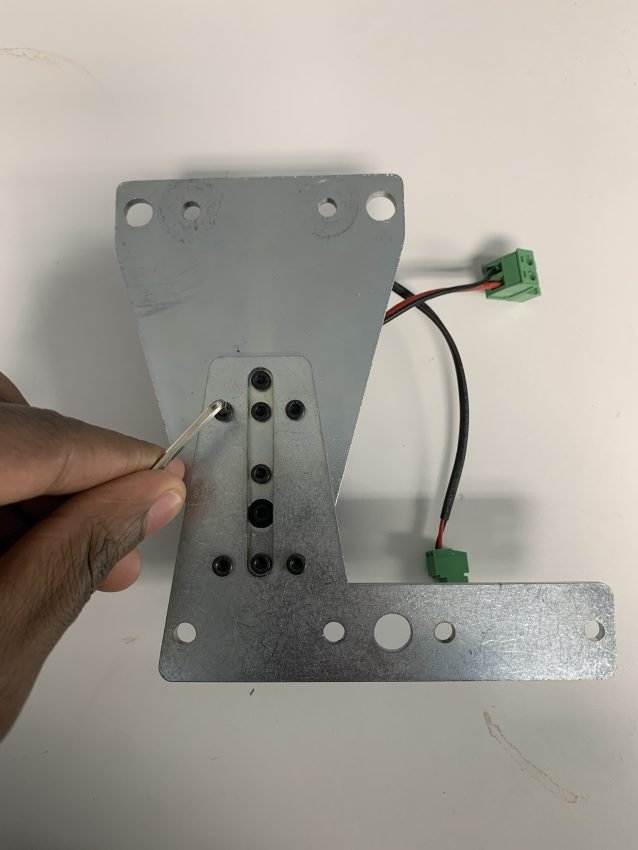
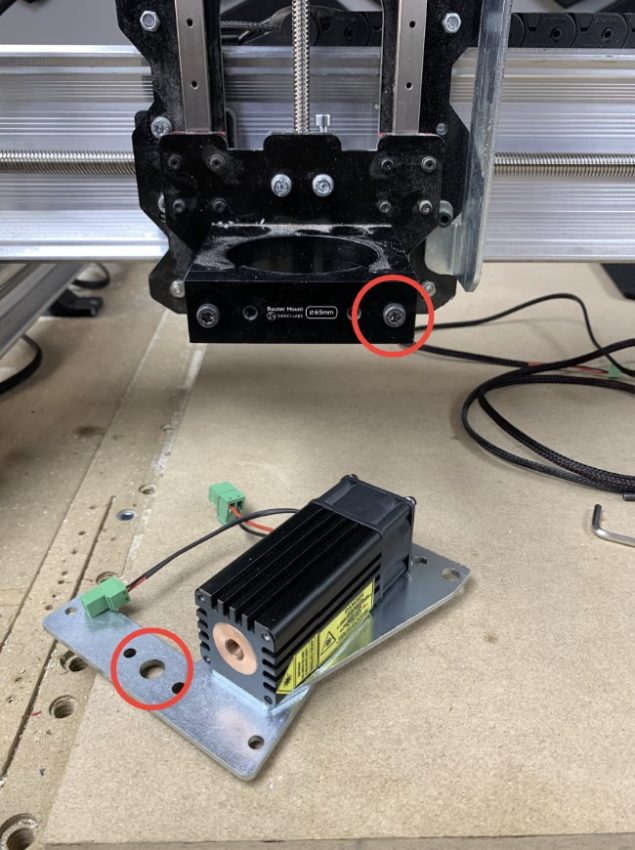
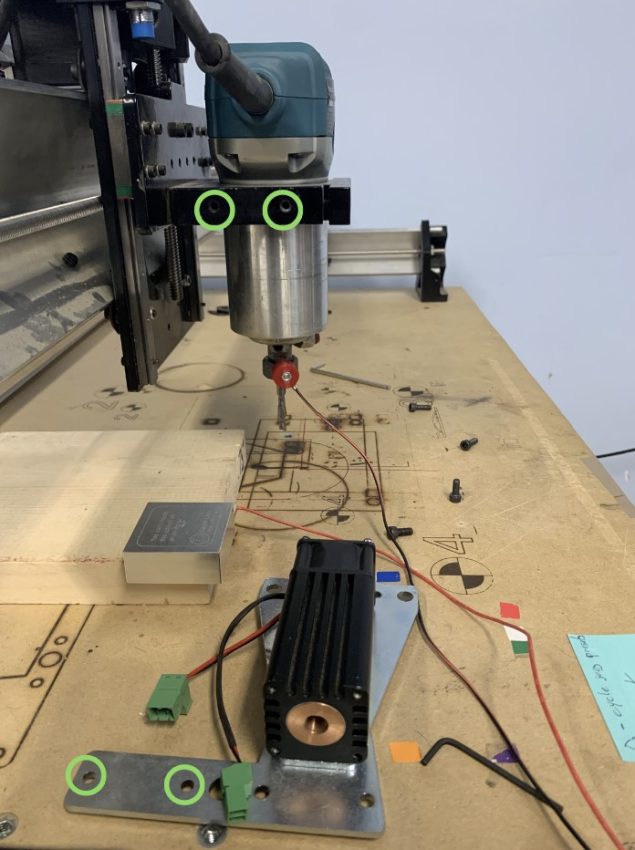
1. Begin by using an appropiate allen key to remove the 4 M3 bolts circled in the picture below from your standard LaserBeam Mount:
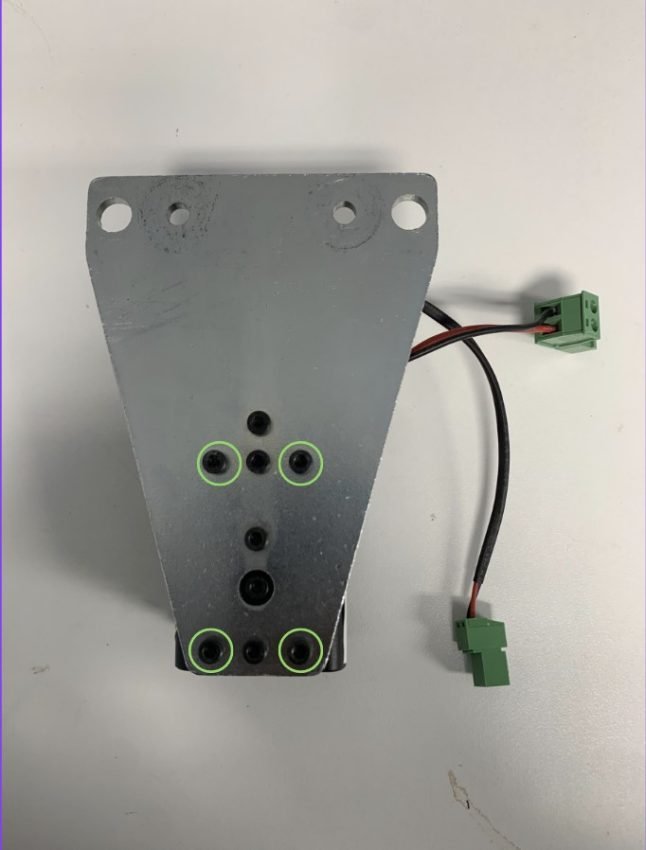
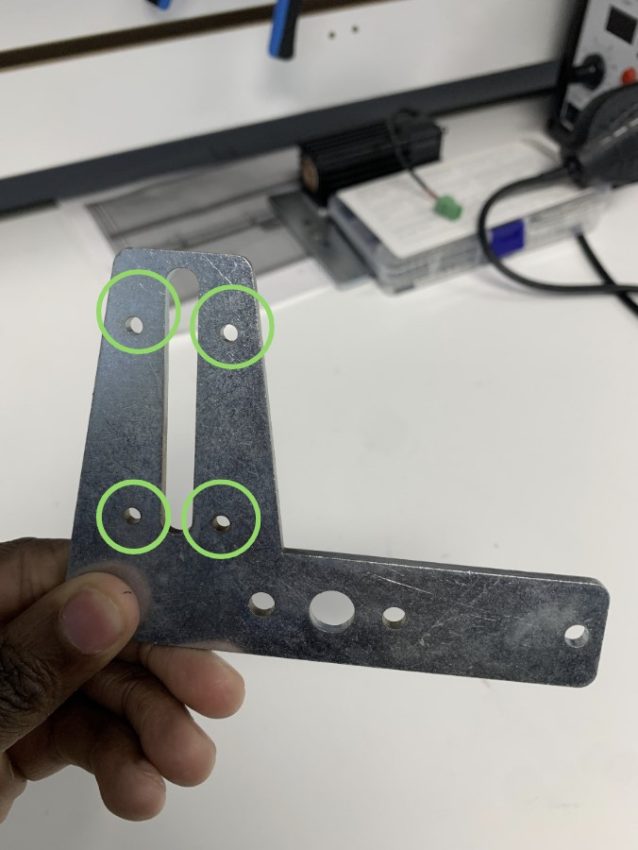
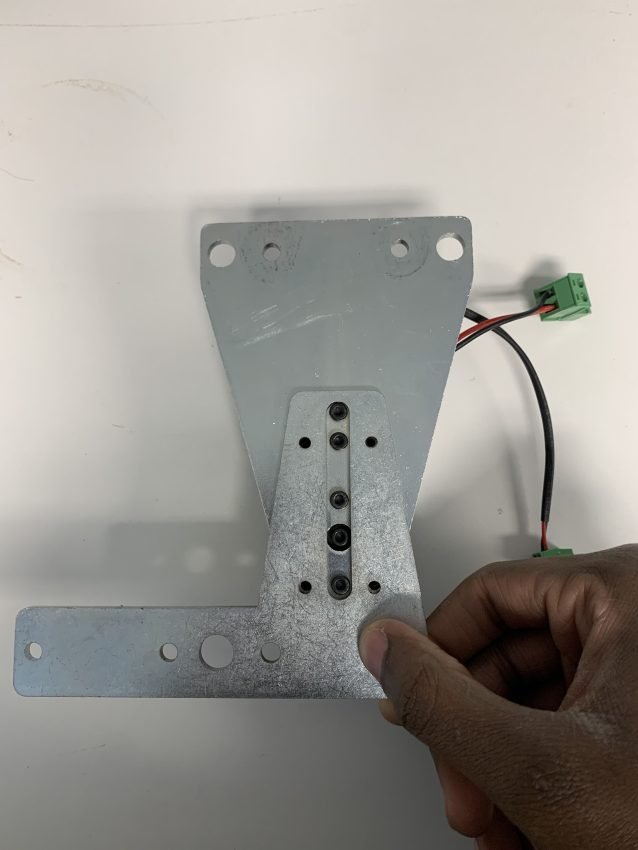
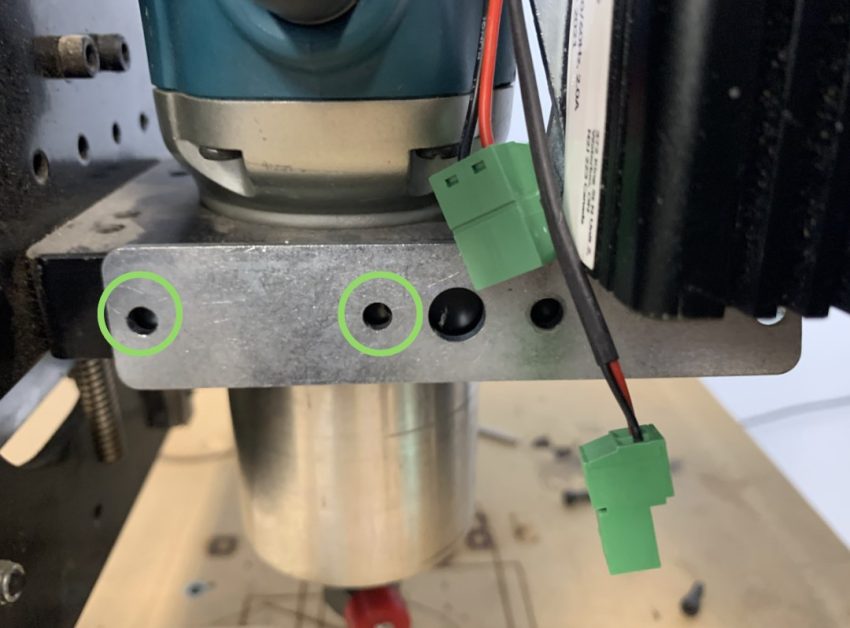
2. Grab your Vortex Riser Mount and align the circled mounting holes with those of the LaserBeam diode:
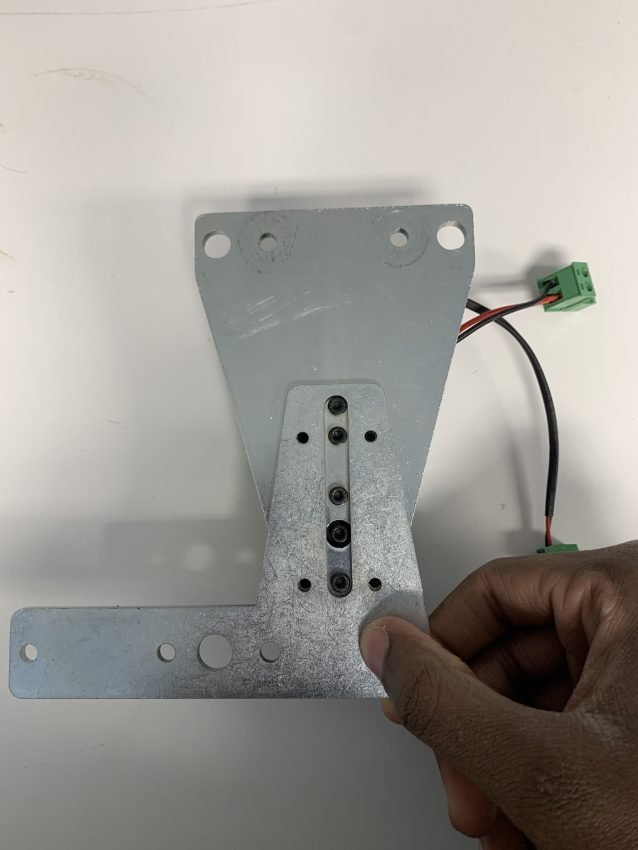
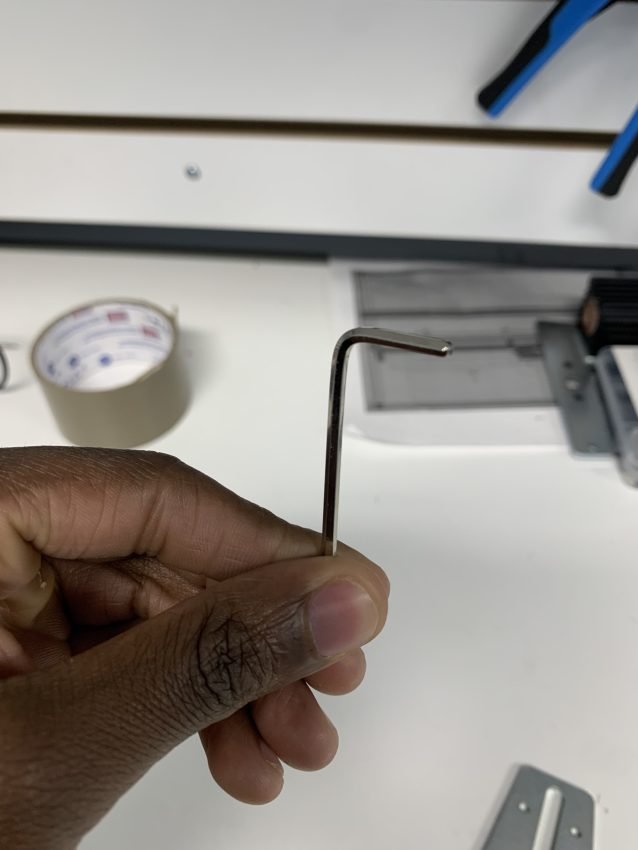
3. Grab the M3 bolts you removed in step 1. Insert them into the aligned mounting holes and hand tighten. From there use your allen key to the tighten them fully:
Note**: You could have flipped the Riser Mount in step 2 and attached it as shown:
This also works fine and is all up to preference. Do what works for your specific setup!
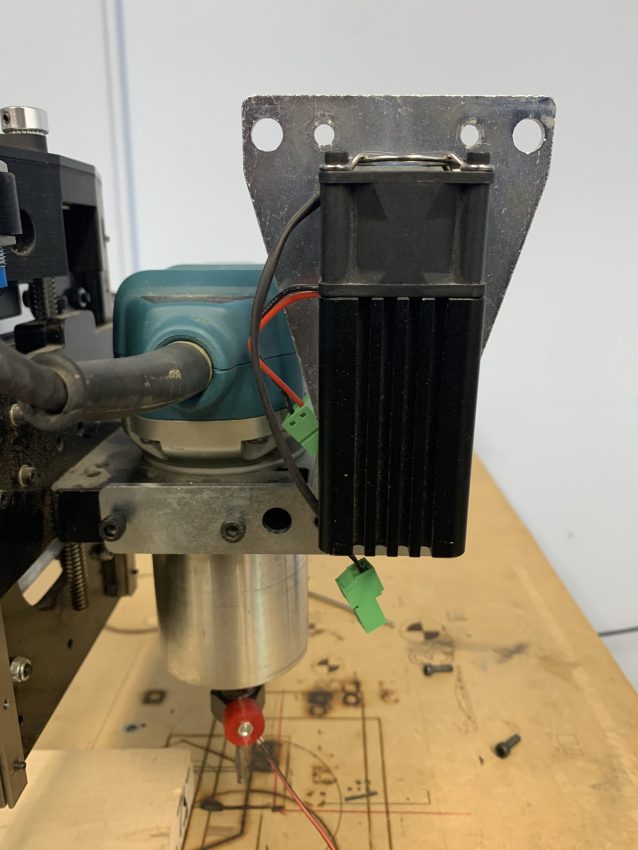
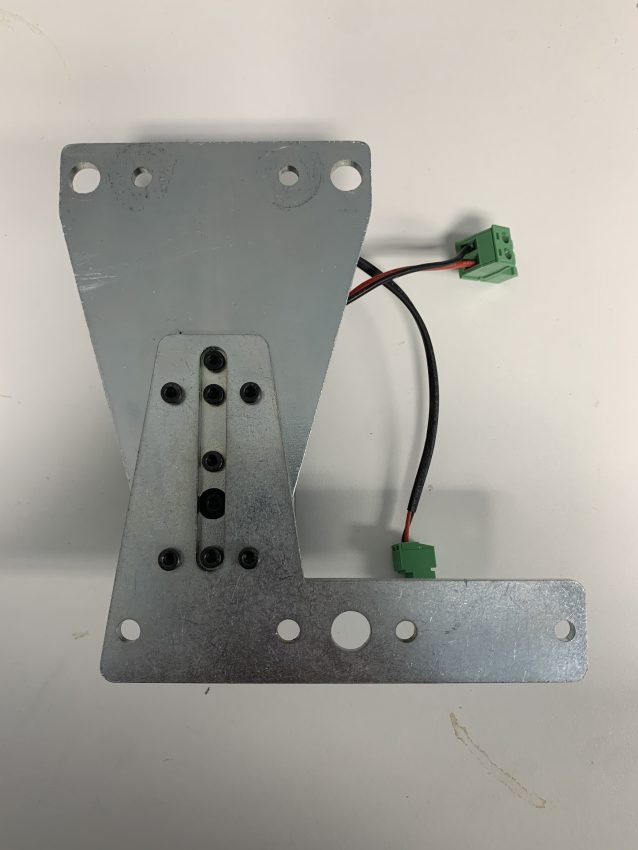
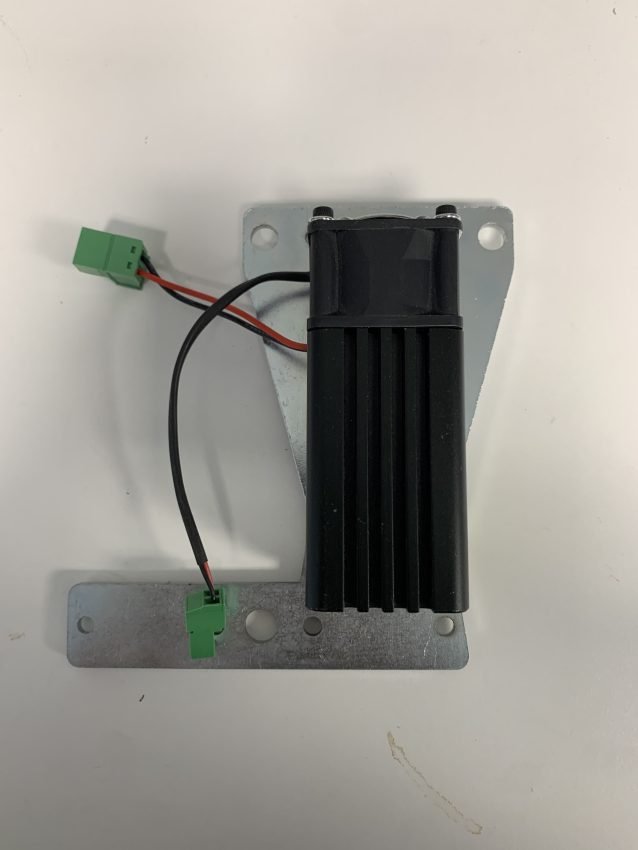
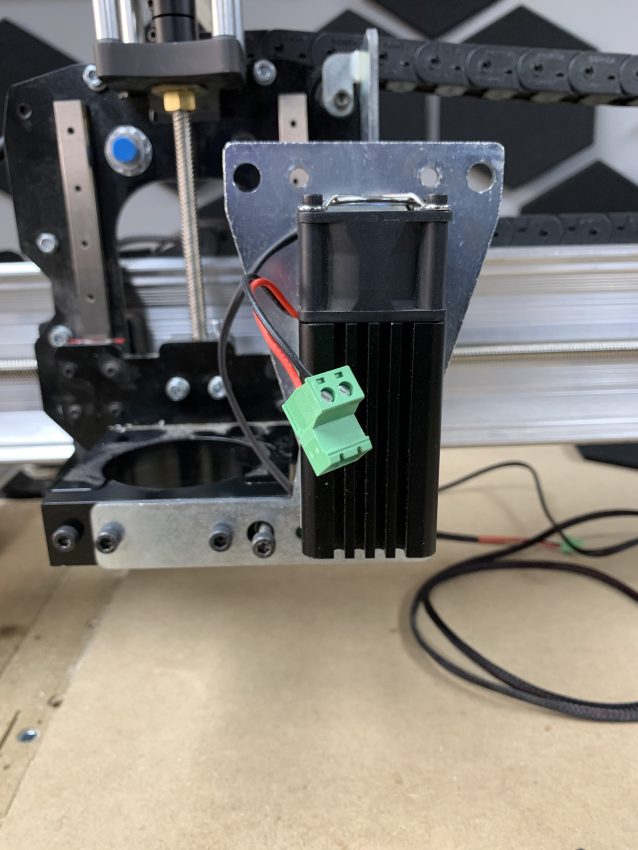
4. Your LaserBeam Vortex Riser Mount is now assembled and can be attached to your Longmill:
Mounting 🪛
There are a few different ways in which you can go about mounting your Vortex Riser onto your Longmill router mount. These mounting orientations vary based on your Longmill model.
- Models MK1V1 – V4 (Mark 1 version 1 to 4) router mounts possess holes for mounting on their side
- Models MK1V4B – MK2 (Mark 1 Version 4B to Mark 2) possess mounting holes on their front face:
-
- Mounting Hole Location for MK1V1-V4
-
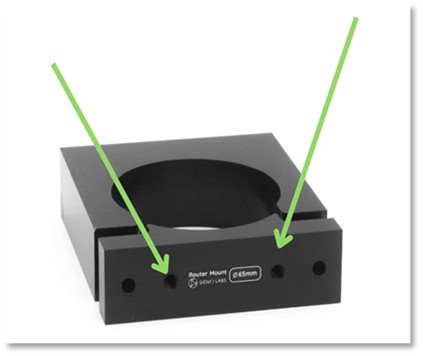
- Mounting Hole Location for MK1V4B-V2
Let’s first go through the two ways to mount your Vortex Riser if you have a model MK1V4B-V2.
Orientation 1
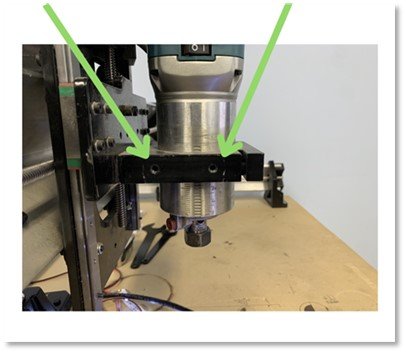
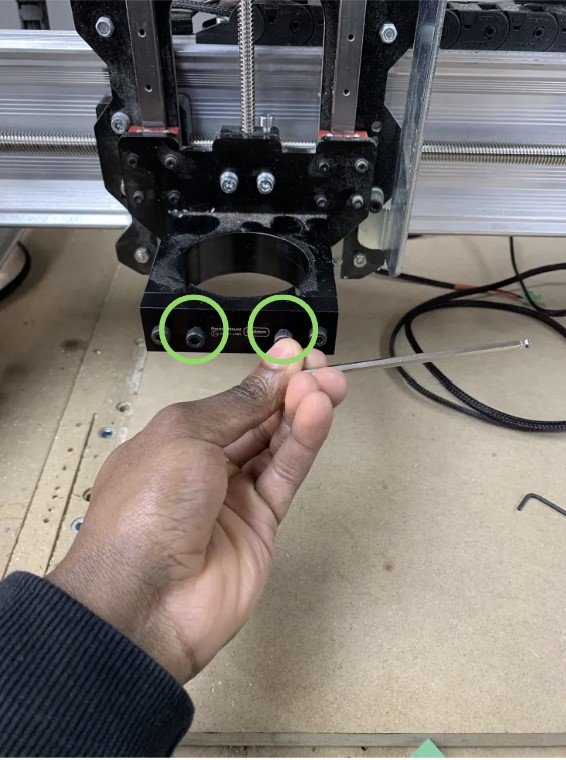
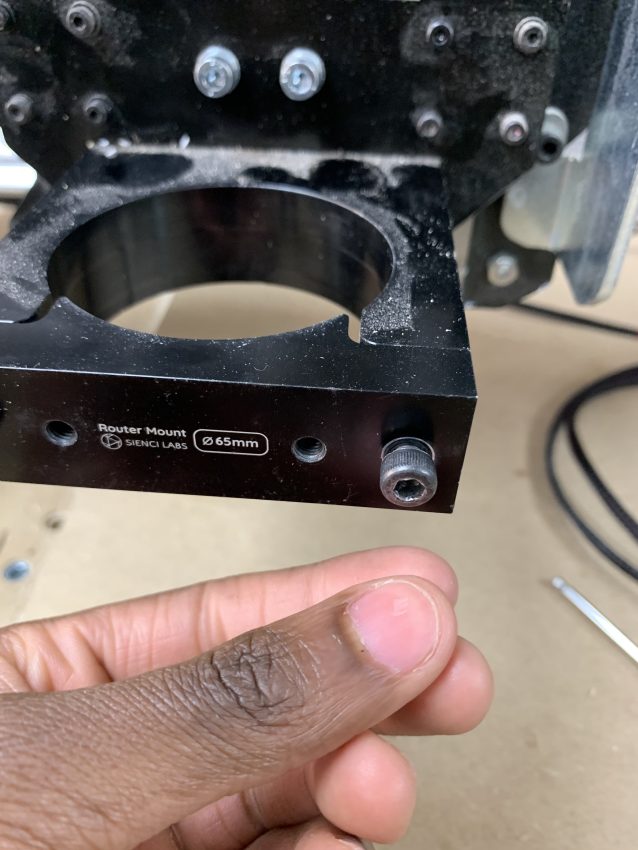
1. Firstly, use an appropiate allen key to remove the circled M5 bolts from your router mount:
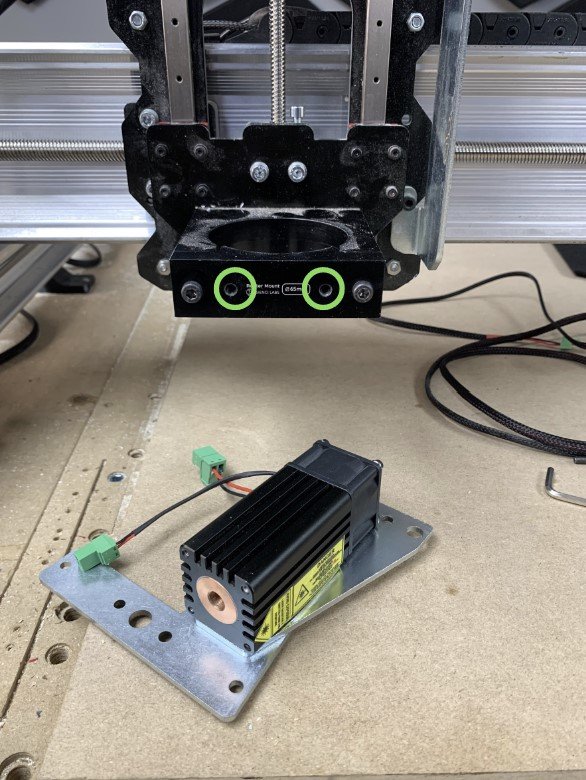
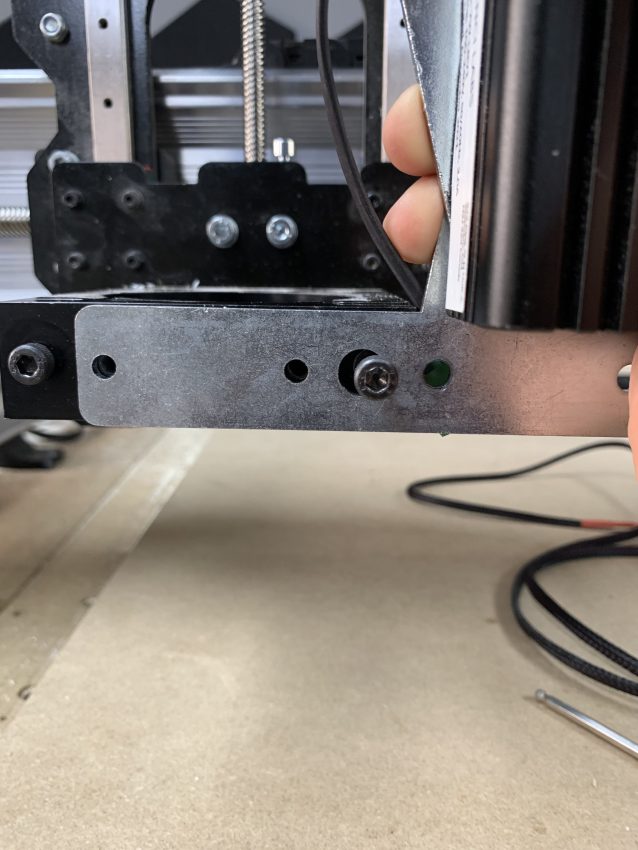
2. Line up the circled holes with the location of the removed bolts:
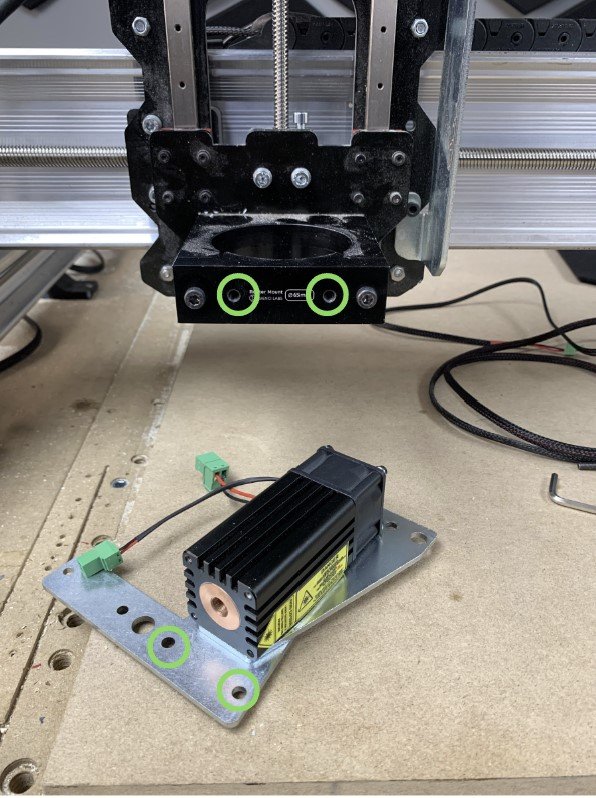

3. Re-insert the M5 bolts previously removed in step 1 and tighten them with your allen key:
Orientation 2
1. Like with orientation one, we firstly want use an appropiate allen key to remove the circled M5 bolts from your router mount.
2. Now we want to losen the side bolt. We loosen it until the circled mounting hole on the Vortex Riser is able to slide past it and become flush with the router mount face:
3. Align the mounting holes and re-insert the previously removed M5 bolts:
4. Tighten the bolts with your allen key to complete the attachement:

Now let’s look at mounting with models MK1V1-V4.
Orientation 3
1. Align your Riser Mount with the side mounting holes on the router mount:
2. Place the two M5 bolts that come with your standard LaserBeam Mount into the lined up holes. Then use an allen key and proceed to tighten the bolts to complete the atatchement: